A student wrote to ask me the following:
Sometimes it is impossible to avoid part of your picture getting over-exposed without your main subject becoming very dark. I didn’t have great improvement with a smaller aperture. What do I have to do in this case?
Good question. A sensor is more like slide film than like negatives: the dynamic range is limited. Meaning you can only show so much difference between lightest and darkest parts of your image.
So when I point at a person in front of a window, they are a silhouette. The aperture makes no difference in this case: not by itself, anyway. But if I increase the exposure (by using my spot meter, manual mode, or exposure compensation) then they can be correctly exposed, but now the sky behind them is all blown out. Uh oh!
So what can I do?
As usual, there is no single answer. I can (and often do!) the following:
- Move myself. If I shoot from the other side, no problem.
- Move my subject or move my light (unless it is the sun!)
- Use a reflector. That is why photographers always carry reflectors.
- Use my flash! This is why on a sunny day we carry our flash. Sun is very contrasty light. With a flash, we minimize the differences.
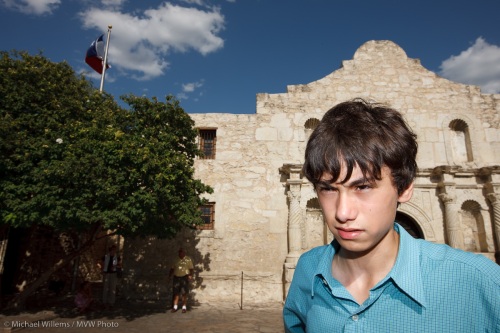
An example of flash outside:

Daniel at the Alamo
Without the flash, Daniel would have been too dark (look under his chin), or else the Alamo would have been way too bright.
There is one other way that sometimes works.
I can shoot RAW and hope there is enough dynamic range to contain detail in the sky; and then adjust afterward, using HDR – High Dynamic Range.
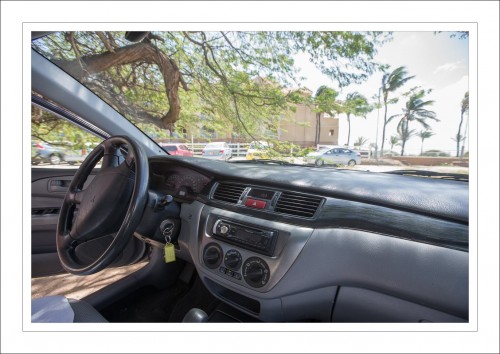
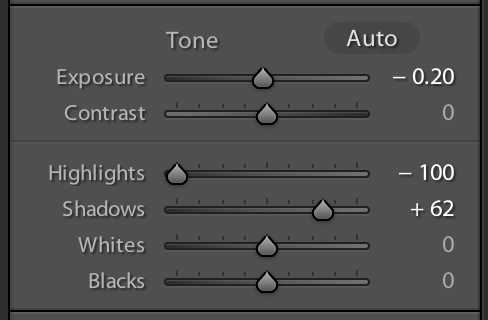
I can do this either in Lightroom, by using “filll light”, “recovery” and other exposure adjustments, or by using specialized HDR software like Photomatix.

Photomatix HDR example from one RAW
The original image (which I took Monday in Toronto’s Distillery District) had a very bright, blown out sky, and the foreground was too dark.
But because I shot RAW, I was lucky and there was enough detail “hidden” in the file, and I was able to bring it out.
This works as follows:
- Shoot a RAW image, expose “in between”.
- Copy it so that you have five identical images.
- Make one image two stops darker; make one one stop darker; keep one at the shot setting; make one one stop brighter; and make one two stops brighter. If you shot “in between”, each image should have detail on part of the image.
- Now run Photomatix software (I used a demo version here, see the watermark).
This is no panacea, and HDR (High Dynamic Range) can look gimmicky and unnatural, but when this works, it can help save you from these high contrast situations.
Normally, for HDR you take multiple exposures, of course. But there is so much “extra” information in a RAW file thatyou can get away with this technique quite often.


