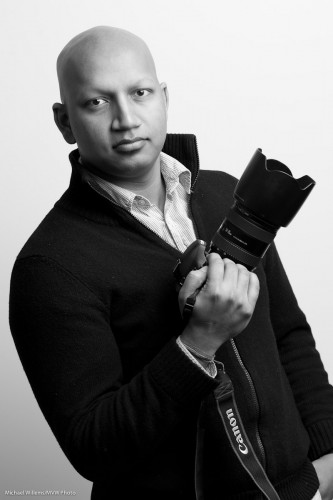
The best camera…

…it is often said, is the camera you have on you.

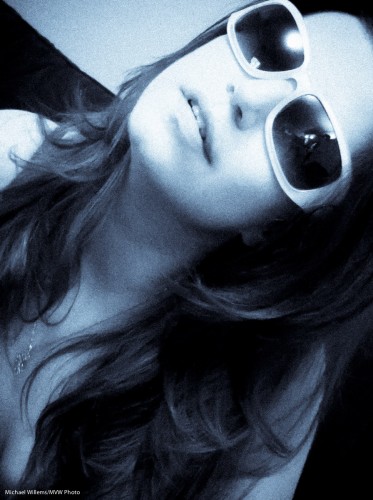
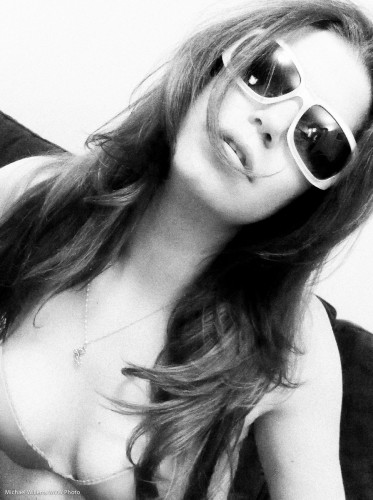
But you need to use it well. I shall share with you an example of an iPhone picture I took, to illustrate this.

To do an iPhone picture is easy. But to do it well, you need to:

  1. Compose well. Do not take a pic with the subject in the centre – use the Rule of Thirds, tilt, get clos, do what you need.
  2. But do not get too close or you will distort.
  3. Light well. Not the intensity – this pic was taken in very low light with no flash – but the direction (I turned the subject to the light and tilter her head up to catch that light)
  4. Post-process – in my case, in Lightroom. First, I converted the image to black and white.
  5. Then I applied an enhanced contrast style.
  6. Then I reduced the noise
  7. But then I applied lots of film grain. Love that grainy look (view full size to see it):

The result:

Model Kim Gorenko (Photo: Michael Willems)

Not a bad shot eh, and taken with an iPhone in low light.

Here is another example, with Selenium Tone style applied (and the same other tuning done):

Model Kim Gorenko (Photo: Michael Willems)

So do not make the mistake of thinking a good photographer is nothing without great equipment. Yes, it expands your possibilities, but if all you have is an iPhone, use it well!

 

Cannot.

You cannot shoot a portrait handheld at 1/15th second. And you cannot shoot a portrait at f/1.4.

Right?

Portrait at f/1.4 (Photo: Michael Willems)

So that was shot as follows:

  • Canon 1D Mk4
  • 35mm prime lens (equivalent, therefore, to around 45mm)
  • TTL Flash (580EX) bounced 45 degrees up, behind me
  • Flash equipped with a half CTO gel; white balance set to “Tungsten”
  • 1/15th second at f/1.4, ISO 400

Wonderful background bokeh, no? And don’t you love the vignetting that this lens gives me wide open?

Of course, if you shoot at f/1.4, be careful that what you need in focus is in one plain (the camera and the face, here). And at 1/15th, handhold carefully and use fl;ash (1/1000th) to light your subjext.

So yes you can do it, and it’s probably best to sometimes push boundaries a little, and let go of rules of thumb, useful as they may generally be.


Today…

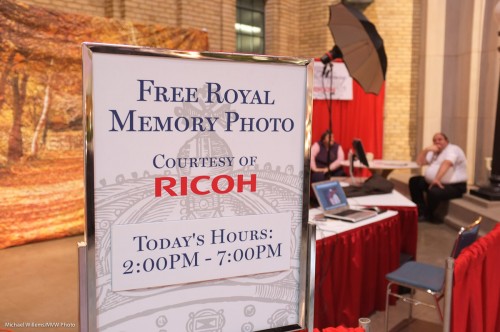
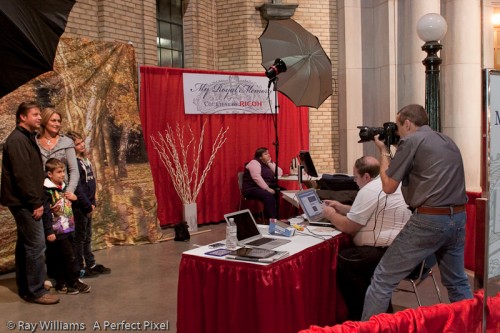
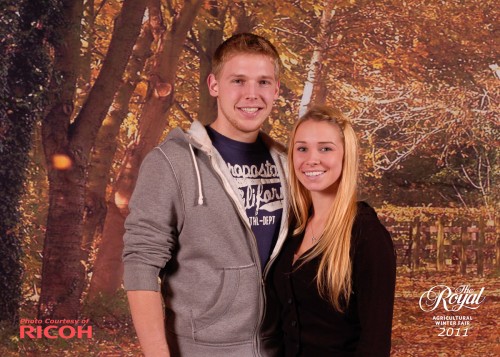
… courtesy of Ricoh, I made portraits at The Royal Agricultural Winter Fair, with Paolo Cescato. Here:

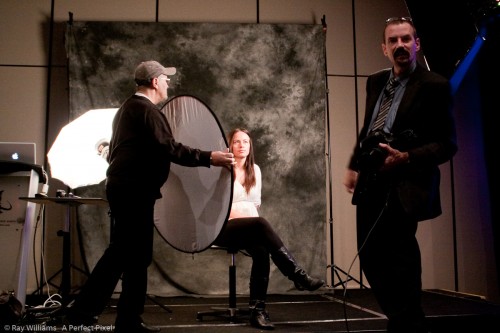
As I shall be doing for the next nine days, the entire fair except Monday, every afternoon/evening. Here I am (courtesy of my friend and student Ray Williams):

And these portraits look somewhat like this:

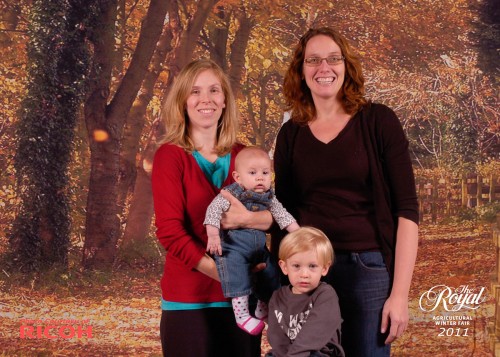
Or like this:

And the lesson in this?

  • Commit events like this, being together with friends and family, to photos. They only happen once. That baby above will be in university soon enough.
  • Light simply, if you are doing many portraits. We used two umbrellas. It is more about the moment and the people than about the artistic lighting.
  • Posing is fine, but turn people a little.
  • Perhaps put them into suitable groups.
  • Triangles are good.
  • Watch out for shadows.
  • Glasses and hats, especially: take care.
  • Yes, you know: 1/125th second, f/8, at 200 ISO; and the strobes do the rest.

I have precious few pictures of myself as a child (roughly zero). If you can do better with your loved ones or with anyone at all, you are doing great. Do it if you can!

Those of you in the Toronto area: the picture is free with the price of admission to The Royal. Come meet me (again), and come meet some cows, chickens and such, see great country stuff, and generally, have a good time.


Portrait tip

When you do a studio portrait, you usually want to use your portrait lighting alone – the room light should not interfere. Room light should be invisible.

Does this mean the room has to be dark?

No. It just means  the room has to look dark to the camera.

So for a studio shot, first do a test. Disable the flash, and set your camera to:

  • Manual exposure mode
  • 100 ISO (or 200 ISO if 100 is impossible on your camera)
  • f/8
  • 1/125th second

Fire off a test shot:

Bingo. Now the flash will light your subject – and only the flash.

Was that room dark? No. To you or me (or to a caerma with different settings) the room looked like this: quite bright, what with the room lights and the flashes’ modeling lights!


Portraits

Don Draper said it best, in the season-ending episode of Mad Men season 1, as he was winning the Kodak Caroussel account.

The Carrousel, he says, is

“a time machine… nostalgia… it goes backwards… forwards… it takes us back to a place we ache… to go again.”

My God those are powerful words. That is so true about photography in general. This is why I am a photographer, and that is why we should all be photographers.

And when you look at the photos he shows of his life – they all feature people. People photography is magic… it truly is time travel.

So you should know how to photograph people. People doing things; but also formal people portraits. And that is part of what I taught at the Exposure show. Things like how to get from one light to a lit portrait: we build this up in stages.

Like this portrait of today’s kind volunteer:

First one light, with a softbox:

Portrait lesson (Photo: Michael Willems)

One light – but with White Balance set to “Flash” instead of “Auto”:

Portrait lesson (Photo: Michael Willems)

Now we add a Reflector on our left side:

Portrait lesson (Photo: Michael Willems)

And now we add a hairlight from behind left:

Portrait lesson (Photo: Michael Willems)

Or by bringing the reflector closer, we could make the light flatter:

Portrait lesson (Photo: Michael Willems)

And then we could go from there and get creative. Or stop there. In any case, it seems to me that a competent portrait is what you must learn to do if you want to capture life in order to be able to go back to it later.

And that is why I teach photography. From workshops to coaching to The School of Imaging, I teach people who to make a permanent record of their lives and their loved ones. Please… spend some time and a little money and learn how to do this!


Light = photons

Light consists of photons. And photons are photons, whether they were emitted from a large strobe-type flash or from a small speedlight.

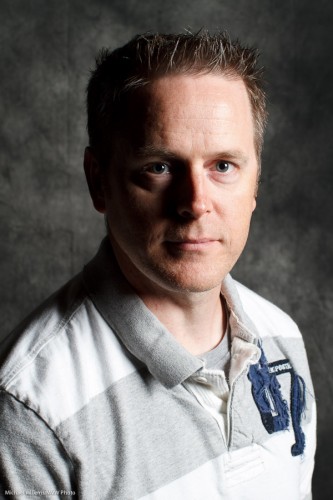
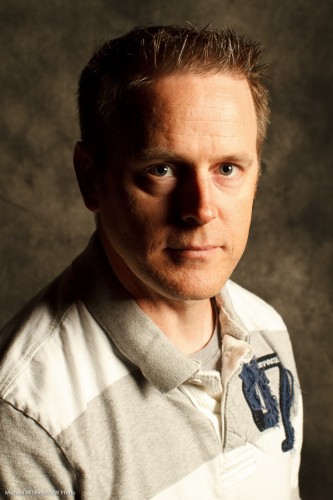
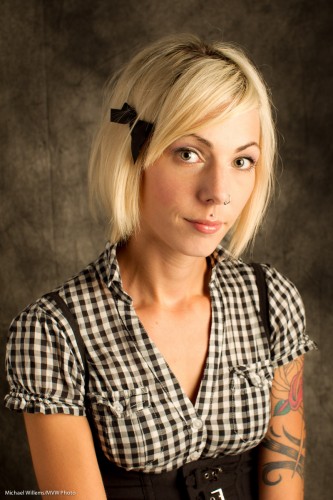
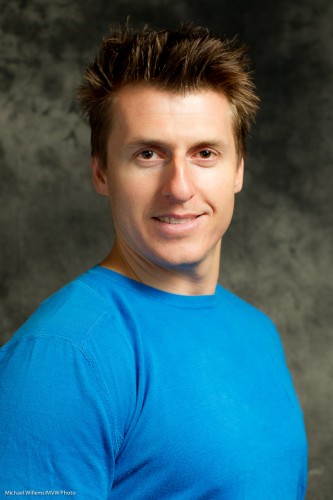
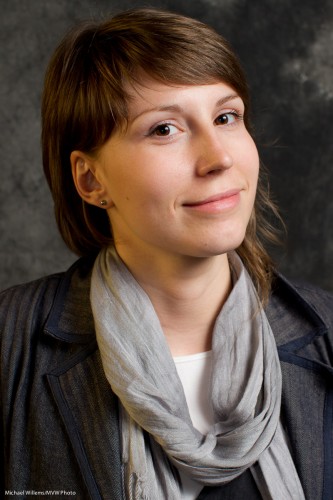
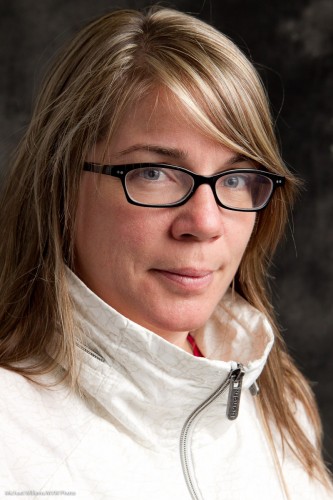
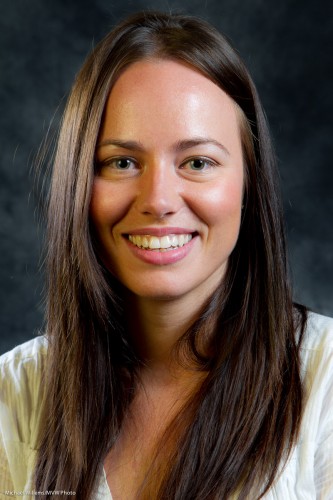
To see what I mean, look here, at a few pictures I took of kind volunteers, during classes I taught at the Exposure Show today (note – tomorrow is day three, and I will still be there teaching – come catch this it, is worth it!):

Portrait (Photo: Michael Willems)

Portrait (Photo: Michael Willems)

Portrait (Photo: Michael Willems)

Portrait (Photo: Michael Willems)

Portrait (Photo: Michael Willems)

All extremely attractive and wonderful people.

But can you tell me….

  • Which ones were shot with studio flashes (strobes) and a reflector?
  • And which were shot with one small off-camera flash and a reflector?

Answer below the line, after you click:

Continue reading

The One Minute Portrait

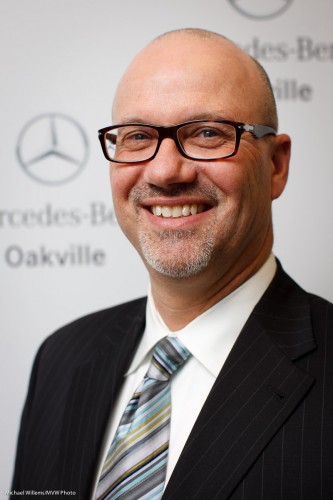
Today, my friend Steve at the car dealership asked me to do a quick headshot snap of his managing director.

No time to think: right now!

Never to be one to shy away from a challenge, I quickly did the following:

  1. Move to the available backdrop with corporate logo.
  2. I used my Canon 1Ds MkIII with a fast prime lens, the Canon 50mm f/1.2L.
  3. Quickly, as we walked to the backdrop I put a flash on it: a 580EX II speedlight.
  4. Looking around, I saw a white ceiling above me so I knew I could bounce the flash off that ceiling.
  5. I ensured I bounced the flash 45 degrees up behind me, so that the light would come from “in front” of the subject. At a slight angle to my left, so as to aim light onto his face straight on from a 45 degree up-angle. Now this is important. If I had aimed up, or even worse, in front of me (a classical beginner’s mistake!), then this gentleman would have had raccoon eyes, reflective glasses, and a shiny head. If I had aimed straight behind me I would have had “broad lighting”: also not what I wanted.
  6. To mix a bit of ambient light, I set my camera to manual, and selected 1/100th second at f/2.2 at 100 ISO. I did a test shot.
  7. I found that this mixed too many different colours for my liking (flash and tungsten and fluorescent), so I decided to go “flash only”. To do that, I selected 1/250th second at f/4.0 at 100 ISO. That made sure no ambient light took part: the light was all flash. The open aperture at f/4.0 gives me that beautiful bokeh: the creamy softness of the background.
  8. I used TTL (through-the-lens automatic) flash metering, and in view of the white background, I selected a flash exposure compensation (“FEC”) setting of +1 stop.
  9. I positioned the subject at a slight angle.
  10. Now I did my second shot. Checked it on the back. Bingo, all good. Catchlight, check. Sharp, check. Exposure, check. Loved it. Took a few more just for safety’s sake.

That is ten steps in less than one minute. As an event and news photographer, I have to be quick. “Hang on while I think” is never acceptable when photographing executives.

The result is below, and I think you will agree it is a shot that, especially when you click through to see it at original size (you like sharp? I give you sharp!) cannot easily be distinguished from a studio shot.(I really encourage you to click though a few times until you have the full size pic, then view it at full size).

Managing Director Mark LeRoeye

Managing Director Mark LeRoeye

All that in one minute!

If I had had time? I might have tried softboxes, a longer lens, and even more different angles. But I would have produced roughly the same. As a photographer, I need to be able to think on my feet. As you will have to – so my advice: practice a lot, until these things become automatic.

Just like in flying airplanes, where engine failure automatically results in the pilot going through a sequence like “trim up – turn with wind – look for field – check fuel switch – check primer locked – check main switch on – mags left/both/right/both – carb heat on – mixture rich – check oil T&P – check fuel sufficient – line up – use flaps if needed – brief passengers – radio mayday – main switch off”. No more complex, and no less complex, than what I did for this shot.

Practice makes perfect, they say. In photography, practice makes consistent.

The importance of being hairlit

Portraits look better when a bit of kick is added. An edge light, or a hair light.

The following two shots, straight out of the camera and unedited, from Tuesday’s executive shoot in Toronto, service to illustrate this point quite well:

Without hair light:

And with a hair light:

The hair light is 1-2 stops overexposed. It is provided by an assistant holding a light stand with a snoot, aimed from behind at the person – and aimed carefully, or bad shadows will result.

Here is one more sample, from the same business shoot:

You see how well that shine works?

More on this in the Henry’s workshops I teach and in the Mono workshops: three more, on 2, 3 and 23 April. If you have always wanted to come on one, then act fast: these will be the last ones ever in Mono, so book now!

Granigif

That cryptic title means “Animated GIF at the Granite Club”. Which is where I was teaching portrait photography last night.

I cannot image a more fun way to spend an evening: some of the most committed, fun, outspoken, and friendly people I have had the pleasure of teaching.

So let’s start with how I set up. Click below to see it as an animated GIF. The time elapsed here was over an hour:

Studio Photography Lesson Setup, by Michael Willems

Studio Photography Lesson Setup, by Michael Willems

Last night was a lightning-fast lesson in portrait photography basics, from lights to pocketwizards to positioning techniques.

The interesting thing, I think, is that while for full control, the more “stuff” you have the better, you can often keep it remarkably simple.

A shot with “the standard four lights” might be this:

Portrait at The Granite (Photo Michael Willems)

Portrait at The Granite

That uses a key light (softbox), a fill light (umbrella), a hair light (Honl snoot), and a background light (Honl Grid).

But you can also keep it simpler. For a lady with light hair, I would not light up the background. We would also not really need the hair light. So now indeed it is simpler:

Robbin at The Granite (Photo: Michael Willems)

Robbin at The Granite

Beautiful, no?

But the real surprise is the simple setup on the left: you can just see it. A TTL flash through an umbrella. A reflector to provide fill light. And a background light to add a bit of brightness to the available background. Now all we are using, then, is two flashes and some affordable stands and a reflector.

That gives us:

Matt at The Granite (Photo: Michael Willems)

Matt at The Granite

You see: you can often keep a studio setup simple. Why use a light when a reflector will do just as well?

Studio photography is incredibly rewarding. If you think so too, I strongly recommend you take a course or private coaching and learn how to do it.

Portrait note

To see that you can keep portraits simple, just look at this shot of Gaurav Sharda, an up-and-coming photographer from Brampton:

Gaurav Sharda

Gaurav Sharda

This photo was taken with a 430EX flash in an umbrella to our right, fired from a Canon 1D MkIV camera with a 580EX II to drive the slave flash.

Shutter speed was 1/200th second and aperture f/5.6, at a sensitivity of 100 ISO. The lens was a 70-200 f/2.8 set to a focal length of 90mm.

Wat is simple here?

  • Available white wall, no backdrop.
  • I used TTL, no complicated metering. Of course the white wall necessitated a Flash Exposure Compensation setting of +1 stop (check your histogram to be sure).
  • One white shoot-through umbrella, nothing else (the umbrella throws enough light elsewhere into the room to also give you some fill). The umbrella also gives us a nice circular catchlight.
  • Standard “studio” settings for aperture and shutter.
  • I converted to black and white in Lightroom.
  • Nothing else needed to be done!

So for portraits, sometimes simple is enough. Do not start with lots of lights if you do not need them.