Speed

Shutter speed is important where there’s motion.

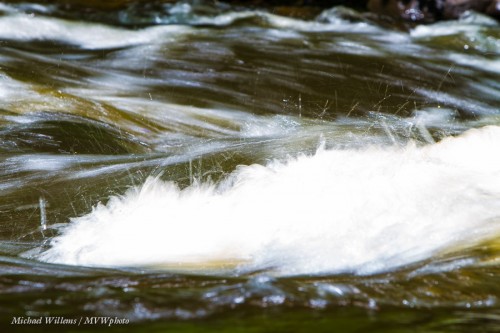
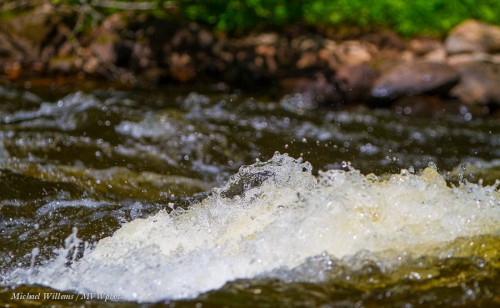
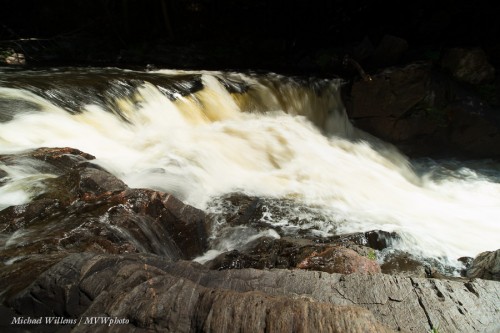
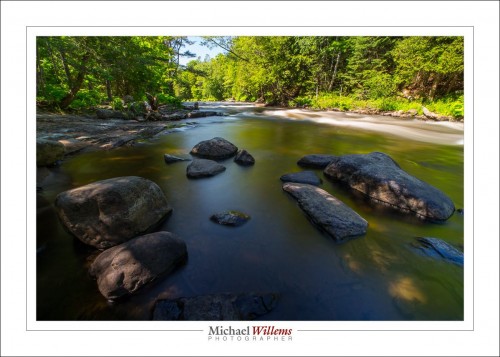
Water in rapids, Thursday, at 1/20 second:

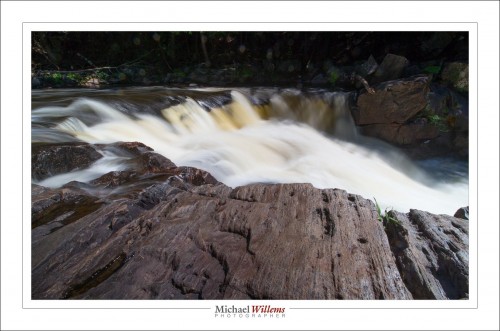
The same, but now at 1/800 second:

Which one is best? Your call!

To be a great photographer, you need to get experience with what shutter speed might be suitable for what subjects. And you can do this thanks to the fact your camera is digital: no cost. So I suggest you spend time trying many different shutter speeds.

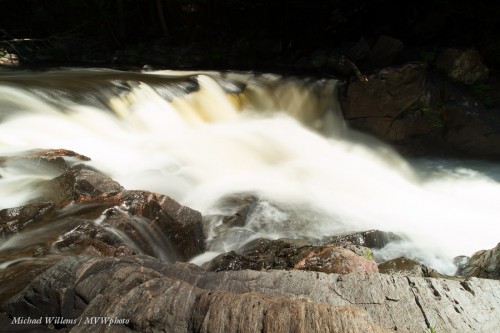
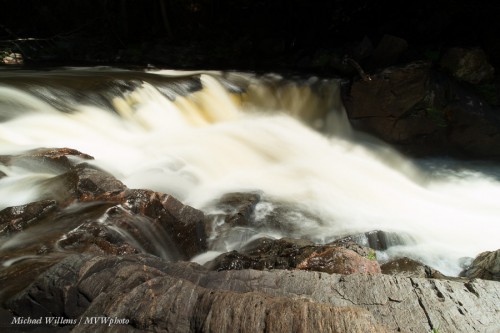
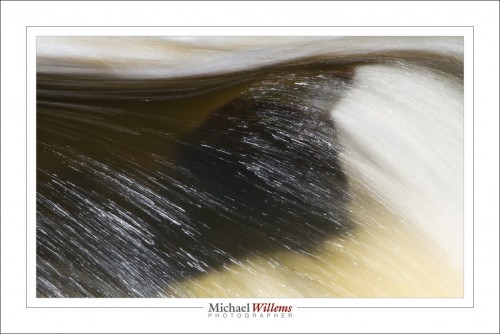
Like here, more water, at 2 seconds:

Now, 1.6 seconds, and you can see that it is very subtly different:

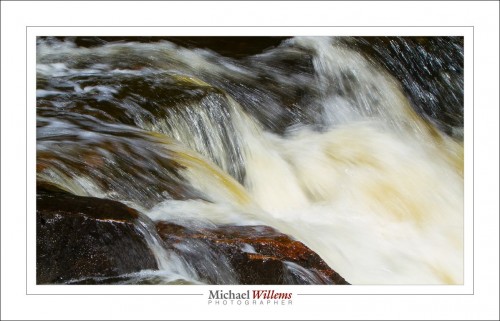
At 1/13 second we see a very different picture:

There is no “correct” speed. It depends. Do you want to see detail, or smoothness? How much? And that depends on two things: what it is you are shooting, and how fast it moves. Generally speaking, a smooth surface should be shot at very slow speeds, while a textured surface needs a faster speed, so that you can see some of that texture.

Assignment: Go try to shoot something that moves, in particular a river, lake, river, stream, sea, or ocean. Have fun!

___

Have you had a look at my five e-books? All are over 100 pages long, well organized, illustrated, and a great source of information that gets you started immediately. Head over to learning.photography now!


Stay Tuned!

Stay tuned to this place. In the next week, lots of interesting articles coming up, spanning subjects from learning to hardware. One new item: I will have the world premiere review of a new small flash modifier you should get. Can’t tell you more, but you will learn soon enough.

Learning Photography: as you know, there are my courses and my e-books. What you may not know is how well they tie in together, and what the benefits are of learning from me, specifically. So check out this article on the e-store site.

I posted this yesterday, and a fellow pro asked me to explain:

This is what I would call an abstract landscape picture. Clearly nature, and nothing man-made, but abstract, almost, in form.

Here’s the larger scene:

(f/22, 1/25 sec, ISO100)

And here, larger still:

(f/22, 1 sec, 100 ISO)

…all from a photo road trip yesterday.

So, the settings.

First, I used slow-ish to slow shutter speeds. As you know, I get those by using low ISO and high f-number, but even at the lowest ISO and highest f-number on a typical lens/camera combo, you will not go able to go slower than say 1/60 or 1/30 second. So I needed a Neutral Density (ND filter. I used my variable ND filter, which is able to go 8 stops darker if need be.

OK, so we can do a slow shutter (for which we must use a tripod). But how slow?

It depends!

For getting rid of all motion you need very slow. Like 10-20 seconds:

(1 sec at f/22, ISO100)

A smooth surface should be a smooth surface, so, the longer the better. 8 seconds, this one.

Waterfalls, a little less slow, since I want to see some texture of the water and its violence. The second pic uses 1/25th sec.

And the picture at the top? Here, too, excessive smoothing takes away the effect. I want to see violence, motion, speed! But I do want to do some smoothing. So I used 1/4 second. Perfect compromise.

Concluding: depending on lens etc, but as a rough guideline, 1/25 sec, 1/4 sec /  1 sec / 10 seconds are typical values for “a tiny bit of smoothing”, “visible smoothing”, “more smoothing”, and “extreme smoothing”. (And of course if I want tp freeze motion it’s 1/1000 sec or faster).

___

All this is also discussed also in my NEW  “Stunning Landscapes” e-book.  Get it here, now.

Brrr…. Motion blur!

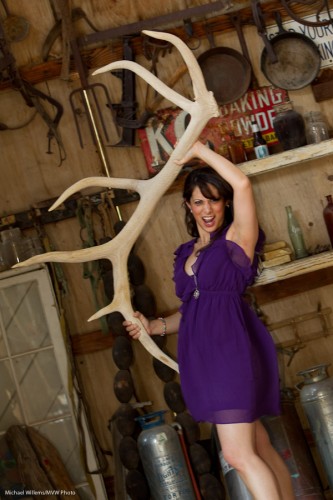
We have all struggled with motion blur: the blurry nature of a shot where you really want it to be sharp. You shoot some animals (or a model and fellow photographer holding parts of an animal) with your long lens; you look on the display and it looks OK:

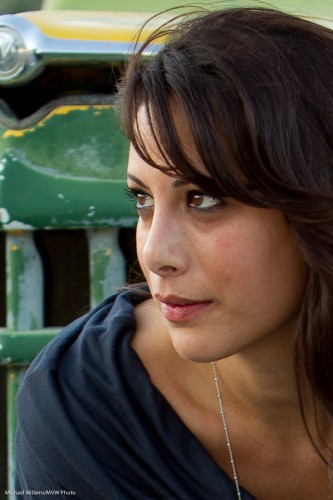
And then you see the shot close up on your computer, and it is not sharp.

What happened?

Motion blur. Your shutter speed is too slow for the lens length you are using.

If we look into the EXIF data for this image, you will see a 95mm lens focal length is used on a 1.3 crop camera, with a shutter speed of 1.30th second and f/4, at 400 ISO.

Rule of thumb: your shutter speed needs to be at least one divided by the effective lens length. Preferably much faster! (Yes, VR/IS makes this easier, but it is still wise to stick to this rule). So the effective lens length above is 95 x 1.3 = 125mm, so in that case 1/125th second would be the slowest I would recommend using. Hence, 1/25th second does not cut it: too slow.

Q: Can’t I just turn up the speed and set it to 1/250th, say?

A: Um… yes, but then the image would be much too dark, unless you increase the ISO or open up the lens (use a lower “f-stop” setting).  Or you add more light (by going outside, say, or by using a flash).

Here’s an image shot at 1/640th second at f/4 and 400 ISO:

On close inspection, that one is sharp:

Two more notes:

  • The longer the lens, the faster your shutter needs to be. So a wide angle lens is easier!
  • Use a tripod. Unless the subject itself is moving much, in which case you just simply need a faster shutter speed.
  • When you use a flash, that flash is very fast, so then this determines the “effective shutter speed”, at least for the parts of the areas lit by the flash.

A final note: there are other causes of blurriness of course. Read this post from August to brush up your understanding of this subject.

One fifteenth

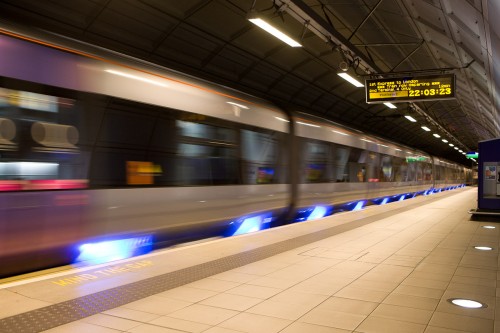
When you want to show motion, one fifteenth of a second is the kind of time you need to think about.

Of course this depends on:

  • focal length of the lens
  • how fast the subject is moving
  • how close you are
  • how steady you are

..but in general, 1/15th is a good time to use.

Why?

To show movement, rather than to freeze it. Like in this snap of the London Heathrow Express:

Heathrow Express Train

Heathrow Express Train

Not showing movement (shooting at a fast shutter speed) would show a “stationary” train – which here would be a big mistake.

Vomit, or silk?

So when I shoot a flow, like a rapidly moving car, or a gently flowing river, or a famously gushing fountain (uh oh, I am beginning to sound like Dan Brown), should I “freeze” that motion? Or should I somehow show it?

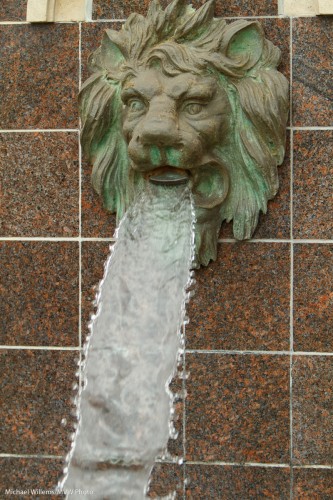
This is a shot from the other day’s Creative Urban Photography walk, shot as an instant, a moment in time (using S/Tv mode, shot at 1/500th second):

Fountain, moment in time (Photo Michael Willems)

Fountain, moment in time

Uh oh. Matter of taste – but to me, that looks like vomit. Or perhaps a chainsaw.

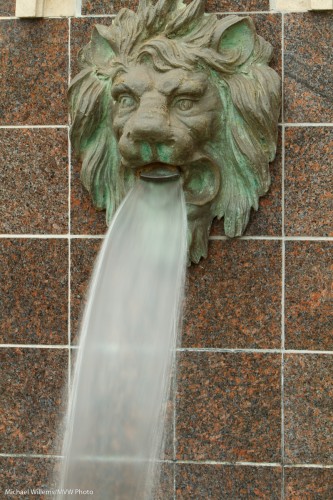
And here’s the same, now using S/Tv mode at 1/10th second, so it shows a  stream:

Fountain, as a flow (Photo Michael Willems)

Fountain, as a flow

Ahhh…. a beautiful silky flow.

So now you tell me. Matter of taste, yes. So according to your taste, should a flow be portrayed as a moment, or as a flow?

Blur is bad. Always. Or…?

Or is it?

Bike, photo by Michael Willems

Bike, Toronto, Aug 2010

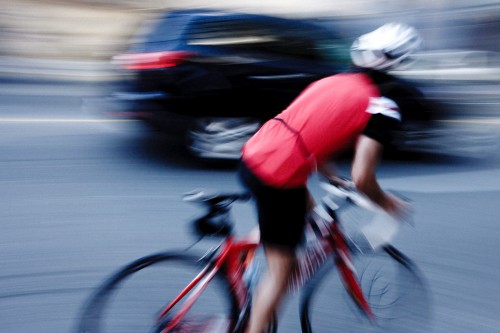
Indeed not. That is why you have a shutter speed priority (Tv/S). Sometimes you want to show motion, and you do that by blurring things.

I took the shot above while panning at 1/15th of a second (and f/22 at 100 ISO: it was a bright day in Toronto). It shows “in a hurry”, dynamic motion much better than a “frozen” picture of the same subject would do.

What mode should I use?

The most common question I hear is “what lens should I buy?”.

Boy, that is a tough one – a bit like asking “what car should I drive”. The answer: “It depends”!

Almost as often, I hear “what exposure mode should I be on?”. That one is much easier.

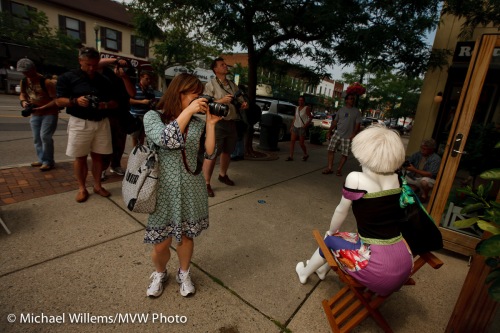
Photographers taking photos in Oakville, photo by Michael Willems

WHAT MODE? Photographers taking photos in Oakville

I should start by saying that here too, of course the answer is “it depends”. So instead of giving you a canned answer, I am going to explain a bit about what modes I use in my daily photography practice.

And these are:

  • The green “Auto” mode: never – but I could use it if anyone asked “let me take your picture with your camera”. The green auto mode turns your expensive SLR into a point-and-shoot.
  • Scene modes (portrait, landscape, sports, etc): never. None of my cameras have these, but even if  they did, I would not use them. They are useful learning tools, and good for people with little experience, but they take a lot of power away from you, and you should learn how to do it yourself. Use them while learning, but as soon as possible, free yourself from these “canned” modes.
  • Program mode (P): occasionally, when I am in a hurry. Like when shooting while driving a car, or when covering a rapidly unfolding even where “get the shot” is the essence. P mode means the camera sets aperture and shutter, but you can override it in this and in many other aspects, like white balance and flash use.
  • Aperture Mode (A/Av): Almost always in many situations. When I am in an environment with changing light, I will likely use aperture mode. Because of what I shoot, I am in this mode maybe 70% of the time. Aperture is very important to me.
  • Shutter Speed Priority (S/Tv): when covering some sports. When I want to freeze or blur motion. Sure, those are obvious. But also when shooting flash outdoors and I want to be sure I do not exceed the flash sync speed. In those cases I often set my shutter to 1/250th second (the fastest flash sync speed, depending on which camera I am using) and I know that I will not be needing “Fast/Auto FP” flash, which reduces my power by at least half.
  • Manual (M): Always in studios. Always when shooting indoors flash. And usually when in a controlled environment. Manual (often combined with spot meter, incident light meter, and grey card) is my second most common mode.
  • Bulb: when shooting fireworks, or other events that take a long time and cannot be metered or timed.

So that means typically I might do this – a few examples:

  • Outdoor event: A/Av mode
  • Outdoor event with flash: S/Tv mode
  • Indoor event with flash: M
  • Studio: M
  • Outdoors rugby game: S
  • Indoors hockey game: M
  • Family snaps: A/Av
  • Product: M
  • Panning shots: S/Tv

Try them all, and learn how each mode works. Especially, do not underestimate Manual, where you get full control. You need to know what you are doing, but it pays to learn.

Fire

Do not forget to use motion in your pictures. Like this:

So I took that today with one hand – the other was holding a McDonald’s coffee, outside Henry’s School of Imaging in Toronto. I was about to go back in to do course two of the day.

Now, normally I would have gone to “Tv” mode (“S” on Nikon: shutter-speed priority). But with one hand and no time to lose that was impossible. So I rapidly did the following:

  1. Pop up the pop-up Flash.
  2. Zoom out to 16mm.
  3. I looked through the viewfinder at the street as the truck was approaching.
  4. I was in Av (Aperture priority) mode. So without the option of changing that while holding the camera with just one hand, I simply turned the Aperture setting up to to f/22, which I saw was what I needed to get to a shutter speed near 1/15th of a second. (I got to 1/20th: at that time time ran out and I left it there).
  5. Press the shutter!

All took about, oh, two seconds. And I hope you agree that is not a bad fire truck photo.