Printing more prints

Adobe Lightroom offers great print functions. One of them is the ability to print multiple images on one sheet.

You can print the same image multiple times (a “Picture Package”), or many different pictures on a page (a “Custom Package”).

The latter is easy:

  1. To keep it easy, in the PRINT module, select a “normal” print size that you have previously defined (eg a 13×19 page, or an 8×10 page).
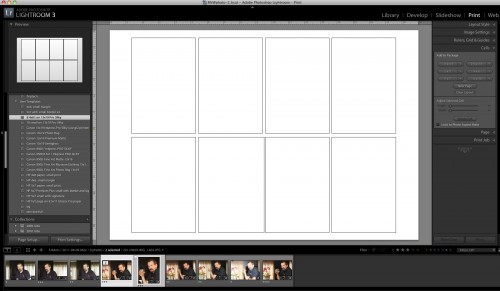
  2. Now go to “Layout Style” on the right, and select “Custom Package”.
  3. Go to “Cells”, and add cells of the right size( eg 4×6, 5×7, etc). These will show up as empty blanks.
  4. You can rotate and reposition each cell after you add it. You can also create multi-page layouts.

You see this:

Once you are happy, save the layout by using the PRINT – New Template function from the top menu.

Now you can make your actual print. To do this, drag the images you want into the layout from the negative bar at the bottom. Then print, and you are done!

My printer did overtime today printing a recent shoot – I find that a large page with small images is good for two purposes:

  • For me – It allows me to see an overview conveniently – a “contact sheet”, if you like.
  • For the client – I get many prints done at once. (Note that if this is for printing and cutting, I also enable “Cut Guides” in the Page section!)

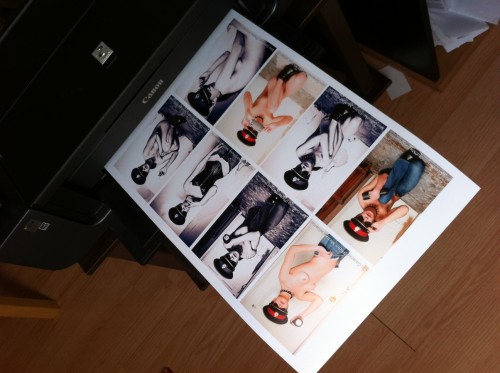
Here’s my Canon Pro 9500 printer producing a selection from a recent shoot:

Model shoot overview (Photo: Michael Willems)

Saves me a trip to the print shop, and the print is under my control – and one page is easier than 8 small pages. Once again Lightroom delivers the convenience that really makes it work well for photographers, by making life easy and saving time.

Personal note: today I honour the memory of my father, GTC “Eddy” Willems, who died of a stroke in 2002 at age 72. Today would have been his birthday.

 

Shadows

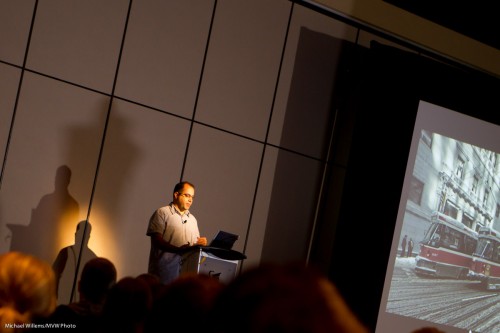
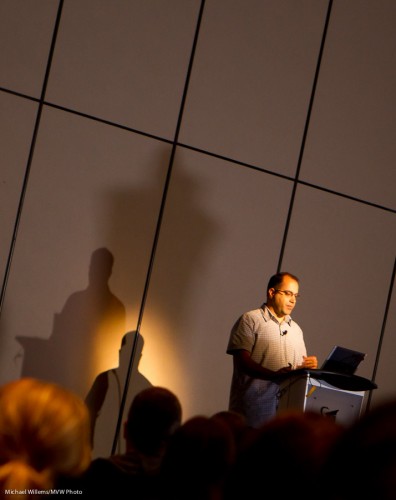
Love the shadows in the snap I took of fellow blogger Sam Javanrouh of topleftpixel:

Sam Javanrouh (Photo: Michael Willems)

We could have cropped this differently:

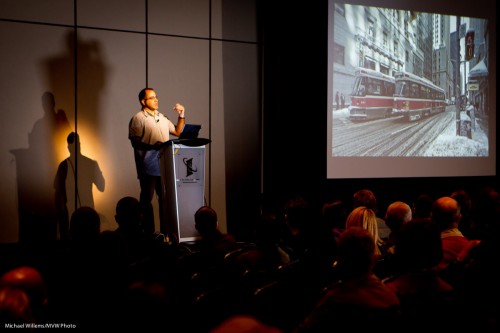
And we could shoot more. My favourite (and you need to click through several times to see it at large size):

Sam Javanrouh (Photo: Michael Willems)

My point: when you see great light and shadows, use them and shoot.

(Manual, 800 ISO, 1/50th second, f/2,8 with the 24-70mm lens in the 1D Mk4)


Ten Video Tips

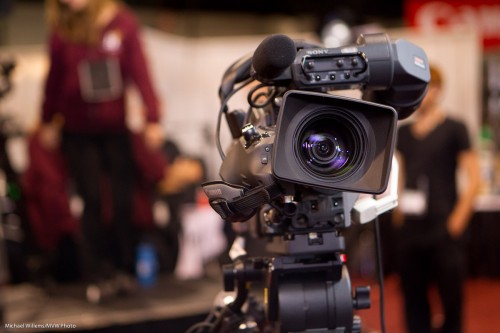
I occasionally shoot video with my DSLRs (7D and 1D Mk4). Not like this, therefore:

Camera (Photo: Michael Willems)

But simpler. And the secret is simplicity!

My top ten video tips:

  1. Shoot clips of ca 10 seconds.
  2. Add a lead-in and lead-out of a second or two to each clip so you can fade in/out
  3. Do not move the camera unnecessarily. The dog breathing is enough motion.
  4. Avoid focusing while shooting. Focus, shoot the clip, done
  5. Use external audio, or at least an external mike.
  6. Use manual exposure if you can, or at least lock exposure during your clip
  7. Avoid zooming in or out unnecessarily, and never zoom in, then out or vice versa.
  8. Use prime lenses.
  9. Shoot a “B-roll”, i.e. supporting clips that show the environment
  10. Start with an “establishing shot”

Try that and your videos get much better!


Happy New Year!

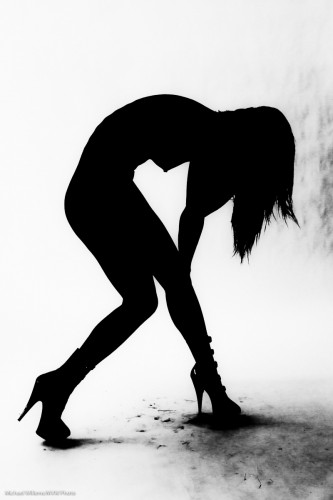
And may all your parties this year look like this, in silhouette:

Kassandra Love (Photo: Michael Willems)

A little teaching… to make an image like that, light the background well – then expose for it, while at the same time ensuring that little light falls on the model. Then do the rest in post – Lightroom will do fine. “Exposure, contrast, “blacks”, are the adjustments to play with.

Happy 2012!