I have been asked to write more about a special lens I mentioned a little while ago: the tilt-shift lens.
This, as you recall from that prior post, is a manual-focus, prime, special lens that allows you to tilt the lens (change its angle so it does not point straight forward) and shift the lens (so that it points straight forward, but not inline with the camera’s viewpoint). Rather like a view camera. Mine is the Canon TS-E 45:
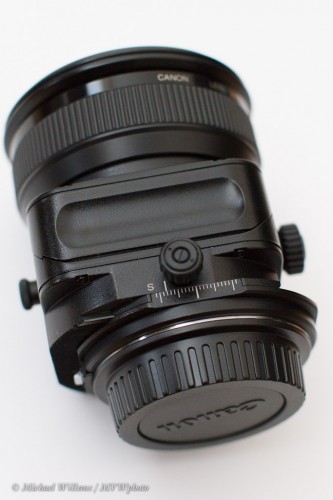
Shifting with TS-E 45
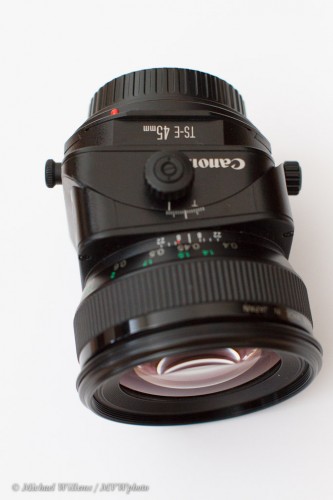
Tilting with TS-E 45
The question is: but when do you actually use it? Can you show examples?
Sure, here’s a few more examples.
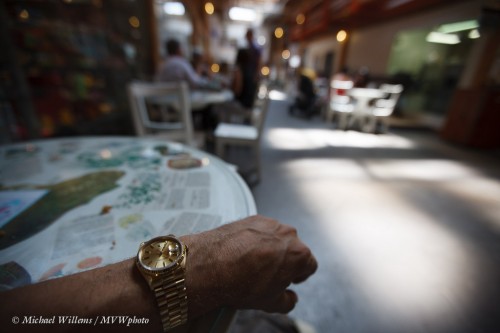
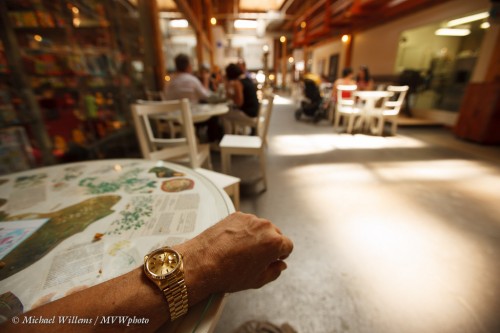
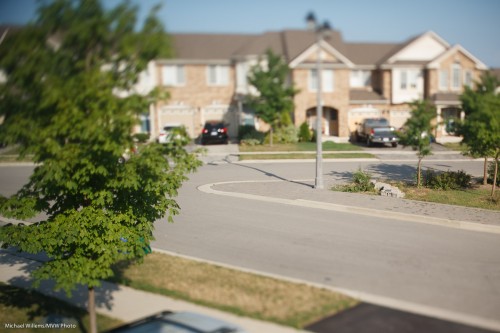
You use this type of lens when you want to introduce “dollhouse”-type distortion:
Or when you want to fix perspectival line convergence or divergence in architectural photos, say, like when pointing the camera UP or DOWN.
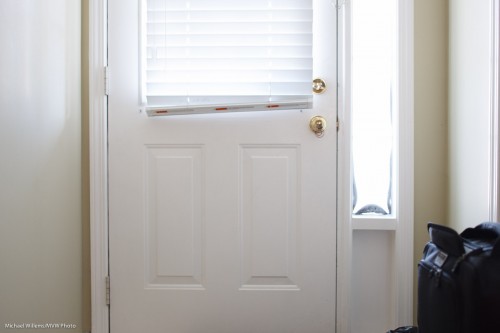
My Door
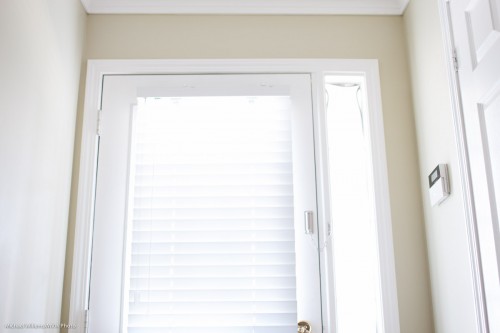
Top of my door, when I point the camera UP
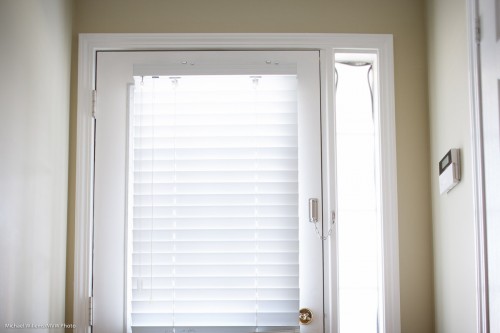
Top of my door, when instead of pointing up, I shift my lens up
Now those effects of a tilt-shift lens can be mimicked in Photoshop (or Lightroom, in the case of the perspective distortion) quite well.
The third is different: focal plane shifting.
Say I shoot my shoes. I am at f/2.8 because I need light. Unfortunately, that also gets me too-narrow depth of field.
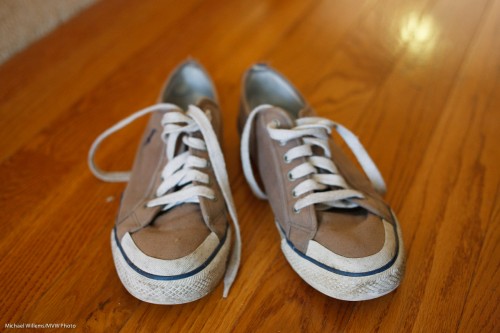
Sometimes I want that, but sometimes I want to see the shoes back to front. With a tilt-shift lens that is easy:
- Rotate the lens so the tilting goes up-down.
- Tilt down (towards the closest object that needs to be in focus).
- Try to focus. If you have not achieved focus in the plane you want, repeat the process with different shift angles until you are happy. Remember, you do not always need the ful tilt angle: sometimes a degree or two will do it.
Now you will get what you want:
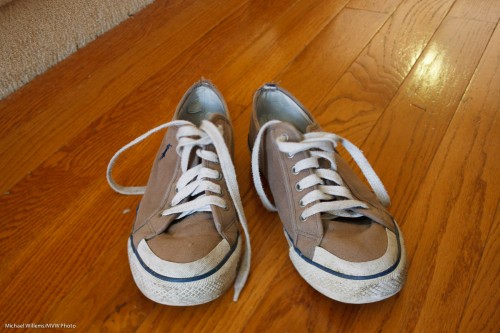
The same applies to any object close to you:
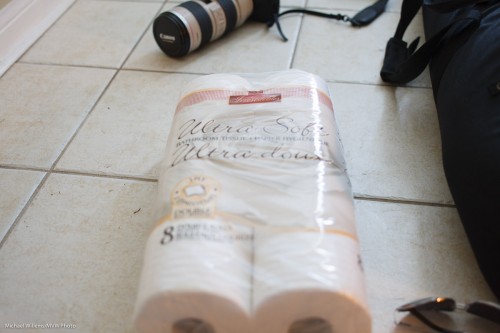
No Tilt-Shift lens used, focus on back
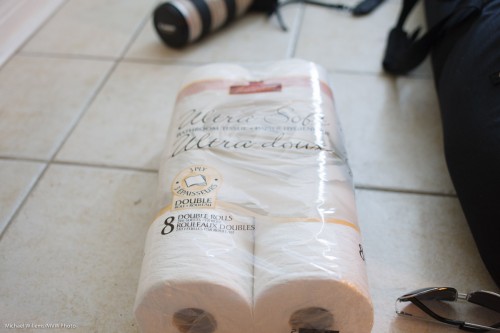
No Tilt-Shift lens used, focus on front
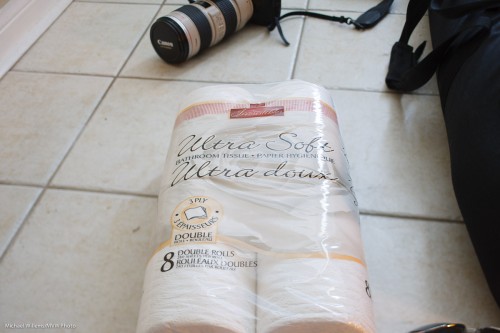
Tilt-Shift lens used: focus everywhere
Another example:
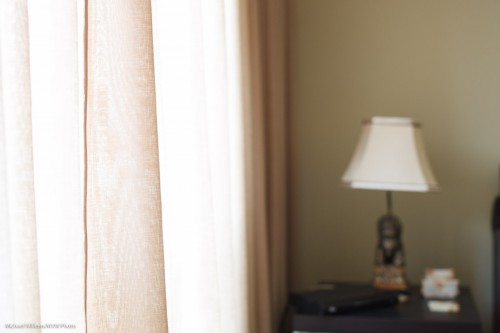
f/2.8: No Tilt-Shift lens used: Blurred background
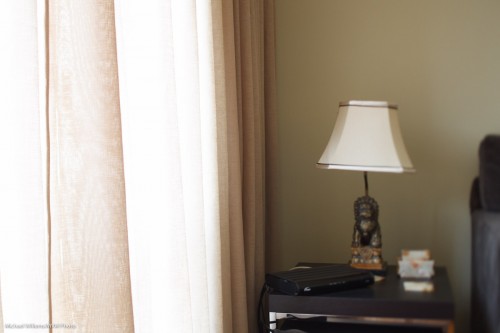
f/2.8: Tilt-Shift lens used: Background also in focus
And one more example:
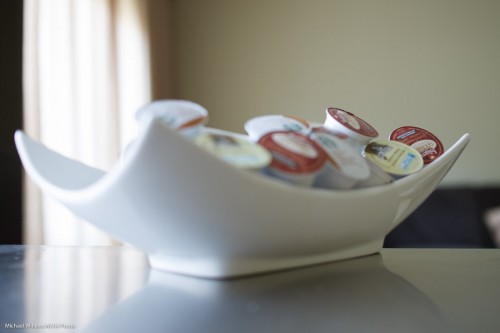
f/2.8; No Tilt-Shift lens used; focus on back

f/2.8; No Tilt-Shift lens used; focus on front

f/2.8; Tilt-Shift lens used; focus shifted
Notes to observe when using a tilt-shift lens:
- Small changes in angle/position of camera can have huge changes in focus. Make small changes and use a tripod.
- Use manual exposure: first meter when you are not shifting or tilting, then lock in that setting. Auto exposure does not work reliably when the lens is shifted or tilted.
- The focus plane is wedge-shaped and rather critical: take your time to achieve perfect focus.
So when would I (do I) use one?
First, whenever I run into any of the above. Typically, product and architectural photography are two areas that come to mind instantly. The 45 is not a wide-angle lens, so it is suited to “natural looking” images.
But also whenever I feel like shooting things at an angle. And in creative portraits. And when the environment is not great so I need other ways to make portraits and other pictures look interesting. Do not discount a tilt-shift lens for portraits, or anything else. Here’s me a moment ago, with 5 degrees down tilt:

See that nice selective focus effect?
I also use a T/S lens when I want extra narrow DOF. This is what a normal f/2.8 gives me:
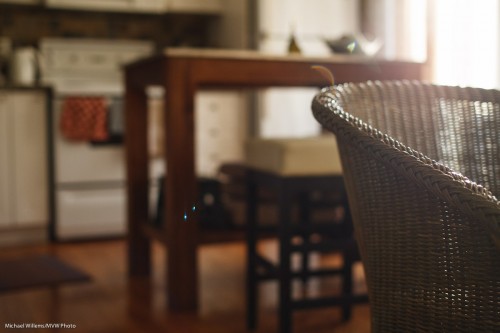
And this is what f/2.8 with the lens tilted away from the chair gives me:
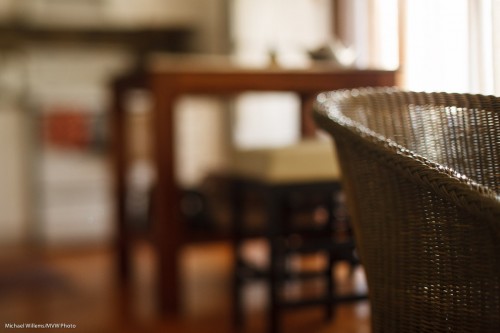
See? A T/S lens is for much more than just products and buildings. Don’t discount this type of lens by thinking it is just for those disciplines: a wedding photographer or a portrait pro can use one too! In many of these types of photography, manual focus is a mere inconvenience – or maybe not even an inconvenience: it’s kind of cool to do it yourself.
PRO TIP: if you are interested in this type of lens, rent one. Play for a few days, plan some product, some architecture, some landscape, and some portraits, and have a blast for a day or two. Then you will know what this lens does for you and whether it is worth the money. Only you can decide!

