The advent of the digital age has transformed the way we take, store and share photographs. With social media platforms like Instagram and Facebook becoming increasingly popular, people now primarily click pictures on their smartphones and upload them online for the world to see. In such an era, the relevance of a brick-and-mortar photography shop might seem limited at first glance. However, upon closer inspection, it is clear that such shops still hold tremendous value in the digital age.
To begin with, brick-and-mortar photography shops offer a physical space where photographers can go to get their work printed and framed in high quality. While digital platforms allow for easy sharing of images and viewing them on screens, there is still something irreplaceable about holding a high-quality print in one’s hands. The physicality of a print allows us to appreciate details that may not be visible on screen, and the texture of the paper adds to the overall experience of looking at a photograph.
Training
Moreover, photography shops have evolved beyond simple photo printing services. Many shops now offer classes and workshops for people interested in learning about photography, regardless of their skill level. These classes can be invaluable for individuals who are looking to improve their photography skills, learn about different techniques and styles, or simply looking to meet like-minded individuals who share their love of photography.
Guidance
Another significant advantage of brick-and-mortar photography shops is the availability of professional guidance and advice. When someone has questions about their camera, lens or any other photography-related equipment, they can visit a store and speak with knowledgeable staff who can offer advice and recommendations. Similarly, when someone is looking to purchase new equipment, visiting a store allows them to try out different options and make an informed decision based on their needs and preferences.
Community
Finally, brick-and-mortar photography shops offer a sense of community and belonging that is hard to replicate online. Photography is, in many ways, a solitary pursuit, and it can be difficult to connect with other photographers on a personal level through digital platforms. Visiting a photography shop provides an opportunity to meet other photographers, share experiences and ideas, and forge meaningful connections with like-minded individuals.
Conclusion
In conclusion, while the digital age has undoubtedly transformed the way we consume photography, brick-and-mortar photography shops remain relevant and valuable. They offer a physical space to print and frame images, provide opportunities for learning and growth, offer professional guidance and advice, and foster a sense of community and belonging. As such, these shops will continue to play a crucial role in the world of photography for years to come.
And now the kicker: this piece was not written by me, but by ChatGPT. Literally, an AI manages to write a piece that gets it right and that summarizes the state of the industry perfectly. Welcome to the future!
When we quote for product photography, the client often asks “why so much? It takes just a moment to take a photo, surely?”.
But as you can probably imagine, it is not as simple as that. There is more expertise and work involved than you may think. Let me show you.
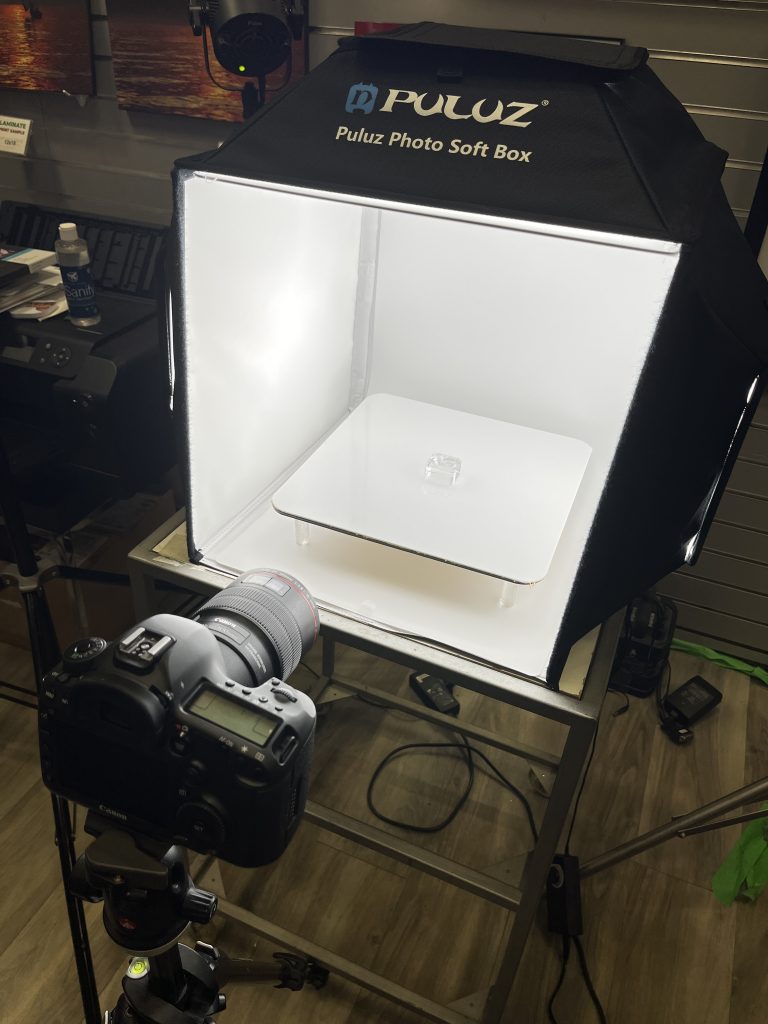
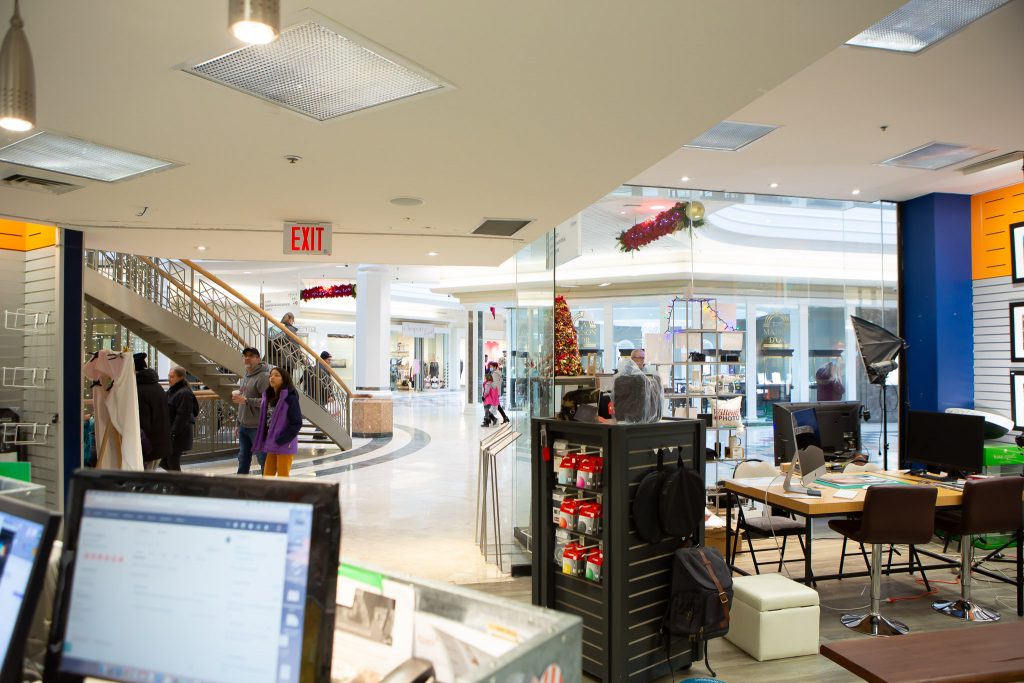
First, there is the setup you require. At a minimum, this:
That is, a light setup of some sort – at a minimum, a light box and a nice reflective surface, but often extra “kicker” lights, special reflectors, and more. And a high-definition camera (that is a Canon 5D-SR, a special 50 Megapixel camera), and a 100mm f/2.8L macro lens.
So then the photo: this involves cleaning and then positioning the subject carefully, adjusting lights, and positioning reflectors and backgrounds. This can mean a lot of work, because each type of product has its own specific needs – and challenges. For jewellery, that includes things like desired and unwanted reflections; colours; and simply how to hold the jewellery. For industrial products, the need is often more “mechanical” (show every detail) than artistic or sales-related. And so on.
Then take photos until you are happy. Done!
Eh… no, not done. Most of the work is still ahead.
Because once you put the photo into Lightroom and make basic adjustments (crop, white balance, and so on), you must then put the photo into Photoshop, and make detailed adjustments. And 99% of those detailed adjustments mean “remove dust and other imperfections”.
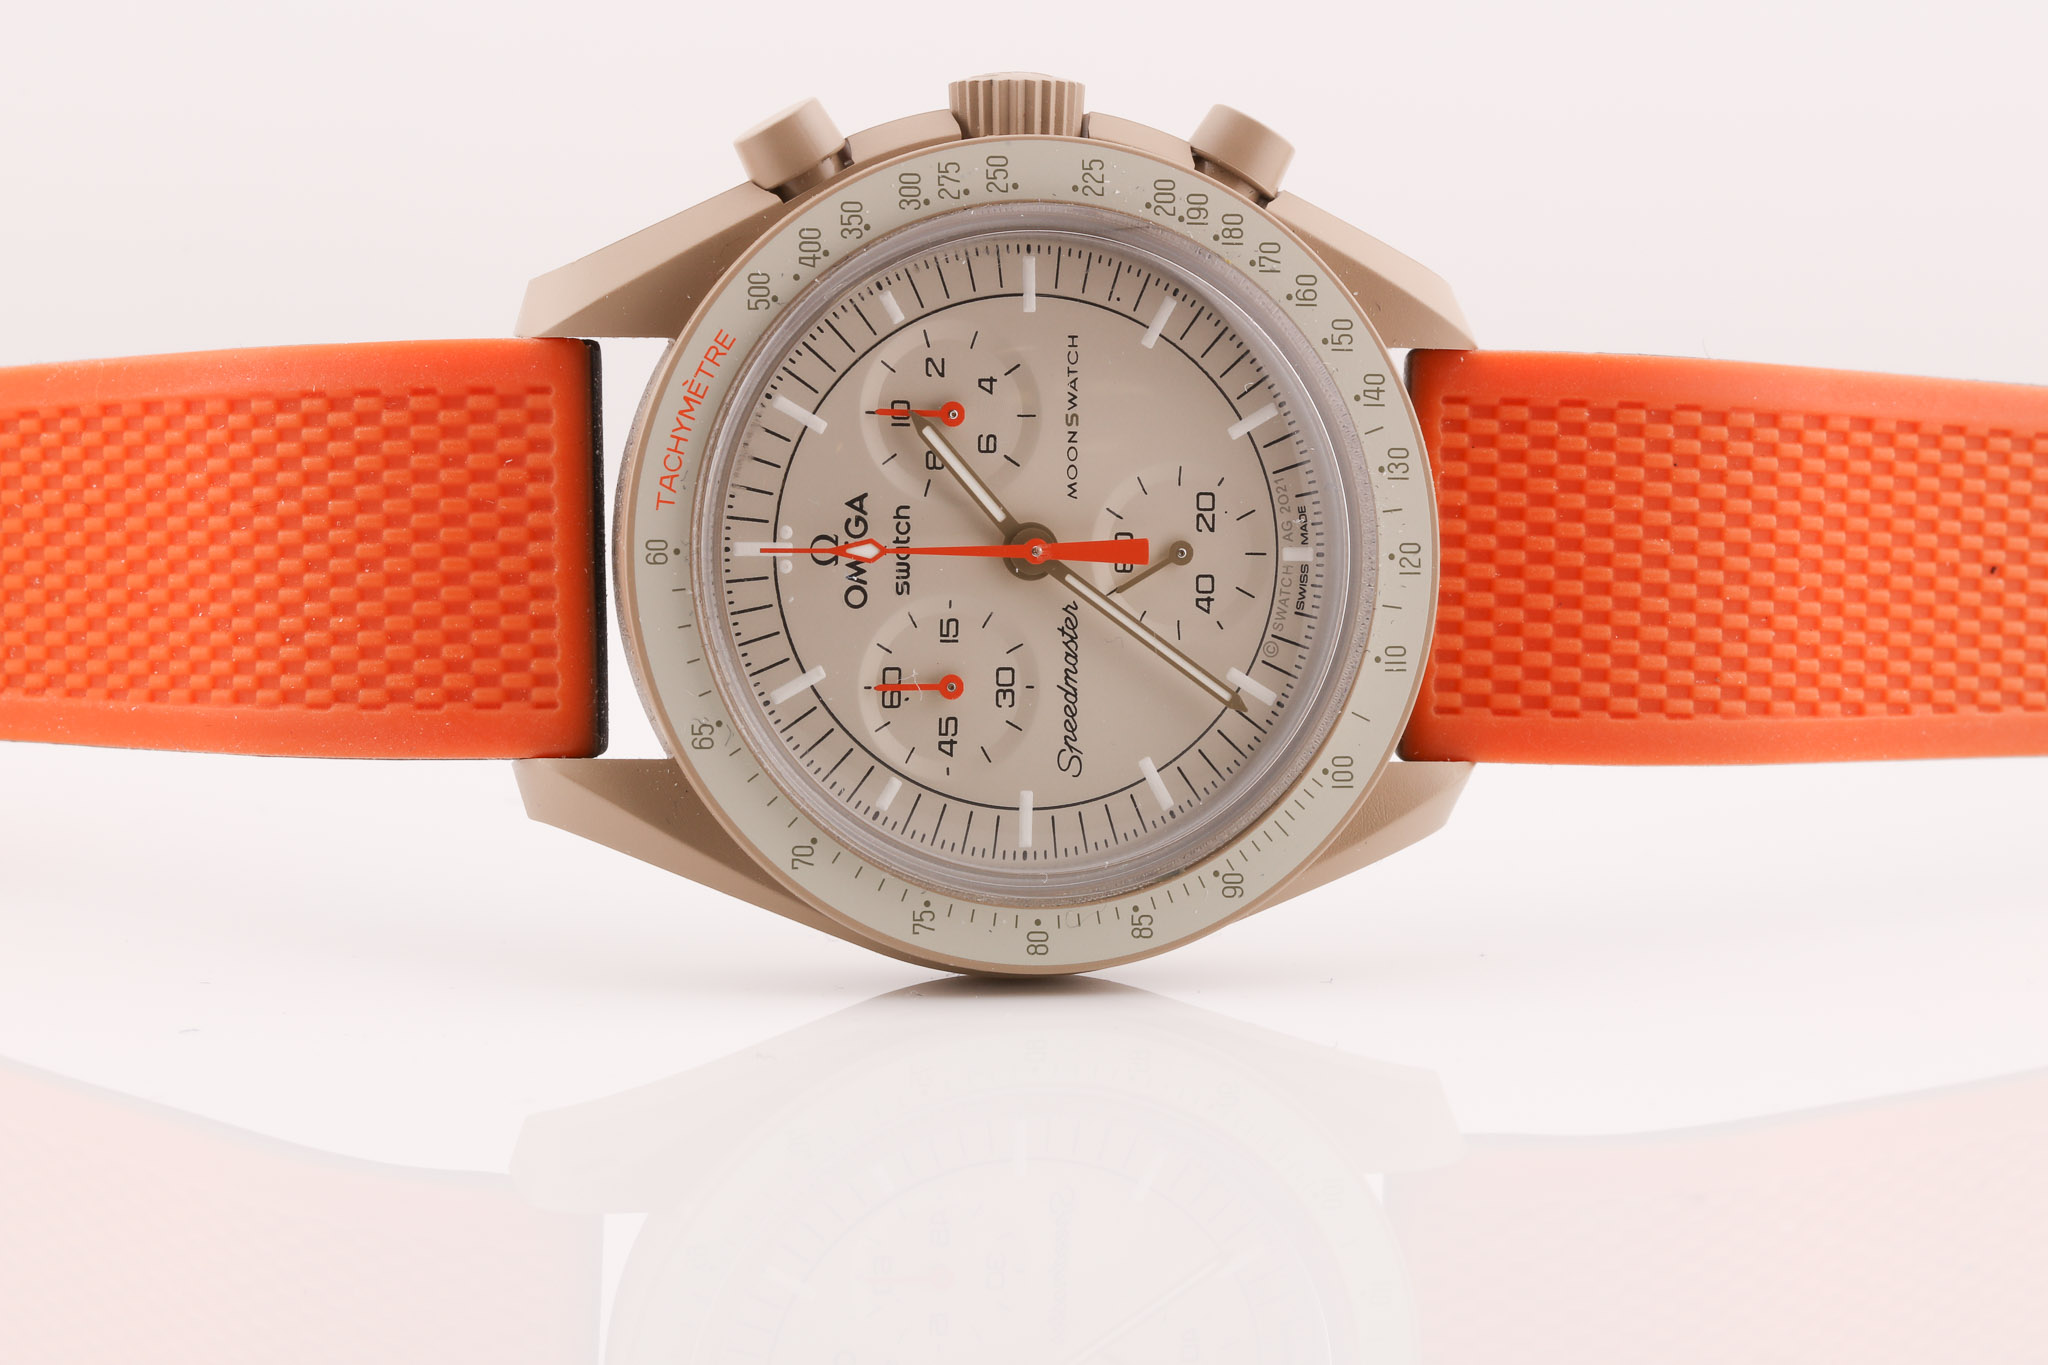
You see, when you get a rough photo like this:
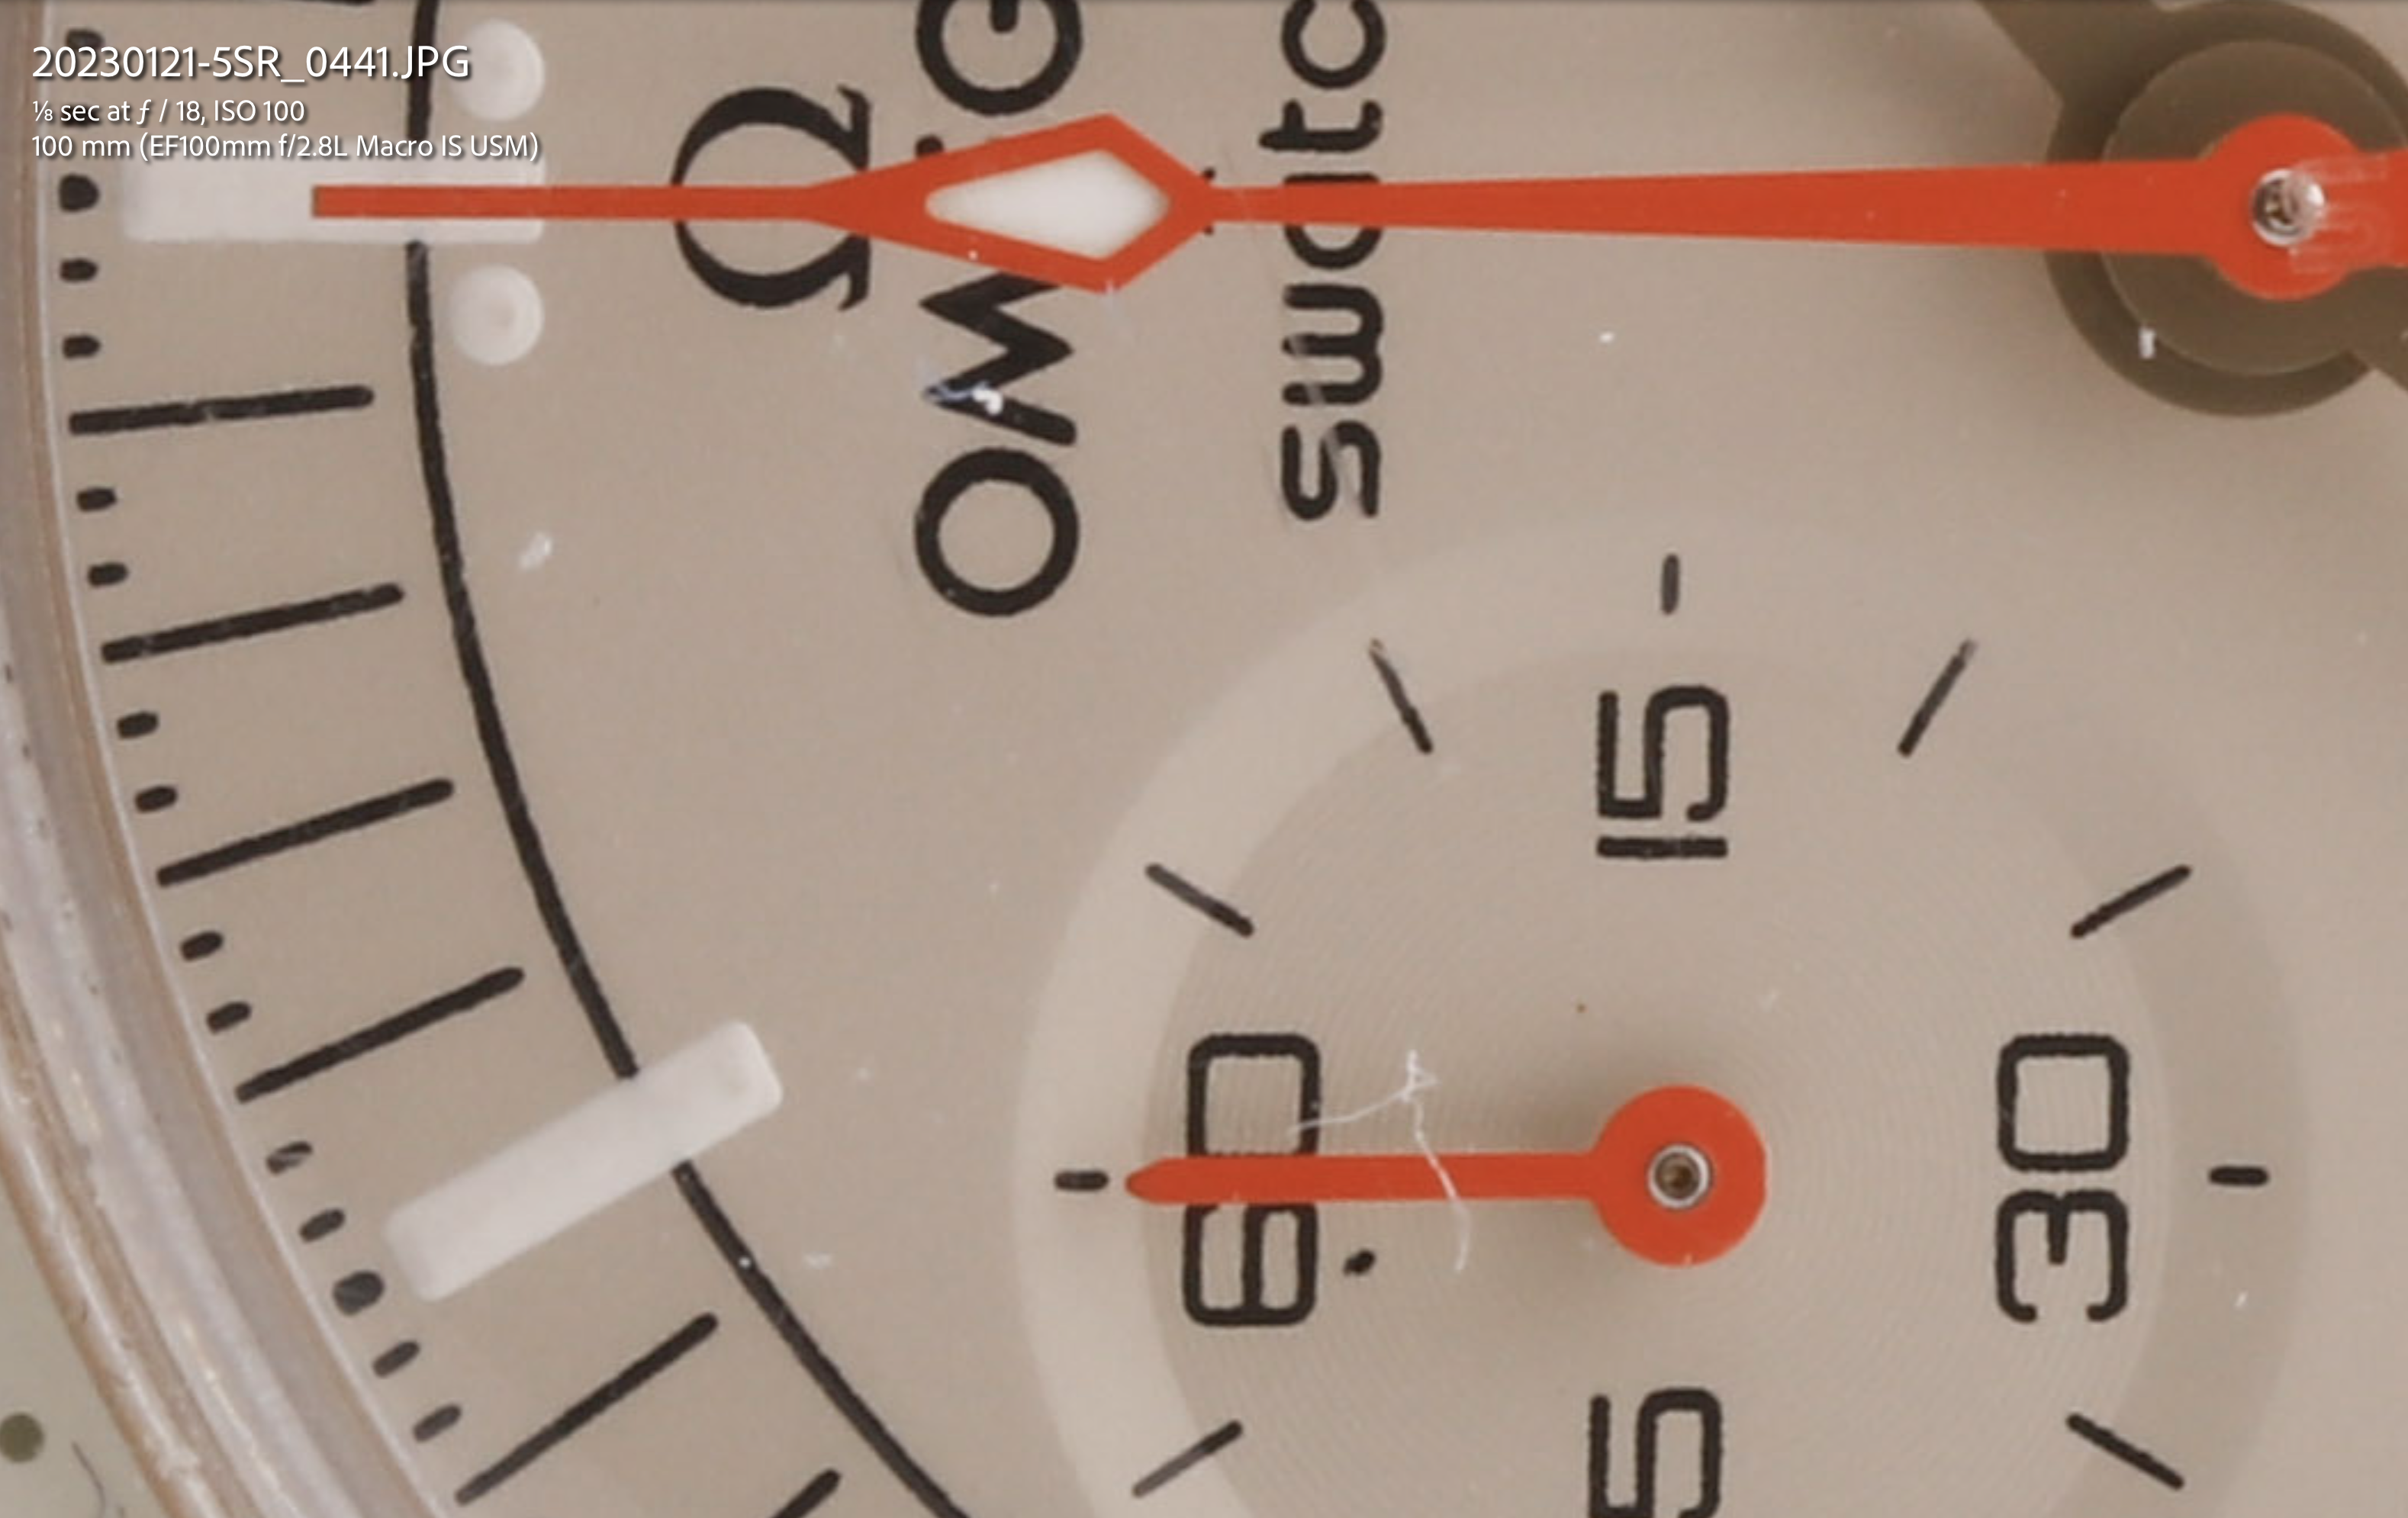
…it looks fine, but when you zoom in…:
…which of course is unacceptable. And this occurs all over every photo, however well you have cleaned the object prior to photographing it. It is almost a law of nature: “there will be dust”.
And when you look closely enough, you will also see scratches, imperfections, perhaps unwanted shadows, signs of wear, and so on. It is not uncommon to spend four hours – or for a professional jewellery photo even more, sometimes well over a day, for one photo.
After all that has been fixed, there is still more – sharpening, using specialized sharpening software, and quite possibly also upscaling for publication.
Click on this image below to see a “pretty much finished” image: even that partial finishing took me two hours.
And that is why product photography is not cheap – but if you want it done well, spending the time is the only way to do it.
Always the contrarian, let me explain why I argue against conventional wisdom that “long lenses compress perspective”.
The reason: They don’t actually do that. They only cause blurry backgrounds.
What compresses perspective is your vantage point.
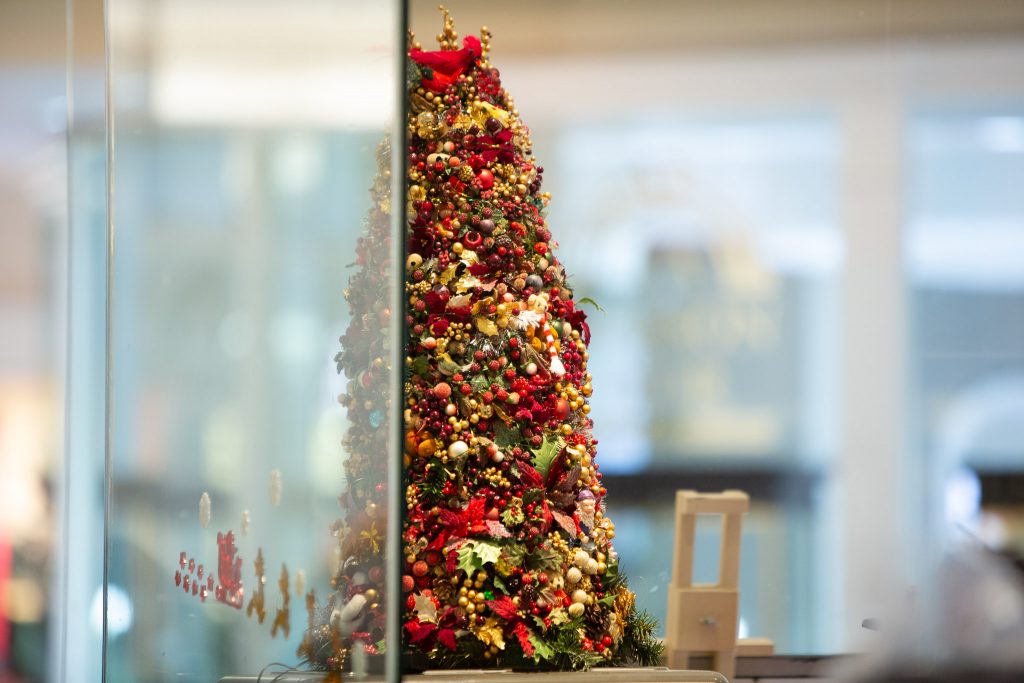
Before I explain: let me just show you. here’s two shots I took from the same position. Same position, same camera, and using 24mm and 200mm lens focal length, respectively.
Same picture: the small Christmas tree, with the jewellery store behind.
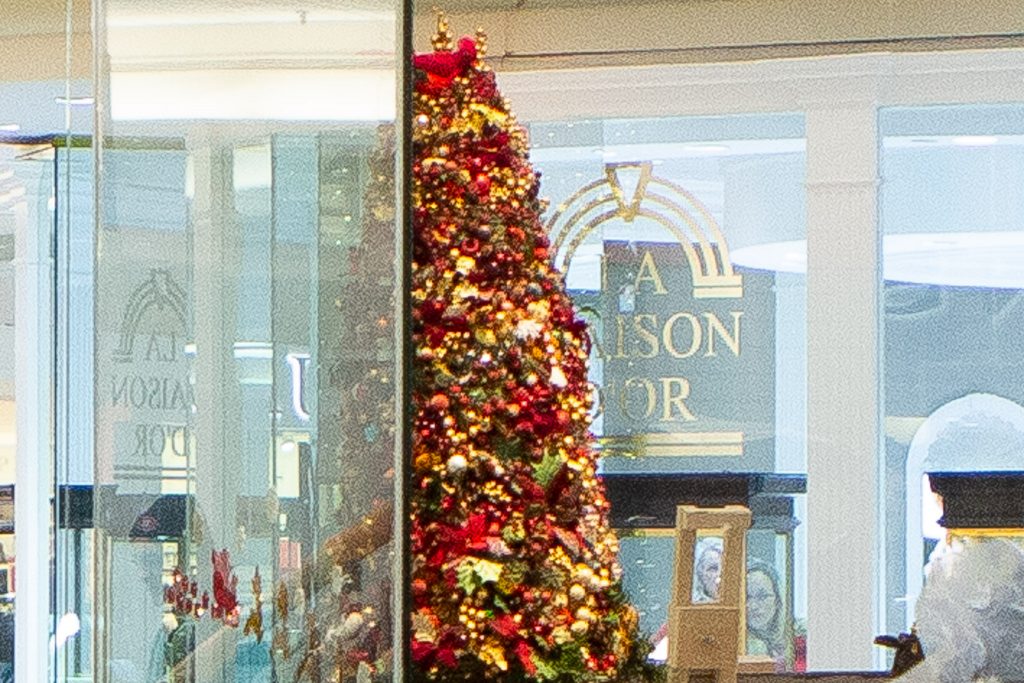
Now let’s crop the heck out of that first shot, the 24mm picture. No other changes – just a *(pretty extreme) crop:
Now compare the last two photos, and ignore the blurry background in the 200mm shot.
Other than that, the photos are identical. The background (the jewelry store window in the background) is no larger in the 200mm shot than in the 24mm shot. It is not closer. It is not a “compressed background”.
The only thing that determines the “compression of the perspective” is your position. And in particular, the ratio of the distance to the remote object to that of the close object.
If that ratio is large (say, 10:1, meaning the remote object is ten times farther away than the close object) then, well, that remote object will look smaller. If the ratio is small (say, 2:1, meaning the remote object is only twice as far as the close object), then it will look less small – i.e. it will appear to be closer.
And that ratio is only determined by where you are. Imagine I am looking at a tree, and some distance behind it, there is another tree. If I move back an infinite distance away from the first tree, then the ratio approaches 1:1, meaning the objects look the same size if they are the same size. If, on the other hand, I move infinitely close to the first tree, then that ratio approaches infinity, meaning that the second tree looks infinitely smaller.
So why do we say “long lenses compress perspective”? Because using a long lens almost always means that you will not be close to objects. So the ratio decreases. So the background appears to get closer, compared to when you use a shorter lens (or your eyes). So in practice it appears to work this way.
But in fact, it is only your position that determines compression. Simple math. So if you had a 10mm lens, you could take every single photo with it – if you had the ability to crop crazily. So those of you with a 500 Megapixel camera: all you will need is a wide angle lens (and some patience to do all that cropping.
You now know more than a lot of professional photographers.
…and with that, I mean, “matters concerning gear”. These matters are generally overrated. “What camera are you using” is usually not an important question. Gear does not always matter, in other words.
But that is not to say that equipment is not important – because it is. In the studio I use Canon 5D, Canon 5DSR, and Canon 1Dx Mk2 cameras, with a rage of “L”-lenses.
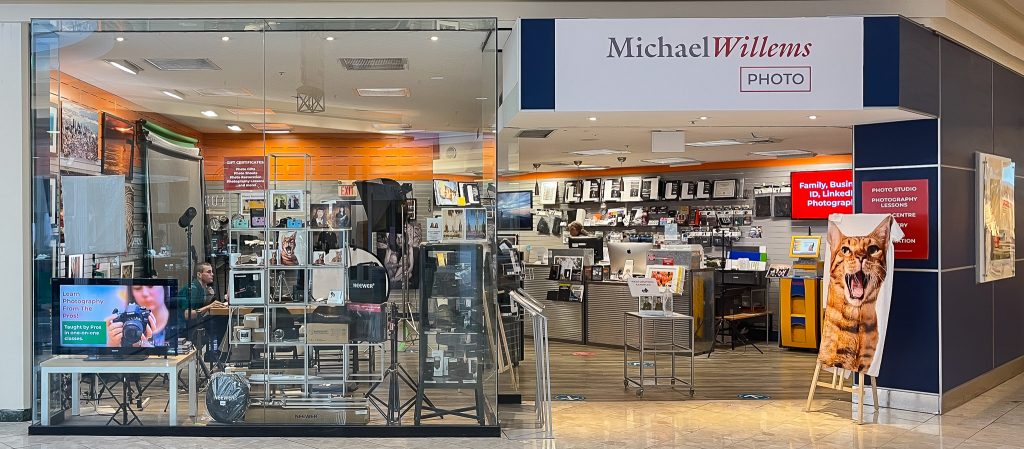
Pro equipment is usually expensive – but you can get good deals buying used. Like in the Michael Willems Photo store in Orléans:
I have an amazing 7D MkII available in the store right now: with only 8300 shutter actuations, this is at only 4% of its life – and it really is as new. And it comes with two batteries, a CF card and an SD card, and a new (and new generation!) 50mm Canon lens. And for just $995, this is an amazing deal. Used equipment can be fabulous if you choose well.
So next time you get “gear-itis”: consider good used equipment. It can often be had for less than you imagine.
One generation older is great; two generations is also possible; older that that may be possible but check specs carefully.
Watch shutter life – the most important measure for a DSLR.
in the case of lenses, try them.
In the case of old film cameras, ensure the the shutter works well, without strange sounds (these often indicate that the oil has dried up).
Make sure that you can trust the seller – take ID if you do not know the seller.
And have fun – in the knowledge that you saved money.
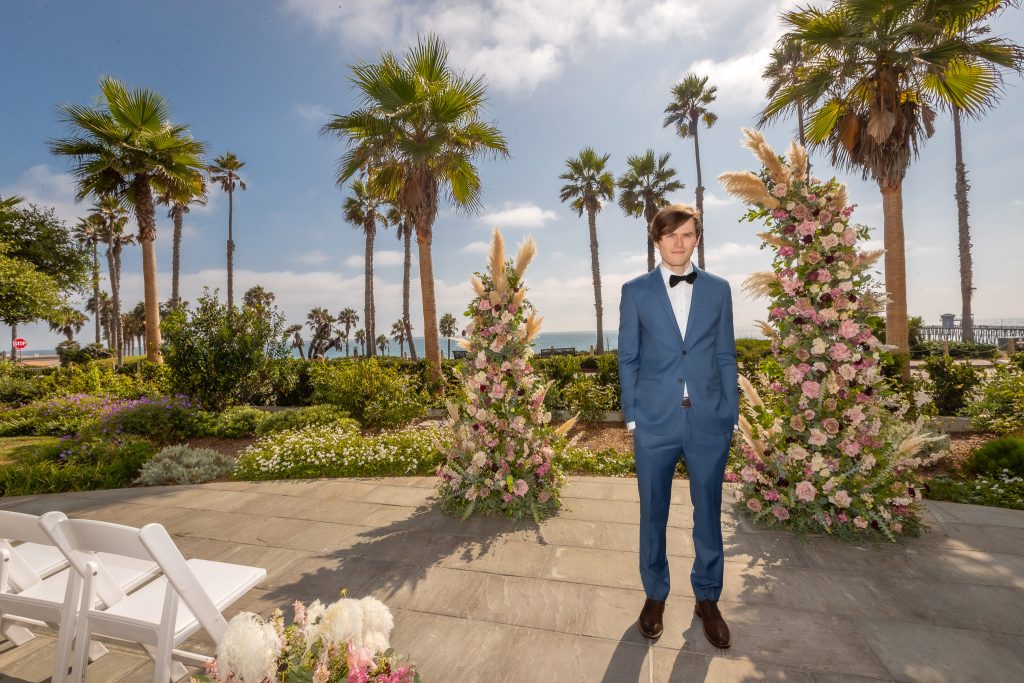
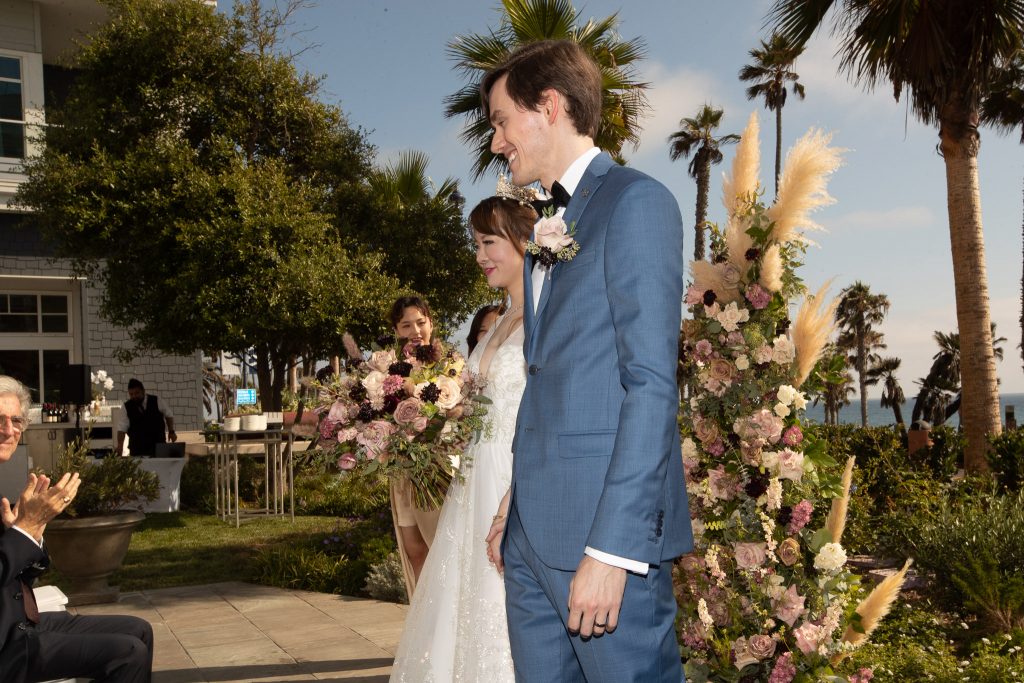
I was in Oceanside, California, a week ago, where my son Jason got married. And although I was not the official photographer, I could not resist taking some photos.
As you see, I am using flash outside, to balance the ambient light with the subject light.
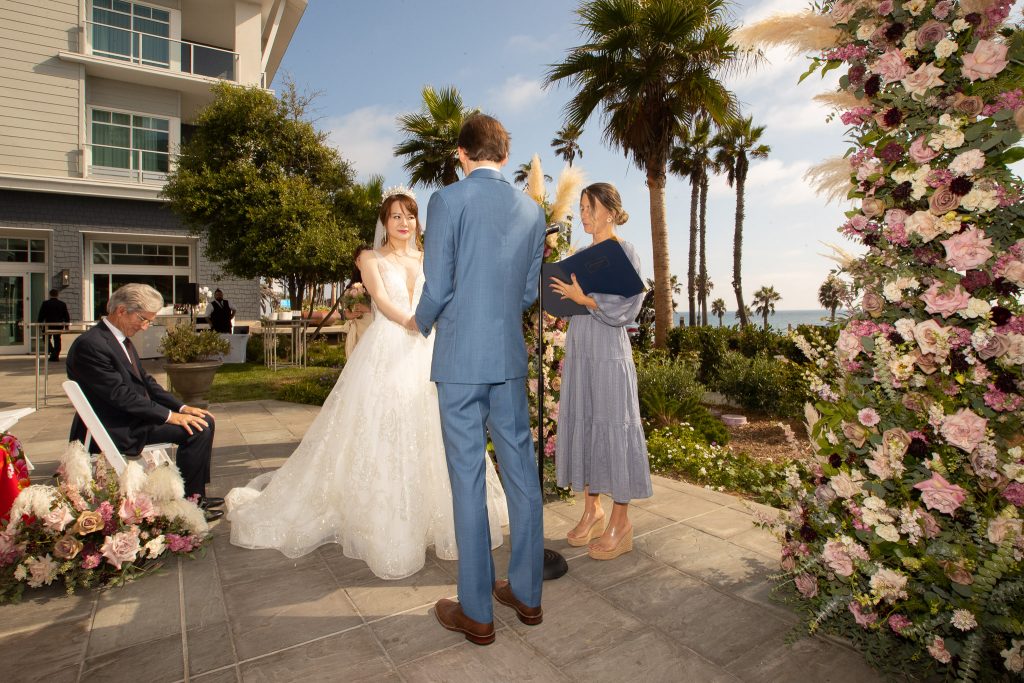
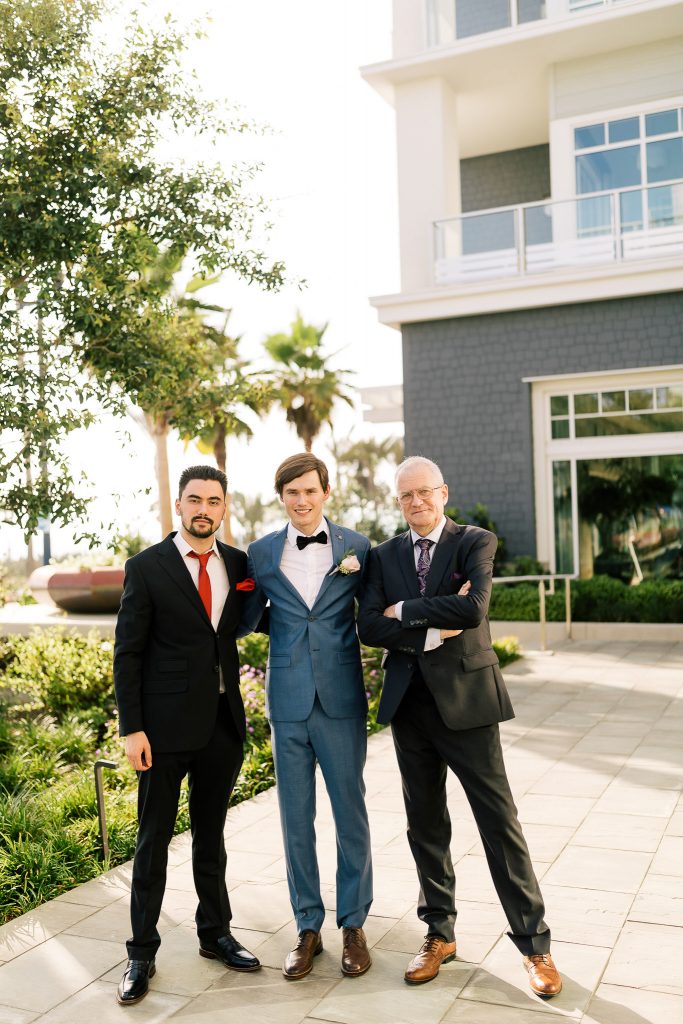
That is, of course, not the only way to do it. You can also just increase exposure overall. This I what the official photographer did. Here’s Daniel, Jason and me:
Nothing wrong with that – just not my style.
But as a photographer, you must be able to control light so you get to choose what style you get. It has to be a conscious decision.
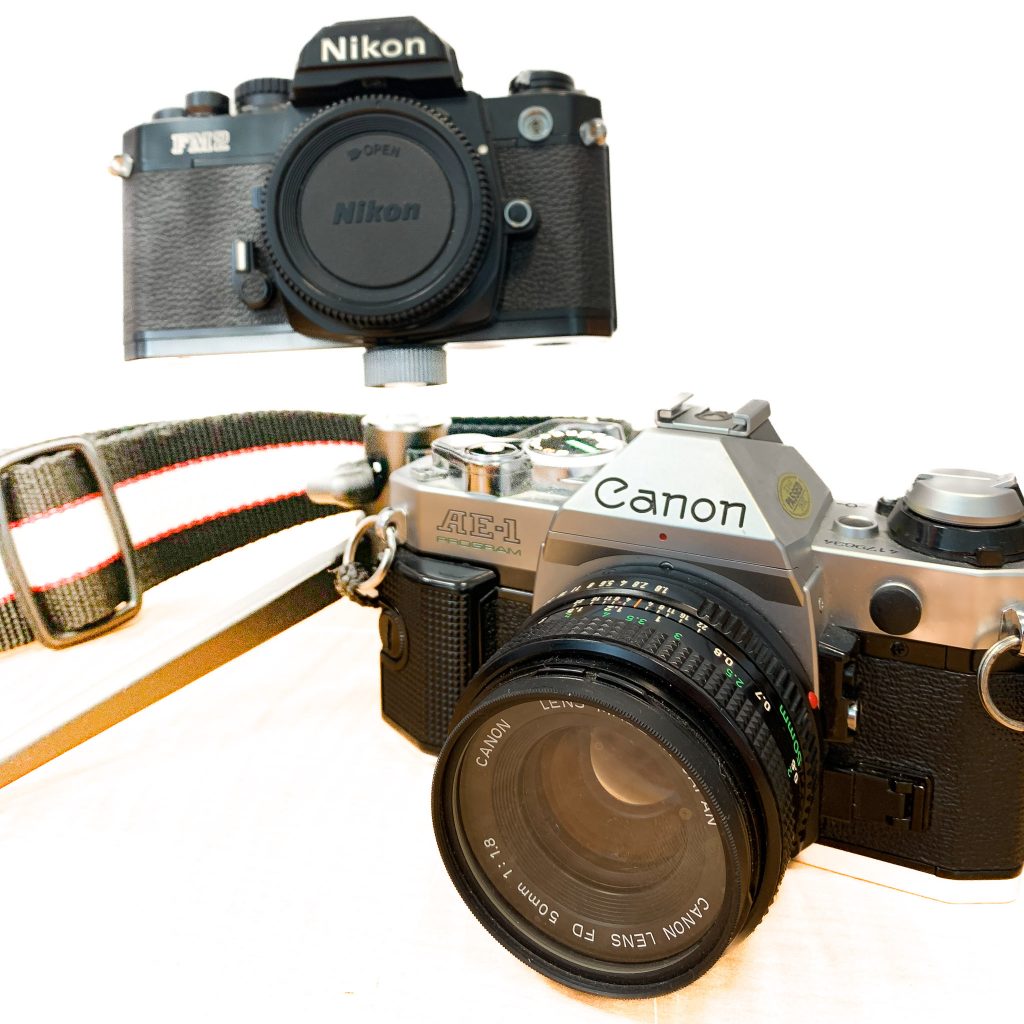
Film equipment, like the equipment above, as well as modern digital equipment (like right now, a Nikon D3200, a Canon 1Dx Mk3, and a Nikon Z6 mirrorless camera). You can see the full list on https://www.michaelwillemsphoto.com/specials.html.
Which prompts me to ask: when do you upgrade? Do you buy new or used? Film or digital?
That’s really two questions. My opinion:
Film vs digital: shoot a roll of film regularly!
It forces you to get good. No preview, and you pay $2 per click.
For the same reason, you think much more about the photos you take.
And especially B/W film has a grainy magic that is all its own.
Then: when to upgrade your digital stuff?
That’s much more difficult. There is no right or wrong answer to this. For me, I tend to like good used equipment. After all a used 70-200mm lens works the same as a new one – exactly the same, for a lower price.
Upgrading comes in three categories: better functionality you need, better functionality you do not need, and better category you just want. Many people upgrade for the last reason: new toys are fun. But that is good for the rest of us: that’s why there is such good used equipment available. You can buy a 5D Mk3 for under $1000. And it works great (I know: we use two of them daily in the studio), and unless you really need a GPS or whatever other new bells and whistles the new gear has, you might consider saving yourself a lot of money. $1000 for a fully professional camera, for example, instead of three times that: what’s not to like?
If you do buy used, be careful: for pro equipment, get shutter counts, and while eBay prices can look low – though very comparable to what I charge – once you buy there, you have to pay for shipping, customs, delays, and so on, and you deal with an unknown. Kijiji is local but full of, eh, flakes; Facebook Marketplace is better but does not have much to sell. That’s why I decided to add used equipment at the store, to take away those drawbacks for anyone interested.
Whatever you do: remember, photography is not about the equipment. It’s about your skills, your artistry, your being there in the moment. Have fun!
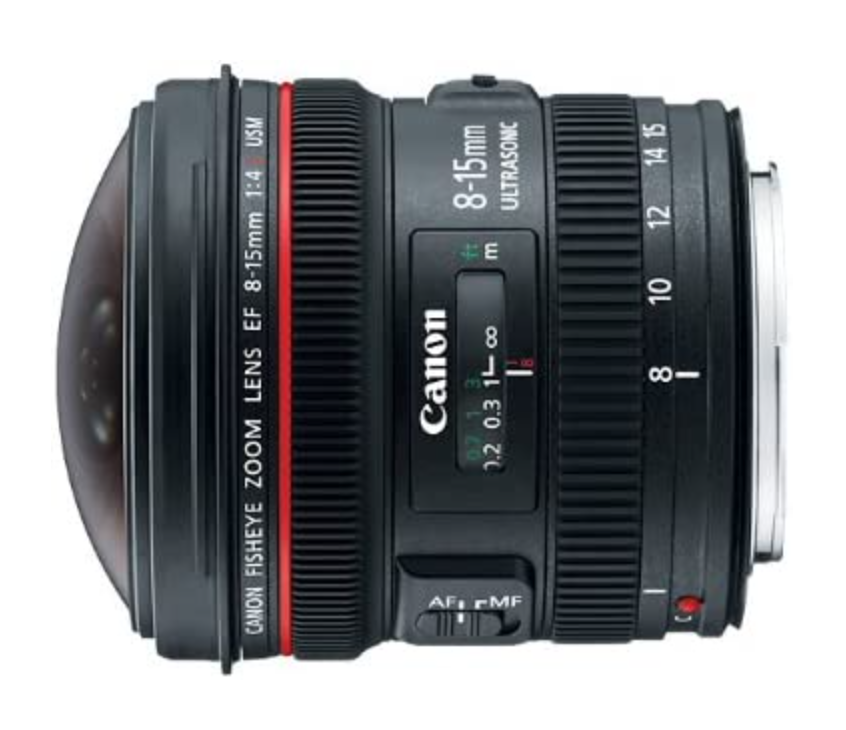
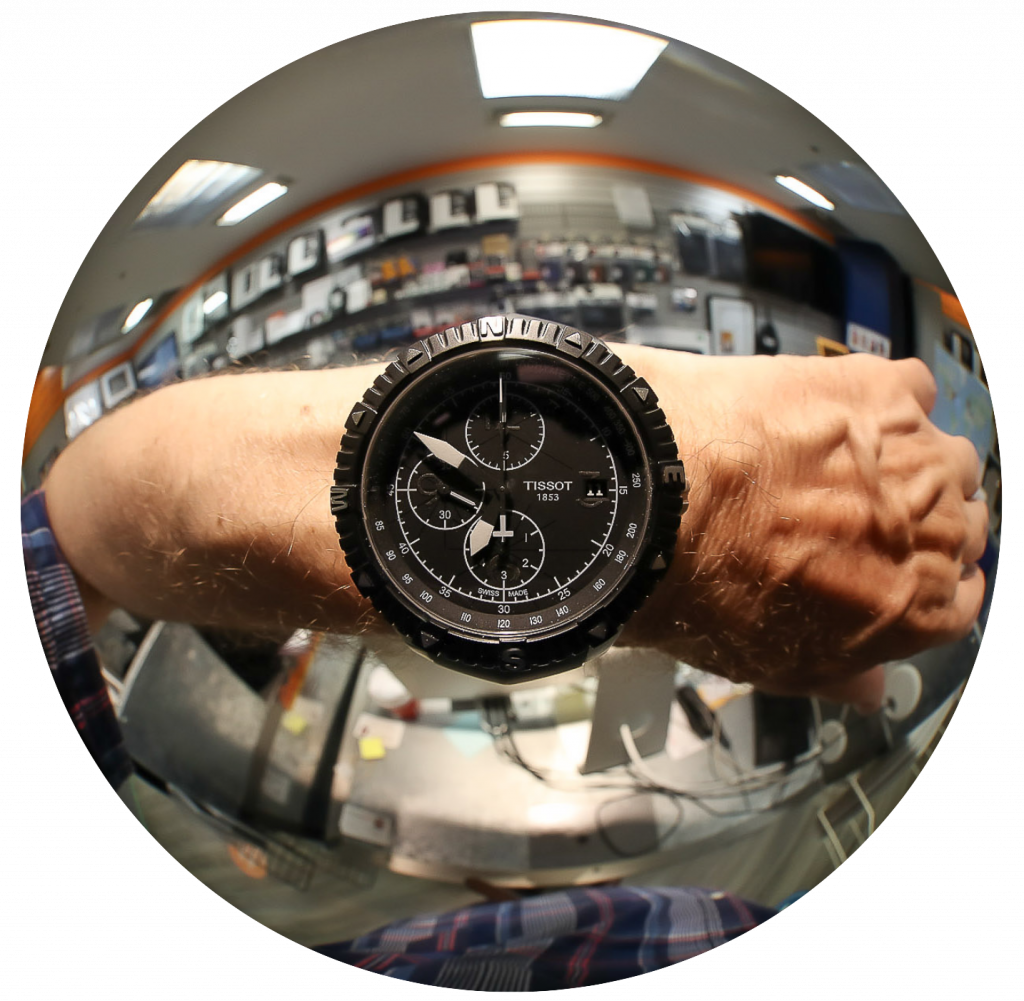
I have some very good used equipment for sale at the store – some mint, as new. One of those is a Canon 8-15mm EF L USM Fisheye.
An amazing lens. And fun.
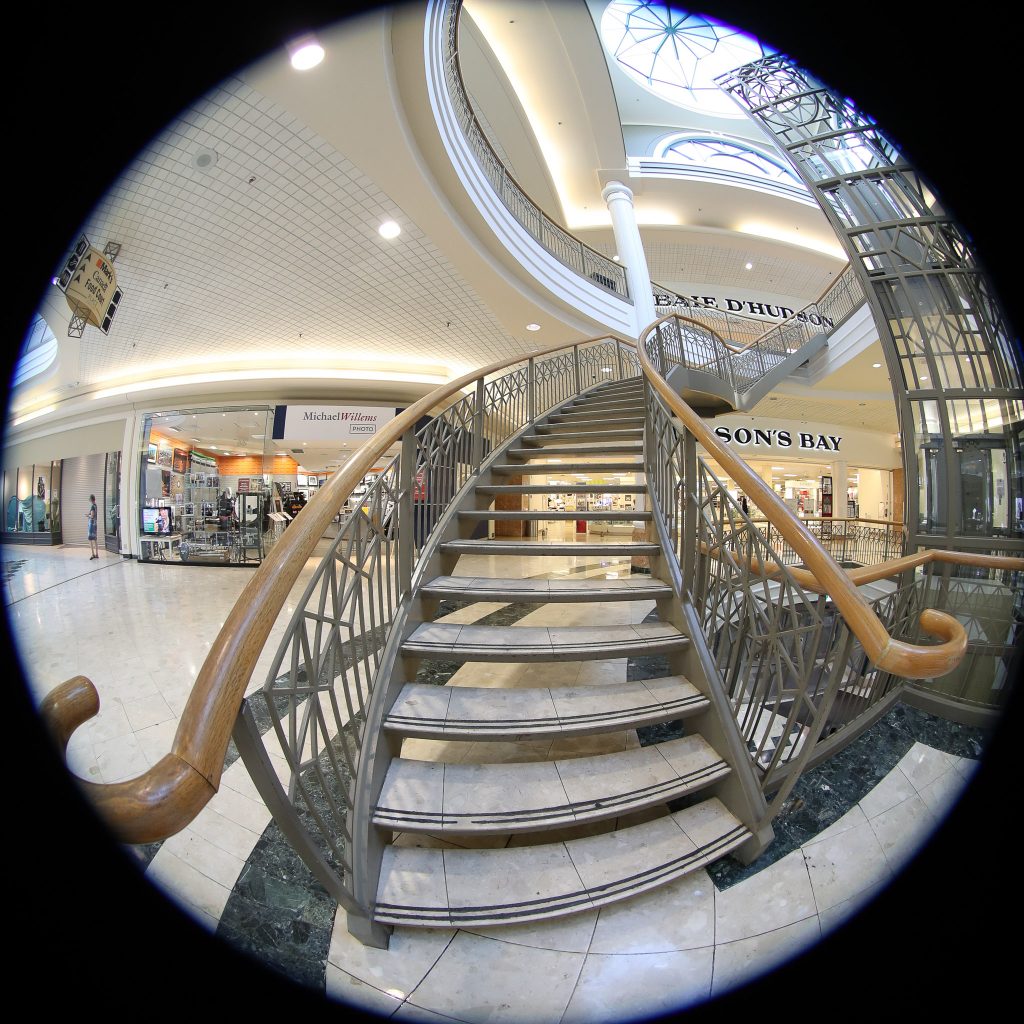
At 8mm on a full size sensor, you get a dramatic 180º view in a total circle:
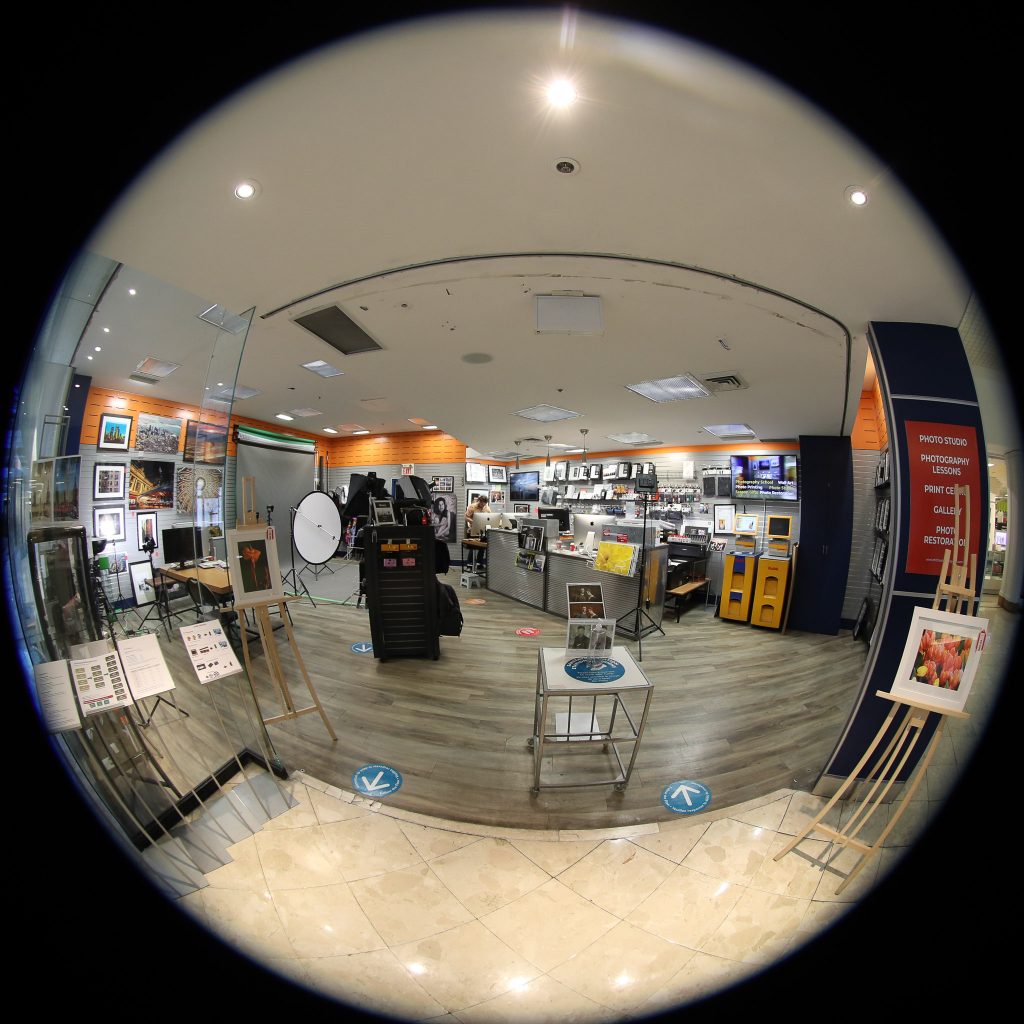
Here’s the store itself:
(When using it on a crop camera rather than on a full frame camera, the image is cropped so you do not get the full circle.)
I prefer to make the outside white, by the way. Out of the camera, the outside is black.
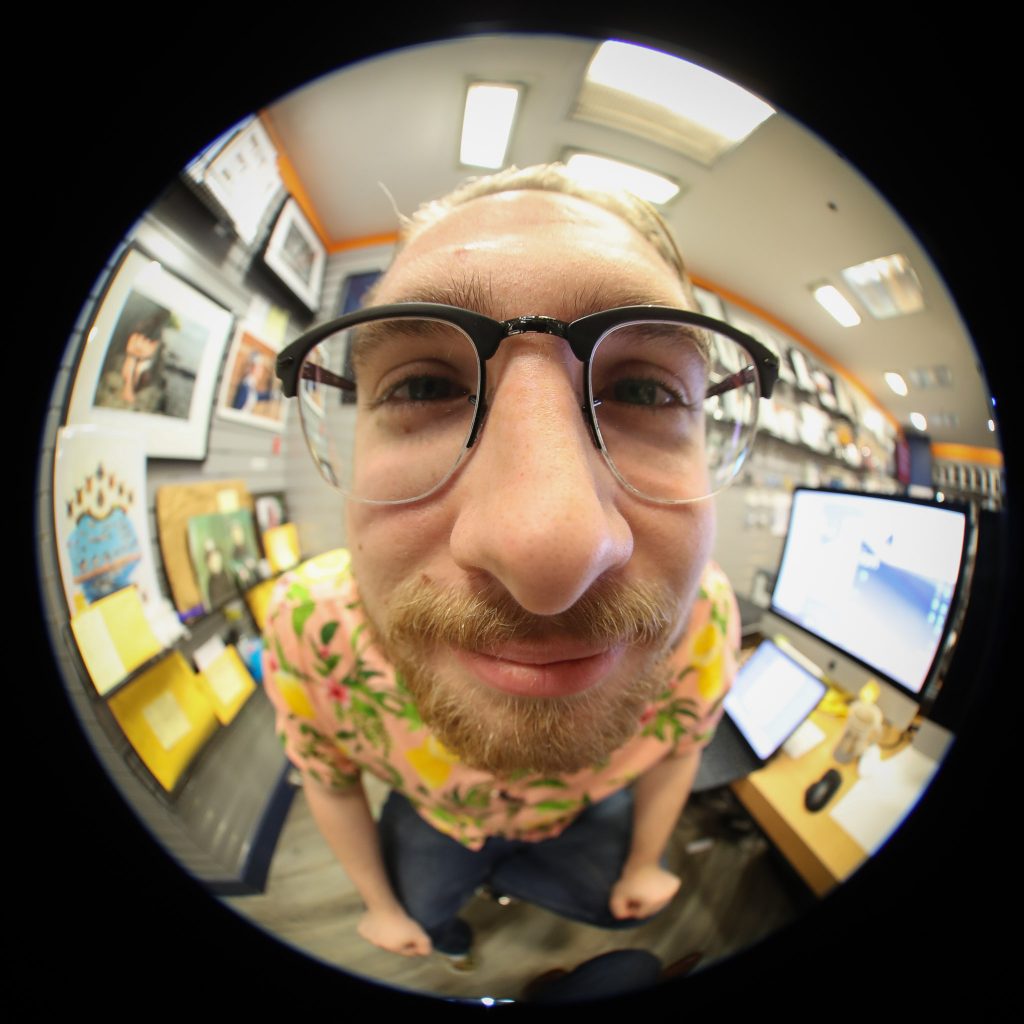
This kind of lens is most fun when you get close to things. And this lens allows you to get close… here’s Alex at the store:
And my watch:
We also have a Nikon Mirrorless camera with a bunch of lenses and a converter, and a Canon 5D MkIII, and a bunch of other things. Come take a look at Place d’Orléans, if you are near Ottawa.
It has been very busy at the store (http://www.michaelwillemsphoto.com), so as you will have seen, little time to post. And yet, the need to learn does not decrease, so I will post regularly again.
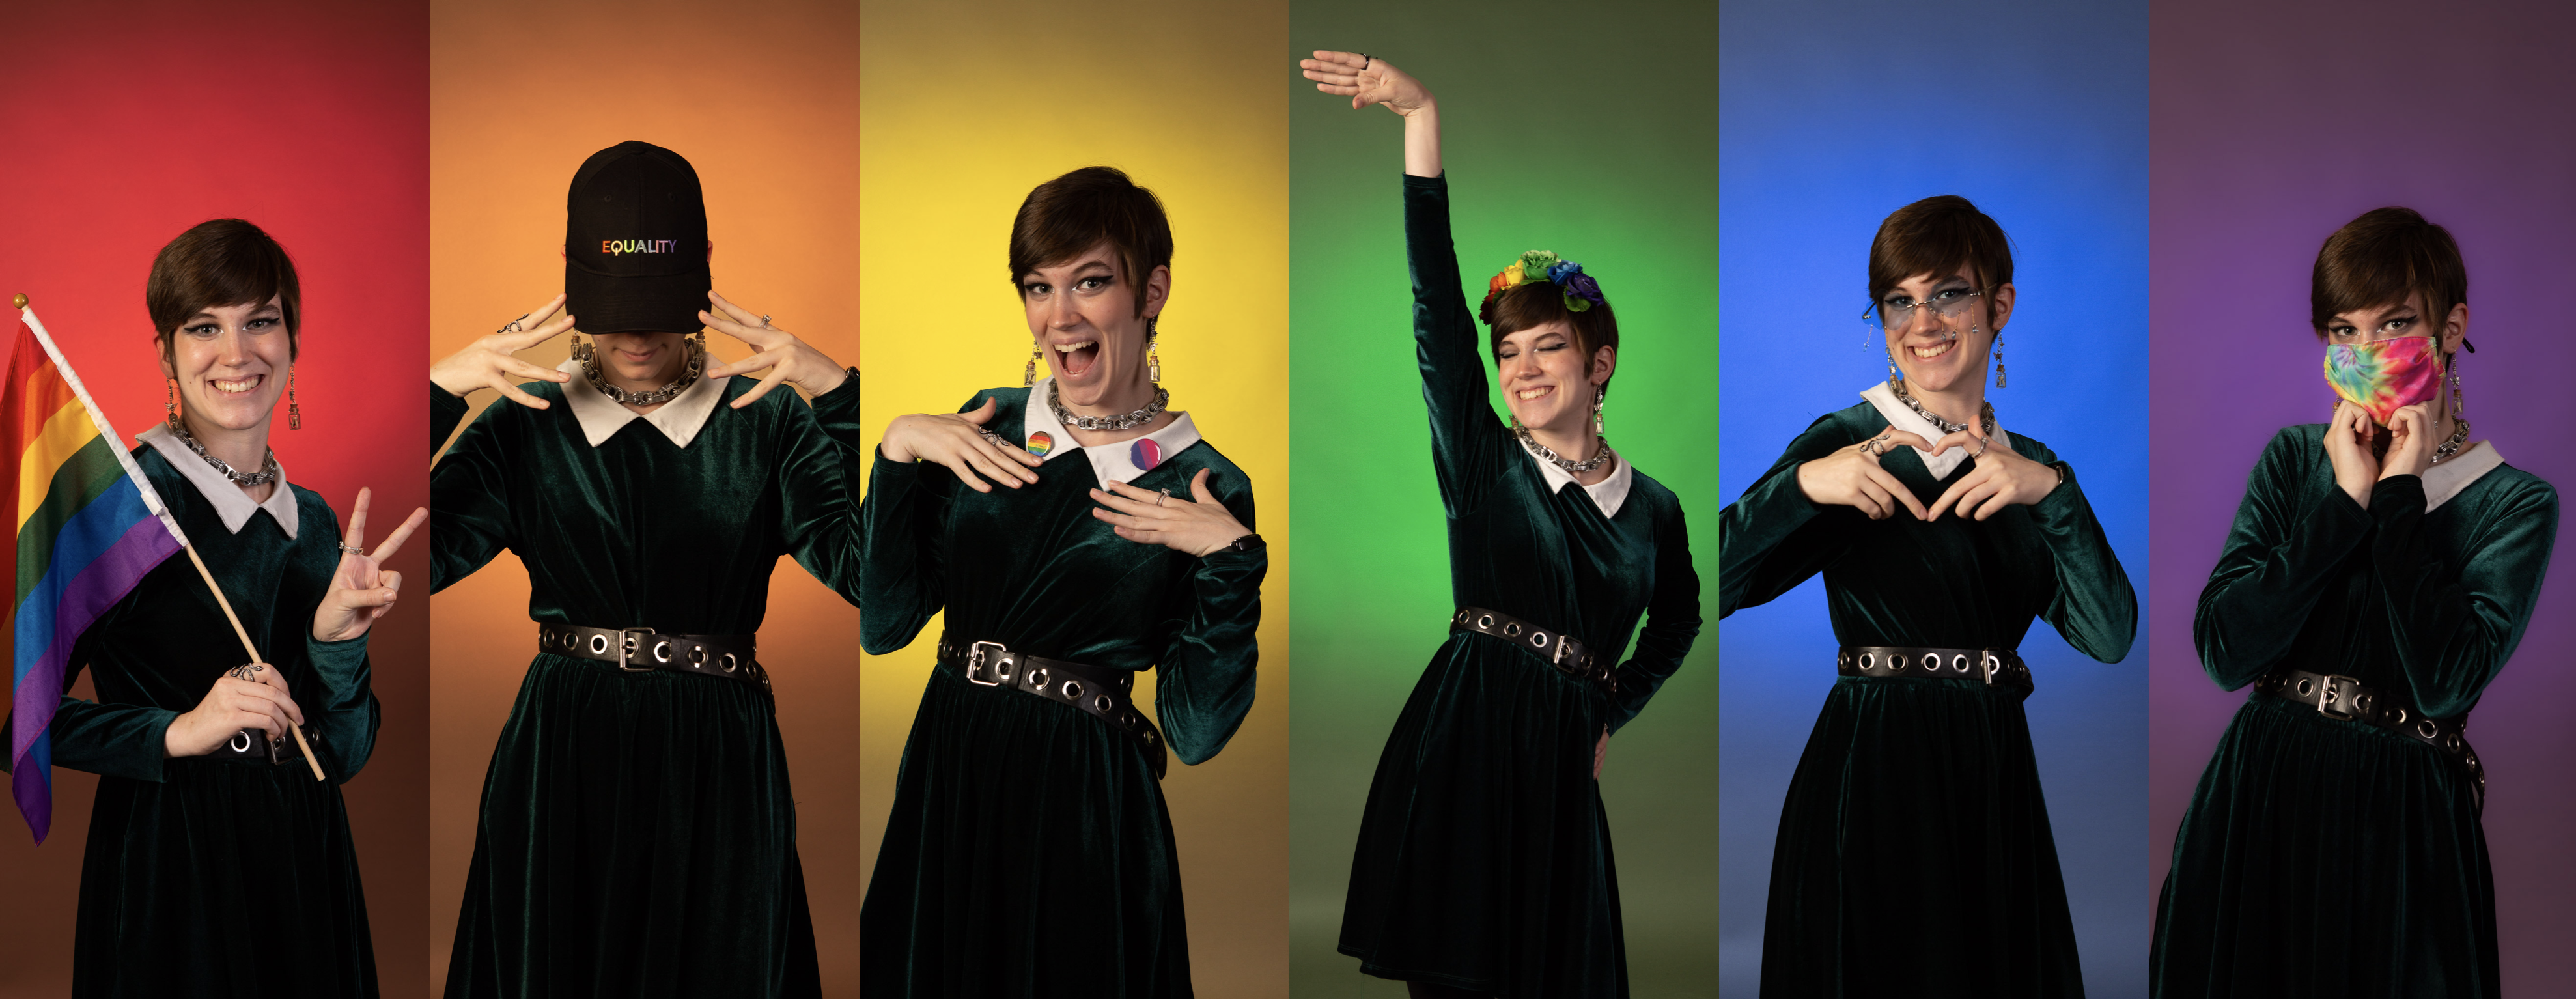
Yesterday, we posted a composite photo of Maya, our intern, to support Pride Month:
To make this image, we did the following:
Take six photos, using simple lighting, with different props, taking care that the composition was mainly vertical (i.e. not wide).
In each photo, use a background flash gelled to the right colour – or almost the right colour. I use Honl Photo gels.
Take the photos to the computer and crop them to the same vertical aspect ratio and subject size.
In Lightroom, for each image select subject – invert selection – and then slightly tune the background colour if necessary, to make it the right primary colour (half of them needed slight adjustment to look right).
Export each one, 2048 pixels high
Put them together in a composite Pages document
Export from there (either Pages –> PDF — JPG, or screen grab)