Another family shoot

Here’s a few samples from another family shoot I just did, of a friend (an ex student) and his family:

Fall is a great time for these portraits—in spite of the cold.

A few notes on a shoot like this:

  • Lit by two Bowens studio flashes, powered by a big battery. No modifiers: it was windy and the umbrellas would have pulled the lights to the ground quickly.
  • I pointed the group away from the sun; else, they would have squinted.
  • I used the 85mm f/1.2 lens, set to f/8-11.
  • Avoid too much direct sunlioght on the subjects.
  • But do use that sunlight – as the “shampooey goodness” light (a.k.a. the hairlight).
  • You can do this without flash, of course. But I prefer the brighter subjects and the saturated colours. Matter of style!

To see what I mean: this is with flash:

…and this is without:

I encourage you all to have family portraits done. Because they last, and it’s the only time travel we do. You’ll be delighted later to have them, and the extra few hundred dollars are a small price compared to that.


Flash!

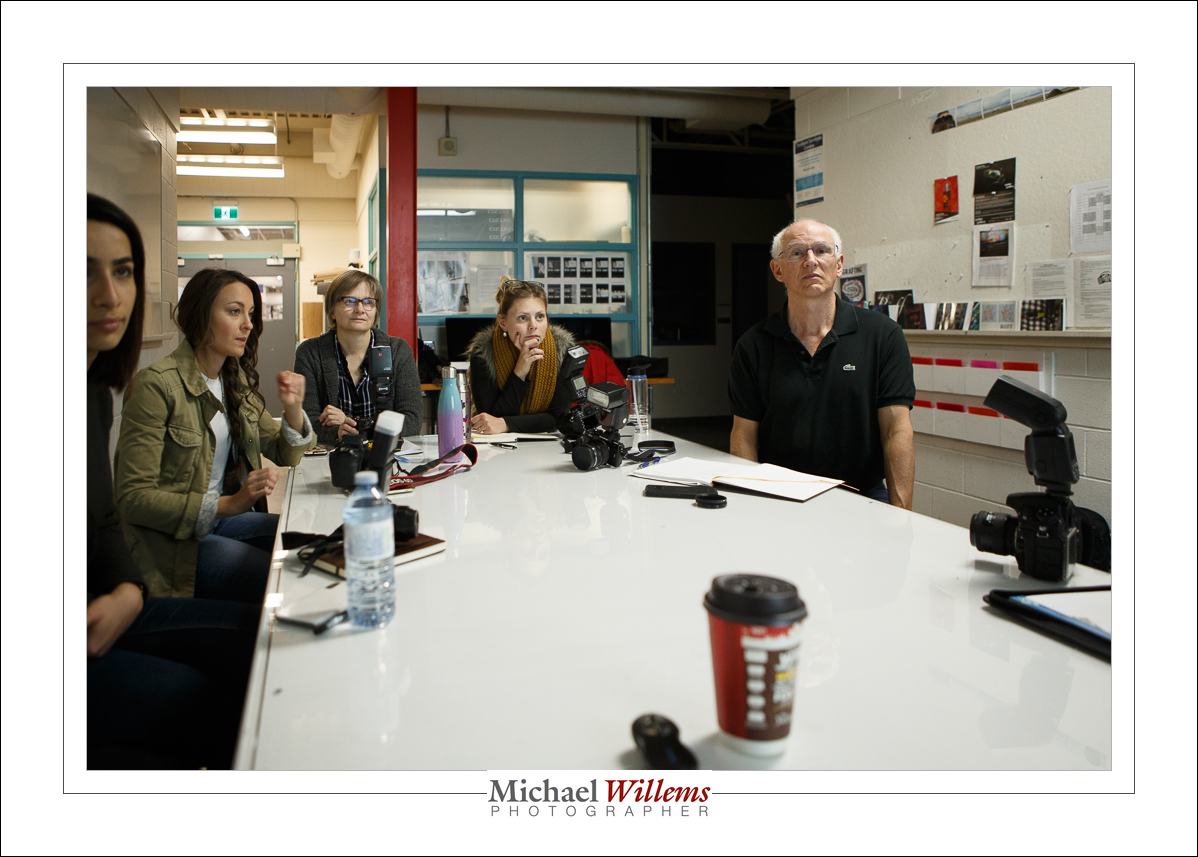
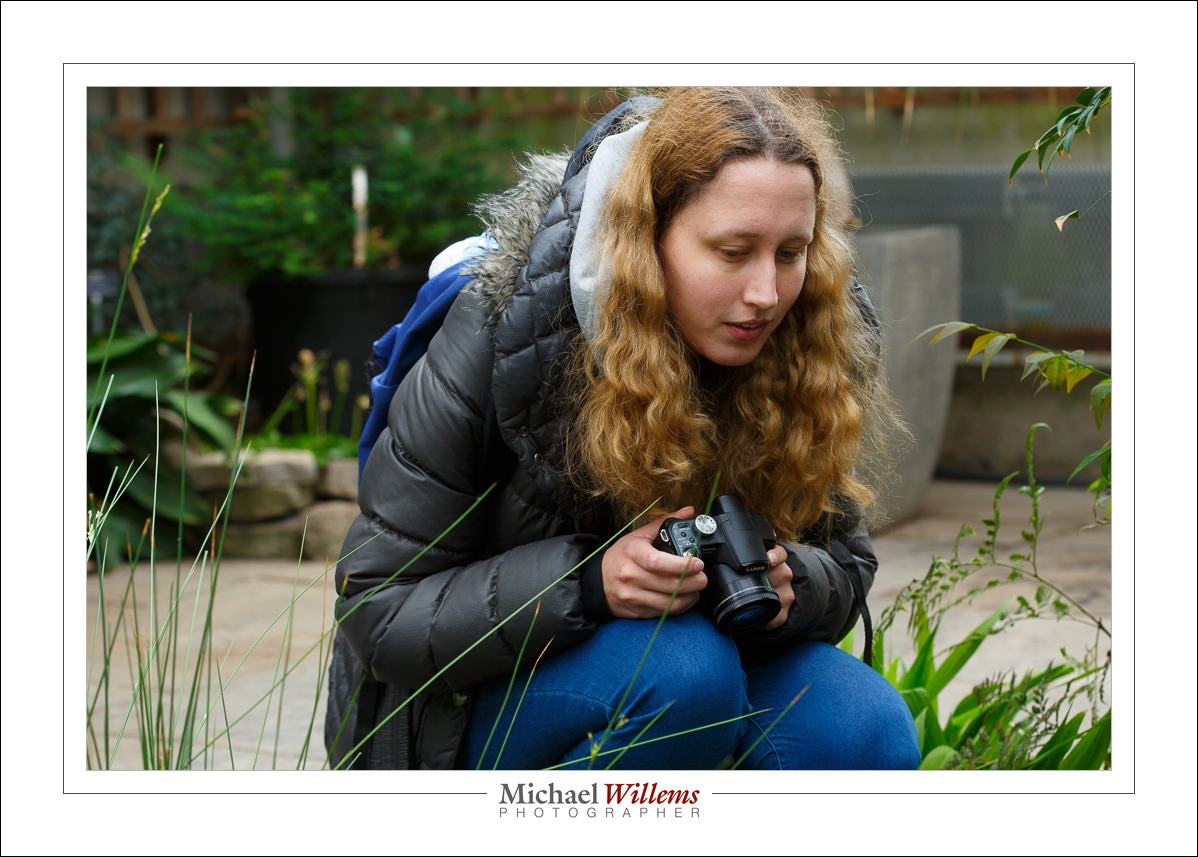
I taught a special flash workshop over the past two days, at Sheridan College. Seven students, great crowd.

Here, a few images:

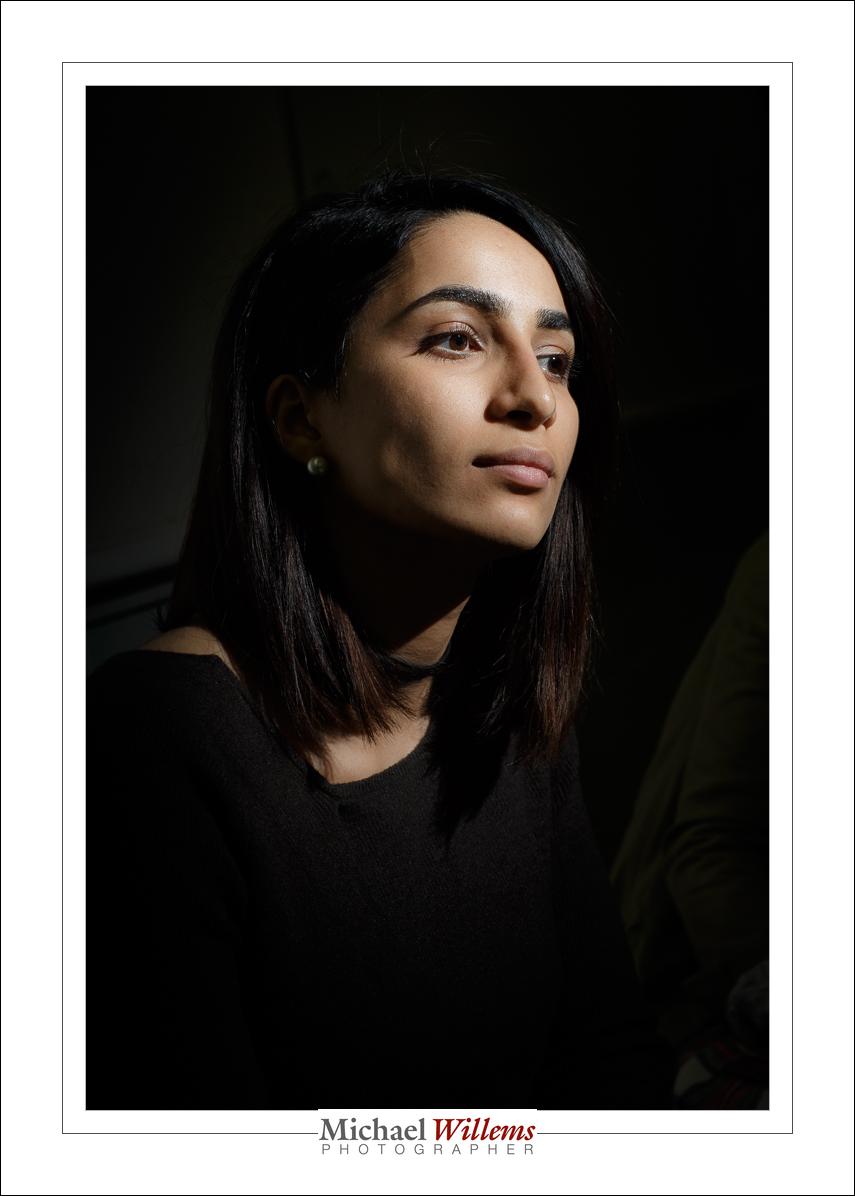
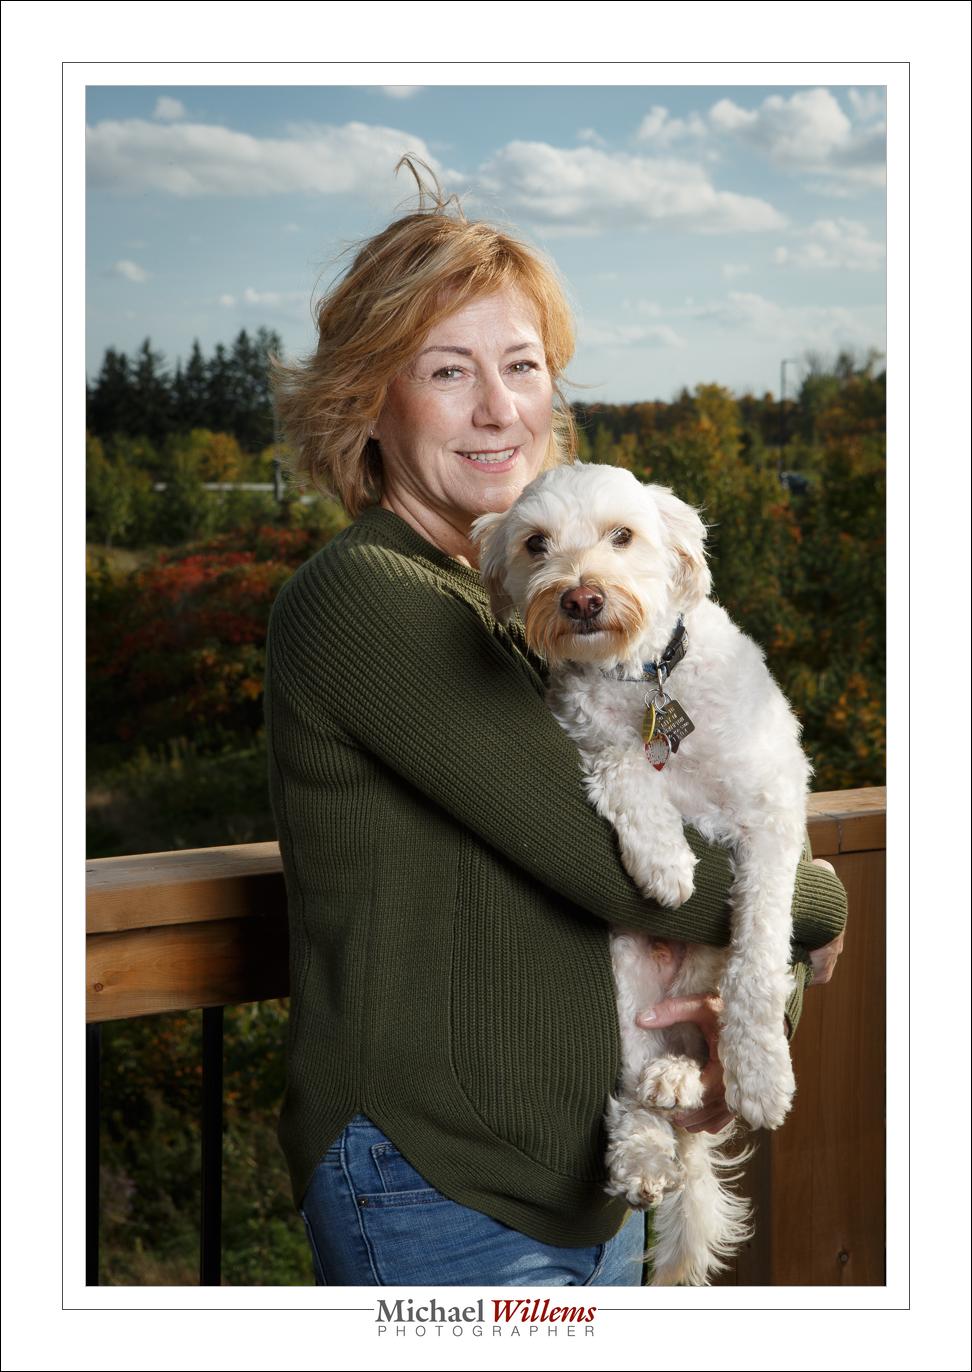
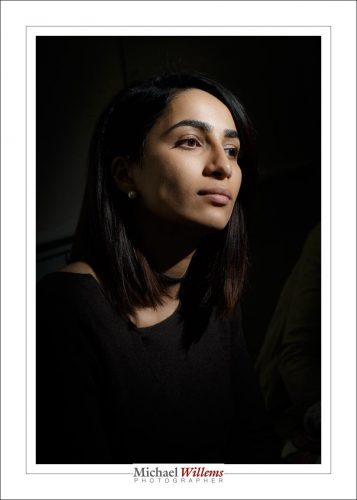
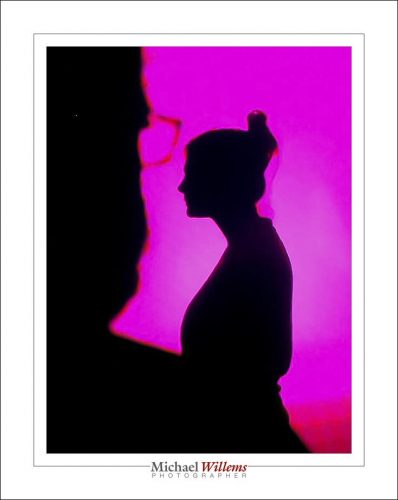
Next, a one flash portrait. Yes, you can do some great stuff using just one flash. The flash was fitted with a Honl Photo grid – without that, it could not have worked. Fired by pocketwizards. This student looks like Queen Nefertiti, we decided:

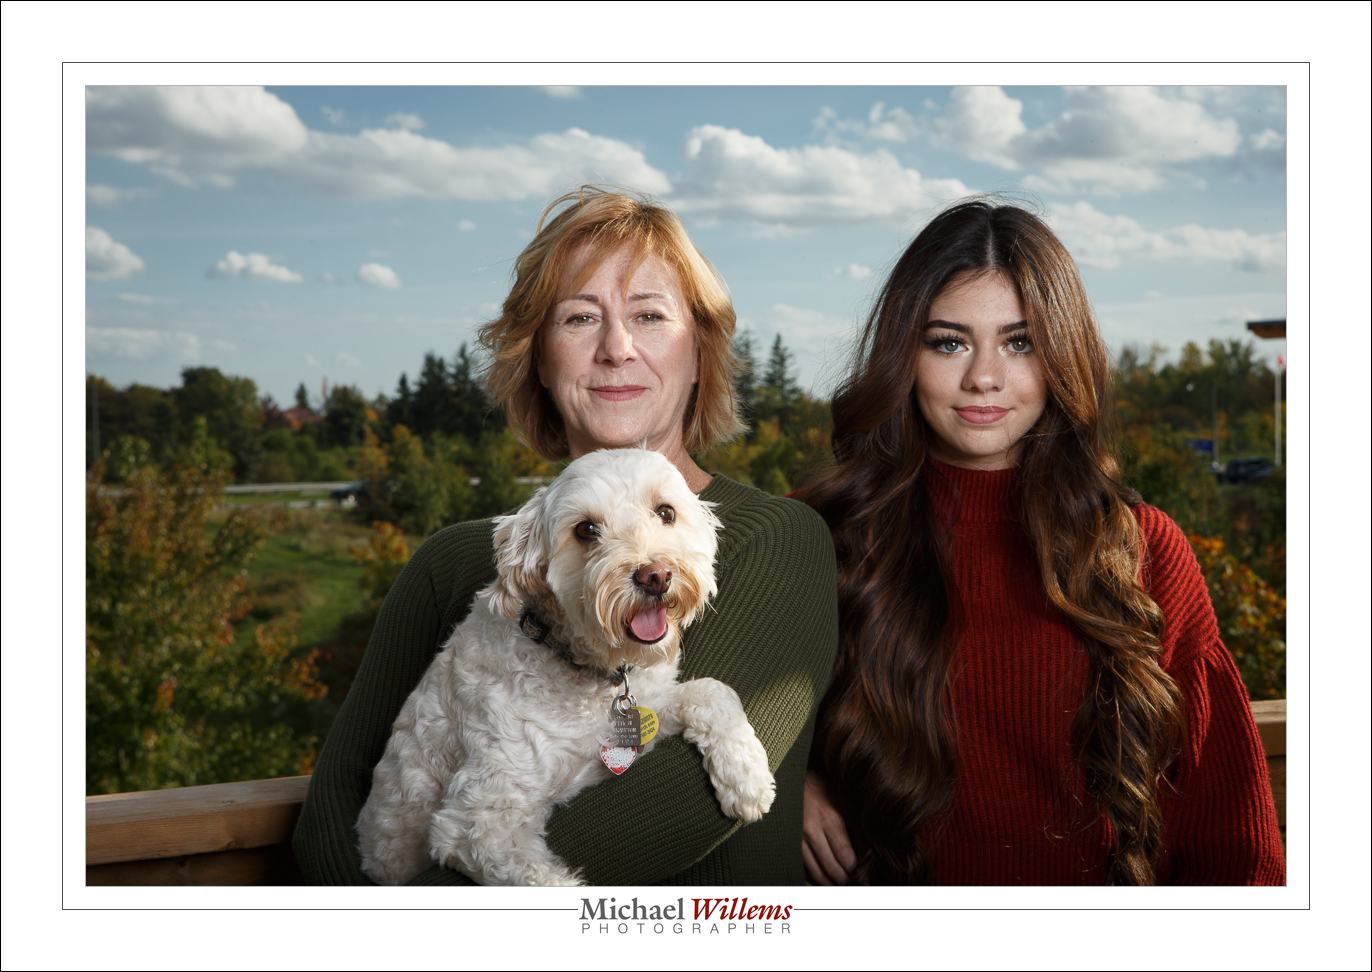
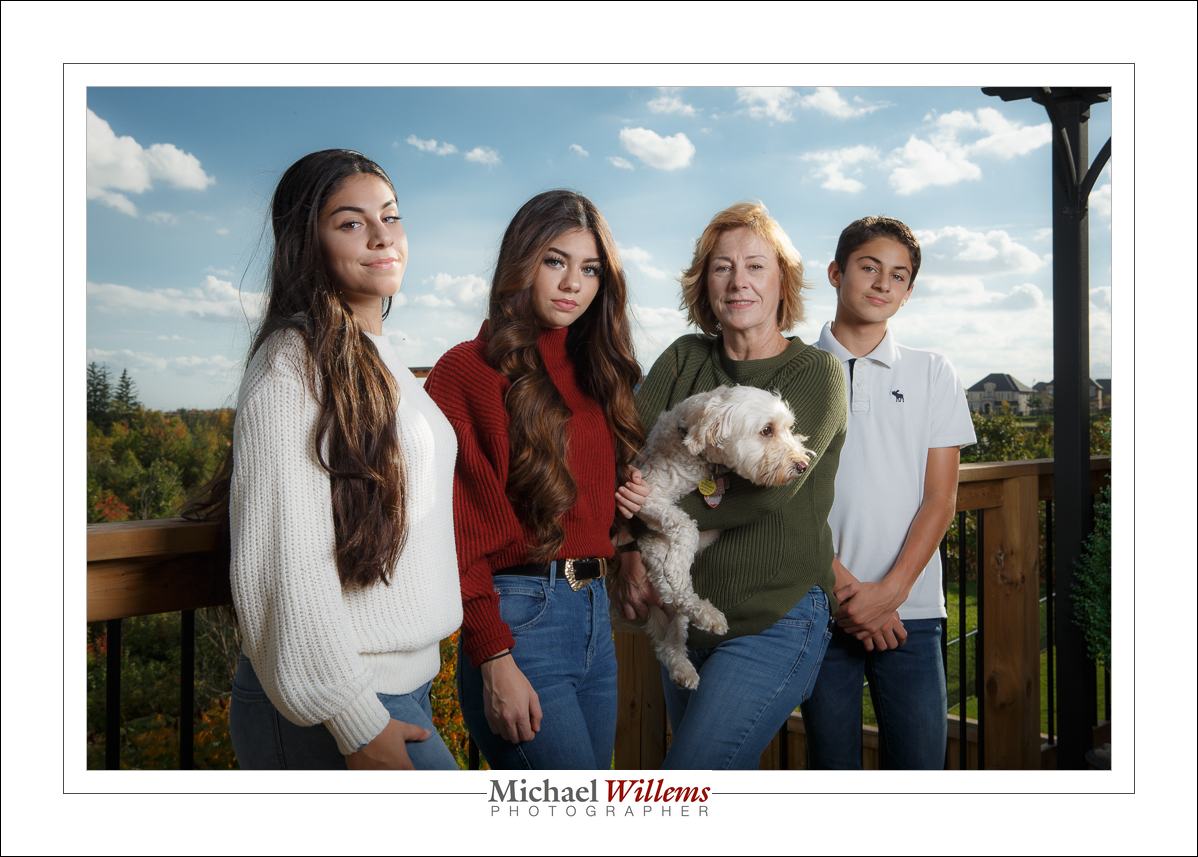
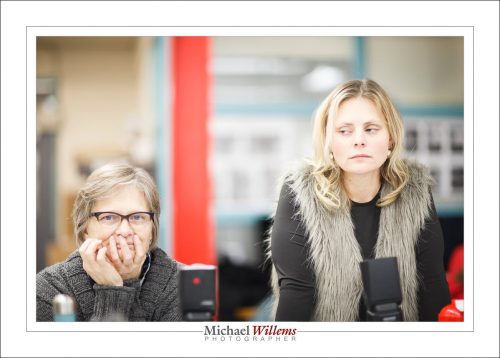
Funny, aunt and niece, who, contrary to what you might think looking at this image, both have a great sense of humour:

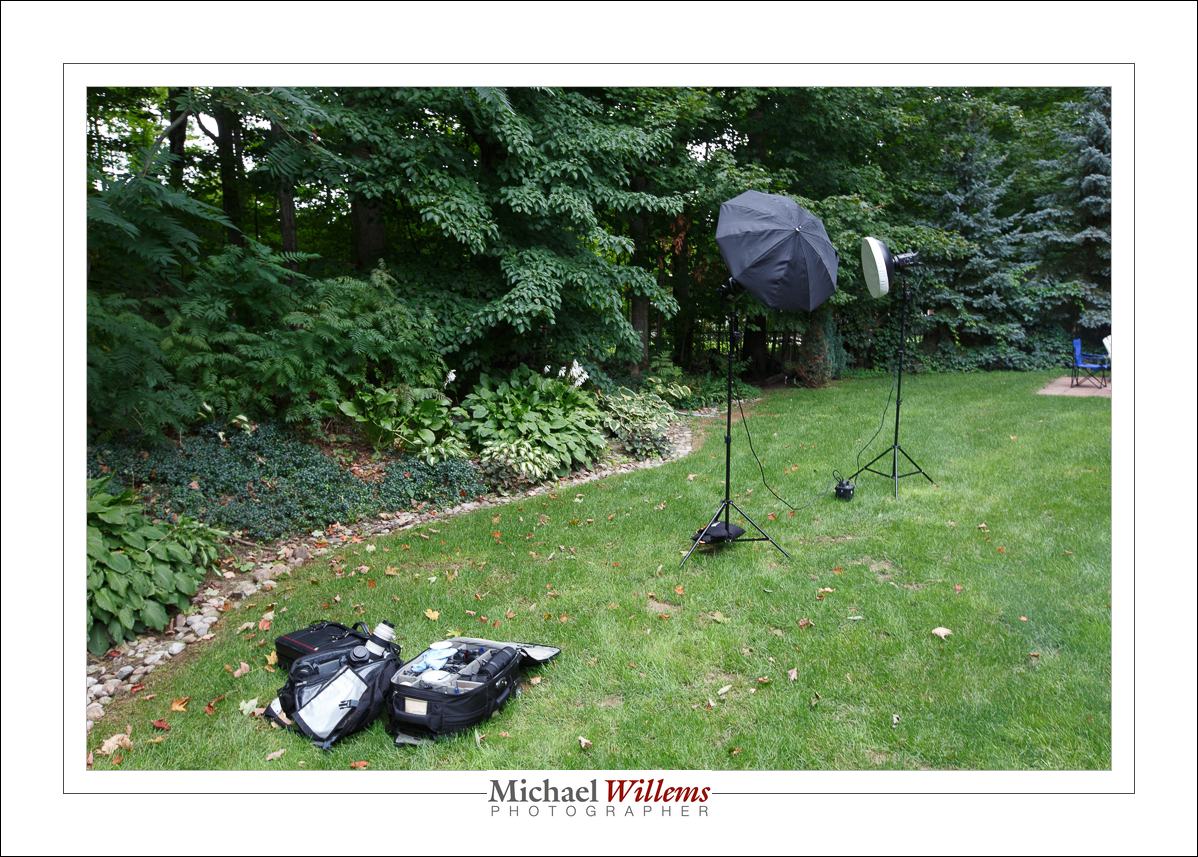
And finally, me, by one of the students. A standard four light portrait:

About this portrait:

  • It uses a key light, a fill light two stops darker, a hair light, and a background light. Four flashes.
  • Key and fill were strobes; the others were speedlights.
  • They were all fired by pocketwizards.
  • The background was light grey. That makes it difficult, to add colour to it, so we used a considerable distance between me and the background. (The background needs to be dark before you can add colour to it).

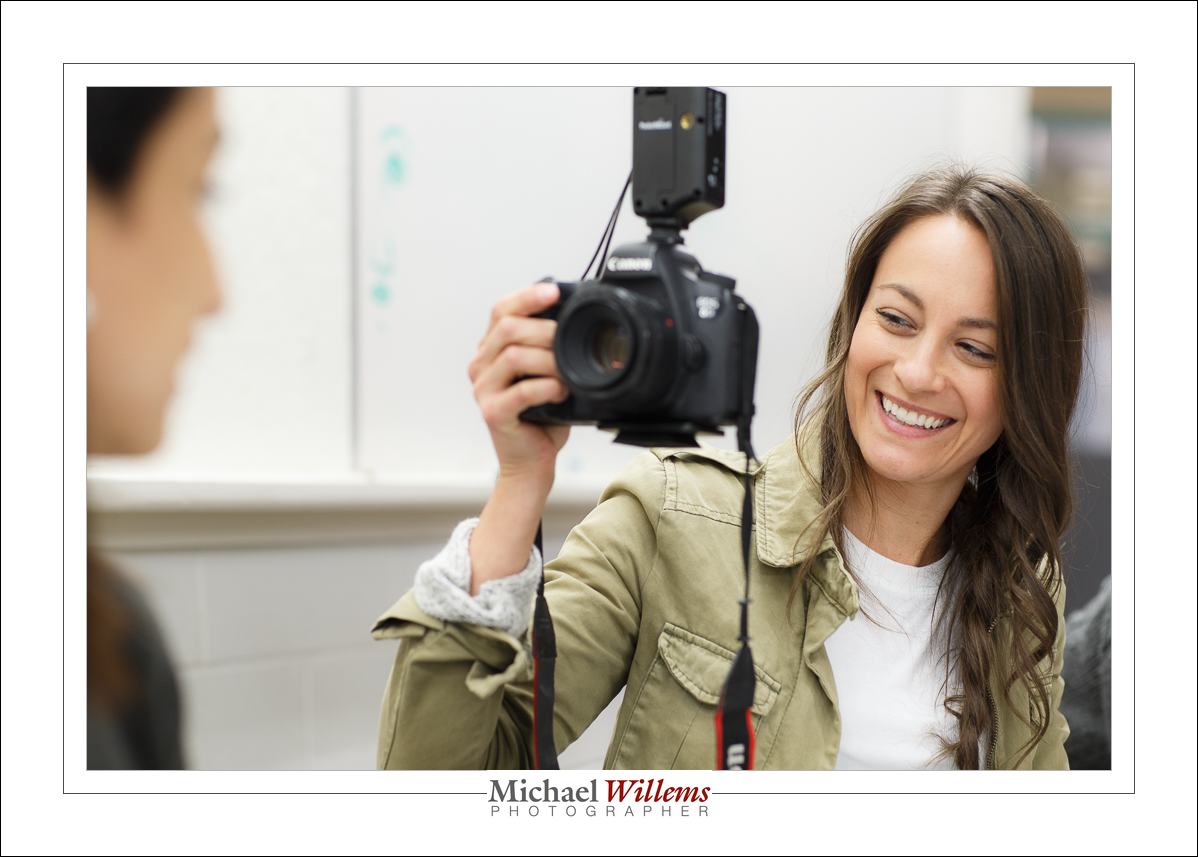
And finally the easiest shot. Now I warn you, the sample below was shot from the back of my camera with my iPhone, and then further mangled by Facebook, so do not look at the quality. Look at the idea instead.

So simple. One flash, located behind the subject, aimed at the backround. And a part Harvey Weinstein lookalike in the foreground.

A family shoot

This, a couple of samples from a family shoot I just did, is why you probably want to hire a photographer for a family shoot rather than using an iPhone to just snap away:

Those are pretty much straight from the camera. So what does that take? Well, experience, insight, plus:

  1. A large battery-powered flash fired into an umbrella.
  2. A couple of pocketwizard radio triggers.
  3. Set your shutter to 1/250 sec, ISO to 100.
  4. Start at f/8 and be ready to change the aperture to set the background 1-2 stops below nominal (f/11 in this case).
  5. Turn the subjects away from the sun.
  6. Position them right.
  7. Shoot at just the right moment.

Simple once you know. And if you don’t know, I have two pieces of advice: One, learn (I teach, and I write books!) and two, start by hiring a pro.


Because photographer

Photographer. Not just anyone with a camera.

For this, for instance, taken during a recent baby shower…:

…you need this…:

…and a lot of time. Just loading and unloading all that gear and setting up takes an hour or more.

And that is why photographers charge a fee for their work, and that fee covers all that work plus the post processing. Your nephew with a camera can click, but he can’t give you the quality images that you get when you do it properly.


iPhoning

Even when using an iPhone, you need to know stuff in order to take the best photos.

Like this one here (click to see it large):

Here’s Five Tips for this type of iPhone photo.

  1. Focus, if needed, by tapping the screen on the object you want to focus on.
  2. Adjust exposure as needed by dragging up or down on the screen at that point.
  3. For a macro shot like this, actually back off a little and crop the photo later. This is a key point.
  4. And most importantly, add plenty of light. This needs to be non-direct light. I prefer outside, but out of direct sunlight.
  5. Finally, adjust your crop and white balance, and anything else needed, afterward, by clicking on EDIT.

Enjoy!


Want to shoot like a pro? Scroll to the previous post to read about the one-week-only Spring Madness Discounts!

Flare.

Sometimes, you will experience lens flare, a lowering of contrast due to incoming bright light. Like here, from a recent event:

You can’t do much about this: it will happen especially with longer lenses and lenses prone to it.

What you can do is minimise it and its effects. Here’s how:

  1. Remove any protection filter that your lens has on it. These make flare worse.
  2. Ensure that the lens is totally clean.
  3. Use the lens hood your lens came with.
  4. In addition, shield your lens from incoming backlight with your hand if you can.
  5. Position yourself so as to minimise incoming backlight. As you can see in the photo, this is not always possible.
  6. Avoid overexposing.
  7. In Lightroom afterward, use “remove chromatic aberration” in the lens correction section of the Develop module.

If you follow those tips, you have done all you can!


SPECIAL–SPECIAL–SPECIAL! … I have a very special opportunity for you:

Have you always wanted to be able to shoot pro images? Well… a short course can get you to an amazingly professional level. And for just one week, all personalized individual or group training, at your location or at mine, or via the Internet using Google Hangouts, is $60 per hour instead of $100 per hour – that’s 40% off! 

This offer is valid only until 4 May, but you can prepay now for later training. Take advantage if this opportunity and kick start your craft: Contact me today to book.


Colours and «croak croak»

Wednesday was another day for the macro lens. This time at the Botanical Gardens in Burlington, Ontario.

These froggies were in glass cabinets, so the main objective is to avoid reflections:

Then, plantie thingies, with some brilliant spring-like colours, because it’s spring, at least in the greenhouse:


And then there’s the niece:

Settings were: 5D Mk3 with macro lens; manual exposure mode, 800 ISO; various aperture and shutter speed settings achieved using the built-in light meter.


Focus Tip: AF-C/AI-Servo and back button focus

I am often asked “can I not leave my camera on AI-Servo (AF-C if you are a Nikon etc)?

The answer is: not a great idea normally. Because you cannot recompose. The moment you try that, taking your focus spot(s) away from your subject, the camera focuses on whatever is behind the subject!

But there is a trick, and I used it today to photograph these amazing insects:

Namely this:

  1. Set your autofocus mode to AI Servo/AF-C.
  2. Select “back button focus” in your camera’s menu (i.e. focus when you press a button on the back of the camera, not whenever you half-press the shutter button).

Now you focus as follows:

  1. Follow the insect, or hockey player, or whatever you are shooting.
  2. While doing this, keep the back button focus pressed, so your camera adjusts to follow the subject’s distance.
  3. But when the butterfly sits and you want to recompose, let go of the back buttoin focus. You can now move the camera to recompose, yet when you shoot, the camera will not adjust its focus.

Done and done!

A quick note about that amazing insect. Nature knows what many beginning photographers do not: you need a catch light in the eye to make it look real and alive. The butterfly’s owl eye has that catch light (the white circle part ion the “pupil”)! Amazing, eh? So learn from nature and always include a catchlight in your portraits.


Repost: Gear Happy?

A repost of a recent article, following popular request:

So… did your favourite holiday icon deliver any photographic gifts to you this last week?

For your sake, I hope he/she/it did. And if so, my advice is: learn how to use it properly. From a new camera to a new flash to modifiers to accessories, they are all much more effective if you learn how to use them properly. And the good news: it is easier than you think. Often much easier. And more often than not, adding additional extras will extend your creative options.

So is photography about the equipment? No, it is not. But without that equipment, there is no photography. So let me take you through some of the main equipment I use, to give you an idea of what you might like to look at if you wanted a full “pro” kit. Of course you do not need all this, but it is worth knowing what the full range would be. And this is pretty much a full range. Click on the links I provided for your convenience to read details (and to order: Amazon has amazing deals – especially on the perfectly good older models, i.e. the Mk1 instead of Mk2 lenses).

Cameras:

Why one crop body? To make my longer lens (200mm) appear even longer (320mm) when I need it!

Prime (fixed) Lenses:

Why so many fixed lenses? Well—their quality is great, they are typically smaller, and they provide wonderful consistency in your work. And.. they are usually faster (lower minimum “f-numbers”). Finally, some lenses (macro, tilt-shift) are only available as primes.

Zoom lenses:

Flashes:

Flash modifiers:

  • Honl Photo range of flash modifiers (highly recommended). Like the softbox, the invaluable grid, the gels, and the speed snoot. I could not live without these.

A few of my add-ons, etc:

There’s a lot more, but these are the main items. In future posts I’ll mention some more for you. Have fun—and remember, always carry your camera.