Mnemonic Monday

OK, it’s not Monday, but that alliterates.

You all remember my mnemonic “400-40-4” for indoors flash for events? If not, read up on the Willems 400-40-4 rule for ISO, shutter and aperture.

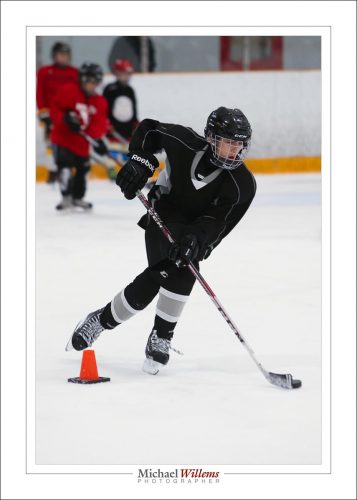
I have another one for you: 4000-400-4. That is 4000 ISO, 1/400 sec, and f/4. And that is for hockey in a well lit hockey arena. Easy to remember, and results are thus:

200 mm lens, 4000 ISO, f/4, 1/400 sec, stabilizer mode 2

Have fun!

Coins and Uncle Bob

Photographing coins is notoriously tough. They are shiny and matte; the shiny bits can be dark or light depending on how you shoot them; they need to show coin detail without showing dust detail; and above all they are three-dimensional, not flat: to do it properly takes a lot of equipment and skill.

But you can do a lot with a little: an 80-20 rule says you can get 80% of perfect with 20% of the effort.

Let’s take a look. A macro lens and a ring flash gives me the following, for a 2015 proof quality coin.

First, the ring flash is held not quite right:

A better positioning gives me consistent results like this, for the obverse (front) side:

And here’s the reverse (“back”) side:

Not bad for five minutes work, no?

Remember that 80-20 rule. Often, you can do with “good enough”. Like when selling on eBay: perfection makes people suspect that you have simply copied a commercial picture, and hence the item pictured is not your item. So this is a good compromise: pretty good, little effort.

I used:

  1. Macro lens
  2. Ring flash (or in this case, Orbis ring flash adapter)
  3. Flash set to manual, 1/4 power
  4. White balance set to flash
  5. Camera set to 200 ISO, 1/125 sec, f/11

And Bob’s your uncle!


Booth

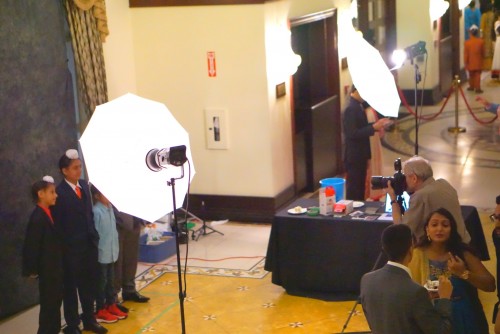
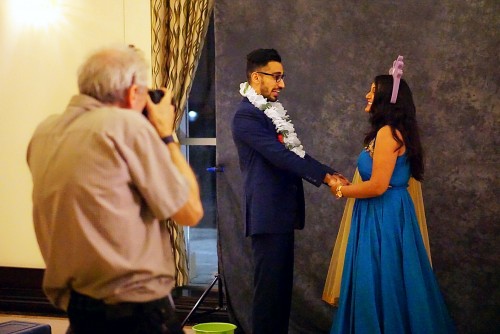
I spent Sunday night shooting pictures at a wedding—photo booth pictures, to be precise. And while some photographers think of this as a low-end endeavour, I love it, and I recommend it to all.

“Photo booth” means photos of people using props and funny poser, and printing images on site.

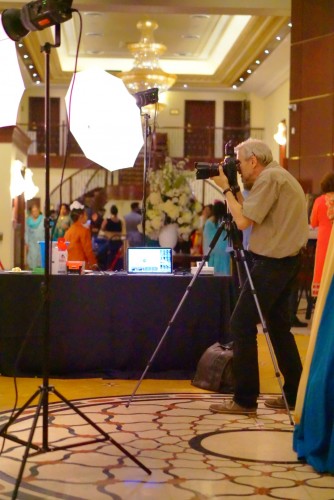
This needs a computer and special software:

IMG_7717

And a tethered camera with a studio-type lighting setup:

IMG_7716

And, ofcorse, props…:

IMG_7720

And finally, technical knowledge as well as people skills.

IMG_7719

The printouts people are handed look like this:

2017-06-04_222331

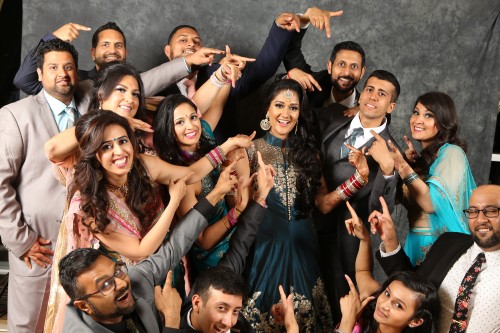
Look, by the way, at that last picture. How do you fit around 15 people in front of a backdrop meant for two? Here’s how!

20170604_222321_174_1DX_5398

And that’s why I love booths: all my varied photography knowledge comes together for this single purpose.

The result: as the bride told me: “They will remember this wedding because of the booth photos”. If that isn’t the best compliment ever, I don’t know what is.


Warm day

It was a warm-ish day today, so I went and took some car photos.

Since the sun was out, it is no surprise that I found available light a little boring:

20170408-1DX_3949-1024

So.. I added a flash, on a light stand. But as you will have guessed one flash was, of course, not enough to light a big subject like a car…:

20170408-1DX_3951-1024

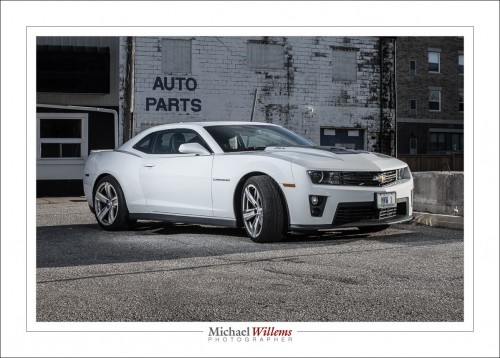
…so I added two flashes. Left flash: half power manual 600EX, aimed direct at the car starboard side (zoom=50mm). Right flash: half power manual 430EX, aimed direct at the car front (zoom=50mm).

And that gave me this photo:

20170408-1DX_3965-1024

Desaturated slightly; otherwise this is the way I shot it.

But… say what—Two light stands? Fired by pocketwizards? Isn’t that complicated?

Yes, yes, and no, respectively. It is not complicated. And the results, as you see, get you immediately beyond the “snapshot”. And that is satisfying.

Michael teaches flash and other photography subjects; at Sheridan College and privately; and at his own school. If you want to know more, come to one of my regular courses (see www.cameraworkshops.ca).

El Carro

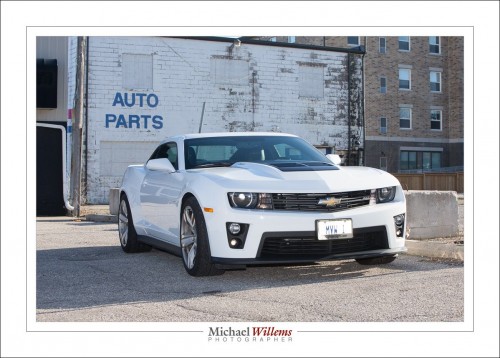
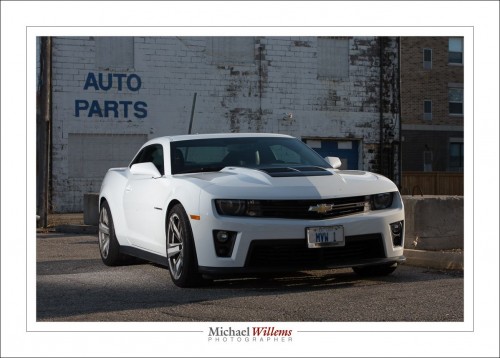
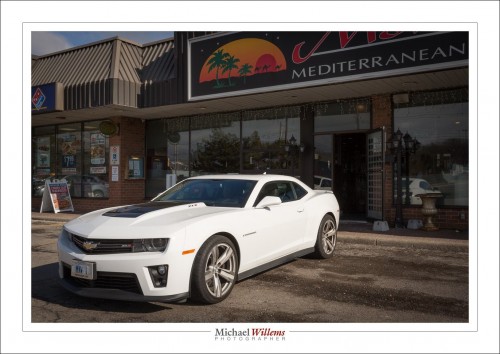
Car pictures. Always fun. Including snaps:

20170328-MW5D3454-1200

That’s my Camaro ZL1, at 400 ISO, 1/400 sec, f/16.

Does anything occur to you when you see those numbers?

Yes, it’s the Sunny Sixteen rule.

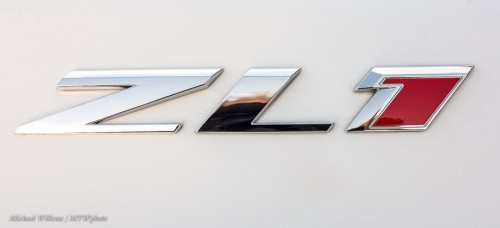
Anyway, the car has a lot of detail, like the badges:

20170328-MW5D3456-900 20170328-MW5D3455-900

So here is my all-new Camaro. Flash TTL, flash bounced behind me,

20170331-MW5D3475-1200

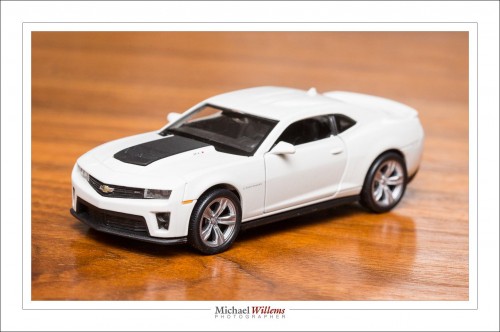
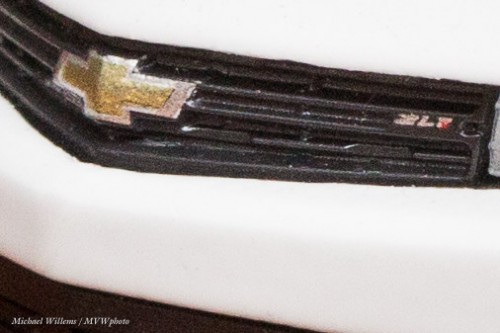
That is right, a little toy. And it’s my car’s exact colours, too. And that toy has surprising detail. The same badges, for a start.

20170331-MW5D3475-900-4

Note: Over the next while, long term that is, I plan to use this toy as a prop in pictures all over the place, so stand by!

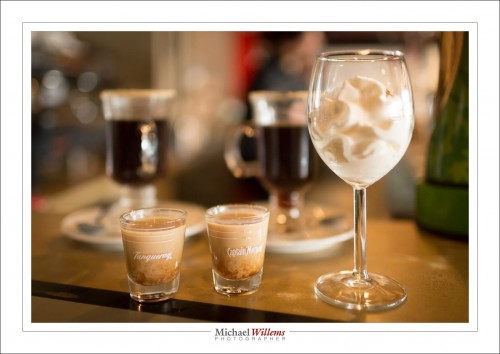
Always carry a camera dept: drinks in the above restaurant, and they looked pretty enough to take a snap:

20170328-MW5D3464-1200

(35mm lens, manual mode, 1/320 sec, 1000 ISO, f/2.2.)

Cat, Kid

Why do we have cameras?

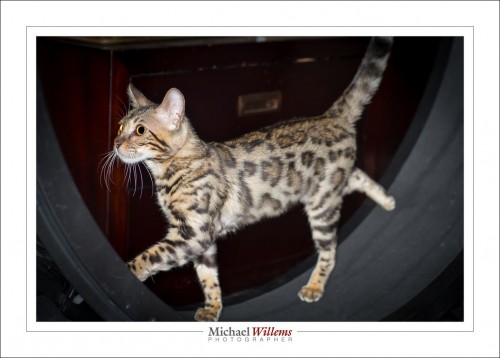
We have cameras because cats.

20170330-1DX_3906-1024

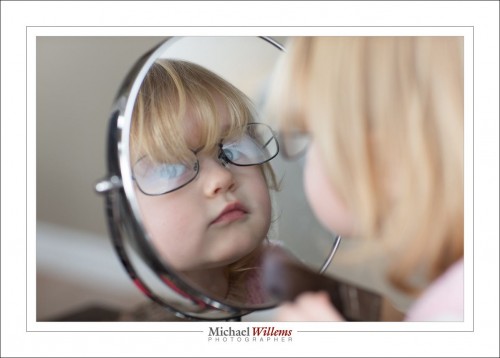
And because kids:20170324-1DX_3860-1024

That’s my son and his daughter., who is 2.20170324-1DX_3861-1024 20170324-1DX_3862-1024 20170324-1DX_3863-1024

And the glasses are mine. But she clearly gets it,20170324-1DX_3868-1024

So will the iPhone ever replace the DSLR camera?

No.

It will complement it, sure., I take a lot of iPhone pictures. You always have it, and it’s so easy to Facebook a pic. But it will never replace it.

Look at my photos. What can an iPhone not do that a DSLR can?

  • Use a real flash
  • Get those blurry backgrounds (yeah yeah, the oPhone 7 has a second lens to fake it);
  • Shoot at high ISOs with great quality
  • Do macro shots.
  • Shoot at fast (controlled) shutter speeds.
  • Have enough megapixels.
  • Give the user control over focus mode and focus area, ISO, aperture, white balance,…
  • Create large prints (like 40 inch across).

There’s so much more. The laws of physics do not allow a small camera to do what a large camera does. It is as simple as that. So there will always be a market for both.


You Must Upgrade. Or Must You?

A student just emailed me this:

I currently have a Canon 40D but it has been suggested [by someone whose judgment I trust] that for event photography I need to upgrade to a Canon 80D.

OK. Interesting. Let’s tackle this one.

First, always be highly suspicious when someone says you “must” do this or that. When it’s “my way or the highway”, I usually take the highway.  Be suspicious of simple solutions and dogmatic statements, just as you should be suspicious of them in politics.

Second, why so specific? Why from a 40D to a 80D? Why not to a 6D, or a 5D Mark III, a 70D, or some other camera altogether?

What the “expert” probably meant is this:

“You want to shoot events. Events often take place in low light. That means you will need to shoot at wide apertures (i.e. need good lenses) and slow shutter speeds. But even then, and especially if you are bouncing a flash, you will inevitably need to shoot at high ISO sensitivity values. And that is the one reason why you may want to upgrade the camera every few years: the ability to shoot at high ISO values, without crazy noise, increases with every new generation of sensors. So an upgrade to a more recent camera wold be good. If the budget stretches, consider a full frame 6D. If not, consider a 70D as well.

But all that said, no-one “must” do anything, and there are other solutions too, like investing in more, better lenses. A 35mm f/1.4 prime lens is great for many types for events, for example. A more powerful flash, if you now have a lower power flash, is also an option. Or you may need nothing at all: photogs shot events a few years ago very happily with this camera. Why not now?

So now we get into the “what type of event”. What type of event do you want to shoot? This, more than anything, will decide for you what you start saving up for.

That is a much more measured statement, isn’t it? That’s how *I* would have answered this.

All this, incidentally, including the differences for different types of event, is what gets discussed in detail at my “Event Photography” workshops. Which I regularly hold: there’s one coming up in Toronto in a few months (list soon), but more importantly, I can run this privately with as few as two or three students., or solo if we do it in Brantford:

  • On demand, any time (minimum one student if held in Brantford, 3 if elsewhere): Event Photography. In this workshop I teach you the secrets of successful event photography, for any type of event.

 That’s it for today, folks. Enjoy your camera and go shoot something cool!

The simplest…

Sometimes, when you are immersed in a profession, you forget that not everyone is even familiar with the language used in that profession, let alone with some of its principles and practices. As an engineer who teaches, I try never to fall victim to that thinking. But sometimes even I do. So in the next series of blog posts, I will briefly define some of the basics. Just in case.

Starting, today, with flash modes.

Your small, camera mounted, flash has a “mode” button. That button gives you access to some of the following modes:

  • TTL (also, “E-TTL”, or “TTL-BL”, etc). This means “automatic flash power”. The camera and the flash together sort out how much power is needed for every photo. They do that with a mechanism that I explain in my courses, books, and workshops. That mechanism is called “TTL”. You do not have to worry about your subject’s brightness, at least in theory: the camera and flash sort it out.
  • MANUAL (Also called “M” or “MAN).  In that mode, you set the flash power. You can, for instance, set it to 1/1, or 100% power: the brightest power level. Or 1/2 (half power), 1/4 (one quarter of its top power), 1/8, and so on. On some cameras, you can go as low as 1/128 power, a very low flash level. So in this mode, if your flash is too bright, you would turn it down to a lower level (or move back from what you are lighting); if it is too dim, you would turn it up (or move closer).
  • Repeating flash, or stroboscopic flash. In this mode, the flash will flash not once, but a defined number of times, with a defined interval. You need to define the number of flashes, the interval, and the power level. (E.g. “5 flashes, at a frequency of 10 flashes per second, at 1/16 power”). That allows you to make photos of, say, a runner against a dark background, where you see not one, but ten images of that runner as she moves through your photo.

There may even be modes additional to this. Depending on the flash you use, there may also be a setting that tells the flash that it is a remote flash, and there may be a setting that allows the flash to be used at fast shutter speeds, but at a reduced power level (“High Speed Flash”, or “FP Flash”). There could be other settings as well, like a “dumb slave setting” (Nikon calls this the “SU-4” setting).

All those additional settings are not modes, but they are what I called them: additional settings. I know, that may be confusing to you (“what is a mode and what is an additional setting?”), but if so, don’t worry about it. It’s what the engineers decided to do. The reasons for not calling these settings “modes” are not important right now.

So there you have it. Some flash “basic basics”.

In my flash courses, I explain al this in detail, of course.

Want to learn more: buy the pro flash manual, and if you are in Toronto, sign up right now for the 25 March portrait and model lighting workshop.  See you there?

Nothing changes?

Well, not in 8 years. Here’s a technical note in the form of a post from October 2009 that is still valid…:


A reminder to all flash photographers: you need your shutter speed to be below the camera’s flash synch speed.

What does this mean? Let me explain.

The flash fires for the briefest period, of course. Like 1/2000th of a second. That is why we call it a flash.

So when it fires, if the light is to reach the entire film or sensor, the shutter needs to be totally open at that point.

That much is obvious. But what is not obvious is that there is an engineering limitation in your shutter. Beyond a certain shutter speed, the camera’s synch speed, the shutter never totally opens. Instead, a small (increasingly narrow) slit travels across the shutter to give each pixel a brief exposure time.That’s cool – the shutter does not have to be super-fast and expensive and you get a fast shutter speed.

But this gets in the way when you are using flash. When you fire during those short exposure times (on most modern cameras, faster than about 1/200th second), the light does not reach the entire sensor. Look at this example I shot to illustrate this, at speeds from 1/200th to 1/1000th sec:

SHUTTER

You can see that as I exceed the sync speed, the light only reaches part of the shutter.

You should also note that especially when using external flashes with Pocketwizards or similar, flash takes time to set up. My 1Ds MKIII has a synch speed f 1/25oth second but as you see, at that speed it is already beginning to cut off. Best stay a bit below your synch speed (I typically set my shutter, when I am using studio flash, to 1/125th second).

(There is a way to overcome that: fast flash, which some high end flash units offer. This continuously, all the time that the shutter travels, pulses the flash at a very rapid rate, so that the slit, as it travels across the sensor, has light coming in throughout its travel time. It works great – do use it when taking flash images outside – but it uses a lot of energy, and hence decreases the range of your flash.)

(Advanced tip: I know of at least one photographer who uses this effect to introduce an electronic version of a neutral density filter or a barn door: he sets his camera to 1/320th second while using flash, and turns the camera upside down. That makes the top part of the image dark, at least as far as the flash part of the light is concerned!)

An Essential Tool

If you take your photography seriously, you need to avoid one thing in particular: running out of battery power just when you need it. (Have you noticed, batteries never fail at a convenient time?)

The solution is simple. Buy a battery tester, and use it before you go and shoot.

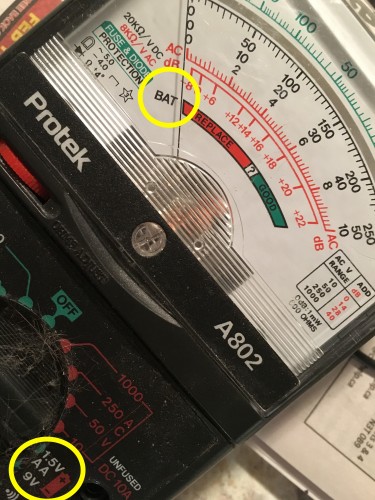
A battery tester, which sells for about $7–10 in your hardware store, is a meter with a “battery” mode. That mode does not just measure voltage; instead, it measures voltage under load.

IMG_0532

You recognize it by its mention of batteries (like “AA”, as in this example).

Before every shoot, measure your batteries, and if in any doubt, replace them. That takes away one big drawback of battery-powered equipment.

  • Where do you use rechargeables? A: In gear that you use intensively and often: namely, in your flashes.
  • Where do you use Alkalines? A: In equipment that uses little current and that lasts many months between battery changes. Namely, in your PocketWizards and similar radio triggers.

One more note: if you use rechargeable batteries, make sure that you use an appropriate meter. NiMH batteries have a lower voltage than Alkaline batteries, so you cannot measure NiMH batteries with a meter intended for Alkalines (or vice versa).