Another basics tip

As you know, this blog is for photography pros, but also for beginners. There’s something for everyone, and in that context, today another fundamentals tip. Namely: focus accurately, using only one focus area/focus spot.

I can’t tell you how important it is to focus accurately. The camera has no brain. It cannot decide at what distance to make the image sharpest. Only you can.

Go to Program Mode (“P”), or Aperture Mode (“A”), Shutter Mode (“S”/”Tv”), or Manual Mode (“M”). Now set your camera to one focus point.

Aim that at what should be sharp, and take the picture.

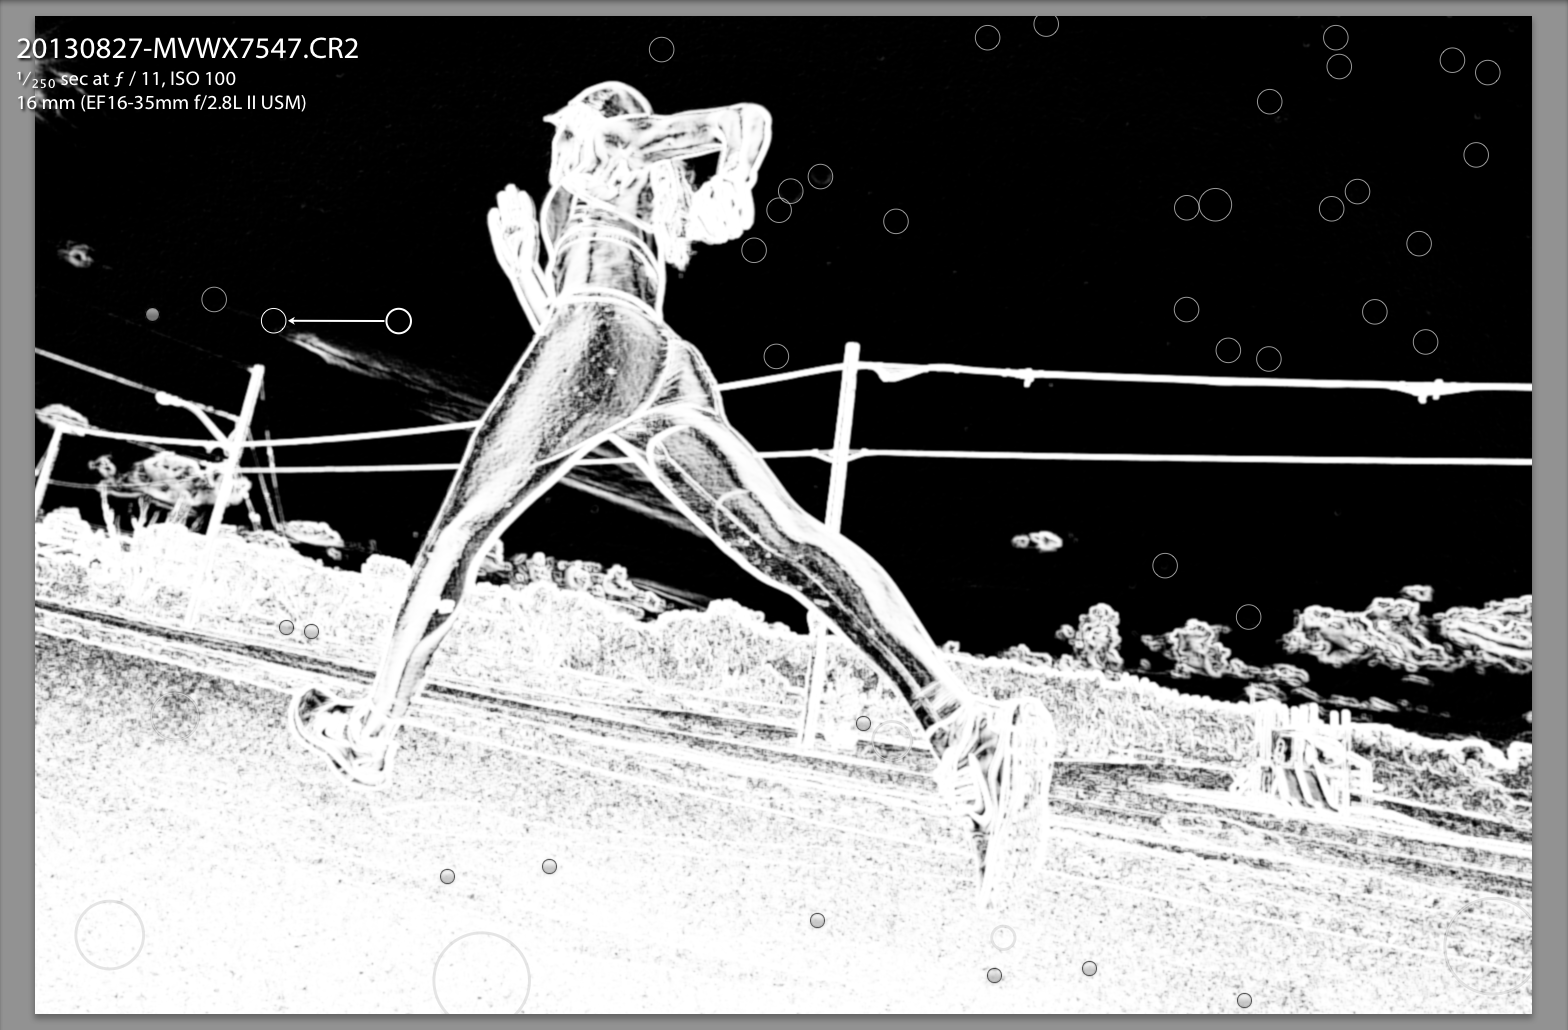
So you can now aim that single focus point at anything, including background items. Then, they will be sharp:

But what if the subject is not in the centre, or where there is a focus point?

Then you do this: “focus – recompose – shoot”:

So the secret is to hold the focus while you recompose. Holding the focus means holding your finger on the shutter half way, without either letting go or pressing fully down.

While recomposing, you can swing your camera left, right, up, or down, but obviously not forward or backward, because the “beep” after you focus means you have set a specific focus distance.

And that is especially important when shooting with a prime lens “wide open”, i.e. at a large aperture (a low “f-number”). Like here, in this picture of Mau the Bengal cat:

More pictures are lost due to inaccurate focus than to anything else. And it is surprisingly easy to do it right. So… do it right!


50

Today, I took photos at the Classic British Car show in Burlington, Ontario. And apart form a few aerial shots, I used only my 50mm lens (that is, a 50mm on my full-frame camera; i.e. if you have a crop sensor camera, you would use a 35mm lens to get the same view).

So, why a 50 (or 35)?

  • It imposes a certain discipline and consistency in the images. Sure, it is inconvenient to sometimes have to take a step back, but so be it. My images all have the same look and feel, which can be nice.
  • It is a nice “neither wide nor long” length. It used to be called a “normal” lens. Most of what I want to shoot, I can shoot with a 50, if it’s what I happen to have.
  • It is fast (1). It is an f/1.2 lens, meaning I get fast shutter speeds, if I want.
  • It is fast (2). It is an f/1.2 lens, meaning I get crazy blurry backgrounds, if I want.

In practice, all that means that I can get perspective by getting close:

And I can simplify, by getting closer:

I can create diagonals, almost as if I am using a wide angle lens:

And yet I can “get enough in”:

I can even combine foreground and background (“old and old”, here):

And I can get in close enough to show detail without showing other all the people crowding around:

Um, and did I mention I like hood ornaments?

I also save time by not having to decide zoom factor. So, primes rock, for me. But that does not mean I can do everything. A very wide “close-far” shot would be impossible. So I decide on a lens-  in this case the 50 – and take photos appropriate to that p[articular lens choice.

And that is how that works, folks.


A Reminder to Newcomers

A lot of new readers here on Speedlighter.ca, so I thought time for a few reminders.

My name is Willems. Michael Willems.

That didn’t sound quite as cool as when James Bond says it. But anyway, I am a photographer, and I teach photography – at Ontario’s Sheridan college, in schools, to groups large and small; in my own school; privately; at Vistek; at shows, and internationally. See www.michaelwillems.ca. This blog supports that teaching. It is my gift to you all. I want the world to know photography, so I share here.

I aim at everyone, from beginners to pros. Every day, I write what I feel like writing about. By reading all articles, you will get the idea and learn. You can also search. Or read categories (scroll to the bottom for this).

I have been doing this daily for four years. Yes, four years of daily posts. I occasionally miss a day, but then I do two posts the next day.

This blog may not always stay daily, but it will always stay free. All I ask in return is for you to:

  • Tell all your friends about it, if you like what you read!
  • “Like” the posts on Facebook and other social media (use the little icons at the top and bottom of each article).
  • Add your voice to the discussions (comment by using the link at the bottom of each article).
  • Consider buying my photography e-books. See the link above. I promise you will like them and learn  – a lot. They cost $19.95 each and are in PDF format, at least 100 pages each, and not addled with DRM protection. I trust you.
  • Consider additional training.

So… for newcomers, a quick tip: learn to focus your camera.

Quick advice of the day:

  • Where: select one focus point. Aim that at what should be in the centre of the sharp range. Focus by pressing half way down. Hold. Recompose if necessary. Press all the way down.
  • How: normally use lock focus (“One Shot”/AF-S). When shooting moving objects, consider continuous focus (“AI Servo”/AF-C).

Now go practice that. We’ll talk again tomorrow!


Portraits tonight

I did some portraits tonight, of a legal team. I used the 85mm f/1.2 lens that I once again obtained for the day from GTAlensrentals.com.

I used a white paper background, and three Bowens strobes: a key light with a softbox; a fill light with an umbrella; and a hair light with a snoot.

Here, that is what this gives me at f/8 and 1/125th second at 100 ISO (that is what I set the three lights to):

And the same in B/W:

See them full size to see how crazy sharp this lens is.

And then I can add some film grain:

And my favourite:

The prime lens helped enforce consistency, and it was ridiculously sharp. I also used the 70-200, my other favourite lens. But that 85/1.2 is something else. Rent it for a few days to try it out.


I’ll Just Do It Myself!

I tend not to worry about, or comment on, the photography market, but sometimes I shake my head and say “what?”.

One of those times is today. A friend asked me to help her shoot small high-end product for a retailer who sells… small, high-end products. Think thousands, and very small. So we quoted for this – the images to be used for a full-page advertisement.

Example of small product, shot with tilt-shift lens


This kind of shooting is not simple. It involves such things as:

  • Camera – a good one.
  • Macro lens
  • Tilt-shift lens
  • Tripod
  • Lights – at least three or four available flashes, preferably
  • Modifiers: Reflectors, softboxes, umbrellas, lightboxes
  • A light table
  • Time

Oh, and knowledge.

And post-processing software, expertise, and time.

So what did the retailer do? He posted this:

So I’ve decided to just buy a camera, seeing what the costs of a shoot are. Any cameras or lenses that are best for close up macro?”

He later asked:

What is a good DSLR to buy?

And when asked whether he knows how to shoot in manual mode, he replied:

No. How hard can it be?

So there is the market problem in a nutshell. Everyone thinks they can do it. I am not sure how to break it to this retailer, but in fact it is not simple, and it involves a lot more than just buying a camera.  “Every professional skill takes 10,000 hours to master”, it is often said. By whom, you ask? By me, and by many others. Because it is true.

I think this retailer may be better off just having us shoot his products, and making it a lesson at the same time. And I do hope he decides to do that, rather than trying it himself.


Primes

As I so often say, prime lenses are fun. They are often better than zooms, lighter, and faster. And they enforce compositional discipline.

Like the 85mm f/1.2 lens that I rented it from www.gtalensrentals.com (because when I can not afford a piece of equipment, or when I want to try it out, or when it’s something I would use only a few times a year, I rent.)

All shot handheld with the Canon 85mm f/1.2L prime lens.

What I love about this lens: The quality. It is ridiculously sharp. Its focus mechanism, whether engaged (manual focus) or not is ridiculously smooth, a real pleasure to use. No scratchy scrapy movement: smooth effortless “air hockey” gliding instead.

This lens is razor-sharp wide open, too, and has beautiful bokeh (the “creamy” nature of the blurry background):

f/1.2, 1/50th sec, 3200 ISO

What I like less: if his lens had IS (stabilization), that would be great. And if it could only focus a little closer… its closest distance is almost one metre/3ft.

You see, that startles Mau as well:

These shots were made at 1/200th sec, f/1.4, 3200 ISO in a pretty dark room. The kind of thing you can do with a prime.

Go rent this lens: since I returned it, it’s available. Warning, though, I plan to get it again for Tuesday’s corporate portrait shoot!


You have nothing to fear…

…but fear itself. And a little grain. When it comes to high ISO values, that is.

But the benefits of those high ISO values a modern camera gives you can be great, too.

I often see new photographers hesitate to go above 400 ISO, say. Well, it all depends on the camera of course, but generally, you shoot to get pictures, and a picture with grain at 1600 ISO is better than a blurry mess without grain at 400 ISO.

Look at this example from Wednesday night. Jane Dayus-Hinch, wedding organizer/guru/TV personality, with Eddie Suliman, cutting their joint birthday cake.

Outdoors, on Toronto’s Church Street.

Shot at 1/30th second at f/2.0, at 3200 ISO, using my 1Dx and the 35mm f/1.4 prime lens.

Another few examples, all shot at roughly the same values (the last one at 1/20th second):

So yes, you can shoot at high ISO values. And yes, you can shoot slow, if you use the flash to light your subject (bounced, of course). Your camera will not be as good as mine, but a little grain is OK – better than a picture with those horrid black backgrounds.

___

Want to learn this stuff? Want me to teach you how to make pictures just as good? Sure thing. Contact me. I teach at schools, clubs, colleges, high-end stores, and privately, in person or via the Internet. And it is remarkably easy. Once you know.


More!

A tip for those of you who have Pocketwizard triggers, like my new PlusX here:

Especially for the new models: Read. The. Manual.

There’s functions and tips that are very helpful, that you will never figure out yourself. Like

  • The relay mode, one channel up.
  • And the way to set the new PW to “transmit only”.
  • And the new LED battery power indication, something I have wanted forever.
  • And tips and tricks for positioning the devices properly to ensure a good radio path.

Reading the manual is sometimes worth it, and this is one of these times.


Timing

OK. What happened here, at the annual local Arts Council Awards Media Kickoff ceremony? The projector that created this image was broken? The lamp was old?

No, nothing like that. Like fluorescent light, the projector effectively (by virtue of the LCD that blocks the light, or not, and does this for the three primary colours of red, green and blue) flashes on and off at a rapid rate, and if your shutter speed is anything faster than the rate of flashing, this kind of thing will result. This image was taken at 1/2500th second. At that speed, every picture is different, and none are good.

The best strategy is to expose at a multiple of 1/60th second, since 1/60th sec is the power grid frequency and also traditional TV screen refresh frequency.  Multiple meaning 1/60th, or 1/30th, or 1/15th… and so on.

So I shot the second shot at 1/60th second (obviously using lower ISO and smaller aperture):

And hey presto. Good exposure (and just enough back light on the mayor and the award recipient to make it a good picture).

Yeah, I received an award also, for being one of three finalists in the Digital Arts category. The winner will be announced later in the year.

Always nice when my photography is recognized.


Spot Visualization

You know those sensor dust spots?

Yeah, I hate them too. When you shoot a sky at a small aperture like f/11, you will see them, sensor cleaning notwithstanding. They’re always there, like little poltergeists that are there to upset you and destroy your images. Modern sensor-cleaning cameras are a little better, but nevertheless, even when 99% of the dust is removed, that leaves the other 1%.

And that is enough. If you look carefully at this, full-sized (keep clicking), you will see some, e.g. top right.

But Lightroom comes to the rescue. In the DEVELOP module, at the top, select the clone/healing tool, set it to healing, and now at the bottom, activate “Visualize Spots”.

You see no spots? Drag the slider at the bottom to the right so you see them all:

Ouch!

OK, now that you see them, zap them all:

Now go back to normal view, and your image is cleaner than clean. Here;’s my final version (again, for best effect, as with all pictures here, click through to see large):

No dust. Thank heavens.