Reminder!

If you use Pocketwizards, or other devices connected to your camera: always clean the contacts.

I just had a student call with a question. Her pocketwizards were working intermittently and incorrectly.

The solution: clean all contacts. On the camera as well as on the devices and cables. Once that is done, it all worked.

And I have had this experience many times. So if anything malfunctions: clean all contacts. Even the lens: move it about a little; disconnect and reconnect. Most of the time, your problems are gone.


Uh oh

You hear me say it so may times: redundancy. Spares. Backups.

Yesterday I taught a course in Ajax. Flash, advanced. A “Dutch Master Class” seminar and workshop.

Here’s a few photos:

20160220-MVW_2334-1024

20160220-MVW_2340-1024

20160220-MVW_2341-1024

20160220-MVW_2342-1024

Outside is even more fun:

20160220-MVW_2344-1024

So I say “A few”. Why, these are in fact the only few I captured.

My assistant packed the bags, due to my tennis elbow. And guess what? She forgot the cameras. All I got was an old 7D.

And guess what day the 7D chose to completely fail?

Yup. Yesterday. Dead. Removing battery, lens, flash, and memory card made no difference. Removing the little 3V memory battery did, but then it failed again each time after one shot.

And that is why you pay for a photographer with plenty of spares and backups. Just saying!


A student asks.

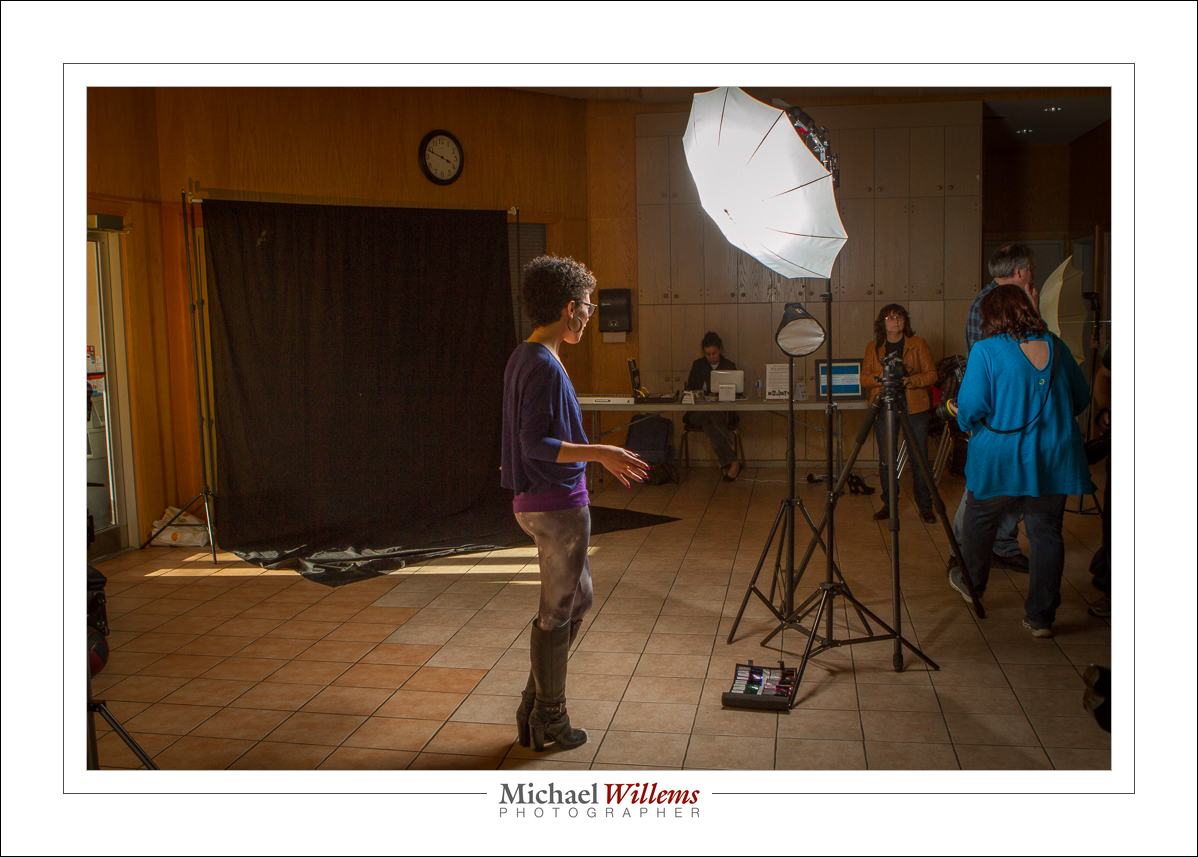
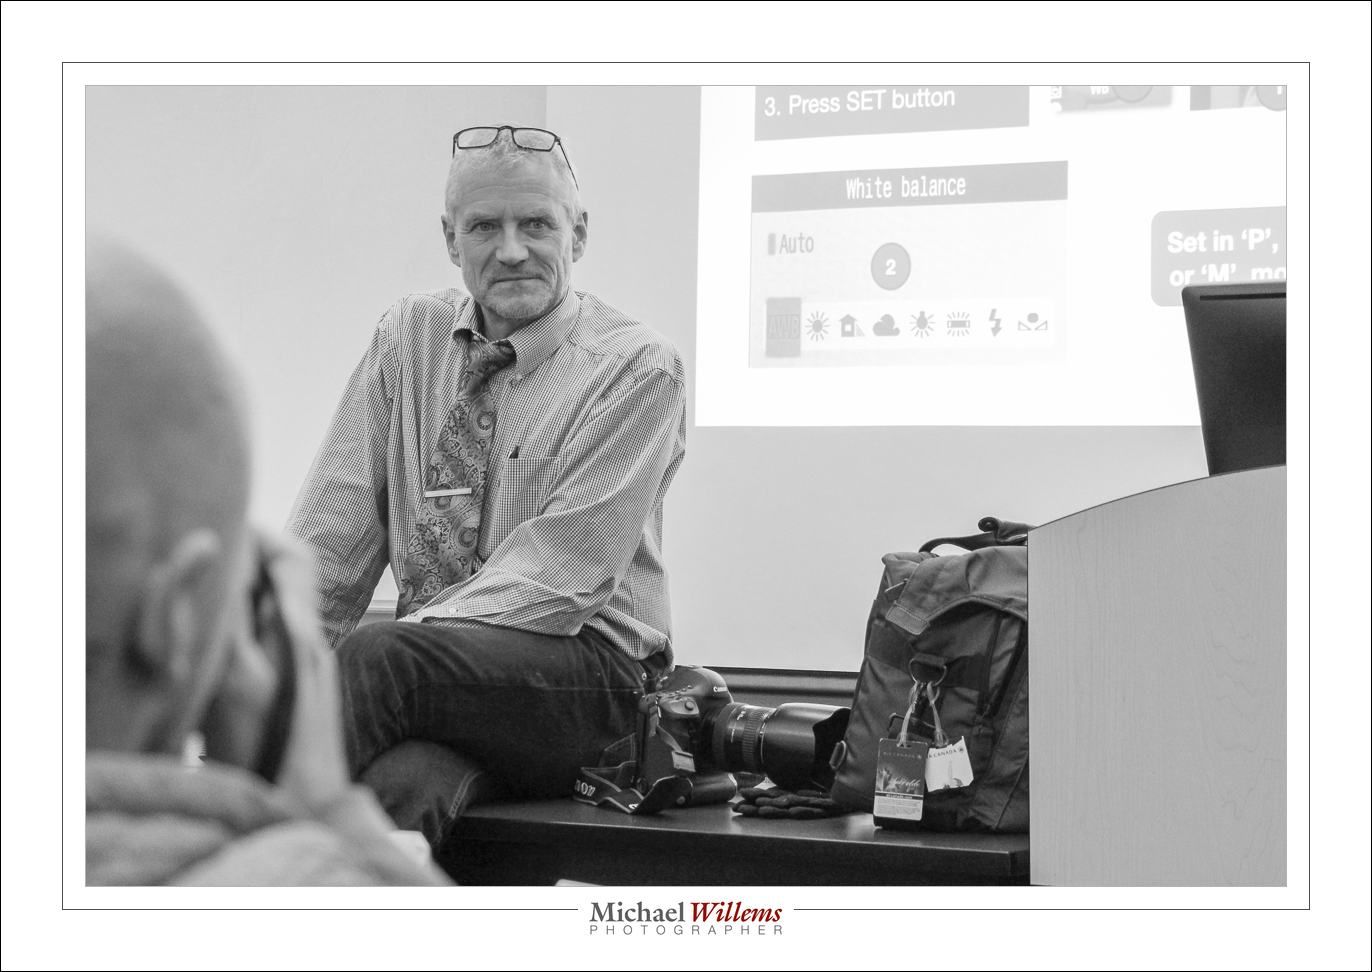
Here’s me, teaching a Sheridan College class just the other day:

20161107-IMG_6873-1200

My student asks:

How did you know you were ready/good enough to charge for your service?

You are ready when people think it worth paying you. Period. Of course yes, you should have the standard technical skills: know about exposure, focus, colour, metering, all those basics. And the basic composition rules. But that is not indicative of a successful photographer; those are merely “hygiene factors”. Like saying an author needs to own a pen, and paper, and know the alphabet. Well, yeah, d’oh! If you are not 100% sure you have all those skills, get my camera books from www.michaelwillems.ca/BOOKS.html

But as said: you are good enough when you manage to make people part with their money. In other words, when people want to pay for your work, your work is good enough to be paid for. A truism, but a true one. 🙂

Would you say there is a specific set of equipment you need to be able to charge for, say, a wedding shoot?

Yes. redundant equipment.

Lots of lenses, several cameras, lots of flash gear: all that is good but not necessary. Depending on your style and your clients’ wishes, you COULD shoot a wedding with just one wide angle prime, for instance. Or a 35 or 50mm prime. The equipment expands your possible styles, that’s all.

But redundant (spare) equipment and at least some form of flash is necessary. It is irresponsible to shoot a wedding if you do not have backups for everything. Because anything that can fail, eventually will. Count on it. And it will be during the ceremony, in the middle of the most important part.

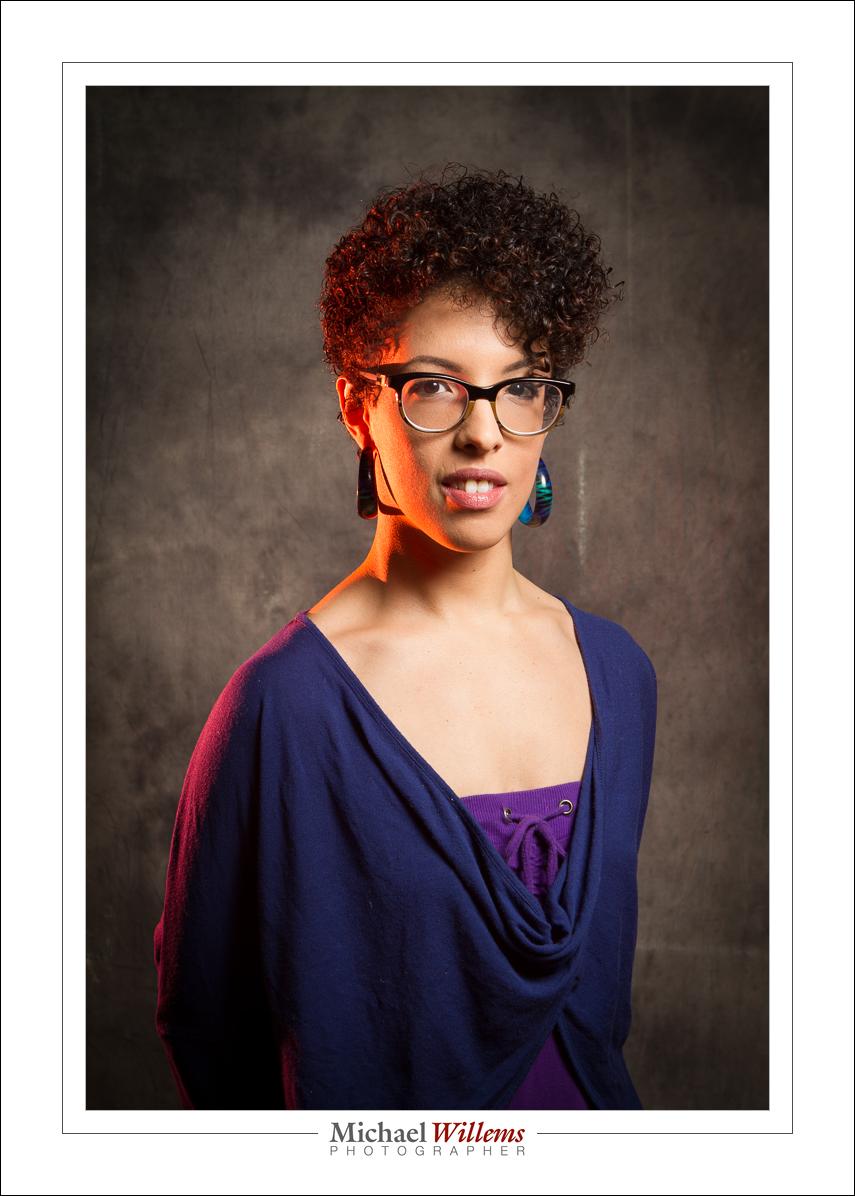
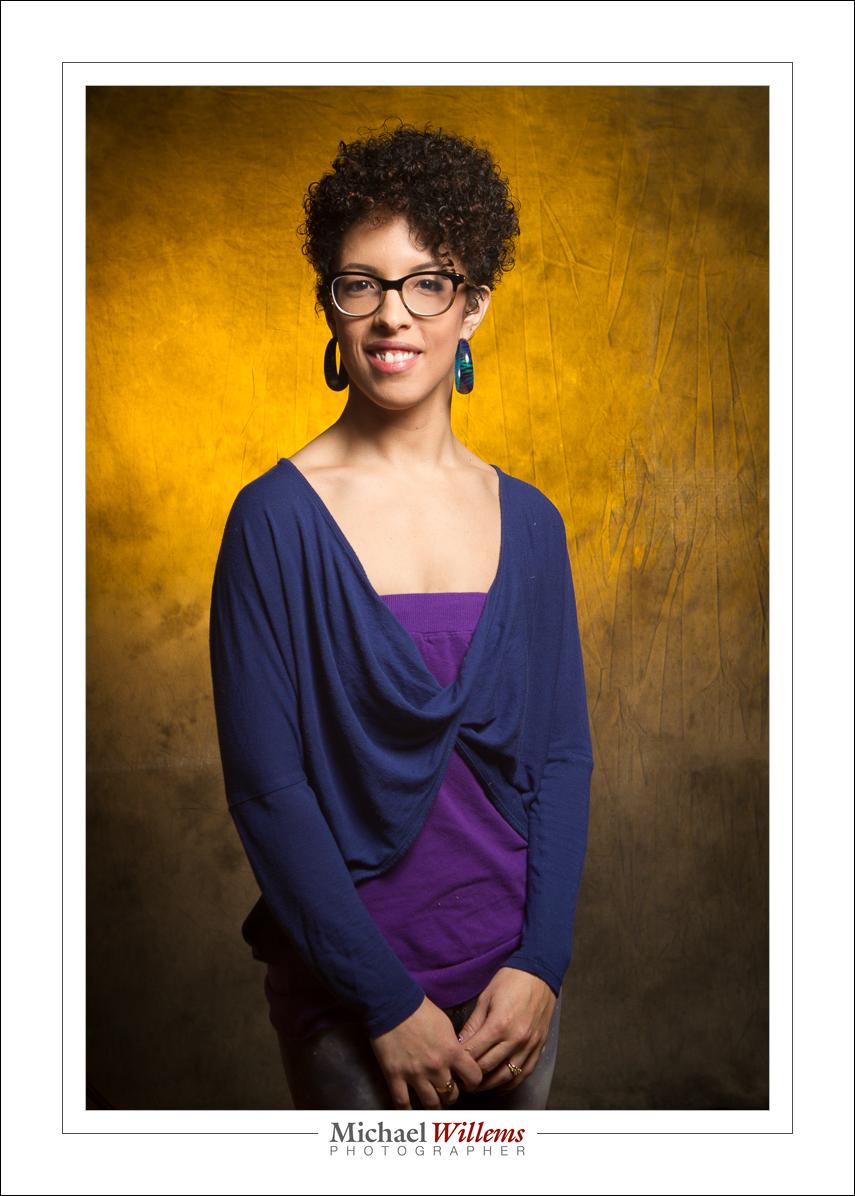
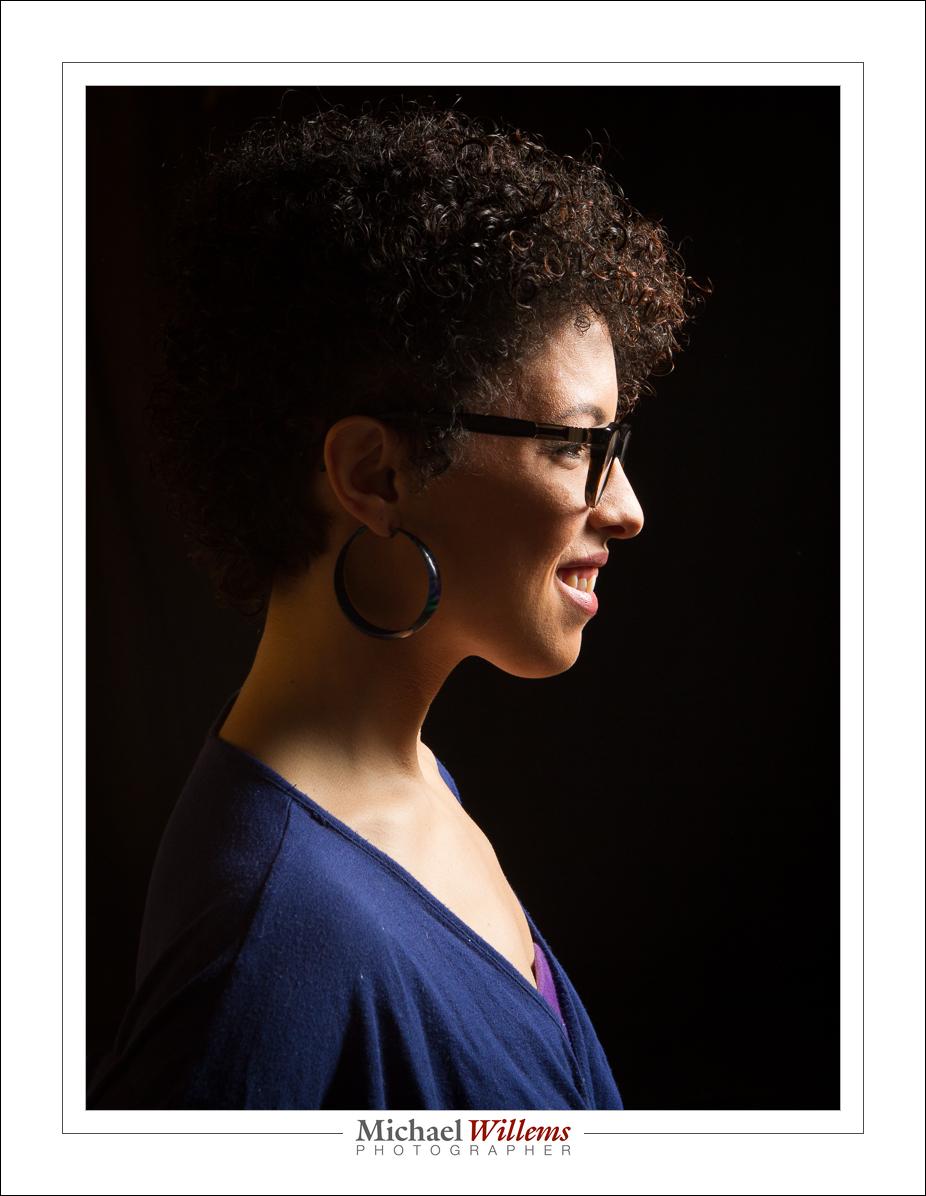
…Or for a portrait shoot?

No. A digital Rebel with a 50mm prime lens is enough if you will. Sure, the more the better, but by no means is that necessary. Sure. Headshots: nice to own a 70-200. Environmental portraits? a 16-35. Available light? a prime. But all those are just means to an end. If you do one type, have one style, then you need only one lens. And an affordable prime is enough. For studio, even a kit lens is fine.

Then you do need a range of flash gear and modifiers. See my flash book, and my portrait book, from www.michaelwillems.ca/BOOKS.html


Options

A recent encounter with a photographer leads me to re-iterate my message here: technical prowess can help expand your available options.

One of those is the use of light. Getting creative can involve any kind of light. Not just “available”, not just “Flash”, not just any type.All types. Why restrict yourself?

Take a portrait in a sunflower field. a “natural light only” photographer can do this:

20140807-MW7_8535-900

Nice. But I prefer for my subject to be the “bright pixels”, because 0f Willems’s dictum that:

Bright Pixels Are Sharp Pixels.

So I, an “everything” photographer, can do the above, but I can also do this:

20140807-MW7_8533-900

Which one do you prefer? The point is not that one is better. The point is that with flash added, you have a wide range of opportunities.

The above shot was made with nothing more than my camera and my usual portable umbrella outfit:

20140807-MVWX8477 (1)


By the way: My Dutch Master Class® courses teach you how to do this; how to think about flash; you learn the Three Essential Recipes: you get everything you need to get your vision into your work.

Your Home Studio: A Full Portrait Kit

One of the things you need to do to be a serious photographer is get a home studio running. And the good news: you do not need much.

23198938856_3315d50d25_o-1200

You can do it by using something like this—and this is a pretty well equipped speedlight portrait setup:

  1. Camera and lens(es). Pretty much any lens will do since you will be shooting at f/8. Use longer lenses for headshots. My favourite is my 70-200.
  2. Four cheap flashes. You can use any flash, any brand of flash whose power can be set manually and whose automatic time-out can be disabled. Like $85 Yongnuo manual (non-TTL) speedlites.
  3. Five Pocketwizards (or similar). The simplest, non-TTL types.
  4. Four Pocketwizard to hotshoe cables (from PW or from flashzebra.com).
  5. Four light stands.
  6. Two umbrella/flash mount brackets
  7. Two umbrellas.
  8. Two ball heads (for background light and hair light)
  9. 2 Speed straps, one Honl speedsnoot, one Honl photo 1/4″ grid.
  10. One set of Honl photo artistic gels.
  11. A backdrop stand with two or three crossbars (unless you have a grey wall).
  12. A roll of background paper. I suggest dark grey. But white and black are also useable.

We are talking a camera plus perhaps a couple of thousand dollars to be completely equipped for headshots, three-quarter shots, etc. (To make things easy, I recommend using a complete Honl photo kit, from www.honlphoto.com/?Click=2032 – use that link, and use discount word “Willems” at checkout to get an additional 10% off the kit price.)

That’s not much equipment. Yes, you can even do it in a simpler fashion (e.g. by using “SU-45” flash follower mode on three of the four flashes, and by using a reflector for your fill light), and you can do this in several phases rather than all at once, but the above setup gives you a reliable pro kit, and some redundancy as well.

If you want to learn how to do this, good news. It’s easy. Come to a custom personal class (see http://learning.photography) or join one of my Brantford meetups or buy my acclaimed e-book bundles from http://learning.photography/collections/e-books.

What should I buy?

I hear that a lot, that question. Especially as in “should I buy Canon or Nikon”, or “can I buy Olympus [etc])?”.

That is a tough question to which there is no one good answer except “it depends”. It depends on things like:

  • Are you already invested in lenses, etc, of one brand? Then that has the edge. Provided you can use that equipment.
  • Do you want a LOT of support, knowledge, available third party hardware, etc? In that case “Canon or Nikon” is a good answer. There is less support for Pentax, Olympus, Fuji, and so on. If that is very important to you, shy away from those. But it is only important to some people, who use their equipment very intensively.
  • Do you like the menus, etc, of one brand or another? Personally, I do not like the Sony menus one bit. That would at least slightly edge me toward that brand if I were to buy new equipment from scratch.
  • Do you really like one brand or another? Then buy that brand.
  • Is the range of cameras, lenses, flashes, etc better in one of the brands you are considering? Then that is the right answer.

There are no bad brands: technically, these are great times to be a photographer. I think that a very important thing is to actually hold the equipment you are considering and use it for at least a few minutes. If you do not love the gear you are holding in thos eminutes, you will never love it.

So in essence: buy the brand you like, but hold it by the logic of the points above.

Michael


PS: if you want to be admired for your work, consider my VIP Dutch Master Class sessions later this month and in early February: now with different VIP bonus, longer duration, and fewer students.

Size Matters

Focal length, that is; i.e. size of your lens. For example, when doing portraits.

General rule for headshots: the longer the lens, the better.

But it is not the lens that does the magic. It is your proximity to the subject.

With a short lens, like a 50mm, you need to be close to the subject. That causes some distortion; the closer, the more.

With a 200mm lens, however, you can be far, leading to a much more neutral, less distorted view:

See the difference? And that is viible on real faxes, too:

…and that is why my 70-200 lens is my favourite portrait lens. Provided I have enough space.

And that is where the second advantage comes in: being farther away, you are perceived as less “threatening” by your subjects. Meaning less awkwardness.


Long.

Portrait lenses, anyone?

“The closer you are, the bigger the nose will be”. So a wide angle lens, which needs you to be close, gives you distorted portraits.  On the other hand, an infinitely long lens (say, a 1,000,000mm lens) will give you zero distortion.

Time for examples.

20mm:

100MM

Can you see that the wider 20mm lens, which needs you to be closer to the subject, distorts that subject more? While a longer 100mm lens makes the image look more neutral. In fact, the longer the lens, the less the distortion.

My favourite headshot lens is my 70-200mm f/2.8 lens. For half/full body fashion shoots, it is the 85mm f/1.2 lens.

Fur full body only shoots? 50mm, maybe.

Anything environmental? Wider. Maybe 35, 24, or even 16 or even 10mm. Enjoy!


Flash tip

Quick tips are often the best. So this one is quick.

When you are using TTL flash, and you want to know if you have enough power to do the shot, do this:

Put your flash into MANUAL mode (Press MODE until TTL is replaced by M) and ensure you are set to full power (100% or 1/1). Then take the photo. You should see an overexposed flash photo.

  • If so, go back to TTL and carry on.
  • But if not, you have to increase your ISO or decrease your aperture number. Then repeat.

And that’s all. Just one of those quick tips that can make all the difference over the holiday season.
TIP: A GREAT Christmas present: my checklists book, the printed version. Shipped worldwide, and there’s time before Christmas. Act now: http://learning.photography.


Filters for correction

You can use some gels (colour filters) for correction, Here’s an example.

Take this: I am lit pretty much OK by my flash, and with the camera set to FLASH white balance,, but the background is a tungsten light, so it looks red. I happen to like that, but what if I want that background to look normal, white, the way it looks to me?

Well…  can I not just set the white balance to Tungsten?

No, because then, while the background would look good, the parts lit by the flash would look all blue, like this:

Part 1 of the solution: make the light on me come from a tungsten light source too, so we both look red. We do this by adding a CTO (colour Temperature Orange) to the flash.

Part 2 of the solution: Now you can set the white balance on your camera to “Tungsten”, and both I and the background will look neutral:

Done. Now we both look normal.

So, in summary:  when you are dealing with a colour-cast ambient light, gel your flash to that same colour cast, and then adjust your white balance setting to that colour cast.


You can learn all about this, and much, much more, from my e-books. Now available from http://learning.photography — the checklist book even as a printed manual now,