A workshop

Here’s a proper version of that last shot, and a few more from this weekend’s Flash Photography workshop:

And an unsolicited student reference:

There you go! When there’s another workshop, I’ll let you know here, and I’ll give you the link here when I do the next Sheridan Flash Workshop!

(You know my books also, right? See here for information. I see the store is having temporary issues, so email me if you are interested: michael@mvwphoto.com – or check out Amazon).


Flash!

I taught a special flash workshop over the past two days, at Sheridan College. Seven students, great crowd.

Here, a few images:

Next, a one flash portrait. Yes, you can do some great stuff using just one flash. The flash was fitted with a Honl Photo grid – without that, it could not have worked. Fired by pocketwizards. This student looks like Queen Nefertiti, we decided:

Funny, aunt and niece, who, contrary to what you might think looking at this image, both have a great sense of humour:

And finally, me, by one of the students. A standard four light portrait:

About this portrait:

  • It uses a key light, a fill light two stops darker, a hair light, and a background light. Four flashes.
  • Key and fill were strobes; the others were speedlights.
  • They were all fired by pocketwizards.
  • The background was light grey. That makes it difficult, to add colour to it, so we used a considerable distance between me and the background. (The background needs to be dark before you can add colour to it).

And finally the easiest shot. Now I warn you, the sample below was shot from the back of my camera with my iPhone, and then further mangled by Facebook, so do not look at the quality. Look at the idea instead.

So simple. One flash, located behind the subject, aimed at the backround. And a part Harvey Weinstein lookalike in the foreground.

A family shoot

This, a couple of samples from a family shoot I just did, is why you probably want to hire a photographer for a family shoot rather than using an iPhone to just snap away:

Those are pretty much straight from the camera. So what does that take? Well, experience, insight, plus:

  1. A large battery-powered flash fired into an umbrella.
  2. A couple of pocketwizard radio triggers.
  3. Set your shutter to 1/250 sec, ISO to 100.
  4. Start at f/8 and be ready to change the aperture to set the background 1-2 stops below nominal (f/11 in this case).
  5. Turn the subjects away from the sun.
  6. Position them right.
  7. Shoot at just the right moment.

Simple once you know. And if you don’t know, I have two pieces of advice: One, learn (I teach, and I write books!) and two, start by hiring a pro.


Phone tip

A phone tip today. Because iPhone.

So you want to take a clear picture of something, to post. Super clear, like this:

Then I have a few tips for you!

  1. Ensure you have plenty of light; preferably reflected light. Like at a window, but not in direct sunlight.
  2. Take the picture from some distance away rather than from very close up. Then crop. This results in an overall clearer image, because very close up images suffer from lack of depth of field, and are hard to focus accurately.
  3. Sharpen the image. I use ProCamera, a camera/edit app that costs a few dollars, but is worth every penny.

If you follow those three steps, your phone images will be better than ever!


And another event

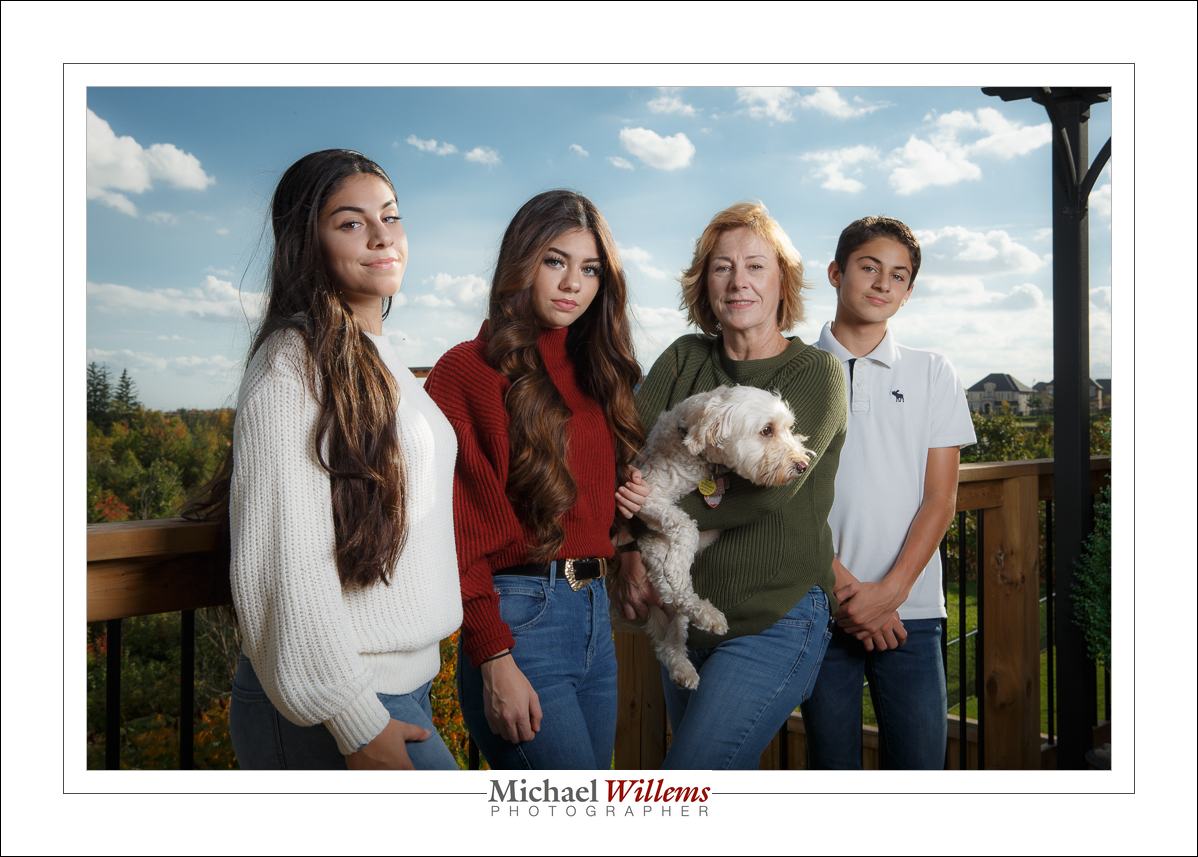
Sunday I shot an event: a baby shower. In a back yard and inside, and in a tent. Portraits, with two strobes (one with umbrella, one with small softbox), as well as event pics.

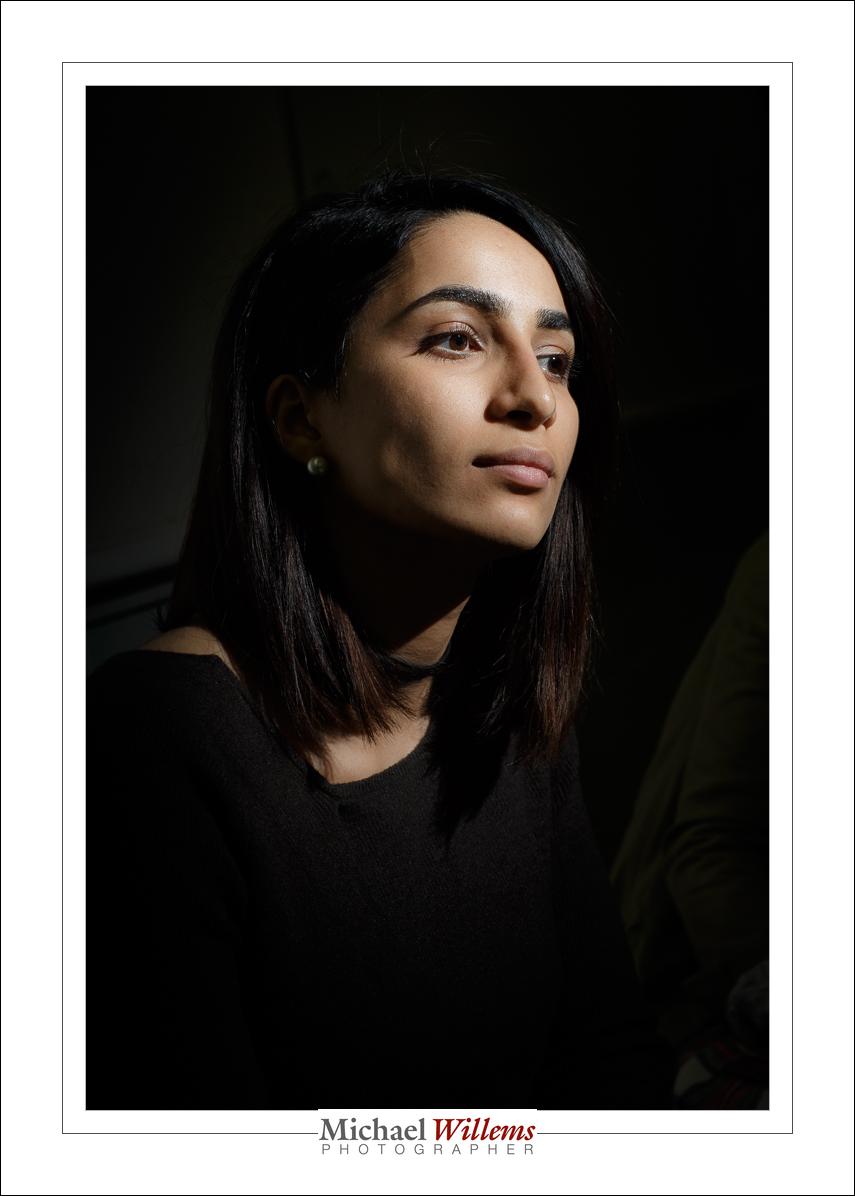
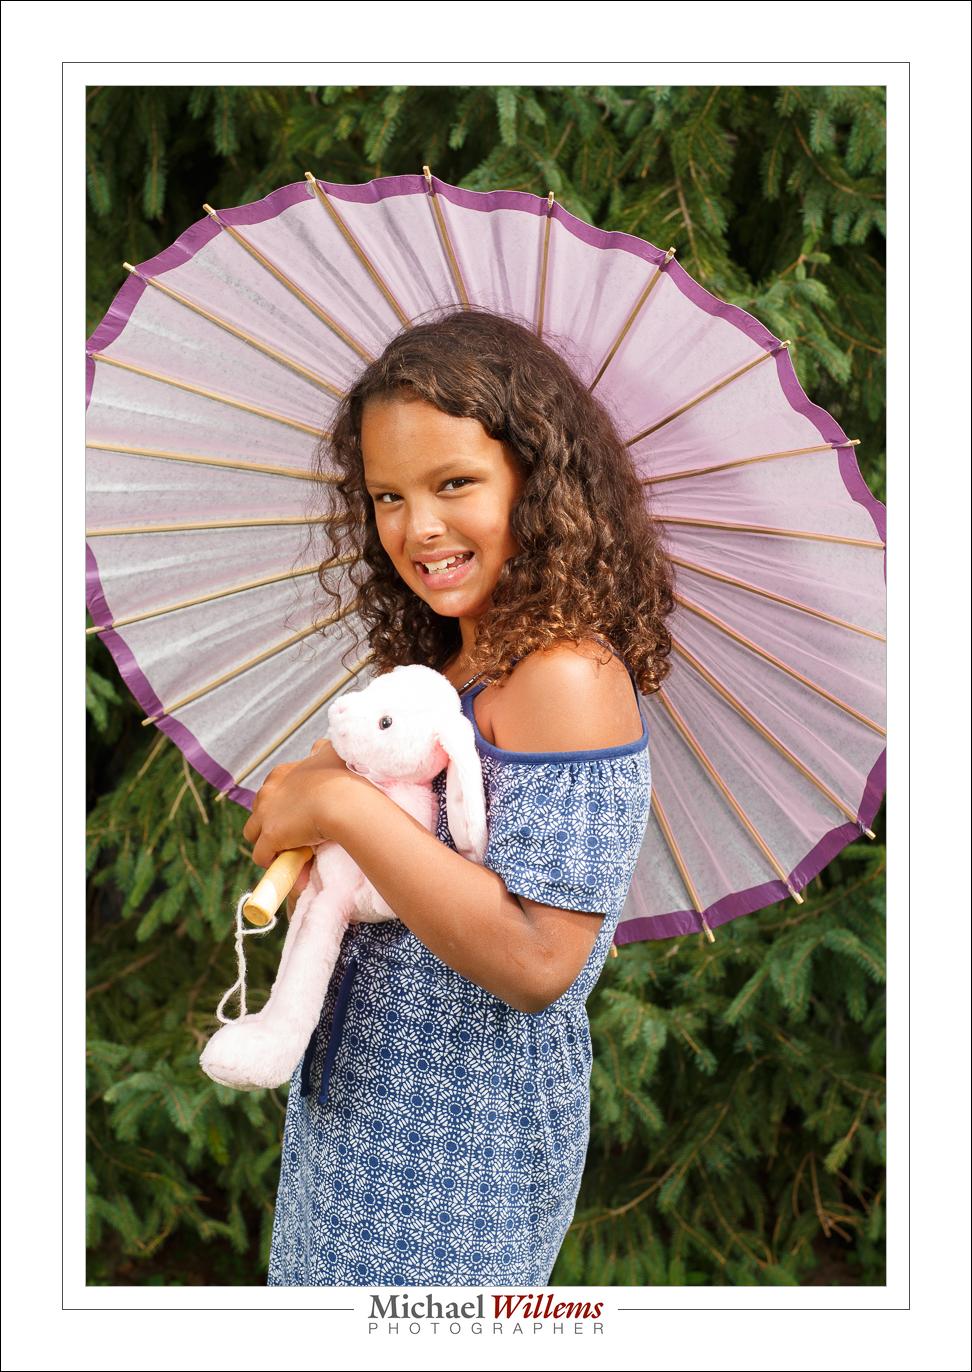
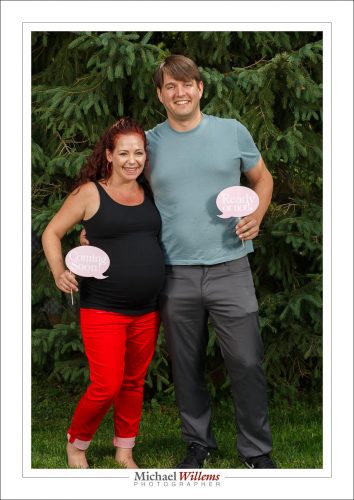
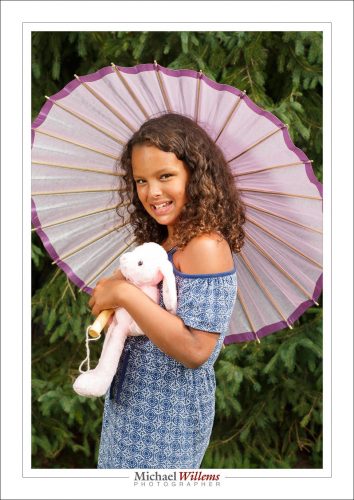
The portraits, with or without props, looked like this—and you will see it is all about the light. Hence the strobes, and the subjects in the shade as much as possible. I used a 24-70 for this, as well as the 85mm f/1.2 lens.

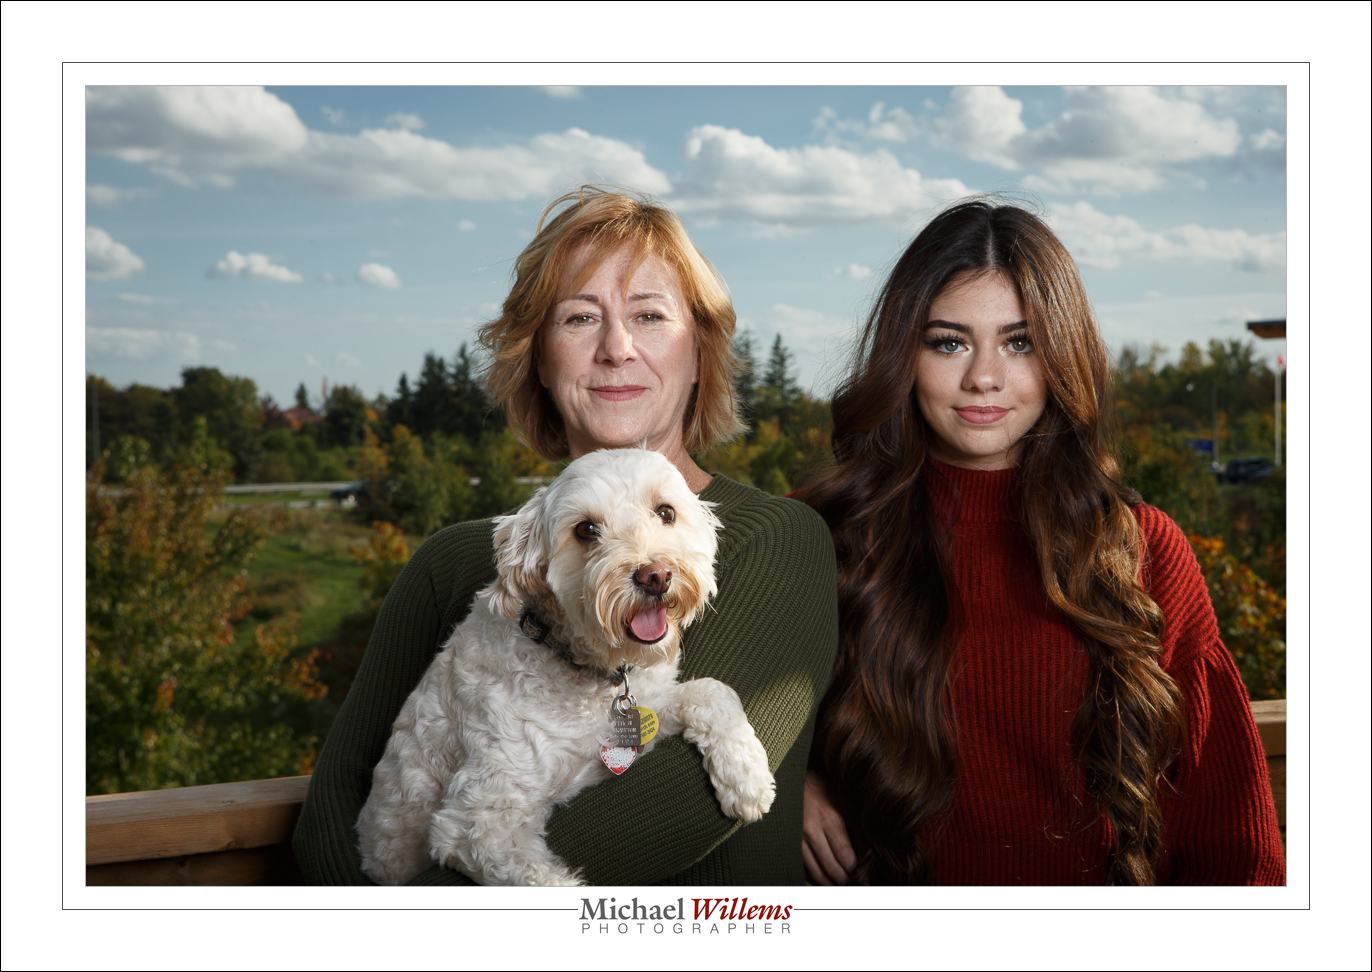
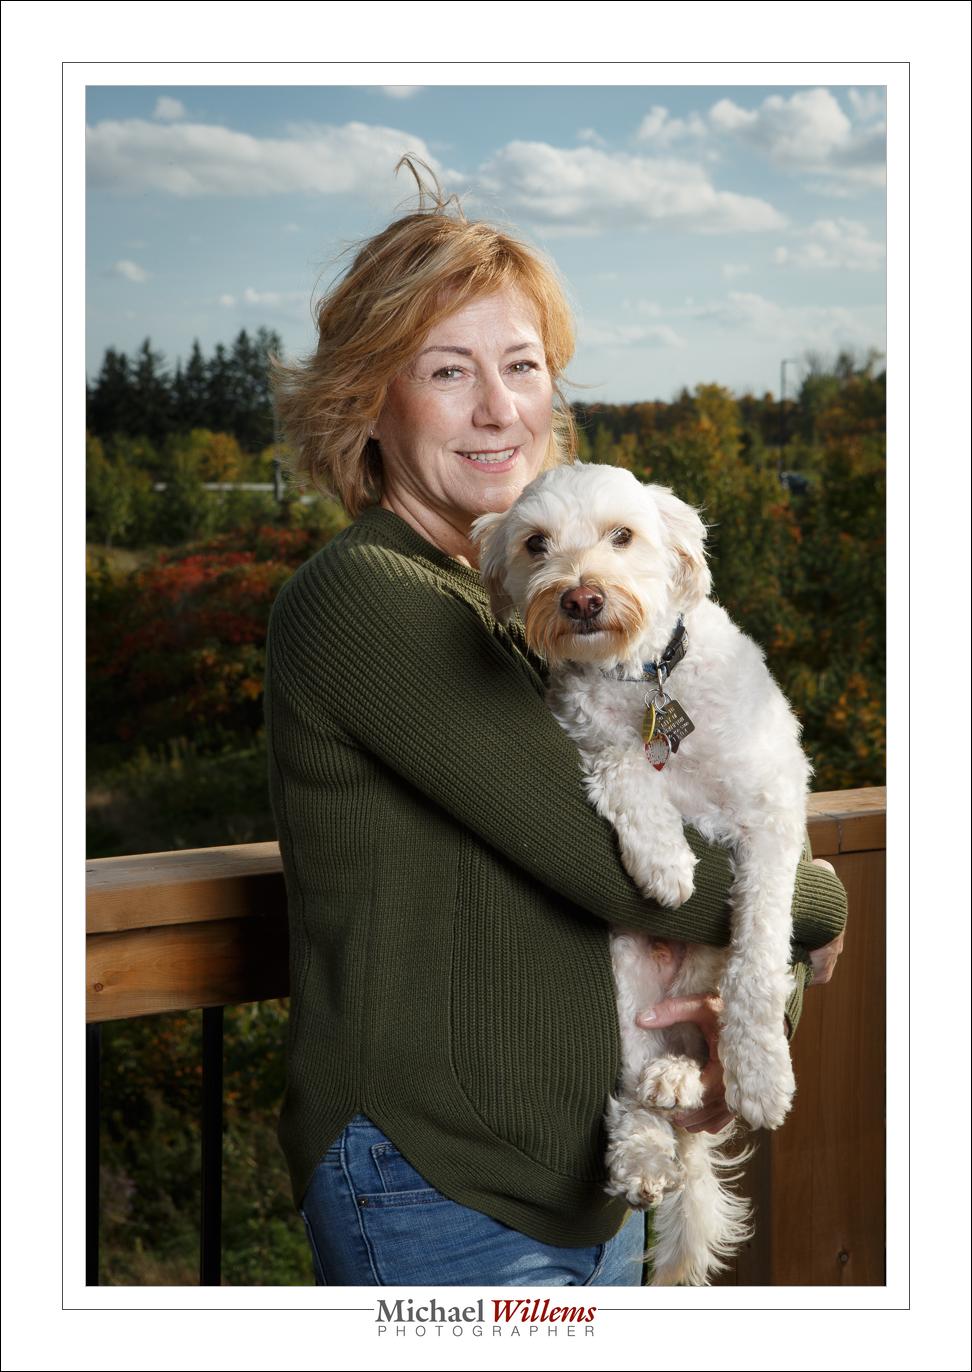
Some spontaneous, like this – don’t forget to look for those spontaneity moments…:

Indoors shots were like this, shot with thew 24-70 f/2.8 lens and using a bounced flash—here too, look for people interacting or “doing things”:

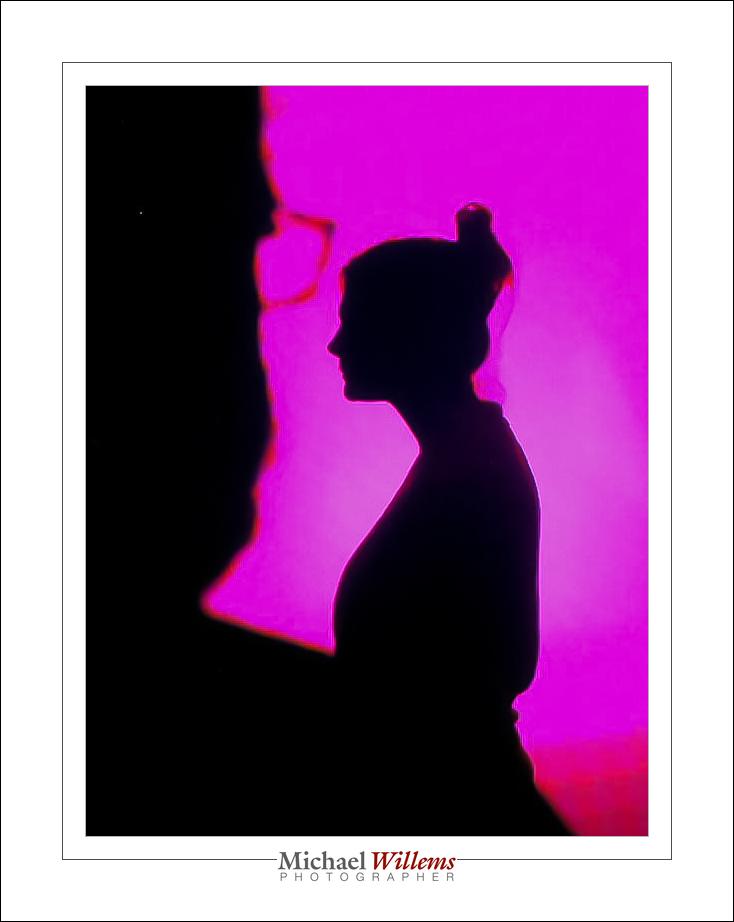
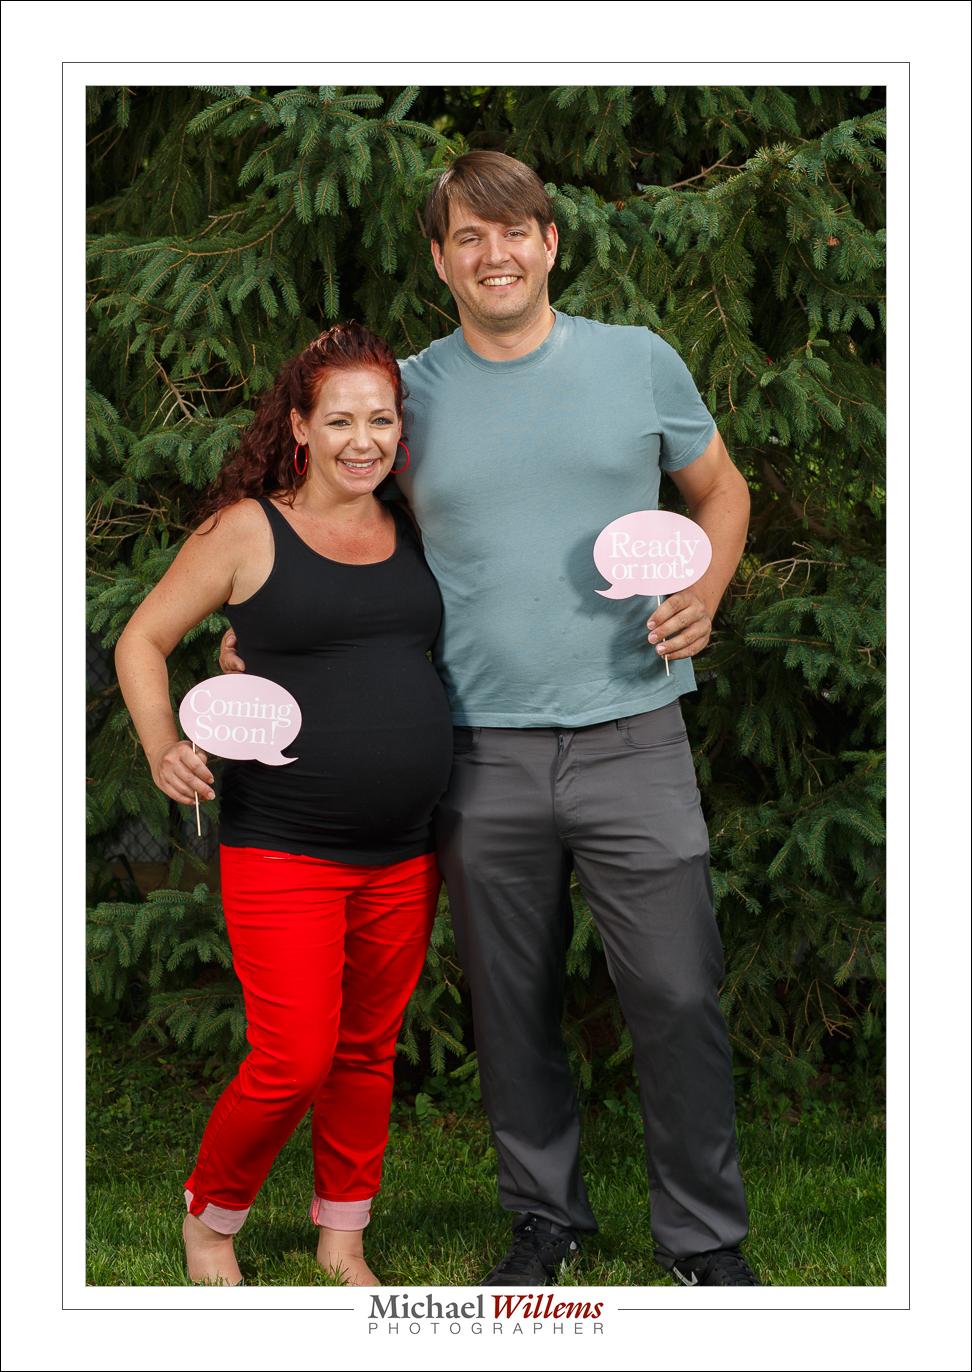
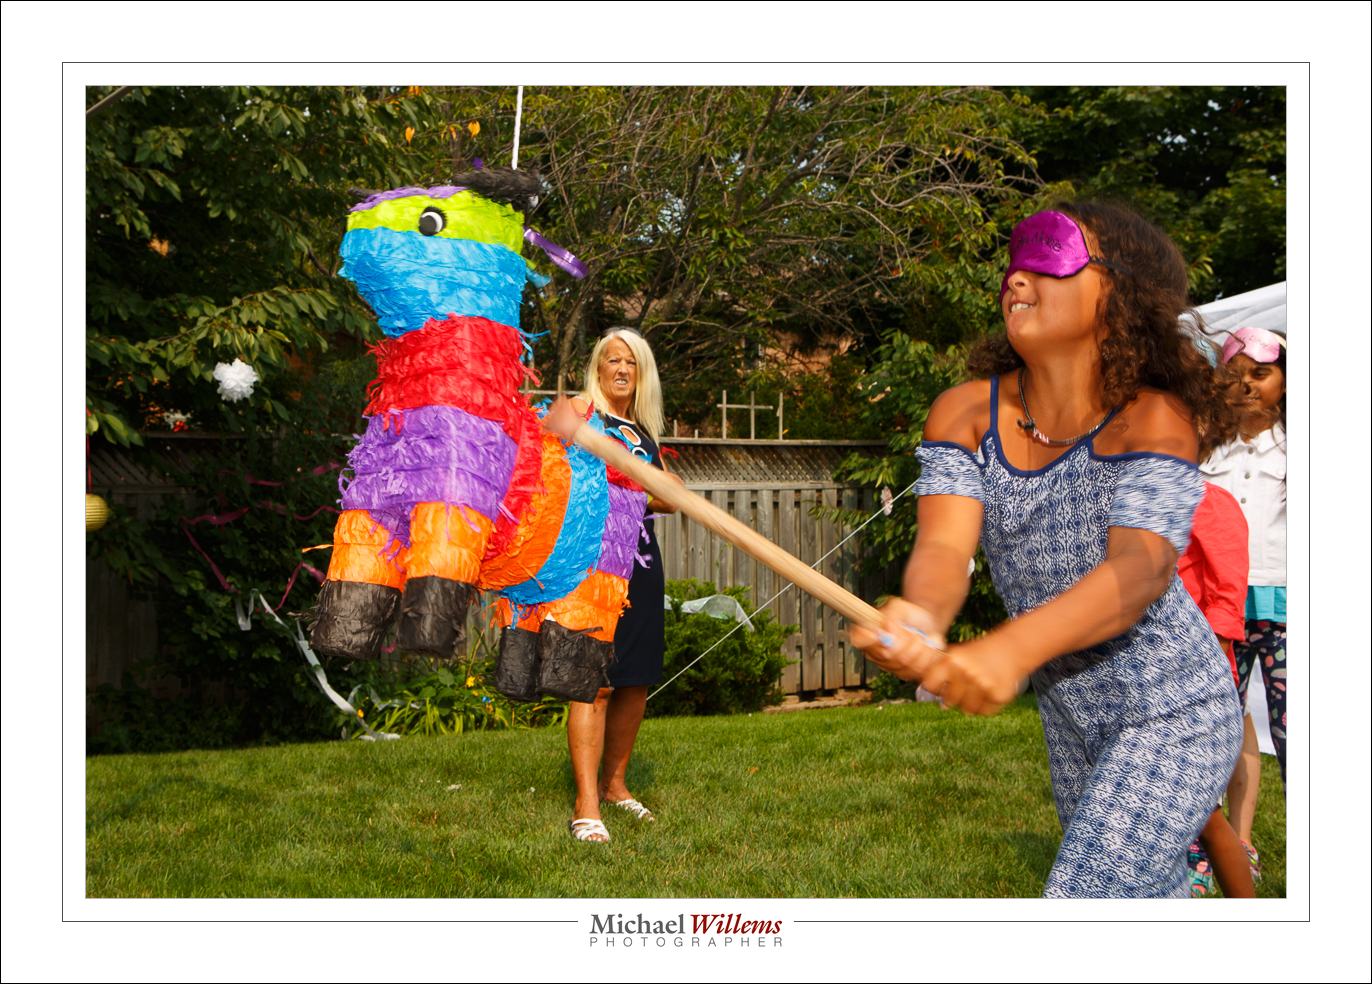
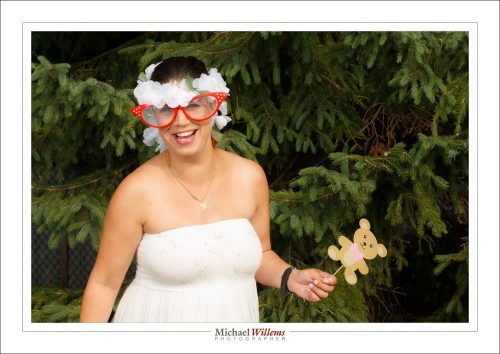
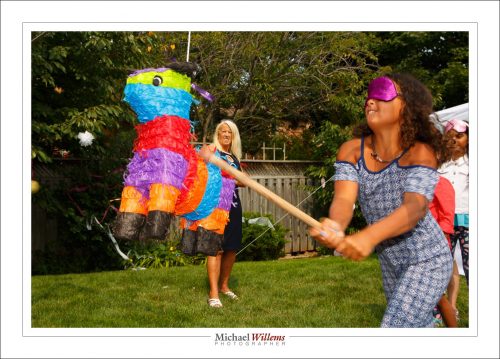
And outdoors with a flash aimed directly at the subject, which gets us the subject as the “bright pixels” and saturated colours. And when there’s something happening, look for the right moment. either to get the right pose:

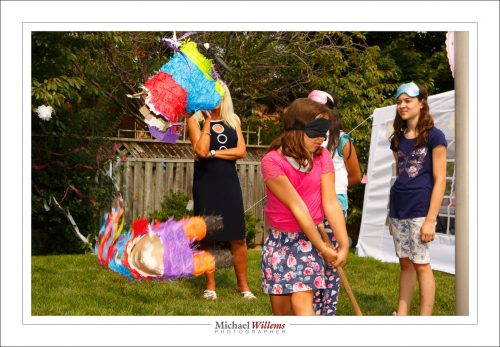
And if you pay attention you can often get “the decisive moment“, in this case the piñata falling to the ground in pieces.

Photos were, as far as I can tell, universally liked, and I bet those who did not have their picture taken regretted it in the end.

Oh and the human species will probably survive, judging by the number of pregnant women present. Like half of them, it almost seemed.


Event tip

Last night I shot an event with many celebrities. Not being totally in touch with Canadian  popular culture, I did not recognize a single one, while everyone else was fawning over them. F1 race car drivers, famous boxers, politicians, NBA stars: the fact I do not know them is probably, I think, an advantage, because I am not intimidated at all. 🙂

An event photography tip. Problem: I had to shoot the red carpet photos by bouncing against a wood wall. Result: the images would look horribly red. Solution: set white balance to the appropriate colour temperature – by trial and error, yesterday that was 4600 K.


Colours and «croak croak»

Wednesday was another day for the macro lens. This time at the Botanical Gardens in Burlington, Ontario.

These froggies were in glass cabinets, so the main objective is to avoid reflections:

Then, plantie thingies, with some brilliant spring-like colours, because it’s spring, at least in the greenhouse:


And then there’s the niece:

Settings were: 5D Mk3 with macro lens; manual exposure mode, 800 ISO; various aperture and shutter speed settings achieved using the built-in light meter.


Focus Tip: AF-C/AI-Servo and back button focus

I am often asked “can I not leave my camera on AI-Servo (AF-C if you are a Nikon etc)?

The answer is: not a great idea normally. Because you cannot recompose. The moment you try that, taking your focus spot(s) away from your subject, the camera focuses on whatever is behind the subject!

But there is a trick, and I used it today to photograph these amazing insects:

Namely this:

  1. Set your autofocus mode to AI Servo/AF-C.
  2. Select “back button focus” in your camera’s menu (i.e. focus when you press a button on the back of the camera, not whenever you half-press the shutter button).

Now you focus as follows:

  1. Follow the insect, or hockey player, or whatever you are shooting.
  2. While doing this, keep the back button focus pressed, so your camera adjusts to follow the subject’s distance.
  3. But when the butterfly sits and you want to recompose, let go of the back buttoin focus. You can now move the camera to recompose, yet when you shoot, the camera will not adjust its focus.

Done and done!

A quick note about that amazing insect. Nature knows what many beginning photographers do not: you need a catch light in the eye to make it look real and alive. The butterfly’s owl eye has that catch light (the white circle part ion the “pupil”)! Amazing, eh? So learn from nature and always include a catchlight in your portraits.


This Weekend’s Flash Course

…was a good thing for all participants. Flash photography is a key to creative shooting.

Here’s me, and yes I need a haircut”:

One of the students outside:, using the Outdoors Recipe (1/250 sec / f8 / 100 ISO):

Charlie (who I think should be called Zoolander) and a shadow:

Learn to use flash, if you do not yet know how to do it. You will be grateful to yourself. I do private training, or you can sign up at a school, or you can read a good book (hint): but however you do it, learn this!