Coins and Uncle Bob

Photographing coins is notoriously tough. They are shiny and matte; the shiny bits can be dark or light depending on how you shoot them; they need to show coin detail without showing dust detail; and above all they are three-dimensional, not flat: to do it properly takes a lot of equipment and skill.

But you can do a lot with a little: an 80-20 rule says you can get 80% of perfect with 20% of the effort.

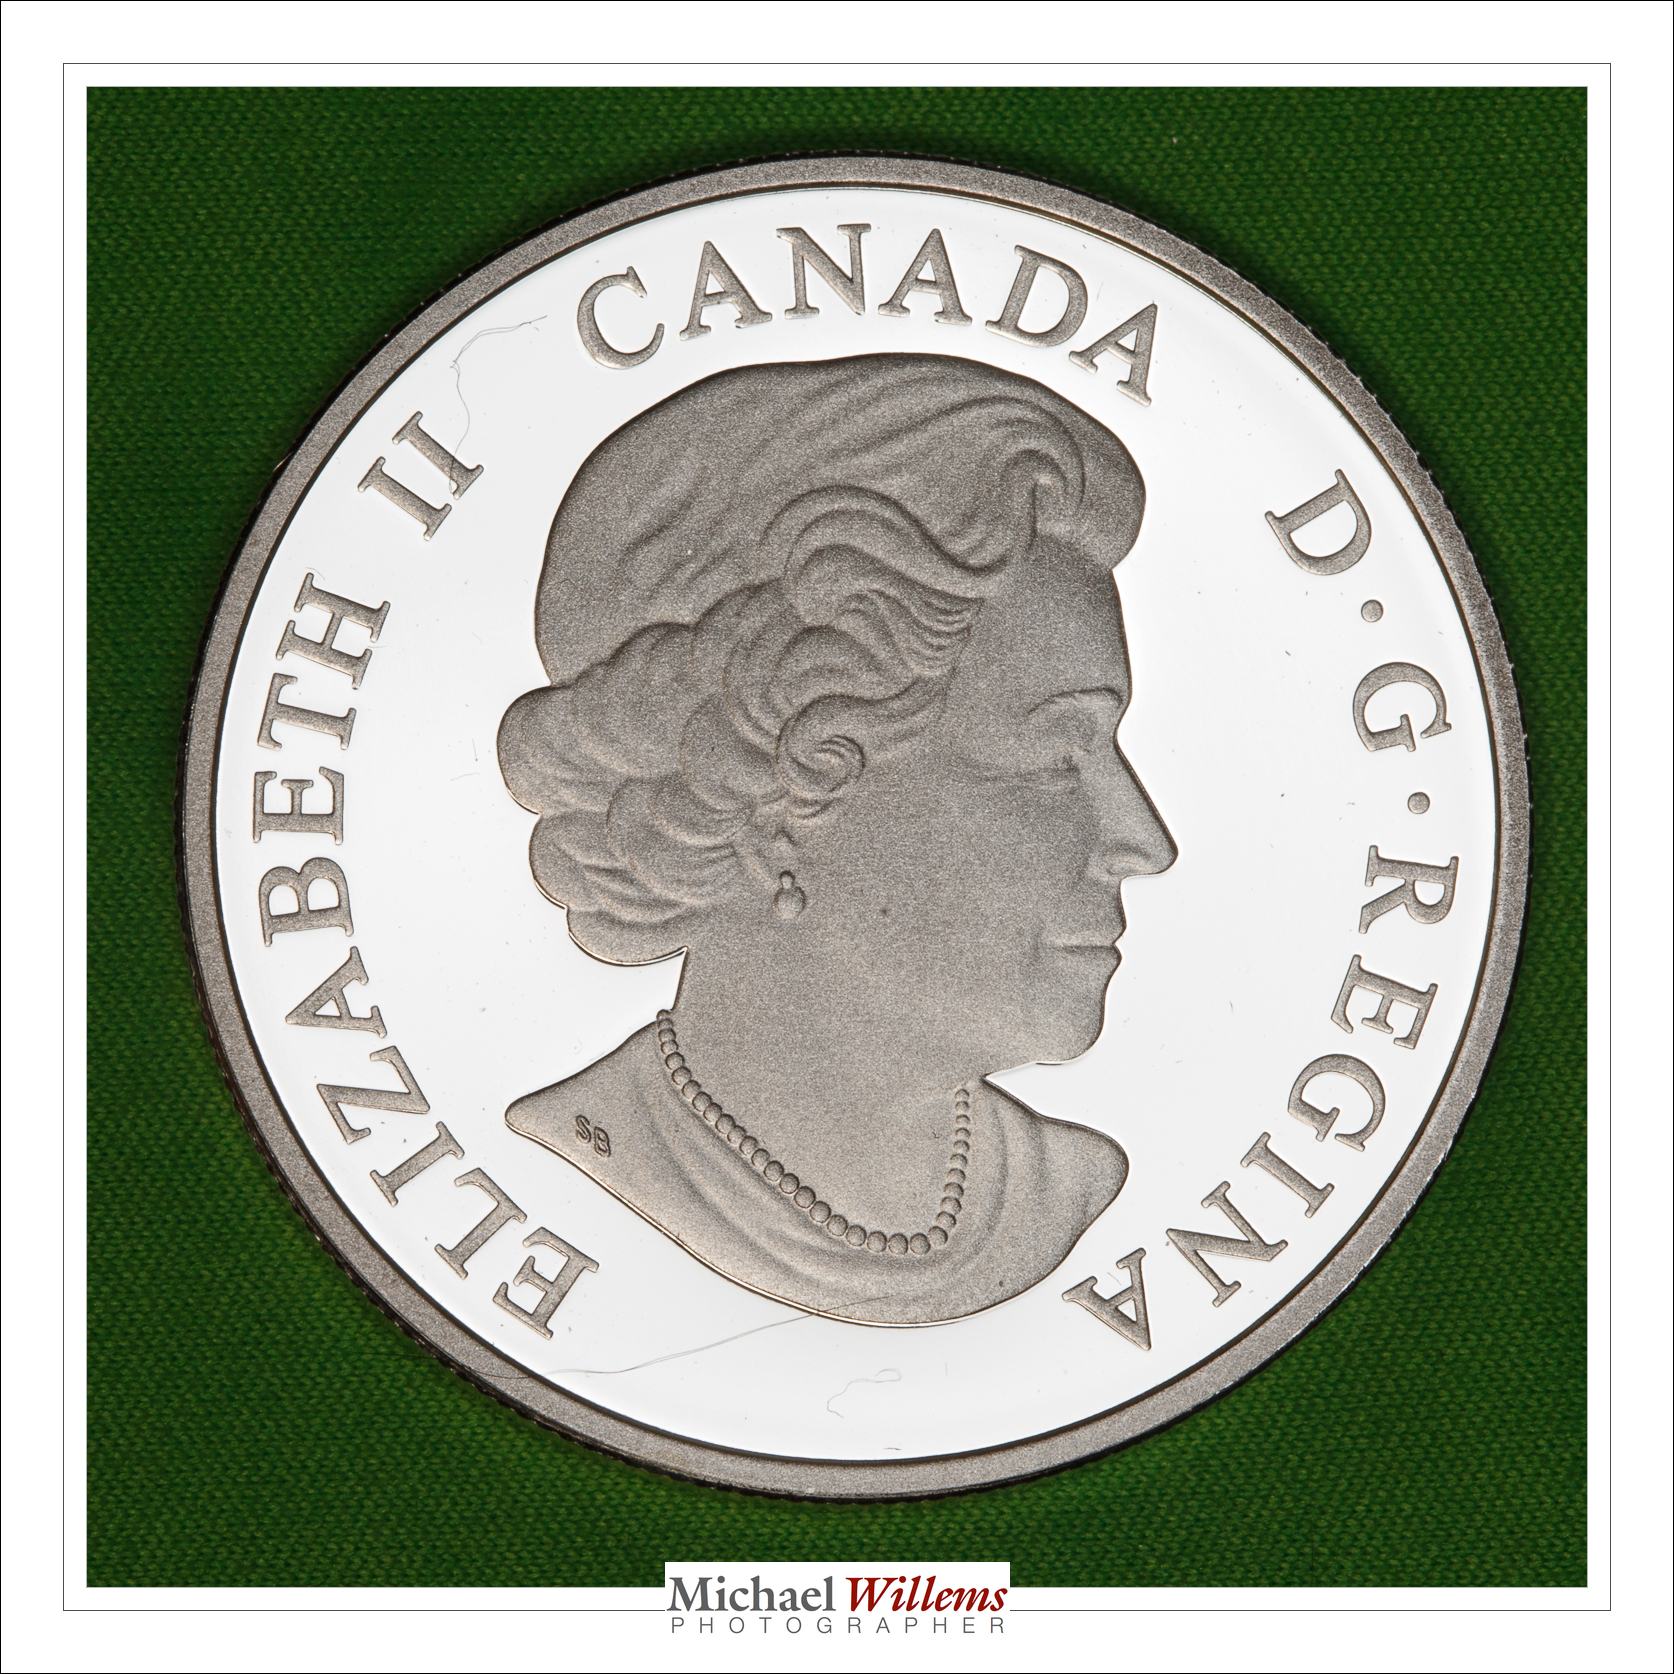
Let’s take a look. A macro lens and a ring flash gives me the following, for a 2015 proof quality coin.

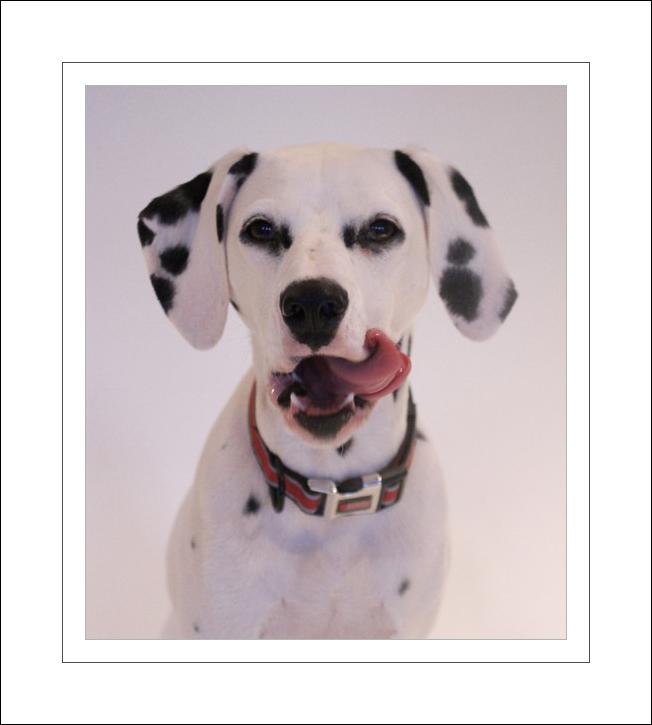
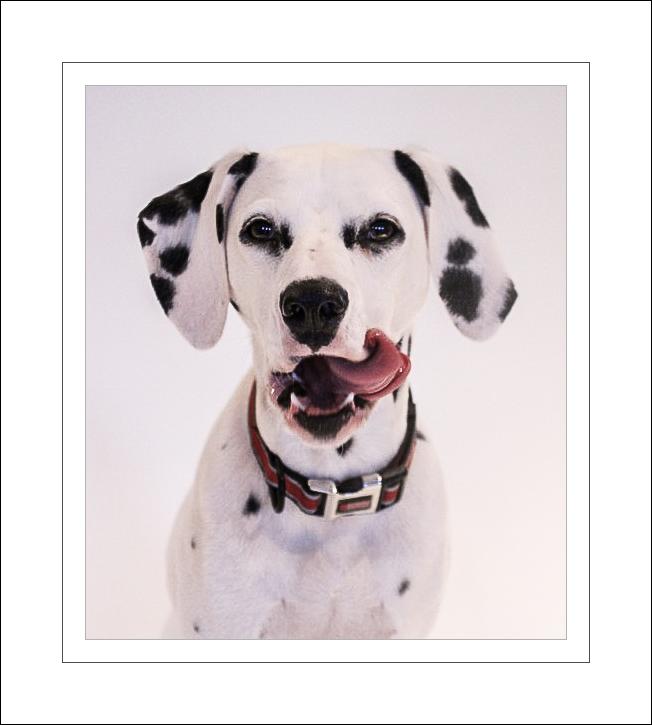
First, the ring flash is held not quite right:

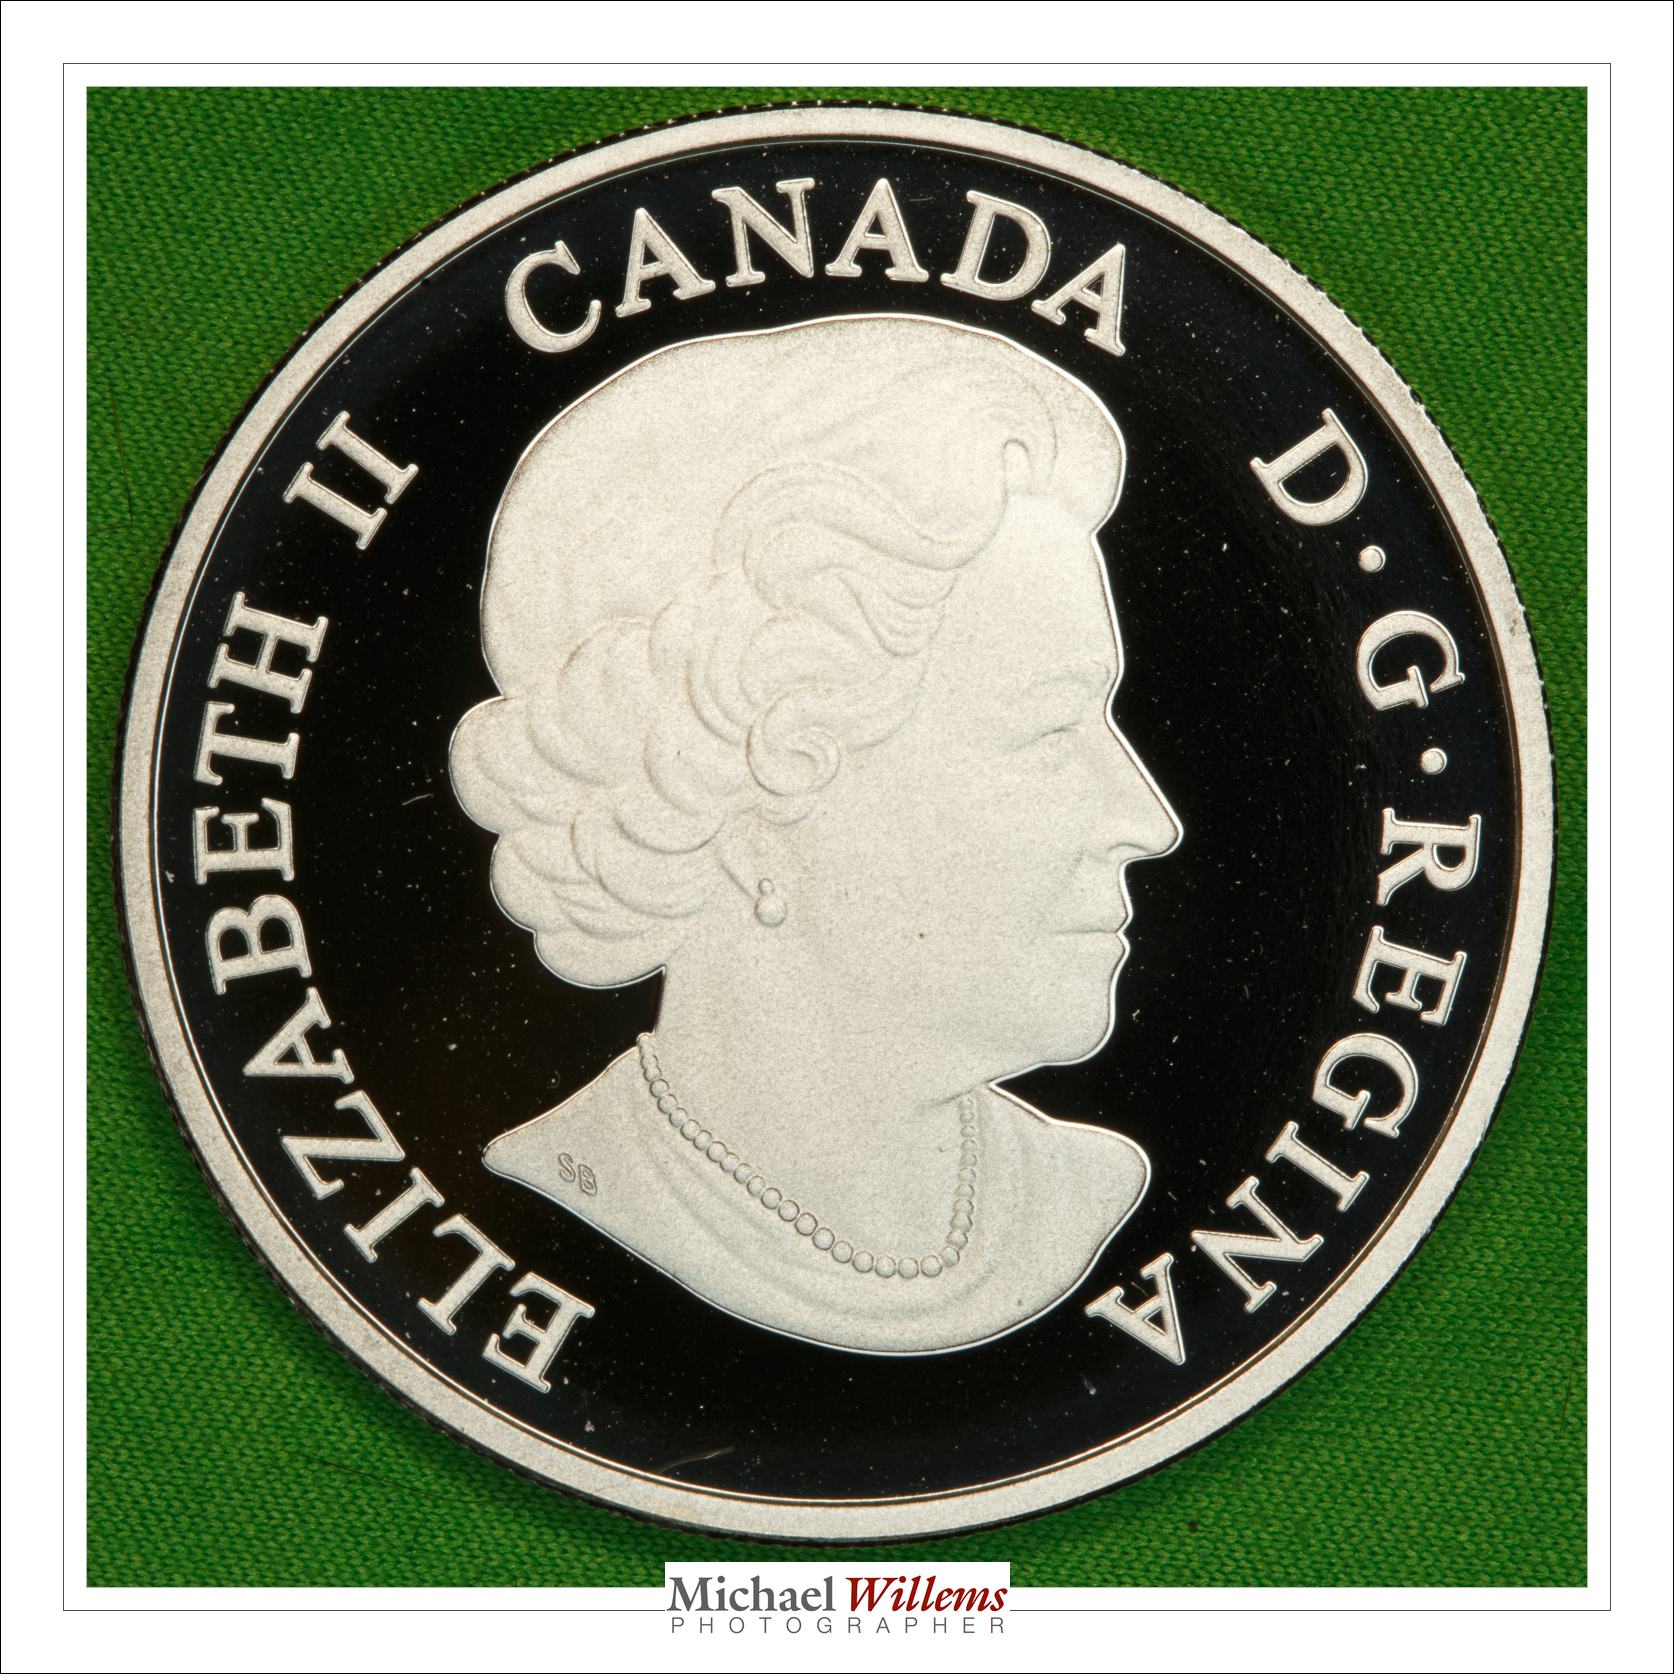
A better positioning gives me consistent results like this, for the obverse (front) side:

And here’s the reverse (“back”) side:

Not bad for five minutes work, no?

Remember that 80-20 rule. Often, you can do with “good enough”. Like when selling on eBay: perfection makes people suspect that you have simply copied a commercial picture, and hence the item pictured is not your item. So this is a good compromise: pretty good, little effort.

I used:

  1. Macro lens
  2. Ring flash (or in this case, Orbis ring flash adapter)
  3. Flash set to manual, 1/4 power
  4. White balance set to flash
  5. Camera set to 200 ISO, 1/125 sec, f/11

And Bob’s your uncle!


Ajax

That was a good meeting, yesterday in Ajax. I presented “Developing your photographic style”, an all-new presentation, to the Ajax Photography Club, my favourite club.

I shall publish some excerpts here, in the next little while. First, though, one more trip to Europe tomorrow. I apologize for the tardy blogging in the mean time, but that will change.


Booth

I spent Sunday night shooting pictures at a wedding—photo booth pictures, to be precise. And while some photographers think of this as a low-end endeavour, I love it, and I recommend it to all.

“Photo booth” means photos of people using props and funny poser, and printing images on site.

This needs a computer and special software:

IMG_7717

And a tethered camera with a studio-type lighting setup:

IMG_7716

And, ofcorse, props…:

IMG_7720

And finally, technical knowledge as well as people skills.

IMG_7719

The printouts people are handed look like this:

2017-06-04_222331

Look, by the way, at that last picture. How do you fit around 15 people in front of a backdrop meant for two? Here’s how!

20170604_222321_174_1DX_5398

And that’s why I love booths: all my varied photography knowledge comes together for this single purpose.

The result: as the bride told me: “They will remember this wedding because of the booth photos”. If that isn’t the best compliment ever, I don’t know what is.


El Carro

Car pictures. Always fun. Including snaps:

20170328-MW5D3454-1200

That’s my Camaro ZL1, at 400 ISO, 1/400 sec, f/16.

Does anything occur to you when you see those numbers?

Yes, it’s the Sunny Sixteen rule.

Anyway, the car has a lot of detail, like the badges:

20170328-MW5D3456-900 20170328-MW5D3455-900

So here is my all-new Camaro. Flash TTL, flash bounced behind me,

20170331-MW5D3475-1200

That is right, a little toy. And it’s my car’s exact colours, too. And that toy has surprising detail. The same badges, for a start.

20170331-MW5D3475-900-4

Note: Over the next while, long term that is, I plan to use this toy as a prop in pictures all over the place, so stand by!

Always carry a camera dept: drinks in the above restaurant, and they looked pretty enough to take a snap:

20170328-MW5D3464-1200

(35mm lens, manual mode, 1/320 sec, 1000 ISO, f/2.2.)

More Toronto Workshops

There will be more Toronto workshops: See www.cameraworkshops.ca. Tomorrow, there will be links to the e-store, so you can book (if you want to pre-book, text me). 

There will be more, and the subjects will vary. Please let me know any subjects you would like to see covered.

There will also be more Brantford work.shops, and the subjects will vary there, too. Please let me know any subjects you would like to see covered.

It’s exciting, when you get organized, isn’t it.

The simplest…

Sometimes, when you are immersed in a profession, you forget that not everyone is even familiar with the language used in that profession, let alone with some of its principles and practices. As an engineer who teaches, I try never to fall victim to that thinking. But sometimes even I do. So in the next series of blog posts, I will briefly define some of the basics. Just in case.

Starting, today, with flash modes.

Your small, camera mounted, flash has a “mode” button. That button gives you access to some of the following modes:

  • TTL (also, “E-TTL”, or “TTL-BL”, etc). This means “automatic flash power”. The camera and the flash together sort out how much power is needed for every photo. They do that with a mechanism that I explain in my courses, books, and workshops. That mechanism is called “TTL”. You do not have to worry about your subject’s brightness, at least in theory: the camera and flash sort it out.
  • MANUAL (Also called “M” or “MAN).  In that mode, you set the flash power. You can, for instance, set it to 1/1, or 100% power: the brightest power level. Or 1/2 (half power), 1/4 (one quarter of its top power), 1/8, and so on. On some cameras, you can go as low as 1/128 power, a very low flash level. So in this mode, if your flash is too bright, you would turn it down to a lower level (or move back from what you are lighting); if it is too dim, you would turn it up (or move closer).
  • Repeating flash, or stroboscopic flash. In this mode, the flash will flash not once, but a defined number of times, with a defined interval. You need to define the number of flashes, the interval, and the power level. (E.g. “5 flashes, at a frequency of 10 flashes per second, at 1/16 power”). That allows you to make photos of, say, a runner against a dark background, where you see not one, but ten images of that runner as she moves through your photo.

There may even be modes additional to this. Depending on the flash you use, there may also be a setting that tells the flash that it is a remote flash, and there may be a setting that allows the flash to be used at fast shutter speeds, but at a reduced power level (“High Speed Flash”, or “FP Flash”). There could be other settings as well, like a “dumb slave setting” (Nikon calls this the “SU-4” setting).

All those additional settings are not modes, but they are what I called them: additional settings. I know, that may be confusing to you (“what is a mode and what is an additional setting?”), but if so, don’t worry about it. It’s what the engineers decided to do. The reasons for not calling these settings “modes” are not important right now.

So there you have it. Some flash “basic basics”.

In my flash courses, I explain al this in detail, of course.

Want to learn more: buy the pro flash manual, and if you are in Toronto, sign up right now for the 25 March portrait and model lighting workshop.  See you there?

25 March workshop in Toronto

Portrait and Model Lighting – 25 March 2017, Toronto
12 noon–4pm
At CSI, Daniel Spectrum Building,
585 Dundas St East,
Toronto

This workshop introduces you to all the ins and outs of photographing simple studio portraits. From posing techniques to people skills to party shots, you will learn many essential camera, lighting and composition techniques. From light meters to multiple flashes to umbrellas and other modifiers. Learn positioning, lighting and other techniques so you can start to take your own professional portrait pictures.

All you need to bring is a camera with a standard hotshoe connection (i.e. not most Sony cameras). Your previous level of knowledge is not important, but knowing how to operate your camera in manual mode and knowing how to focus are recommended.

This small hands-on course, with a model supplied, teaches:

  • Getting your flashes off camera: Why and how to use Radio Triggers.
  • Modifiers: Umbrella, softbox, reflector, gobo, snoot, and grid.
  • Camera settings and metering.
  • Reflectors. Light stands. Brackets. Gels. And so on: all the things you need to know.
  • Using small flashes for split, rim, loop, broad and short, and Rembrandt lighting.
  • Working with your model: mood, positioning, interacting, putting at ease, and getting the most out of your model.
  • Make-up: Important notes.
  • Gels for correction, and gels for creativity.
  • “Post”-work for maximum success with minimum effort.
  • Black and white: why and when?

You will leave with the ability to do great work in your own home studio, using simple equipment that gives you professional results.

Click here to reserve your space now. Limited to 10 people.

One light

A one light portrait can be good even though it may be simple. Like this one:

20170218-1DX_3656-1024

A single 430EX flash fitted with a Honl Photo 1/4″ grid. Set to manual mode, 1/4 power. Photo taken in a bright room (to our eyes. But not to the camera).  Using standard studio settings: 200 ISO, f/8, 1/125 sec).

That grid is essential. If I did not use it. the single flash would throw its light everywhere; it would reflect everywhere else’ and before you know it, you have what you did not want: the room (in this case, the hall in a church where I was giving a lecture) all lit up.

What is also essential is to have the flash off the camera (“OCF” means Off-Camera Flash). I use Pocketwizards for that, and manual flash. Some use the built-in system that your camera maker provides, usually using light pulses (not normally infrared, incidentally). Yet others use cables. Others use TTL-able systems like YongNuo transmitter/receivers. However you do it, get that flash off your camera!

Don’t Give Up.

A student recently sent me this picture, saying that unfortunately, she could not use it as homework because of the low quality:

IMG_4935-1024-2

It was a small (700 pixels height) picture. Blurred, low contrast, and inaccurate colour. So she has a point: not great, though an excellent moment.

But wait. If I put that picture into Lightroom (just drag it onto a grid view), I can use the “Develop” module to fix exposure, white balance, sharpness, highlights, blacks, contrast, and not to forget clarity (presence). Would that help?

It certainly would:

IMG_4935-1024

Much better, and now suddenly it is a useable picture.

I suppose the take-away is this. First, of course, that Lightroom is easy to use and powerful. Second, that even “bad” pictures can often be fixed later, especially when small sized, like for use on the web. We often inspect too closely: usually, even a bad picture today can easily beat any picture made from a negative in 1980.

From all this, a few things follow. Namely:

  • Do not delete bad pictures: you may find a use with them anyway, if not now, then maybe tomorrow, with new digital processing techniques.
  • If a picture is bad, try making it smaller. Imperfections are less noticeable in smaller size photos.
  • Try alternates. Black and white, for instance. Or shift colours. And so on: often, these things can bring out the quality in a photo.
  • Use parts. Crop off the bad part, or selectively sharpen the important parts.
  • Learn to use Lightroom (see yesterday’s post).
  • Above all: do not give up on a picture too soon.

The improvements I made to the above picture were from a small picture. Imagine what I could have done with the original sized picture: I am sure it would have been even better.

A bad picture of a great moment may still be worth it. But often, you can make that bad picture into at least an acceptable picture.

A fun exercise is this: go  through your old photos, those of five years ago, and see what the processing techniques since then can do with them. You will often be surprised.

Do consider coming to my Lightroom seminars in a few weeks. See the post immediately below this one.