Congrats to students!

Congratulations to my students who won in the recent Capture Oakville photo competition!

  • Overall First place went to my student Kevin Workman
  • Hillary Currer won first prize in the “Unaltered/Out of Camera” category
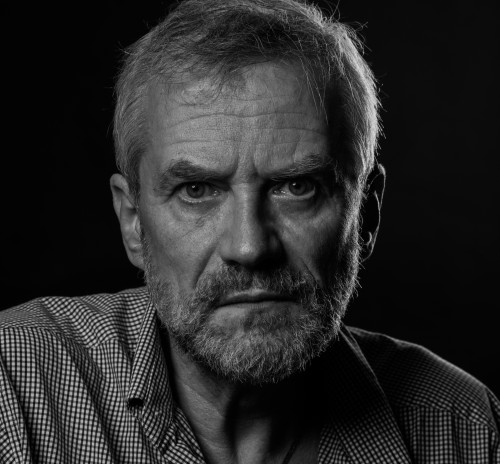
  • Roger Passmore won first prize in the “Capture the Human Spirit” category… see his entry below.
  • David Hook won first prize in the “Capture Oakville” category.

Ha! That means that two thirds of the winners in this prestigious contest have been my students. Well, I am certainly proud to have contributed to their success, and this makes me extra happy to be a teacher of photography.

Congratulations: excellent work.

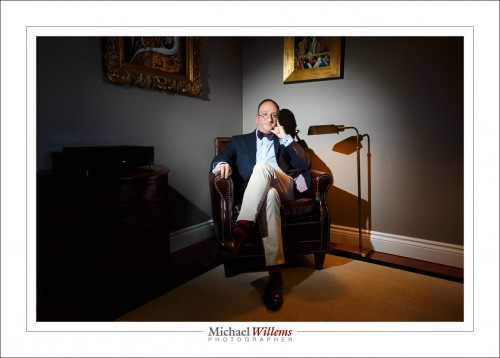
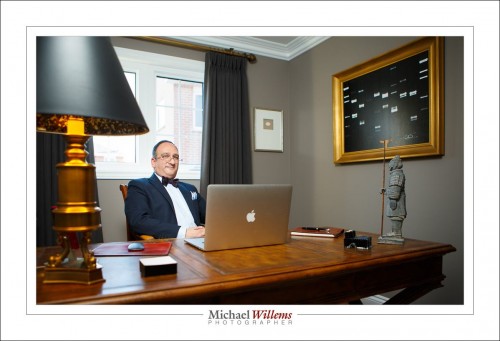
As for contributions: I think perhaps I contributed a little more than average to Roger Passmore’s winning entry “Michael”. Here it is:

Michael Roger Passmore

See what I mean? He captured my spirit wonderfully: serious, perhaps even grumpy, and depressed at many of the things I see in the world. Yup, that’s me!    🙂


Sunday 22 Jan: Learn Lightroom

This coming Sunday, January 22, I host two Lightroom courses at my home studio. Small size, only a few students (4-5 max).

Adobe Lightroom: optimize setup and file structure

Sunday, Jan 22, 2017, 11:00 AM

Michael Willems Studio
48, Wilkes Street Brantford, ON

1 Emerging Photographers Attending

Lightroom ROCKS. Forget Photoshop, Lightroom can doing all if you’re a photographer. But to get maximum benefit, set up your file structure, preferences, and presets properly! That’s not always done… I see many users with messy file structures and sub optimal settings and presets. The good news: everything in Lightroom can be changed, an…

Check out this Meetup →

… and part 2: https://www.meetup.com/Brantford-Photography-School-Meetupome-join/events/236919051/

Who is this for?

For you, if:

  • You have always wanted to use Lightroom effectively.
  • You are not sure how to set it up: where to store the files? How?
  • You are always losing files.
  • Importing is a big gamble: you always end up with things more confused than before you started.
  • You see question marks meaning “can’t find file”.
  • You wish you . could make your own presets.
  • You still use Photoshop for editing, but you wonder if it is doable in Lightroom.
  • You, too, would like to edit your shoots in one fifth of the time it took you in Photoshop.
  • You get the big picture but it’s the tips and tricks that elude you.
  • You know a lot of functions, but you’re not sure when to use them.
  • You want to learn an effective workflow

…and so on. Come join me; bring a camera and a laptop and, if you have it, an external drive, and I’ll set it all up for you.  Lightroom is the way to manage your files, and to edit them and to use them: in one day, learn how. 

Follow the links above, or contact me to reserve your spot. Only 4 students allowed, so hurry before it’s full .

Time and space

Sign up now: there’s time and space to learn all about flash. A model and make-up artist will be supplied for the workshop I am teaching on January 28 in Toronto. In this workshop, from knowing “nothing”, you will learn creative flash in half a day.

20170101-1dx_3062-1024

Recent single flash shot. Studio settings; manual; off-camera; 1/8″ grid.

And this includes:

  • Setting up your camera for flash.
  • Why use flash when it’s bright outside?
  • TTL or manual flash: Why go manual, and when?
  • Speedlights or studio strobes?
  • What are the limits to using speedlights?
  • Modifiers: gels
  • Modifiers: grids and snoots
  • Modifiers: softboxes and umbrellas.
  • “Magic recipes”: shortcuts for outdoors, indoors, and studio flash.
  • Common mistakes – and avoiding them.
  • Off-camera flash: How? Why?
  • Using radio triggers (which ones?)
  • Secrets of creative lighting – examples with model and make-up artist.

You will leave with a few great portfolio shots, but also with an understanding of, and “quick start” recipes for, handling each flash situation that you will come across.

This course is intended for everyone from beginner to pro. What you have in common is that you have an SLR camera, you know little about flash, and you want to learn all about it. Bring your camera! If you have a flash, bring it; if not, no worries: everything is supplied.

There are spots left but space is limited, so sign up now.

Blurrrr.

“How do I get a blurry background?”, asks a student.

20161219-1dx_2654-1024

OK… so if you want a blurred background, as in a portrait:

  • Focus accurately (using one focus point?) on what should be sharp. The eye of your subject, for example.

Then, use some combination of:

  • Get close to your subject.
  • Zoom in on your subject.
  • Use a longer rather than wider lens.
  • Use a lens with a large maximum aperture, i.e. a low minimum “f-number”. (Most prime lenses and most pro lenses are like this).
  • Use a low f-number
  • Use “portrait mode” (which uses… a low f-number!).
  • Have a distant background

And that’s how you do that. As my students at Sheridan College are learning this semester.


Happy New Year!

Happy New Year from The Speedlighter! 

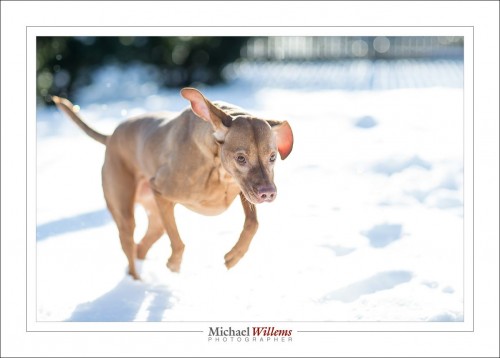
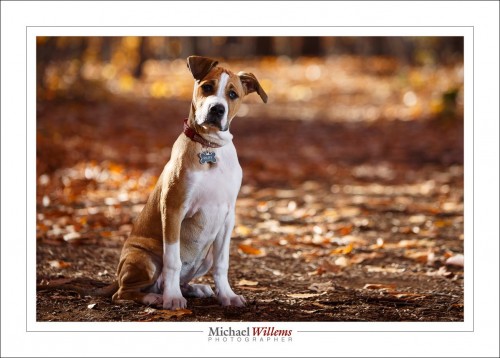
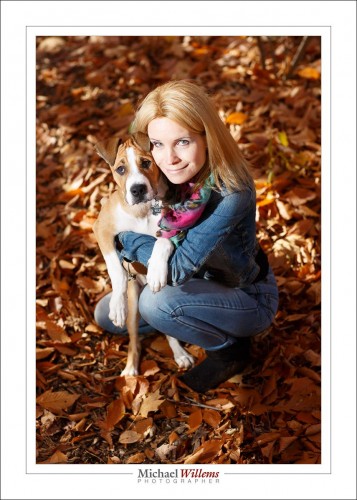
As for your 2017 resolutions, how about this one: Make this the time you finally perfect those skills you always wanted to hone! Skills that allow you to quickly and easily do pictures like the ones I took over the last couple of weeks. These include a few animal (and animal-plus-owner) pictures:

20161110-mw5d1613-1024

20161110-1dx_1783-1024

20161219-1dx_2654-1024

20161113-1dx_1819-1024

All those were made with the 85mm f/1.2 lens, and used a single speedlight in an umbrella.

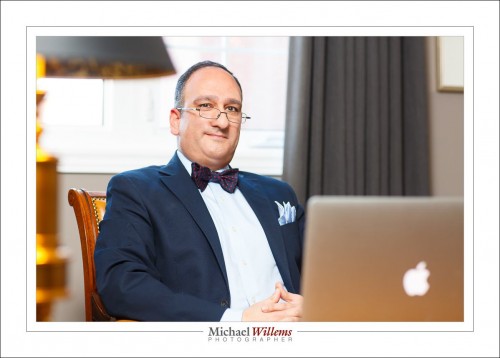
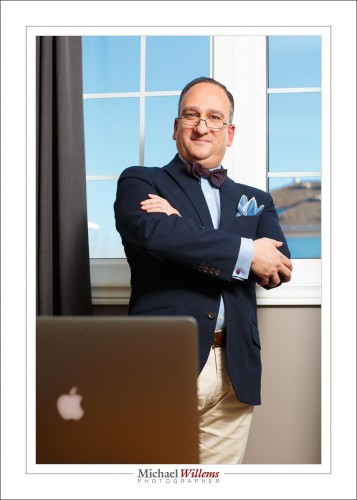
But I also did an executive portrait, just yesterday:

20170101-mw5d2658-1024

20170101-mw5d2676-1024

Do you see the difference between the two above? For the first one, I did not want to show the outside (boring, homes). Easy, so the picture,like almost all my pictufes, was stright out of the camera.

For the second one, however, I did want to show the blue sky. So I exposed that one less (using the magic Outdoors Recipe–one of the things you will learn if you turn up). Both used flash, of course; fired by Pocketwizards and with their power set manually. The second one used much more flash power because I was using low ISO and small aperture to kill the outside light. I also had to, therefore, brighten the Apple logo in post-production.

20170101-mw5d2655-1024

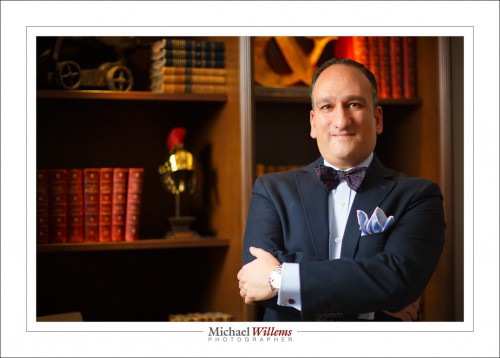
I would almost call that last one an environmental portrait.

The next ones are certainly environmental portraits:

20170101-1dx_3062-1024

The one above used a 24-70mm lens and a speedlight with a Honl Photo 1/8″ grid. The one below, a 16-35mm wide angle lens and a speedlight with an umbrella:

20170101-1dx_3048-1024

What do they all have in common? Simplicity, good exposure, and a thorough knowledge of the technical necessities.

You can learn this too. Why not do it? I have several great opportunities coming up!

All of these are excellent learning opportunities, and will broaden and deepen your knowledge significantly. Hope to see you there and then. 


Stars and stripes

A technical post today—after all, this is a technical learning blog.

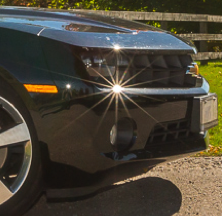
When you see a picture with details like this (from my Mac’s background picture)…
screen-shot-2016-12-27-at-10-10-24-pm
…then you know that a small aperture was used for this photo.

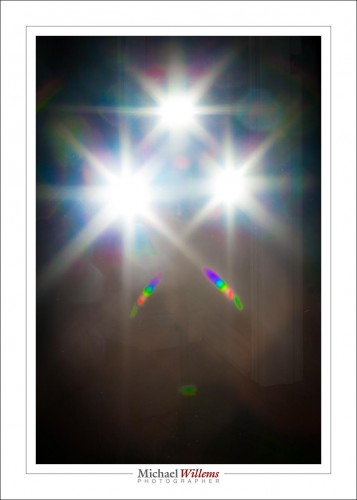
The only way to get the sharp star shape you see here, you see, is to use a small lens opening. Meaning a small aperture (“aperture” means “opening”). Meaning a high “f-number”. In this case, I used an aperture of f/22. The reflection is from my flash, which was aimed straight at the car.

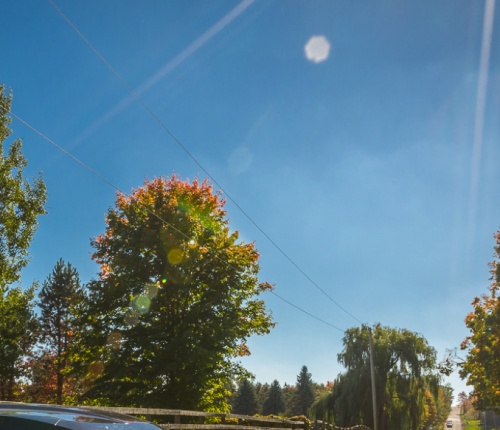
I have other clues. Other detail in the picture includes:
screen-shot-2016-12-27-at-10-10-10-pm
That is at least proof that the lens was not wide open. If it had been, the polygon at the top would have been not a polygon, but a circle.

Other notable facts: the lines (there’s your stripes) all converge where the sun is. And finally, the lens is probably an expensive one: the polygon has seven sides. Most have five or six sides. The more sides, the more the lens approaches the ideal, a circle. That ideal gives you great bokeh.

Bokeh

THE TERM BOKEH, by the way, when used correctly, is used to describe the quality of the fuzzy background. “I want bokeh” is not a correct term: when people say this, they usually just mean “I want a blurry background”.

Correct usage: A lens that has great, beautiful bokeh is a lens whose blurry background is wonderfully smooth and evenly creamy. A cheap lens, on the other hand, has bokeh (especially “fully open” bokeh) that is more like clotted cream: much less smooth, more uneven. I can tell a cheap lens from an expensive one immediately, and I bet you can, too, when you see them side by side.

And that concludes today’s lesson. For more, attend one of my many upcoming workshops: scroll down to read more.


Learn Topics: Going Wide!

Time to start the new year with some special camera techniques!

Another hands-on seminar. In Brantford; Jan 4 at 7pm, repeated Jan 8 at 1pm.

I often see people who have a good overview of all the theory, but who lack detailed knowledge of some advanced or special techniques.  So rather than “going deep” with a topic like “macro photography”, this time let’s get together and “go wide”: I cover a whole bunch of these special topics.

600_455404428

Topics for this hands-on , in studio session will include:

  • Setting up your camera: in-camera editing, custom controls, copyright/owner, personalized menus, optimal playback options, and a settings review for your camera.
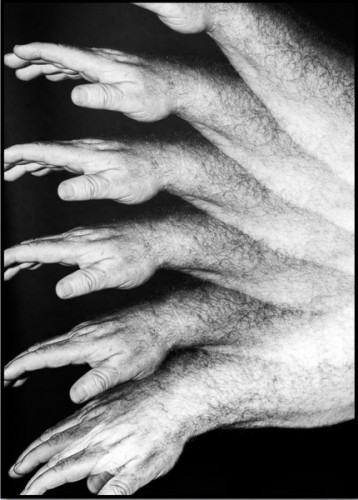
  • How to get super fast flash to freeze super fast motion.
  • Stroboscopic Flash (see the picture above).
  • First or second curtain: the differences, when to use.
  • Video with DSLR: How to set up your camera for video.
  • Simple HDR: High Dynamic Range without hassle. We cover both “in camera” (like in a Canon 5D) HDR, or HDR in Lightroom.
  • Panoramas: how to do them in Lightroom.
  • Off-Camera Flash: How to get your flash off camera using [a] built-in light control, or [b] simple Pocketwizard radio triggers, or [c] Yongnuo advanced radio triggers.
  • Using a Pulse camera remote as a remote trigger, or for time lapse, long exposure, and HDR.
  • Q:A session: As time allows, anything you want to ask.

These sessions are hands-on ,so they are limited to 6 people each time. Go here to book:

Hope to see you there!


Intermezzo, and, join me Sunday?

A bit slow this week as I have been in bed with flu-like symptoms. Meanwhile, here’s some depth – remember, to make your images “real looking”, use a close by subject against a farther background (“close-far”):

20161029-mw5d1523-1024-2

Now – flash. A long workshop, all hands-on, this Sunday. The last two sold out. But PLENTY of space for this one. Think about it: you’d find this VERY useful. Hands on, so you do your own pictures, build the sets, connect the Pocketwizards, etc – and it’s a LONG one.

Fun with Colours: flashes, gels, mirrors.

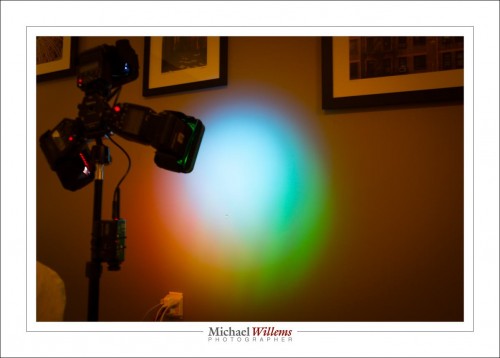
The things some people do in their bedrooms in private! In preparation for tomorrow’s hands-on flash course I outfitted some flashes with coloured gels tonight. 

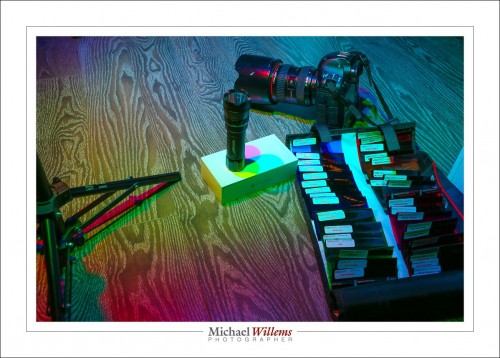
I used Honlphoto gels, seen bottom right here in a double wrap:
20161015-mw5d1420-1024

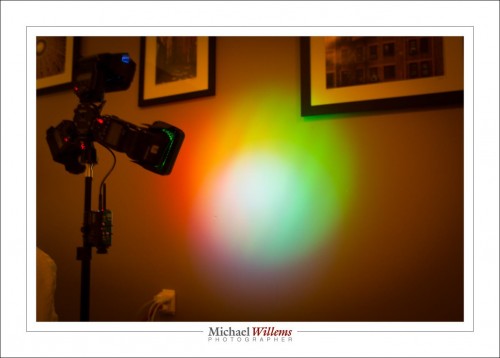
I had three flashes mounted on a stand that uses one radio trigger (like a Pocketwizard) to fire all three flashes (thus saving two radio triggers). I have discussed this three-way mount here before. I also used grids (also Honlphoto) to get three separate light circles.

As said, where all three flashes mix, you get white. After you get the ratios right, that is: the gels take light (also discussed here in a recent post) and you may need to turn one or two of them up to compensate.

Once you are done, you get white. You see it here in the centre:
20161015-mw5d1444-1024

And here:

20161015-mw5d1449-1024

TIP: To get the ratio right, you look at the RGB histogram. The peaks for red, blue and green need to be at the same distance from the edges.

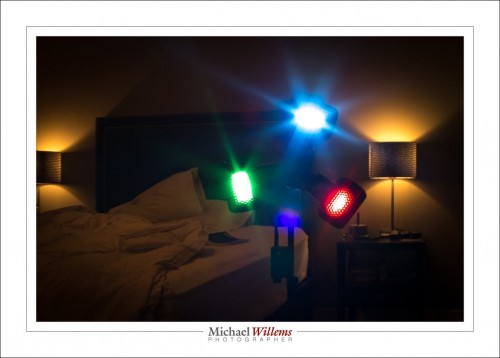
Looking at the flashes you see the three colours I chose:
20161015-mw5d1450-1024

Red, Green and Blue. Surprise, surprise!

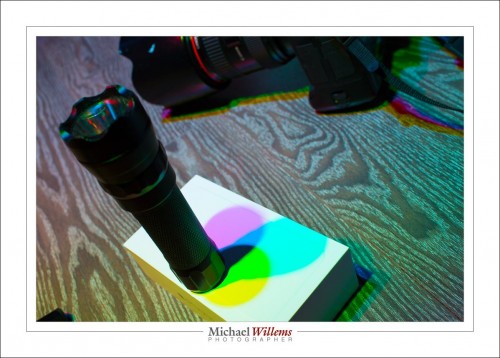
You see, when these colours mix, that once you get the ratios right, you get white overall. But when only two of them mix you get “in between” colours, which include cyan, yellow, and magenta:
20161015-mw5d1421-1024

So now you know why you see RGB and CYMK (where “K” means “Black”) as two alternate ways to mix several basic colours!

I also had unrelated flash fun, of course. f/32:
20161015-mw5d1408-1024

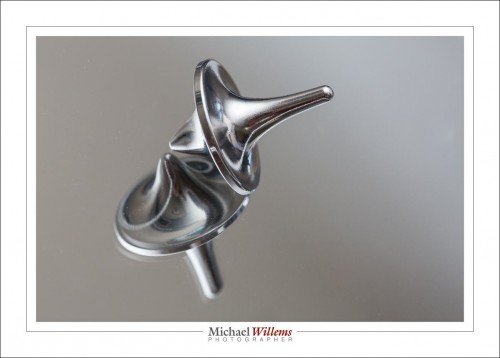
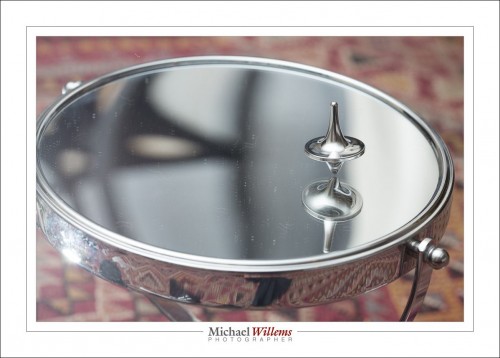
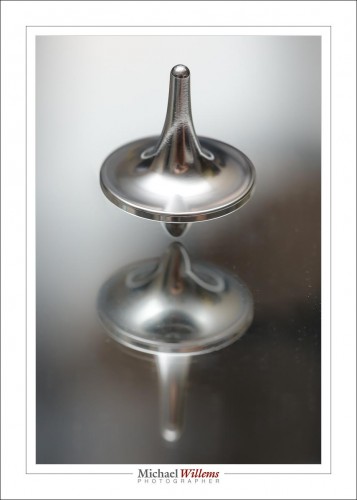
And my spinning top:

20161015-mw5d1389-1024

On a concave mirror, that is:

20161015-mw5d1400-1024

The moral of this post?

You should have fun with your photography, and explore, and try out different things. How many of you have gels, and how many of you have used these to mix light in different ways? That’s how you learn about light. So for those of you not coming to tomorrow’s course: go have fun, And sign up for the one after the next one: tomorrow and next week are full up, but 6 November still has a few spots open.

Any way you do it: learn about light, and have fun.


PS for Honl modifiers, which I strongly recommend, go to this link and use discount code “Willems” at checkout to get an additional 10% off.


Document your life while you can.

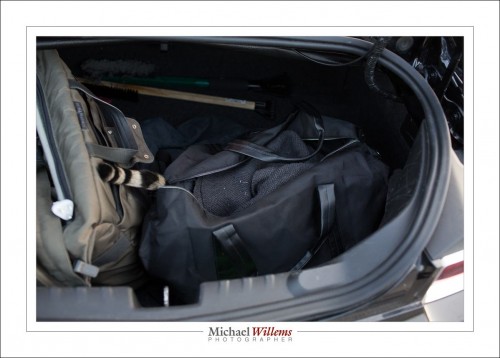
The death, in my arms, of my three year old Bengal cat Shiva last week reminds me again how ephemeral life is. Here he is, poor Shiva, taking his final journey to the vet an hour or two after his death for a postmortem:

20161004-mw5d0976-1024

I am happy that I have many more pictures of Shiva. Thousands. The maybe five or six pictures of dead Shiva are nothing compared to the many hundreds of live Shiva.

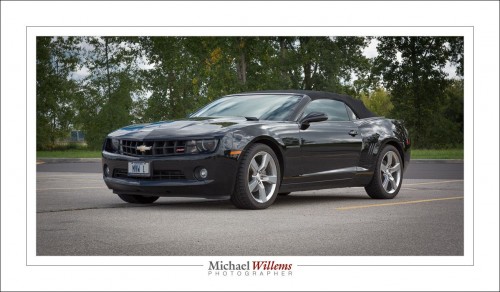
After the vet visit, I decided to do something more fun and take some photos of my car:

20161004-mw5d0996-1024

(85mm, 200 ISO, 1/200 sec, f/11 – that’s the “Sunny Sixteen” rule)

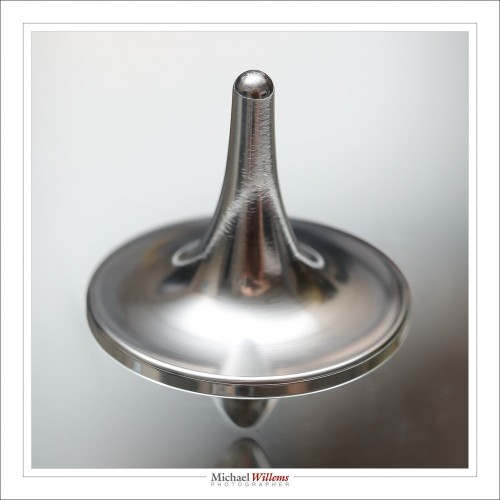
And here’s my foreverspin spinning top in action (bounced flash at half power; meaning an effective virtual shutter speed of roughly 1/2000 sec):

20161014-mw5d1314-1200

20161014-mw5d1314-1024

The point: document your life, as I do, even though photography is my job as well.

I can picture anything. Do you want the same skills? Easy. Learn, And it’s really simple today. Start here: get the free downloads from the bottom of this page: www.michaelwillems.ca/learn.html – those are free chapters from some of my e-books that are useful by themselves. Learn those.

Then learn more of the technical and artistic skills you need. Get the rest of the e-books. Or come to my frequent workshops: see the listing here. Or get individual, bespoke training, which many of my clients find is the best way to quickly learn. However you do it: learn, while you can, and have a documented life. It can be over all too soon, but more importantly: every day is one to share, to treasure, to come back to. Photography is how.