OCF again

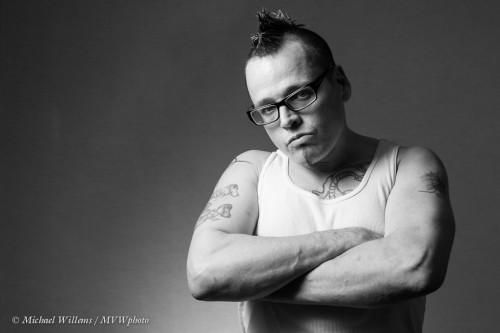
And today, some more off-camera flash, using images I made earlier today as an example.

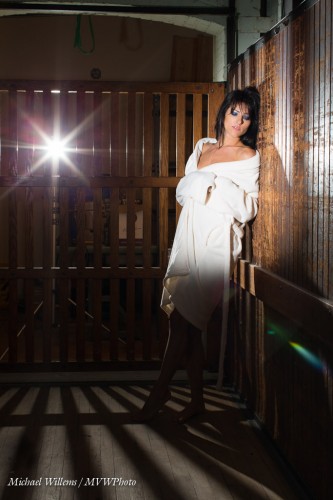
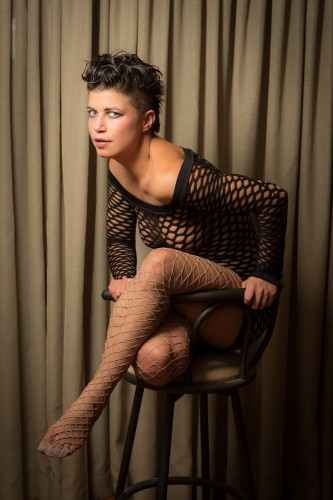
Simple means (a camera, a couple of speedlights, a light stand or two – all affordable, light, and simple) and some knowledge is all you need for this:

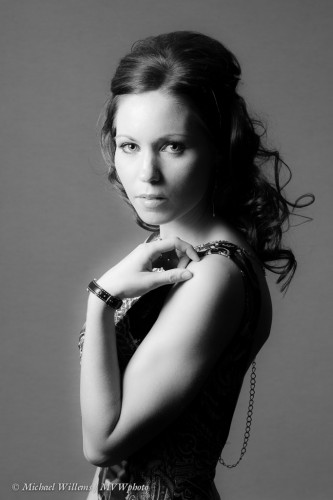
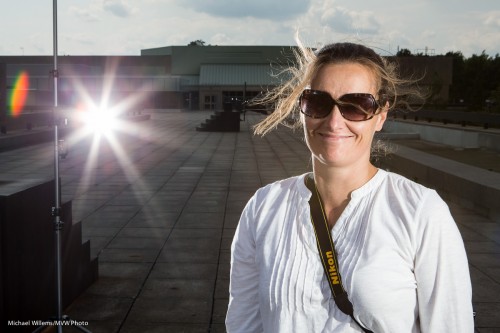
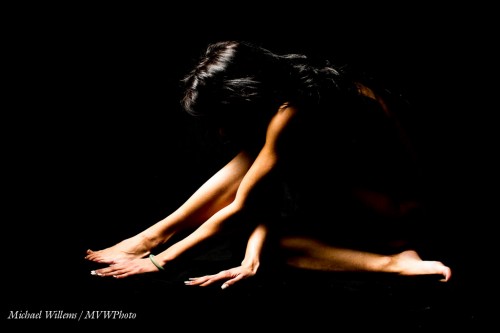
In fact I used just one (off-camera, modified) speedlight for that shot.

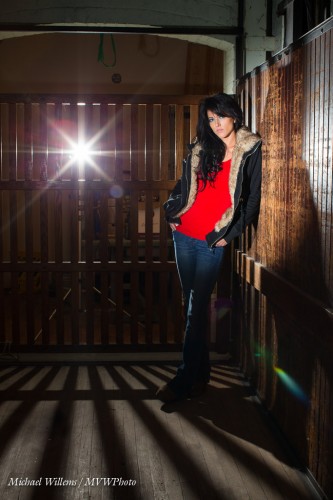
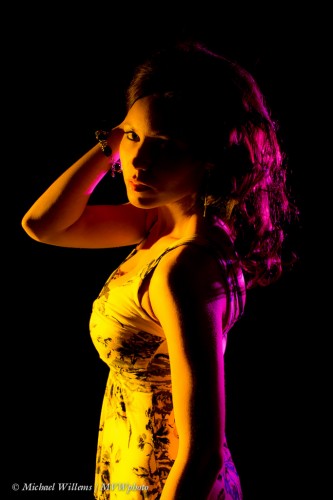
And for this one, just two:

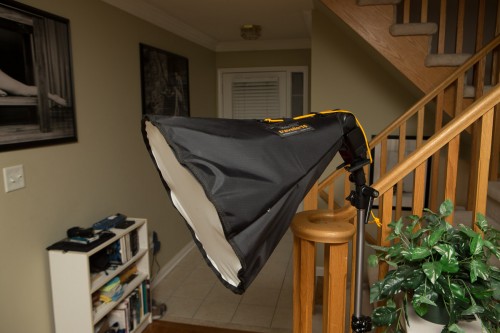
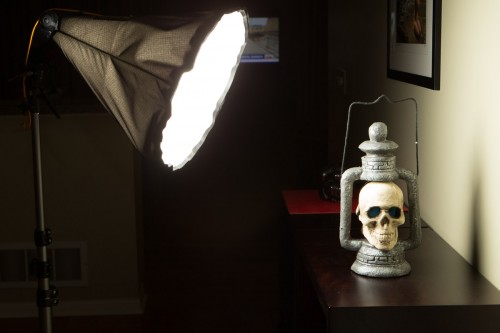
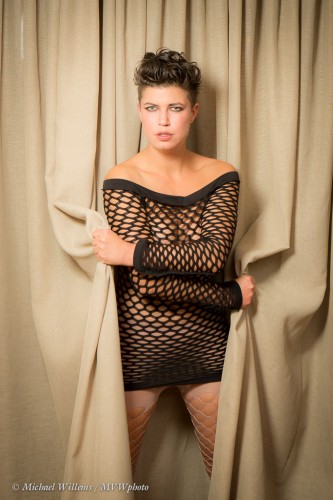
One was behind the elevator as you can see – aiming at us. It was fitted with a Honl Photo 1/4″ grid. The other flash, on our left, was fitted with a Honl photo snoot. That’s all – very simple, and with great results. Here’s another version:

What do those images show?

  • That you can use direct, unsoftened flash – as long as it is off camera.
  • That it is more about not lighting – that’s where it starts.
  • That shadows are cool.
  • That prime lenses are good.
  • And no filters, or the back light will cause unacceptable flare and lens artefacts.

If you wish to see more, head for my tumblr site (those are nudes).

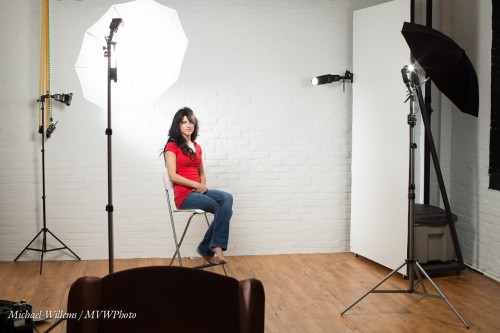
Sometimes I use more lights, as in here: two speedlights with umbrellas, one with a snoot, and one with a grid and a gel:

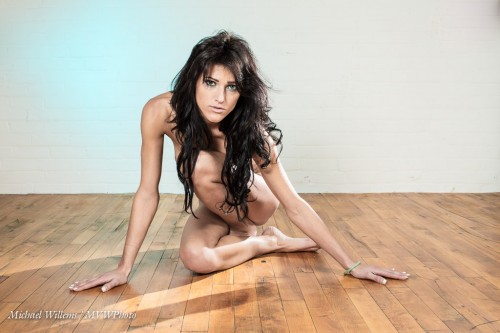
Which can lead to images like this:

All these shots can be made using very simple means.  And that is my point here today: off-camera flash can be very simple indeed, and can lead to great results.

 

Faceless faces

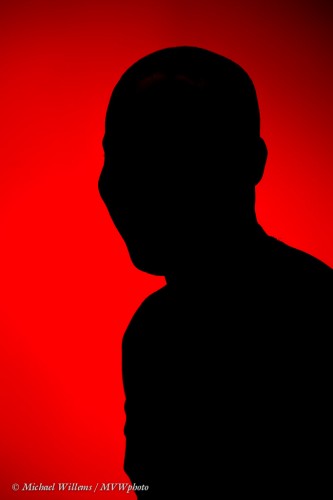
Here’s an exercise for you. Capture expressions without visible faces.

Huh? How? Is that even possible?

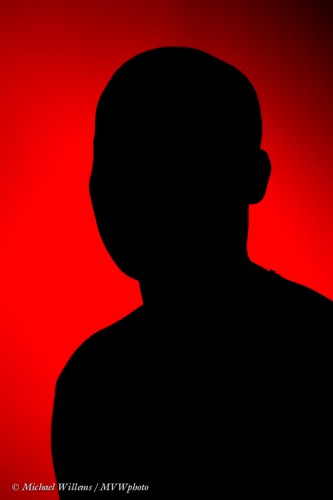
Yes. Look at this silhouette from Monday’s class at Sheridan College:

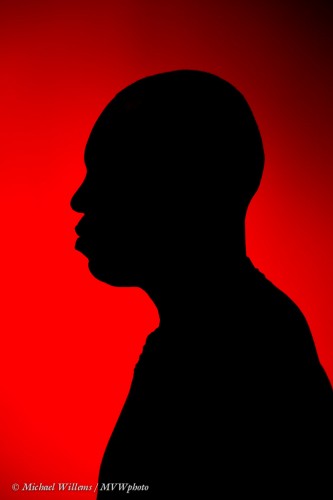
Now let’s make it slightly different:

Now let’s make him into a sad Homer Simpson:

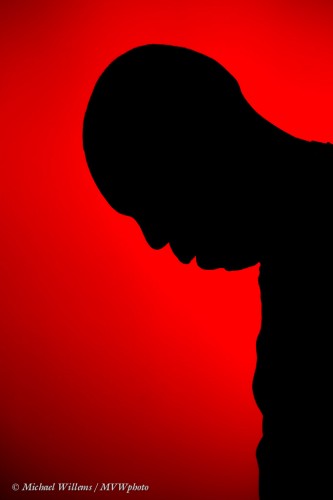
Now.. can you tell what he is doing in this one?

That’s right.. he is smiling. You can tell he is smiling from this image without anything else. Amazing. No eyes, mouth, nose – but you can tell he is smiling.

An exercise like this is fun and can be very instructive in seeing how expressive faces can be. Go take some pictures like this – your exercise for the day.

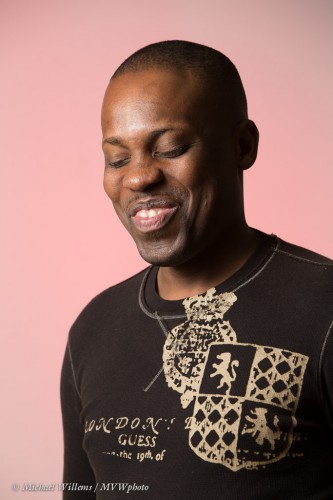
Oh, and and as in yesterday’s post: here’s what Kingsley looks like with his the face lit.

A very expressive and personable person – easy to shoot.


Let there be light.

When I pass away (hopefully not until a while from now), I want my epitaph to be Dylan Thomas’s words:

Do Not Go Gentle Into That Good Night.

Rage, Rage Against The Dying Of The Light.

Light is everything. But in a sense, where you do not light is even more important as a starting point.

In several ways. First, in establishing a starting point. For studio flash shots, the ambient light should be dark. So you start at 100 ISO, f/8, 1/125th second. Try it: whatever room you are in looks dark. So that only the flash will show.

Then add that flash. In this image of Kingsley in last night’s Sheridan College class, one flash is used: umbrella on the left:

The background is not quite dark, is it? So that when we add color in the form of a back light with a bright red gel, we get some, but not a lot:

how do I know it’s not a lot? Let’s turn off the front flash and use only that back flash with the red gel, where all other settings remain the same:

Wow, so there was pure saturated red – it was just blown out by the white. “Saturated” means “not mixed with white”.

The solution? Move your subject and the umbrella back a few metres. Now we get less white, hence more red:

Even farther from that background would have helped even more. As would a softbox close to the subject.

But yes – you need a large studio. True say.


Timmins, Ontario

I spent Sunday in Timmins as a guest of the Porcupine Photo Club: great team of people, excellent all-day seminar. Yes, I teach courses like my Advanced Flash course in places like London, Rotterdam, Las Vegas, Toronto, and…Timmins. Book me if you want to have a great learning experience.

But I am now back.

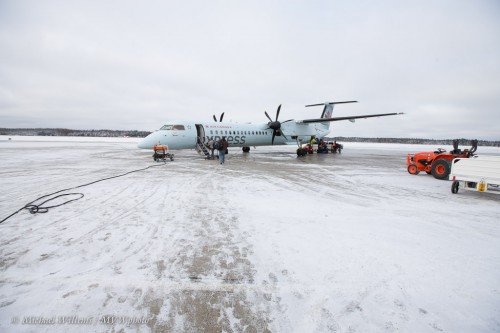
This was an hour or two ago, when I was about to leave:

Let’s see a few shots from the “Flash” workshop. Of course I was not there to shoot – I was there to teach – but I still managed to grab a few shots. One flash in an umbrella was used for the first picture; same plus a background flash for the second picture.

I do colour too, of course:

But most of all, I try to get it all right. So today one reminder for you.

To get the background right you may want to start with the camera in manual exposure mode, using the Willems 400/40/4 rule as a starting point. 400 ISO, 1/40th second, f/4.

But if you have one on-camera flash, the most important point to remember is: avoid direct flash. It is not flattering. Look at this bad picture (taken as a demo!) of Aurele Monfils, who kindly arranged the workshop:

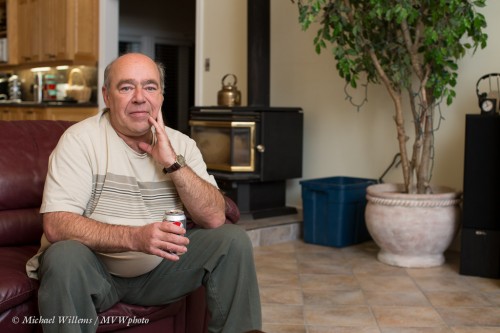
Now look when we do it properly: turn the flash behind you, upward; raise ISO if needed to have enough flash power, and go for it:

Wow. See that difference? No double chin. No reflective skin. No shadows behind arms. Much (much!) better, and much more the way the person actually looks. Also, the path to the background is now about as long as the path to the foreground, so the background gets a little flash too.

Advice: Learn one thing at a time. Learn flash in small increments. Practice (irt makes perfect). But whatever you do: LEARN FLASH!

Now off to Sheridan College to teach.


Another Softbox Tip

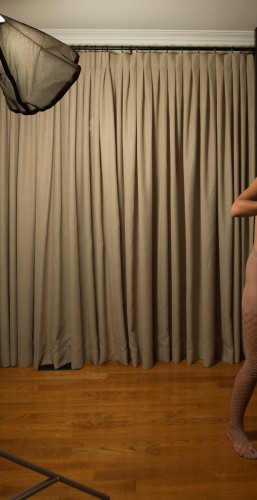
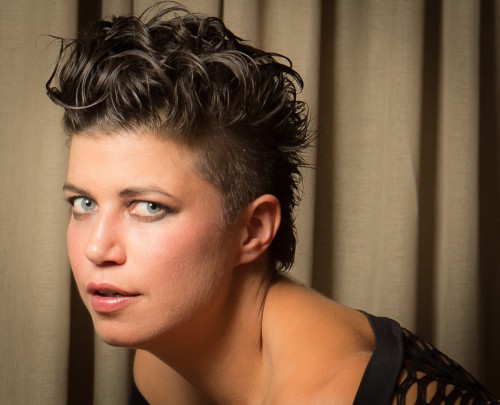
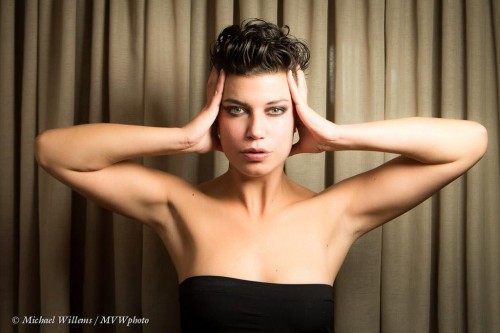
Tonight, I shot my model with her new short hairdo using the simplest of means. And yet, they look like studio shots. With the minimum of post work done, the images look like this – and this was an hour or two ago:

What did I use for this? Simply an available background, a camera, and two speedlights.

One on the camera, and one on a lightstand, equipped with the Honl Photo Traveller 16 softbox. This softbox, which is much larger than the Traveller 8, looks like this:

I used a Canon 580EX as the flash. The softbox comes equipped with an inside baffle so that the light spreads evenly:

(Can you tell that Halloween was a couple of days ago?)

The baffle makes the light spead evenly, but it does mean the Traveller 16 is not the obvious choice for outdoors daytime, where power is at a premium. But for outdoors on darker days, or for indoors, it is perfect:

I used this setup:

  1. Canon 1Dx with 24-70mm lens.
  2. Camera on manual, 1/200th sec, 800 ISO, f/5.6.
  3. Speedlight on the camera: 600EX, set as master, but also firing, bounced off the ceiling on the opposite side to the softbox.
  4. Main speedlight: 580EX II as slave, with the Honl Traveller 16 softbox on a lightstand.
  5. Master:Slave ratio set as 1:8 (meaning the bounced light just adds a little fill light – three stops below the key light).

Always take a pullback shot! Here’s the main flash:

The results? They are, as you see, very good.

One thing I like about the Honl softboxes is the nice round catch light:

The point of this post: That with simple tools, you can get very good results. You do not always need the clinical studio setting. In fact, I avoid it as much as possible: clinical means intimidating, and strobes mean arthritis.
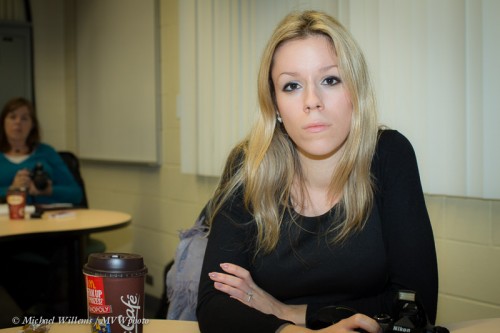
If you can do it with one or two speedlights, as I did here: do it!


Exposure Exposé

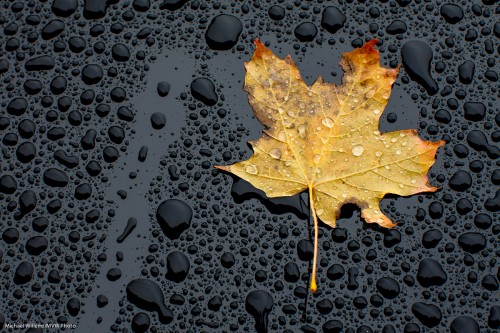
So how do you expose a shot like this (yesterday, on my car):

You will remember that your built-in light meter gives you an exposure based on an “18% gray scene” – the same reflectivity a gray card gives you. This scene, however, is “bright plus dark”, but not “18% gray”. A challenging shot, then – for which you have the following options (roughly in order of expected exposure accuracy):
  1. Use an external meter – an incident light meter. Hold it above the leaf aiming up, then meter. Set those values in your camera.
  2. Spot meter off something gray – i.e. hold a gray card in the same light and set your camera’s exposure scale to zero while pointing your (spot-) meter at that.
  3. Use normal evaluative metering and adjust later in post-production.
  4. Spot meter off the leaf and set the scale not to zero (grey subject), but to +1 (lighter than grey subject).
  5. Using manual exposure, set your meter to a value you think might be overall right, then take a test shot and adjust to taste – using the histogram.

I did the latter – I always use manual mode when the light is steady, as it was here. Once set, it is set, and all future exposures will be right. And with a little experience, you can get very quick at this.

I used 1/50th second, 400 ISO, f/7.1. (On a side note, the “sunny sixteen rule” failed miserably here – just to try, I used 125 ISO at 1/125th second at f/4 – that should work, but it was at least two or three stops too dark. Such rules are guidelines!)

And finally: 1/50th of a second using a non-stabilized lens pointed half way down is a challenge in itself. Why? Motion blur. The best way to handle this? A tripod. But failing that, do what I did: take the shot five times. One or two will be razor sharp.


No direct flash

You have heard me say it many times: do not use direct flash (like your popup flash), especially when that direct flash is right on top of your camera (like your popup flash).

But what if you have no choice? Can you do it if you have to? Of course you can. The better the camera, the better. The better your control of that flash, the better. The farther the flash from the camera. And the better-looking the subject, the better.

Here’s an example from my class on Monday at Sheridan College. An example of what I would normally not do: unmodified straight-on flash.

I would normally not do this. Shadows. Reflections. Catchlights in the centre of the eye instead of high, where they belong.

Now to be fair, I did have to slightly lower the reflections on her face, especially on the nose. But other than that slight adjusting, not much done, and so you see – if you must do it, you can. In fact for young women, straight light can work well – it makes skin look very smooth. So remember to take everything I say as a guideline. A serious guideline – but one you can break if you must.

One caution. TTL flash will often (depending on your flash, your camera and your lens) take into account where you focus, and will expose for that. So if you focus wrong, your picture will be exposed wrong. As in this example of what not to do:

See? I focused on the background, so the TTL system exposed for that background. Keep this in mind. (And with this in mind, can you work out why you should keep recomposing to a minimum also?)

It’s all very logical, really.


The Flash Power Challenge

So from my posts, you have seen that in using flash outdoors, the big challenge is:

To make the background darker without also affecting the flash power to the point that it is no longer sufficient.

To make an outdoors background darker, other than actually making it darker (sometimes the simplest option is the obvious one: wait for a solar eclipse, shoot later in the day, or use scrims), you can do four things:

  1. Use ND filters
  2. Decrease aperture (use a higher “F-number”)
  3. Decrease ISO
  4. Increase the shutter speed

Unfortunately, the first three of those also affect the flash: every use of those will negatively affect your flashes’ available range too. So you want to avoid them if possible.

And what about the shutter speed?

That does not affect your flash range. So it is the obvious one to use to make the background darker. But… only up to your camera’s synch speed (depending on your camera, this is normally around 1/250th sec). Beyond that, you cannot use flash.

“Yes you can, Michael, you can use Hi-Speed (Auto FP) flash”, I hear you say.  That is true – but that too negatively affects your flash range. Catch-22! So no, it does not help with your flash power. (Then why do we have it? Ah.. to allow outdoors shots with the blurry backgrounds that only large apertures will give you.. apertures that need fast shutter speeds!)

So. Again, as said yesterday, a nicely balanced outdoors flash picture (i.e one in which the background is darker), needs you to first of all use method 4 above, up to your flash sync speed.

After that, you must do one or more of of the folowing to still have enough flash power:

  1. Bring the flash closer.
  2. Forego the use of modifiers and use direct flash.
  3. Add more flashes.
  4. Use more powerful flashes (strobes instead of speedlights).
  5. Zoom in your flashes to concentrate the light (giving you more intensity over a smaller area).

Work though the logic of this post very carefully. Step by step – the logic is important, and it is important that you thoroughly understand it. This is not esoteric theory: this directs you in every day shooting, every single day!

One more time… flash outdoors

Even experienced photographers ask me how to use speedlights outdoors. So let me give you one more step-by-step for pics like this:

A method:

  1. Set your ISO to 100
  2. Set your shutter speed to your fastest sync speed (typically, 1/25oth sec)
  3. Now, ignoring any flash, select the aperture you need for a good background exposure. Probably something like f/8 to f/16 (the lower the number, the better, for your flash’s sake).
  4. Now set your flash to manual, full power.
  5. With that setting, try to see how close the flash needs to be to light up your close-by subject effectively. If that is too close for you, use it without modifiers and/or zoom it in manually. Or add  more flashes.
  6. Then, once you know what you are working with, you can choose to use TTL or manual, keeping the flash at that distance or closer.

That kind of methodical thinking will get you going quickly.

Typically, on a cloudy day it’s easy; on a sunny day. you will struggle with a speedlight, meaning you need to be close and/or unmodified.

Try it and ask here if you have questions, or do some coaching: I’m here to teach you this stuff quickly.


Engagement

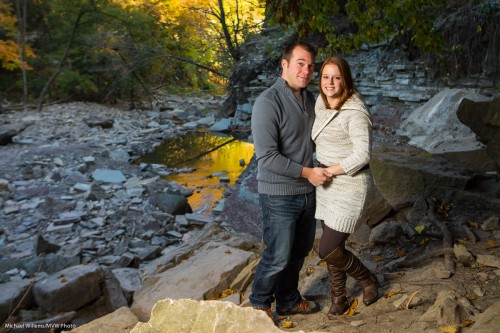
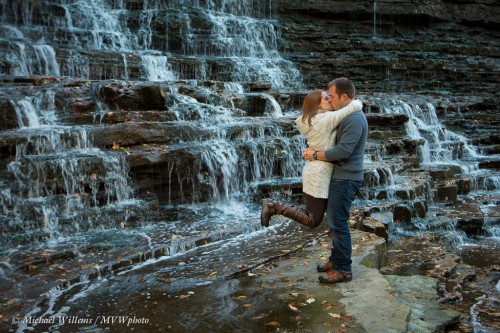
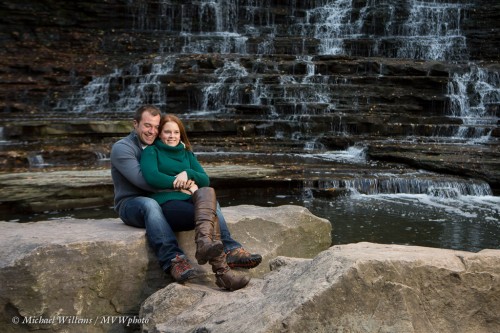
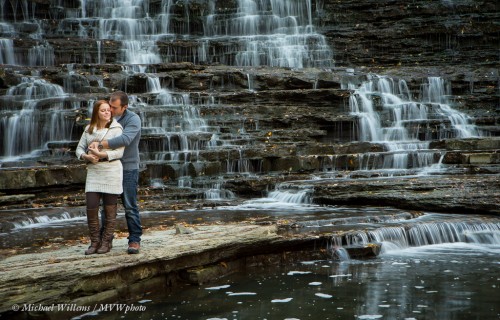
An engagement shoot, this morning. It was cold, but the young lovers, Kristen and Dan, aren’t showing it:

In a shoot like this, you may want to keep in mind a few things.

  • There is bright stuff – the sky and directly sunlit areas – and dark stuff – the rest. It is impossible to get both in a shot well exposed (unless, of course, you use flash to light up whatever darker areas are important to you. Like your subjects.).
  • The White Balance of both areas are different. Shady areas look very blue if you white balance for the sunny areas (or for your flash, which is equivalent).
  • You need to simplify. Take out annoying branches, cigarette butts, and so on.
  • Do not pose. Position, instead.
  • Spontaneity is good. But sometimes you need to direct. Take a detached view.
  • Use the Rule of Thirds.
  • You can shoot a little wide and then crop later, if you wish.
  • However nice the wide angle shots are, also shoot some close-ups. Or vice versa.

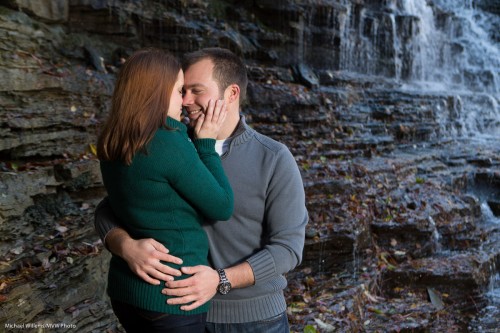
Here’s a couple more samples of this wonderful couple – with minimal adjustments made in post. It is good to shoot it in camera if you can.

Technical details: I shot with the camera on manual, set for the right background. For light, I used an off-camera flash on TTL (using light-driven remote TTL).

So what do I do for a shot like this, which needs slow shutter?

Tricky. To get the slow shutter, I need a small aperture. But that kills my flash power. So I compromise:

  • I use the flash with no modifier (which also steals light).
  • I manually zoom the flash in to 200mm. This concentrates the beam, leading to higher available power.
  • Then go to the smallest aperture that gives me acceptable flash output.

Note that “just use an ND filter” is the wrong answer. Unless you have lots and lots of flash power to get through that filter. Which brings me to my last suggestion: use multiple flashes. Each doubling of the number of flashes gives you an extra stop of flash power!

___

Michael teaches these techniques and many others. Contact him to see how he can help you through a course, some coaching, or through a number of other methods all designed to increase your state-of-the-art speedlighting knowledge quickly.