Advanced on-camera flash technique

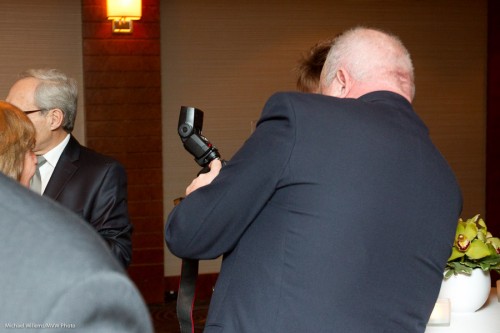
I usually advocate not doing this:

But this instead:

Flash backward, because you want the light to come from 45 degrees above your subject. That’s usually the way, since we usually use wider lenses for people shots, meaning we are close.

However, when you are using a long lens, like a 70-200, then to get to that same 45 degree point, you may have to aim the flash forward 45 degrees.

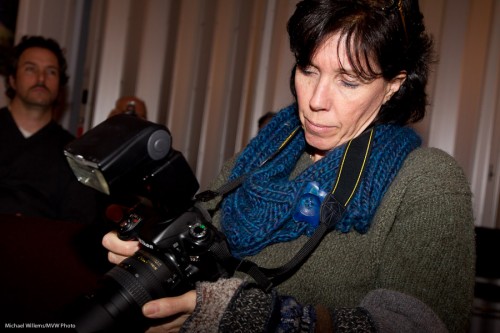
The problem with this is that with any flash angle that is even slightly forward, some light goes forward, straight from that flash to your subject. So you get this, horrible shadow:

The solution: Flash forward, but use a gobo/card, or even your hand, to shield the inch or two straight in front of your flash. So now the light can still go up to the ceiling, but it can no longer go directly forward to the subject. You could even use a grid but that eats a little more light.

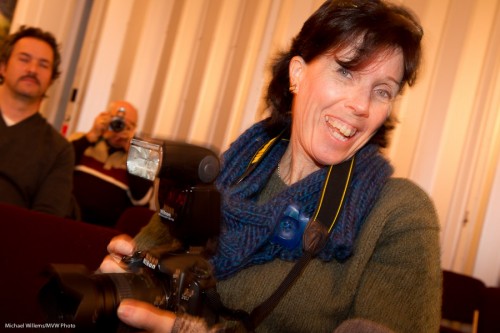
You now get this:

I used my hand here, holding it an inch or two in front of the flash to block the path straight to the subject. Result, a well lit shot!

 

Timing is everything?

I would like to repeat a very important aspect of flash photography here, namely the following.

The background brightness, when there is any background light, depends on the shutter speed of your photo. Yes, also on the aperture and ISO, but these latter two also affect the flash brightness (assuming your flash power is constant).

This means the following.

If I want to mix in background light, I use a slower shutter.

Consider these two photos, both taken with a flash aiming straight into the student’s face (not great technique, but it was to demonstrate this fact), and at 400 ISO and f/5.6.

Picture 1 is at 1/60th second – and note, usually your simple modes like P and the scene modes, will restrict you to that speed or faster:

.

Typical “brrr, flash” picture.

The second shot was taken at exactly the same settings, except with a much slower 1/4 second shutter speed:

Clearly that is slow, but the face is still sharp due to the brief duration of the flash.

Flash Note

When bouncing a flash, you may need more flash power than you have available. To ensure you have enough, do the follwoing:

  1. Use an ISO of at least 400. You may need higher ,especially if ceilings are high or non-reflective.
  2. Use an aperture of, say, f/5.6 or wider.
  3. Test your bounce environment by turning the flash to MANUAL mode at full power (1/1, or 100%). Fire. If the picture is overexposed, you have enough power; go back to TTL and start your shoot. If not, then raise ISO and open aperture, or move to a better environment.

Simple steps that can avoid a lot of pain – and TTL flash can do a good job, like here in Anastasia’s picture a few days ago:


Reflect on this

When you use TTL flash (automatically metered flash), you can get great images – I use TTL all the time. Like in this image of Anastasia:

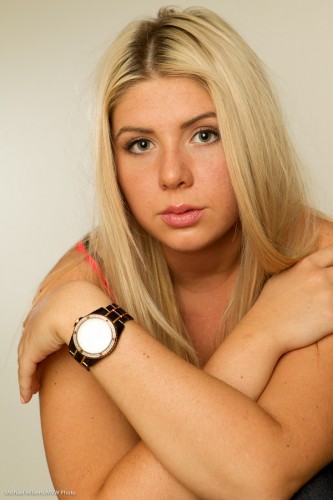
But sometimes, oooh, it goes wrong and the image goes too dark. Like here:

What happened?

I’ll tell you what.  Your camera’s evaluative/3D Color Matrix metering tries to expose well, and to avoid over-exposed areas.

And that watch is reflecting the flash. So it would be over-exposed. So the camera tells the flash to fire at lower power- to avoid that. Hence, the rest of the image is underexposed.

Simple, once you know: in TTL flash images, avoid reflective surfaces like the watch!


Expose brightly = decrease age

Ah.. who does not want their face and skin to look smoother and younger? I thought so.

So here, from a Flash class I taught at the School of Imaging the other day, is a simple example. All of you can do this – simple camera, simple lens, and simple flash, in a small room with white walls and ceilings. To ensure that only flash light shows in your image, set the camera to manual, at 1/25th second, 400 ISO, f/5.6.

First, let’s do it wrong (sorry and apologies to my volunteer): aim the flash straight up at the ceiling. Result: dark circles under the eyes, many wrinkles: ouch. Do not do this at home!

Instead, when close to your subject, aim the flash behind you, up 45 degrees. That gets you a much better image:

That’s a nice portrait. But now look at this: let’s “overexpose” it by one stop: to do this, set your Flash Exposure Compensation (FEC) to “+1.0”.

Aha, that is better! We have taken years off the subject’s age just by lighting brightly. These images, basically straight out of the camera, show very clearly how you light and expose well: now go try to do it yourself!

Flash rocks, once you know how it works. This post shows just one small sample of what I teach you in my Flash courses and coaching.


Cool colour

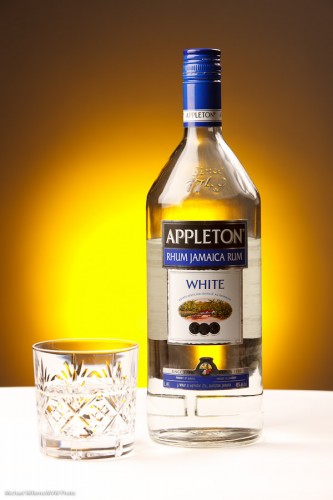
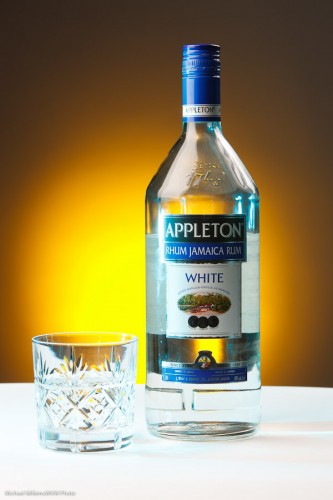
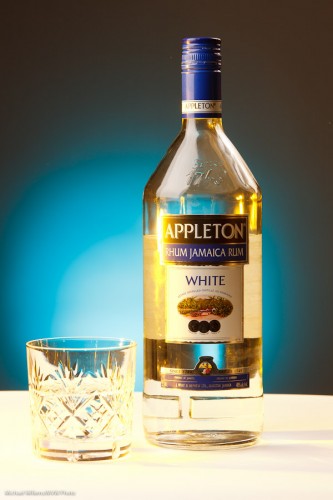
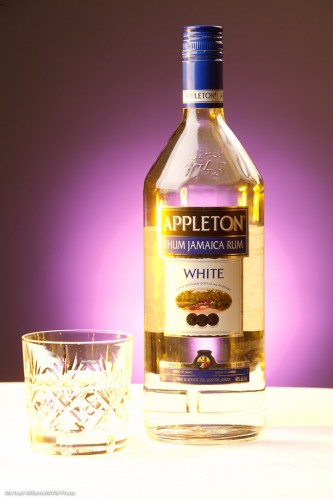
I shot some demo product shots with my student Merav today, and I thought I would share them here to underline the importance of colour.

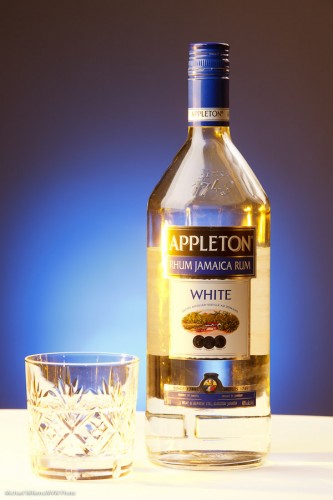
Here’s one, a simple one. Lit by a softbox on the leeft, an umbrella on the right, and against a grey backdrop. That gives us this:

Bit boring? Yes it is. So I add a gridded, “egg-yolk yellow” gelled speedlight aiming at the background. (I use the excellent Honl Photo grids, gels, and other small flash modifiers):

Product Shot (Photo: Michael Willems)

Much better. Then we added another light – a green-blue gelled speedlight shining in from the left:

Product Shot (Photo: Michael Willems)

Then we reversed the gel colours:

Product Shot (Photo: Michael Willems)

Then, tried another background colour, rose purple:

Product Shot (Photo: Michael Willems)

And finally got to a background coloured Just Blue, which had been Merav’s idea all along:

Product Shot (Photo: Michael Willems)

Which one did you prefer? Can you see how different they all are?

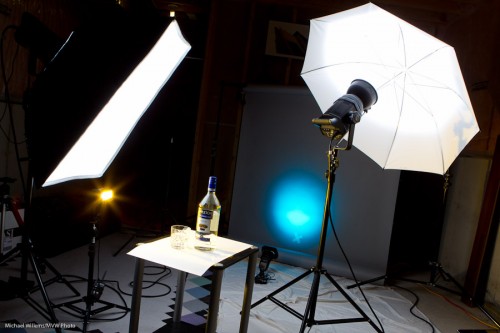
To shoot this I used this setup:

Product Shot Setup (Photo: Michael Willems)

This works as follows:

  1. Put the bottle on a table, with white paper underneath
  2. Put up a grey backdrop, far from the bottle so it does not get any light
  3. Get the main lights right – use a light meter to set them to your desired values (I used f/9 and 1/125th second at 200 ISO). Main strobe is fired with Pocketwizard; secondary strobe by its cell.
  4. Add a background light: a small flash also fired by a Pocketwizard, through a Flashzebra cable. Set to 1.4 power. Equipped with a 1/4″ Honl grid and a gel.
  5. Add a side light: a small flash also fired by a Pocketwizard, through a Flashzebra cable. Set to 1/4 power. Equipped with a gel.

Simple. Once you know!

Why the rum? It was the only bottle I had in the house. Amazingly, for the first time I can remember, I had not a single bottle of beer or wine or anything else available in the house. Time to hit the liqor store!


Your light meter is not perfect

Your camera’s light meter is a reflected light meter.

Here’s how it works. And you need to simply accept and remember the following:

The in-camera light meter is designed to give a good reading when aimed at a mid-gray (“18% grey”) subject.

By implication, this means that when you aim at a non-midtone subject (like a dark subject or a light subject) the image will be incorrectly exposed.

In other words, because the camera “thinks” that it is looking at mid-grey it will try to render the subject as mid-grey.

One solution is to set your exposure manually while looking at a grey card; then using that exposure for your subsequent pictures taken in that light. That way I get pictures that are right regardless of the subject’s brightness.

Like these two taken at yesterday’s Sheridan College class, of two of my students:

[1] Darker subject, coat, camera:

[2] NBow a lighter subject, dress, wall:

Both were correct at the metered settings of 1/125th second, f/2.8, at 800 ISO. Which I measured off a gray card!


The WIllems 4-4-4 Rule – redux

A readers asked, the other day:

Recently in some event shooting that I did, I followed the famous Willems 4-4-4 rule with my 430-EXII set to ETTL metering. The pictures that resulted were a bit overexposed and with the ambient light not doing as much “work” in behind the subjects. (I think could have been a variety of reasons such as brighter ambient light, distance of subjects, etc). In these instances, what is your first suggestion to correct this? Flash compensation? change shutter speed / ISO / aperture?

See the article above (under “ARTICLES”) for the 4-4-4-rule explained.

The 4-4-4 rule is a starting point. Your mileage may vary depending on many factors – ambient light intensity for one, but also distance, bounce surface, the flash power, and many others.

My suggestions:

First, the flash part:

  • First: if the flash part is too bright, use FEC (Flash Exp Comp) to decrease that (set it to, say, -1 stop).
  • If the flash part of too dark, you need to increase ISO, or open the aperture more (lower “f-number”).

Second, the background:

  • If the background is too bright, increase shutter speed.
  • If the background is too dark, increase ISO. 800, even 1600 is fine if you need it – you are aiming for -2 stops indicated on the meter, when you aim the camera at an average part of the room.

This is not the only way, but it is usually the best way.

Anyone with issues like this: send me a picture with EXIF data and I’ll tell you my suggestion/analysis.


Why shoot THROUGH an umbrella?

We shoot through the main umbrella in a portrait for several reasons:

  1. The umbrella is now closer to the face, making it larger, making the light softer.
  2. You see a circle as a catchlight, not a circle with a black blob (the flash).

Look at this example – a small part of a recent porttrait, where the main light is a square softbox:

The secondary light (which really ought not to be in the image, ideally) is a reflected umbrella – with the black blob. A shoot-through umbrella would not do this.

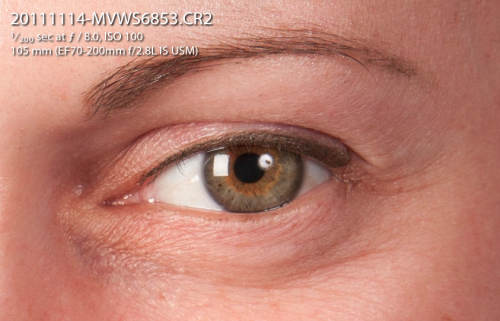
Incidentally – focus on the eyes always, and do be sure there is always a catch light (yes, ideally, just one). That makes the eyes come alive: without a catch light, the person looks dull, hardly alive.


Why aim back?

You remember the Willems 400-40-4 rule (the “444 rule”)? If not, check under “ARTICLES” above. Part of that rule: indoors, aim the flash 45 degrees behind you.

Behind? Why?

Of course the main reason is that this way, the light will come from 45 degrees above, well ahead of the subject, rather than from “right above their head” – i.e. the angle of light onto your close-by subjects is good.

But the other reason is also worth mentioning – I am unsure I have pointed that out explicitly. Namely…. If you aim your flash forward, some light will go forward directly to your subject. And what does that do? Cast a shadow: the bane of flash photos. That’s something to watch for very carefully, especially when there is a wall, say, behind your subject.