In Real Life

..In real life, you only have so much time when shooting an event. So you need to be quick, and you need to really master a bunch of little things.

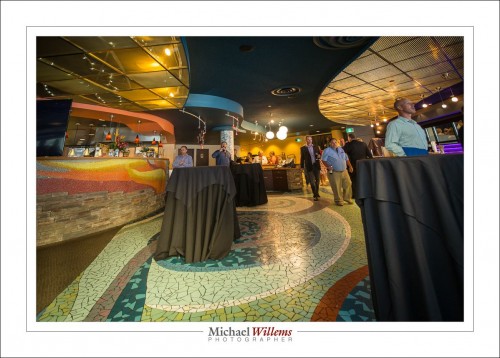
Take this picture, taken with a wide angle 16-35mm lens at 800 ISO, 1/40 sec, f/4, with bounce flash aimed behind me. . Attentive readers may recognize the Willems 400/40/4 formula in that, modified slightly (800 ISO instead of 400) because it was so non-reflective.

20160916-1dx_0486-1024-2

Nice, but why are the verticals tilted inwards toward each other at the top?

Because the photographer was aiming the camera upward! That results in this tilt.

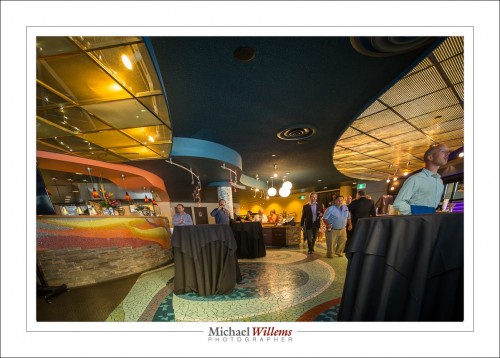
If the camera had been pointing downward, you would have seen this instead:

20160916-1dx_0486-1024-3

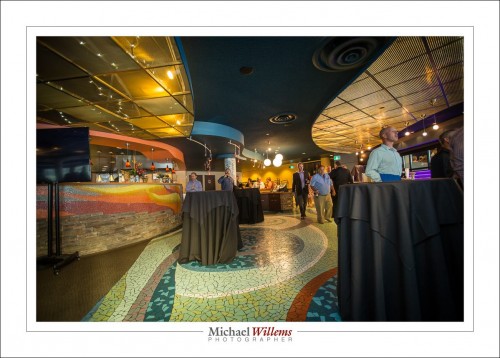
And it is only if the photographer aims the camera straight ahead, parallel to the horizon, that we get the proper picture:

20160916-1dx_0486-1024

And now a little secret: that one, the third, was in fact the actual photo taken by the photographer, Because the photographer, and that was me, knows to hold the camera parallel to the horizon. Check the verticals before you click!

So how did I create the other versions? Simple, by using TRANSFORM in Lightroom. And just like I can make a good picture bad, I can make a bad picture good.

So why not just shoot as you like and fix them all later? Mainly because this takes that most valuable of all commodities, time.

So. Last question. Flash you say. Really? How do I know this isn’t just ambient light?

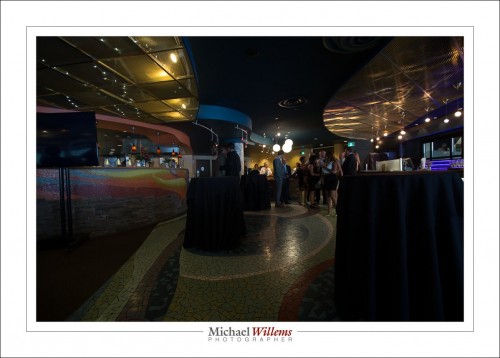
Well, let’s take one with the flash OFF. Here we go:

20160916-1dx_0491-1024

Now, we could have used ambient like this but just increase the exposure by three stops. That is true (higher ISO, lower f-number, and/or slower shutter). But then two things would happen: a) you would notice the drawbacks of those actions (e.g. more motion blur, less depth of field, more grain), and b) the picture would lose its magic. You would get this:

20160916-1dx_0491-1024-2

Well, de gustibus non est disputandum, but I prefer mine:

20160916-1dx_0486-1024

Isn’t this “creative” stuff fun?


Want to learn from me in person? 5 hours in Brantford, Ontario, on Sunday Oct 2. With a maximum of 5 students. Sign up tonight and save big: 

HANDS-ON SESSION: Master On- and Off-Camera Flash, Manual & TTL
Sunday, Oct 2, 2016, 12:00 PM

Michael Willems Studio
48, Wilkes Street Brantford, ON

2 Emerging Photographers Attending

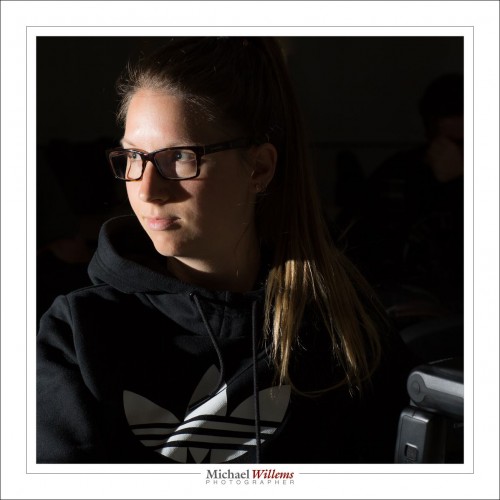
UNLEASH YOUR CREATIVITY, LIKE THE DUTCH MASTERS, AND BECOME A FLASH PRO!This unique small and intensive hands-on workshop, held in my fully equipped studio, will be both practice, for those who know a thing or two about flash, and a revelation, for those who do not.I took this picture  two days ago, on Friday. In a dark Niagara Falls restaurant …

Check out this Meetup →


All sorts of everything.

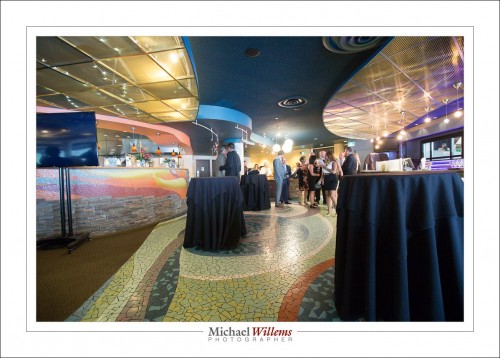
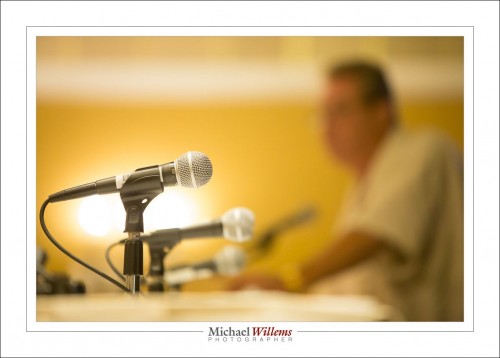
I am shooting a three day event, a conference, at Niagara Falls, while my son house-sits back home. So I shoot lots of speakers and so on,
20160915-mw5d0313-1024

And I love this kind of shooting because if done well, it leads to so many “oh wow” reactions.

But only if done well, and it is complicated:

  • I am using a long lens (70-200) without flash, and on another camera, a wide angle lens (16-35mm on a full frame camera) with a flash, so all settings are totally different from shot to shot.
  • Many, many different environments. A large ballroom. Hallways. Smaller rooms. Restaurants (several). Easy bounce, Then, no bounce. Then, difficult bounce. Coloured walls. Every shot is an engineering challenge!
  • Speakers who will not stop talking, or stand still, or even turn the same way, for a millisecond.
  • Dead batteries all the time.
  • Heavy cameras, two of them. And the arthritis in my hands doesn’t make this any easier.
  • The need to minimize post-production work. Hundreds of times “just a moment or two” means many moments, and that means “hours and hours”..
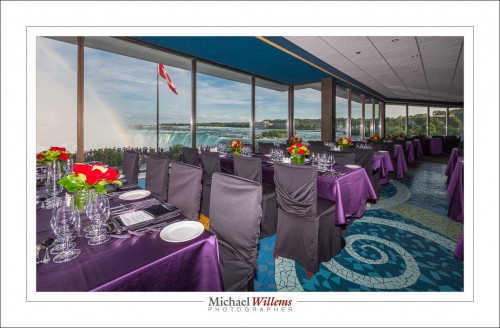
  • Tough environments including “dark inside with bright outside also visible in the shot”, like this:

20160916-1dx_0435-1024

But it does not end there…

  • TTL does not always work well when there’s reflections, so I have to use Manual flash setting for a lot of the work. And that is sensitive to changing the distance to the flashed object (“inverse square law”).
  • Impossible white balance.
  • Bouncing means direction, and you need to think about that direction: “Where is the light coming from?”

So I really have to work for my pay. Fortunately, I love my work. And there are ways to make it easier: start with good starting points, like the Willems 400-40-4 rule (look it up) as your basis, and adjust from that basis. When you take my courses or buy my e-books, you will learn these starting points.

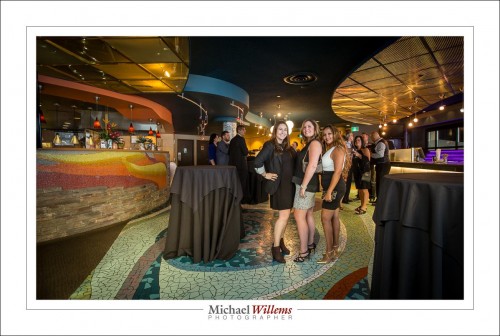
And then you can shoot quickly and get great colour, and with a modern camera this applies even at high ISO. Here, for example, is beauty:

20160916-1dx_0494-1024

No, I did not mean the girls. Well, yes, they are very beautiful, too, but I really meant the venue and the colours. This is why I love flash.

In the next few days, some more about this shoot. It is 1:15 AM and now, finally after a 16-hour non-stop day, I get a rest. But only until 7AM.

And then back to Black Betty, who is waiting patiently in the garage for me:

20160916-mw5d0486-1024

And then tomorrow evening, I run a photo booth, 80km away. No rest for the wicked!


Shutter speed isn’t all there is to shutter speed.

“Shutter speed” isn’t all there is to shutter speed.

Uh oh. Michael is The Oracle. What on earth does he mean by that confusing statement?

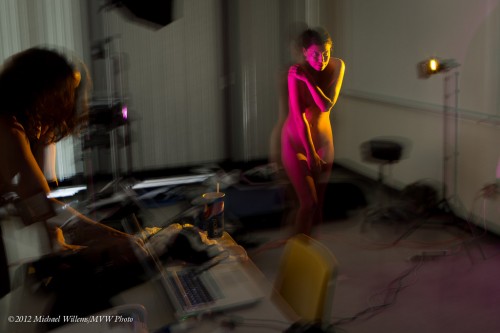
Well, let’s have a look. Let’s set up a couple of gelled and gridded speedlights (using Honlphoto grids and gels) and get a talented life model. Which is exactly what I did in August 2012 at Brock University, during the 5-day flash course I was teaching for the Niagara School of Imaging.

But wait. Because I want to show you the setup, let’s allow in some ambient light. To achieve this we use a really slow shutter speed, of 0.6 sec. More than half a second, in other words. That lets in some ambient. Not a lot, but enough to see the classroom, some of the equipment, and so on.

The picture, showing the setup with the two flashes, below. Look at the two little gelled speedlights, can you spot them? Purple gel on the left and yellow gel on the right:

tumblr_m94klicvuq1qfts2ko1_1280

OK. Great. Blurry as heck, of course: 0.6 seconds is ridiculously slow. Impossible to hold still. Right?

But wait. Lots of blur, yes, all over the picture, but look carefully. Click on the image to see it full size, and now look carefully at the model. What do you see?

She is sharp. No blur on her: she is tack sharp. There’s blur all over, but not much on the actual subject. A little “ghosting”, but she is substantially sharp.

But that’s impossible: the shutter speed was 0.6 seconds. So she must be blurry! Right?

So that’s where I say “‘Shutter speed’ isn’t all there is to shutter speed”. The shutter speed may be 0.6 seconds, but the model is lit primarily (almost exclusively) by the flashes. And the flashes flash at 1/1000 second or faster. At 1/4 power, they flash for just 1/4000 second. So while the shutter speed may be 0.6 seconds, as long as the subject is lit only by the flashes, our effective shutter speed is 1/4000 second!

And that is why you see a sharp model: there is very little ambient light on her, so the effective shutter speed is determined almost exclusively by the flash speed. Which is very rapid.

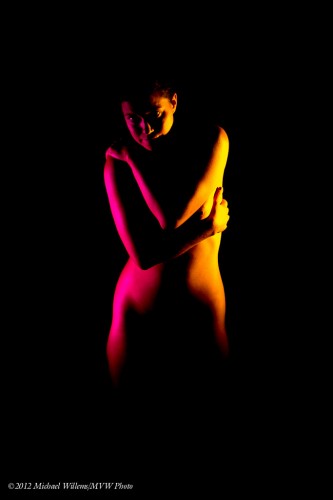
So now let’s do a normal shutter speed, of 1/125 sec, so the ambient light is cut out. And here is the finished product:

tumblr_m94knozSgL1qfts2ko1_1280

So anyway. This is a studio shot. So I want no ambient light: the second picture, in other words.  But when I shoot an event, like a wedding reception, I want to let in some ambient light to avoid those cold, black backgrounds. Instead, I want a nice warm background. To achieve that, I am happy to shoot with shutter speed as slow as 1/15 or 1/30 second. And now you know why I can get away with that.


Yaay! Natural!

You have all heard about the grassroots campaign against dihydrogen monoxide?

This chemical, which if ingested in large quantities can be deadly, is present in most manufactured foods. It is even in our water supply.

Which is not strange, considering the fact that “dihydrogen monoxide” is just another way of saying “H2O”, i.e. water.

The reason this joke works is that people have been conditioned to like “natural”, eat “natural”, and to resist anything artificial. As though Ebola, disease-carrying mosquitos and bone cancer aren’t “natural”!

And we see the same in photography. Oh so often do I hear people proudly proclaim that they use “natural light”.

That is fine, nothing against that. I use available light quite often. But to be proud of it? To me, that’s like proudly saying “I am walking to Rome!”. Personally, I’d rather be carried there on a luxury yacht, or in a Saudi royal’s personal 747 with golden faucets. And similarly in photography I use the tools that suit my needs. Whether they are “natural” or not. I am as happy using flashes as I am using sunlight. Except flashes give me more options in more conditions.

So I’d say, use what works for you. Whether it is “natural” or not. And learn all types so you have the option when needed.


Filters!

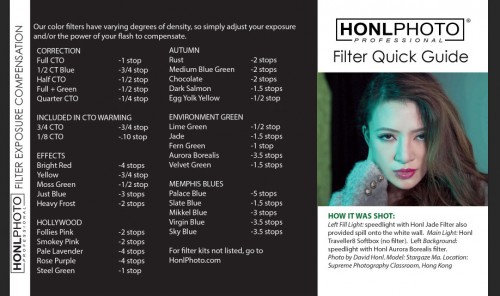
David Honl, whose modifiers as you know I use, and love, just posted a helpful post on his blog. I will show you Part of it right here, namely the corrections you need to make to your flash when using a gel:

image

Those are useful Numbers, these will save you a lot of effort when you’re using the gels yourself. Which as you know I’m a big advocate of. This  will save you a lot of effort when you’re using the gels yourself. Which as you know I’m a big advocate of.

There is one thing I want to point out in addition to this though. Namely:

To turn a background into colorful, it first has to be dark.

It does not matter if the background is in reality gray, light gray, white, or even black; what is important is that to the camera ot has to look almost black. Then, and only then, can you add your gelled flashes. Then, and only then, can you add your gelled flashes.

If you do not do this, and if the background is, say, white, then adding color will add nothing except perhaps a slight tint   LIgor is not like paint: you cannot cover a color by putting another color on top.

For many people this is the biggest revelation when they start using color gels… So now you know. I just saved you a bunch of time. As did Dave with his table.

To  buy,  click on the advertising link on the right, and when checking out use code word “Willems” for an additional 10% discount. You’re welcome. 


Keys To Being a Pro: Predictability

Predictability of your results, and of your ability to deliver these results in the first place, is one of the most important key factors that determine whether you can legitimately call yourself a “Pro”. It’s not whether you get paid, or even whether you can shoot a pretty picture: it’s whether you can be relied upon to do this when needed, instead.

Take this photo, for example:

20160618-1DX_8643-1024

A pretty picture, taken under bad circumstances: harsh sunlight at noon. But it works:

  • The sky is blue, not white;
  • In general, colours are saturated;
  • It has red, green and blue in it;
  • The subjects are the “bright pixels”;
  • The drop shadows are hardly noticeable and are not annoying where they are;
  • The composition is good;
  • The focal distance is spot on;
  • Exposure both of the ambient and of the flash part of the photo is good;

…and so on. Yes, a lot goes into the making of a good photo, and those of you who have taken one of my Dutch Masters courses, workshops or seminars, or have attended my Sheridan College courses, know all about that.

But there’s more, namely predictability.

Quick, solve this:

20160719-DSC_7373-1024

OK: assuming your shutter speed is under your fastest flash sync speed, leave the ambient part alone, since it is already good; just add an off-camera flash:

20160719-DSC_7374-1024

Yeah, that can be done even unmodified, as it is here (a couple of hours ago). As a student of mine you will know the recipe: 100 ISO, 1/200 sec, f/8 and then vary only the aperture (here, to f/11). And after you do this a bunch of times you will even know (without metering) to set the flash at 1/4 power if it’s a couple of feet away from the subject.

Quick, solve this:

20160719-MW5D9126-1024

Not enough ambient. You could solve this by increasing ISO or opening the aperture, but then you’d have to also set the flash to a lower power level. There’s no time for all that. So instead, you slow the shutter, from 1/200 sec to 1/100 sec:

20160719-MW5D9127-1024

Bingo, a brighter background (by one stop) without varying the flash picture at all.

My courses and one-on-one coaching teach you this. But they cannot teach you the essential additional requirement: predictability. The ability to come to the above conclusions within a second or two, by yourself, while shooting.

Only practice can teach you this. I’ll hand you the tools; now it’s up to you to practice using them until you are comfortable. That will make you a pro, and this ability to handle any shooting situation that can be handled means that you will face shoots with a lot more confidence.

And don’t worry. This is all, in fact, very simple. When the metaphorical light bulb in their head turns on, a lot of my students say things like “but I thought this was supposed to be complicated?!”. Nope, once you know it, it’s simple. A bit like brain surgery, really.


Schedule a workshop with me now. A one-on-one, or come with a few friends and make it a group thing.See http://learning.photography or if you prefer, call me, to schedule an appointment. Finally, the ability to confidently translate your vision into a photo!

f/2 and be there.

An old newspaper instruction to photographers was “f/8 and be there”.

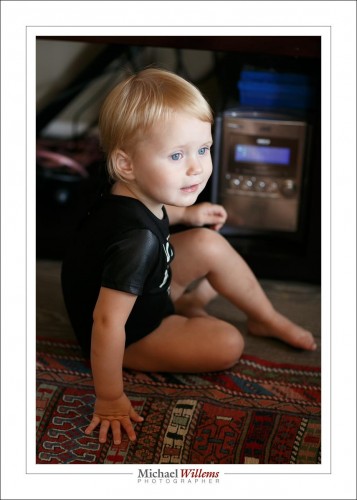
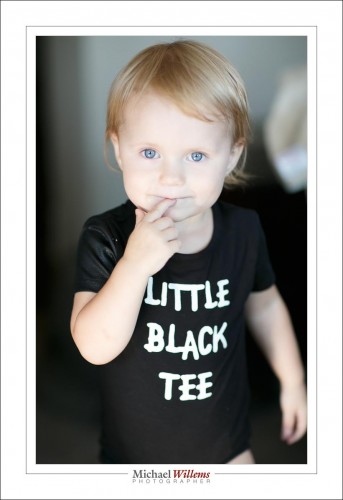
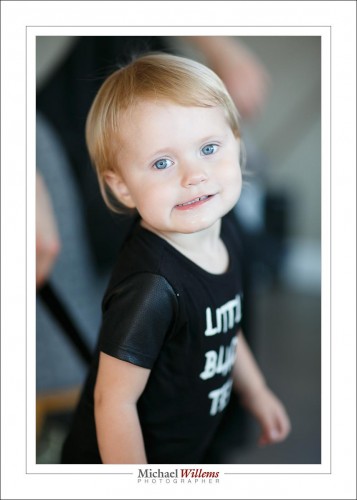
My version is: “f/2 and an 85mm lens and be there”, if you want good informal portraits.  Sometimes I keep it simple, of course. Like today, some pictures of Addison. Here she is, in a nice chiaroscuro photo:

20160712-MW5D8898-1024-2

And here’s a few more:

20160712-MW5D8870-1024

20160712-MW5D8871-1024

20160712-MW5D8890-1024-2

20160712-MW5D8875-1024

All those are SOOC (“straight out of camera”).

As you see, the use of this lens “almost” wide open (it’s an f/1.2 lens, set to f/2) allows you to shoot in a normal living room environment without the clutter making the photo into a snapshot. Of course f/2 with a moving toddler means that you will be using continuous focus (“AI Servo”), and even then a lot of your shots will not be in perfect focus. But many will, and in any case, the moment and the light are also essential, and those will occupy a lot of your mindspace.

So the speedlighter does not always use speedlights?  Nope, not always.


ISO guideline

FROM SEVEN YEARS AGO: What ISO setting to use? High is good for shooting without blur or shooting in the dark but gives you noise (“grain”). What is optimal?

The following may help.

If you do not use AUTO ISO, my rule of thumb for starting points is:

  • Outdoors, or when you are using a tripod: 200 ISO
  • Indoors: 400 ISO (whether or not you are using flash)
  • Problem light, such as museums or hockey arenas: 800 ISO

You can vary from there of course, but you will not be far off.

Here’s an 800 ISO handheld image (200mm, non-stabilized lens). It won me a media award:

TODAY: so what has changed? Only that you can now shoot, on a modern camera, at higher ISOs before you start no notice grainy noise. What worked then works now—but you can now go higher, sometimes much higher,  without noticeable noise. Life is good.

One flash is enough?

Can you do anything worthwhile with just one flash?

Sure you can. This, of Sheridan student Steph, is a single flash, off camera, without softbox or umbrella, but fitted with a 1/4″ Honl Photo grid::

20160606-MW5D7708-1024

1/125 sec, f/8, 100 ISO (the studio settings); flash at 1/4 power with grid.

Learn to take your flash off camera and have fun!