Warning: bodies here

Today marked the first “The Art of Photographing Nudes” workshop that Joseph Marranca and I held in Mono, Ontario for photo enthusiasts.

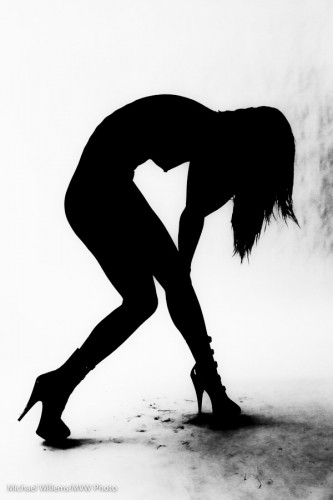
Kassandra, grunge James Bond nude silhouette

In this workshop, students learned about such things as:

  • Background of the nude photograph
  • Types of nude shots
  • Challenges
  • Equipment/technical
  • Model: interaction, finding, putting at ease
  • Men vs Women
  • Light: how to keep it simple
  • Colour vs Black and White
  • Composition
  • Do’s and Dont’s

Many practical tips made this a very useful way to spend a Sunday, and everyone went back with lots of shots.

When you have a great model like Kassandra, your task shifts slightly from directing every shot to “setting up the shot, then taking lots of images, then selecting the ones you like best”.

We shall be holding another one in March – let me know if you think you might want to be one of the students. Two expert photographer instructors, one cook (thanks Michelle) and no more than ten students at the most.

After the click, another few shots.

Warning: those of you that are offended by the sight of the human body (I am sorry if in 2011 you are: we all have one – and  if you want to be a photographer you had better get used to that fact!) – that there will be unclothed human bodies after you click here:

Continue reading

Day One

I cannot commit to posting a pic a day that I took on that day – but I can commit, pretty much, to a post a day. And many of those will contain a pic (or two, even) of the day.

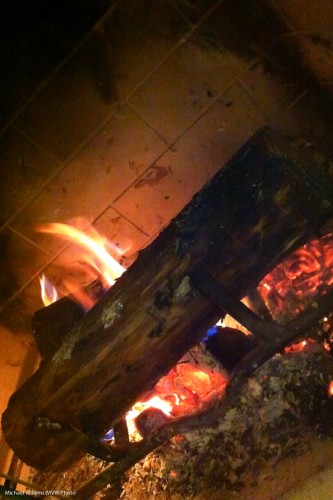
Some of those will be taken on my iPhone, like this one a few moments ago:

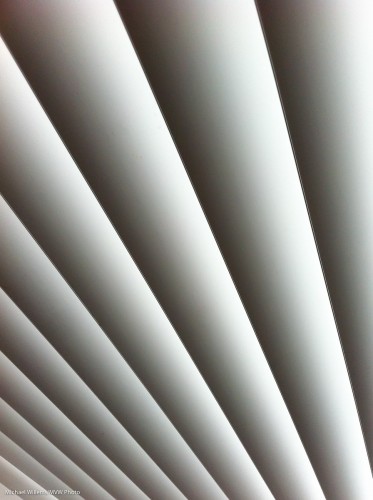
or like this one, of blinds – this is now my iPhone 4 image:

Remember, and that is the subject of today’s post: the best camera is the camera you have on you.

Of colour and curves

A few words, to reiterate a few useful concepts. Illustrated by a few snaps I took last night during a short walk (shot because it was bitterly cold).

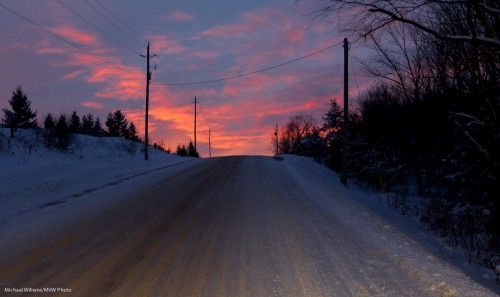
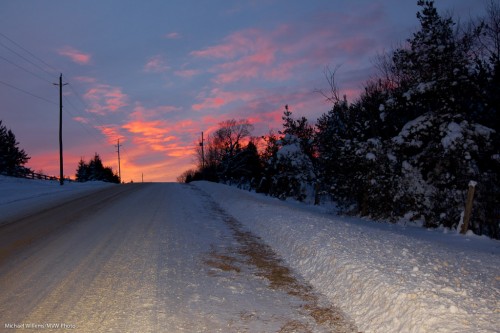
First, sunsets. As you also saw in yesterday’s evening picture, colours get nice at sunset:

25th Sideroad Sunset

To get these colours you need to make sure you do two things:

  1. Expose right. That means underexposing a little. You can start with exposure compensation set to -1 stop, but you may want to go even lower. The less light, the more saturated the colours get.
  2. White balance right. Do not use “auto”, but use “daylight” instead. “Auto” tries to neutralize colour casts. Not what you want!

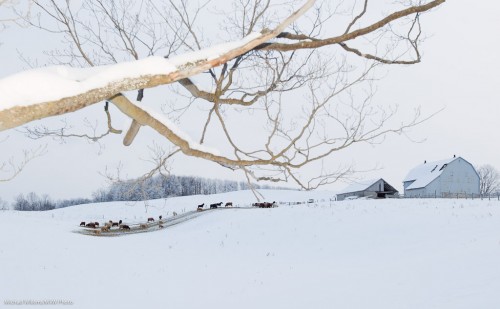
Then, frames. Consider using them when you can.

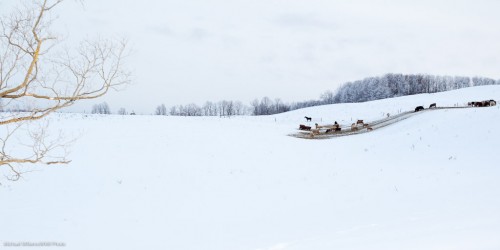
Cold Cattle

Love the curve.

If I had had more time I would have gotten down lower into the snow to rearrange the tree.

As for colour: these winter scenes can also look good in black and white.

Cold Cattle in B/W

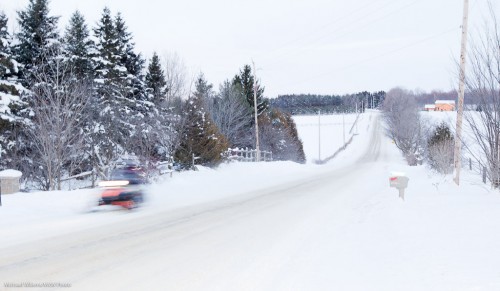
And finally: sometimes, action is good, to relieve the stillness. Like this snowmobile whizzing past:

Action in the snow

Go take some snaps if you are lucky enough to have snow where you live!

Merry

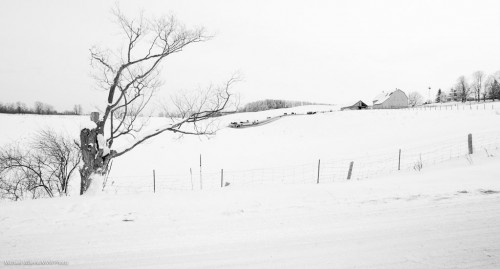
Mono Landscape

..but cold. Can you see it’s cold?

Why? Because it’s bright and snowy, and a little blue (“cold”, even in photographer’s terms – which by the way are opposite to physicist’s terms).

Can you also see:

  • Negative Space (much empty space to emphasize the animals’ isolation)
  • The rule of thirds (“off-centre composition”)

Back to the light. To get that brightness, I had to increase exposure compensation to +1.7 stops. To get the colour, I had to choose the right white balance.

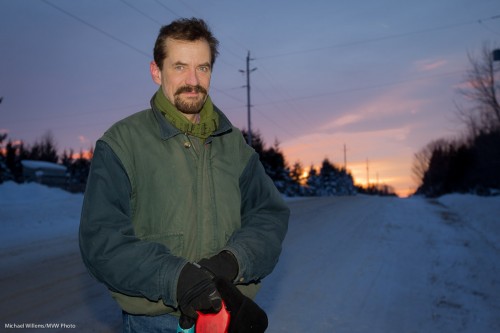
Conversely, a little later I wanted the background to be darker. I decreased exposure compensation, to minus one or two stops. That gave me this:

Michael in Mono

Yup. Me. And a few minutes later:

Mono Winter Sunset

You see, lower brightness means more saturated colours (saturated means “not mixed with white light”).

And of course my speedlight is on the camera, to throw a little light onto the foreground. You would expect nothing less from the speedlighter.

I hope many of you can take similar landscape pictures this season.

Lucky escape

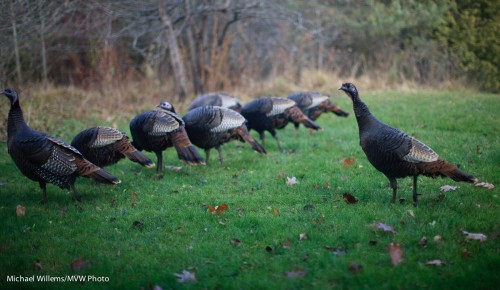
These wild turkeys, which I photographed outside my window exactly a month ago, before the snow, are enjoying the land, oblivious to what is to happen to their cousins en masse, in a month’s time:

Wild Turkeys

Taken at 1/3200th sec at 400 ISO at f/1.2 with a 50mm lens.

Huh? Why those values? Would a slightly more closed-down aperture, like f/4, not have been better? And lower ISO perhaps?

Hah. Simply because I was in Aperture priority mode and in a big hurry. I saw these lucky ladies right outside my window and ran to it to grab this shot. No second chances, no time to waste.  So you run to the window and:

  1. Ensure camera is on (which is why I do not turn it off: a light touch of the shutter will wake it up);
  2. Compose;
  3. Find the focus point and move it to the right;
  4. Aim that selected focus point onto the closest animal’s head.
  5. Shoot.

I had no time to change anything, so I shot as I was, which was only just good enough: I would have liked more space on the left.

But I got the shot, which considering the circumstances is not a bad thing.I like to:

  1. Ensure camera is charged
  2. Have it turned ON (but timed out)
  3. Ensure card is empty and formatted
  4. Set to 400 ISO and Aperture mode

And that is the lesson this Christmas day: be ready so when you need to, you can get the shot. And if you are a turkey, enjoy life while you can. And Merry Christmas!

Portrait tip

A quick tip or two – a few things to keep in mind when shooting studio portraits.

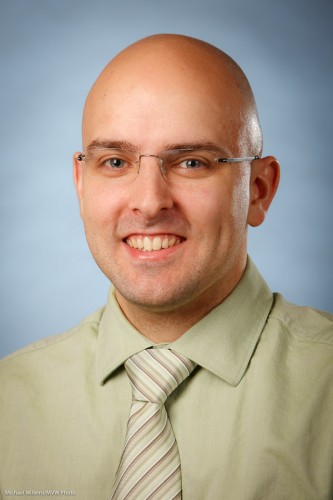
Like this one of my assistant Matt at this morning’s location shoot (where Matt kindly stood in for the subjects prior to their arrival, while we measured and adjusted the lights):

When shooting a studio portrait like this, there are a few things to keep in mind. These include:

  • Be sure you get a catch light in the eyes (usually from your main light)
  • If your subject wears glasses, do not turn their head too much.
  • Also, make sure the glasses do not reflect light. If they do, move your light source or ask the subject to aim their head very slightly down.
  • Ask your subject to move their head a little each time, and thus take various shots. I usually try to get at last four images – even the same look when shot seconds apart will lead to a different picture each time.
  • Ensure the ties, collars, etc, are well adjusted. You cannot do it over when you look at the pictures at home.

That was the quick tip of the day. Quick five tips, really.

Light as a creative tool

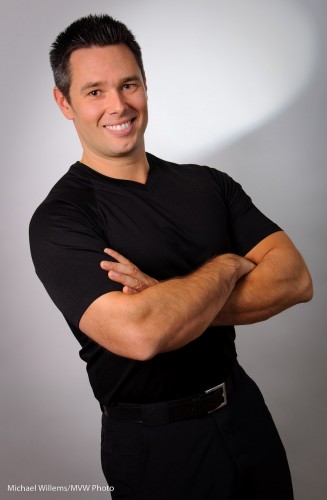
A quick tip today. Look at this portrait of a personal trainer which I helped a student take earlier today:

Portrait of Travis

Standard key light (a small strobe), fill light (in an umbrella) against a white background. But instead of onto the head, which is already separated from the background by its colour, I turned the hairlight onto the background.

And because it has a snoot on it (a Honl Photo snoot, attached to a speed strap), I get this nice parabola-shaped beam of light behind the subject’s head. A technique worth using occasionally. Avoid getting stuck in the “same old light” category!

(The parabola reminds me of a satellite, somehow. Probaby because have an engineering degree?)

The festive season.

Whether you celebrate the Festival of Lights, or Christmas, or Kwanzaa, or whatever Eid this season has – or whether like me you just like parties and colourful lights, I urge you to shoot some unusual holiday pictures this month. So I will post a few posts in the next week with some ideas.

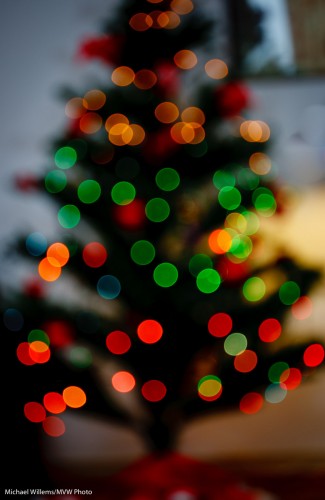
Idea number one is: detail and out of focus pictures of lights.

Start with the latter. Select a high enough ISO (say, 400 to start). Open your camera all the way (in Aperture Priority mode, select the lowest “F-number” your lens supports, like 3.5) and manually focus as close as possible (turn the lens to “MF”), while the lights are far away:

Out-of-focus tree lights

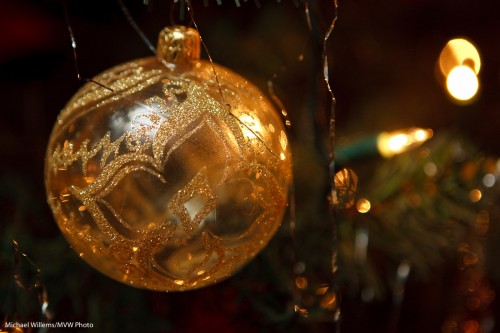
And then for the second type of image, get close to a subject and autofocus on the close subject. When using flash, use an external flash (not the pop-up), and aim this flash behind you (yes, behind).

Ball

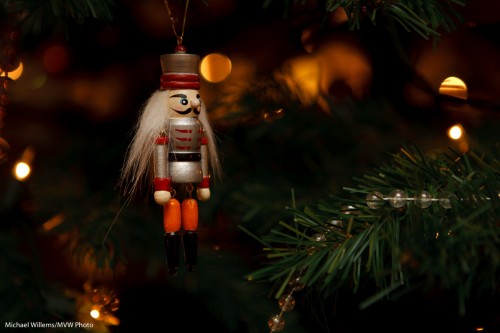
Ensure that you expose right: use exposure compensation (or when using flash, also Flash Exposure Compensation) as needed (minus, when shooting dark objects):

Nutcracker

That way you get pictures of detail that will help you tell the story and that in themselves are visually interesting.

That was tip 1. More later this week.

No tie

As reader Robert G pointed out, the other day I posted apicture of me without a tie.

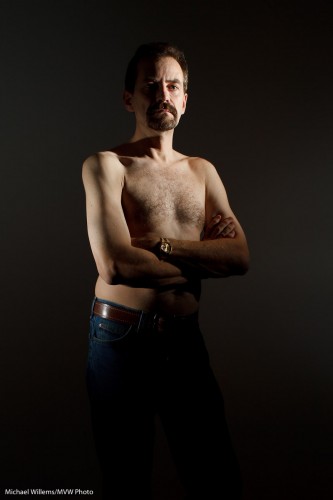
Yes, sometimes I catch myself unawares. I am my own frequent model, and today’s image is myself, again without a tie, to demonstrate an illustration of a different lighting technique from the onein the recent posts.

This time I am using two speedlights from the side. Both speedlights are fitted with a Honl Photo Speed Strap and 1/4″ grid to soften the light and to avoid it spilling onto the white wall. This gives you a dramatic light which can be very good when shooting males:

Michael Willems (by Michael Willems)

Yup. No tie.

See what this edge lighting technique provides?

  • Shape (muscles)
  • Texture (you want this for males, not so much for females)
  • Dark backgrounds
  • The ability to make other areas dark.

This latter ability is often useful. Rememer: lighting is not so much about what you light – it is at least as much about what you do not light.