Scarlett Jane

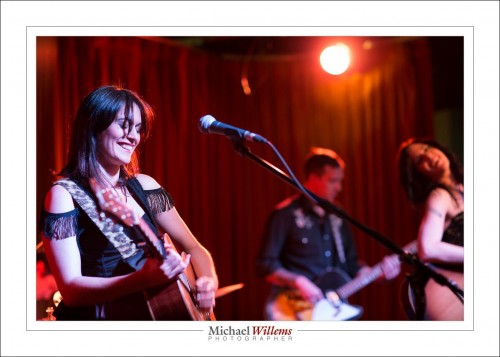
Last week I shot Scarlett Jane at a gig they did in Toronto:

That shot prompts me to say a few things.

First, the moment. “If it smiles, shoot it”: the mood is captured well by this moment. Moments are important. Look for them, wait for them, grab them!

Then the light. It was pretty light at the venue, but that is relative. Light is not really light: I used an 85mm f/1.2 lens set to 1/80 sec at f/2.0, ISO 3200. Fortunately, my camera, a 1Dx, allows that.

But I found the primes almost impossible to focus. Most shots were way out., whether I focused using one AF point, or manually. My experience is that focus on digital cameras is tough in the dark. So I shot most of the rest with f/2.8 zoom lenses like the 70-200.

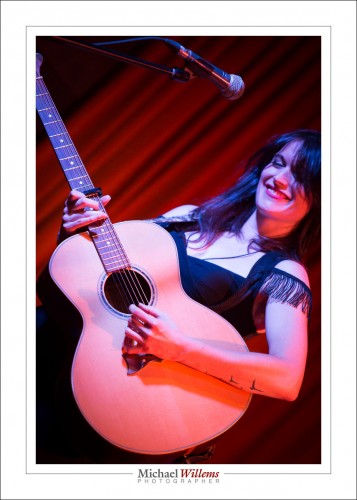
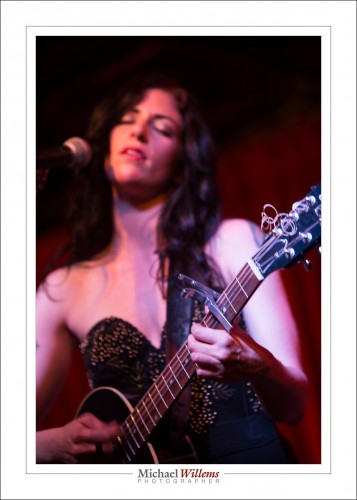
Here, a couple more:

..and again, as you see, the quality is good (here it’s 1/60th at f/2.8, ISO3200), but the moment, the mood, is most important. And these ladies had fun!

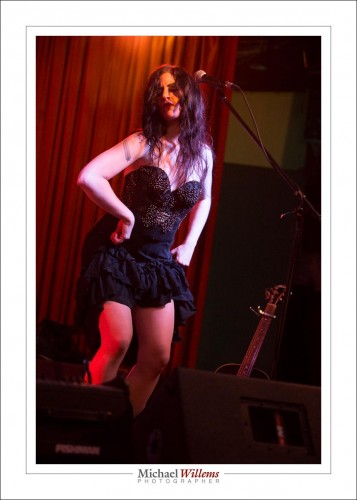
OK… one more to prove the point.


Colour

How do you make colours pop, I was asked today?

(Fuji X100, 1/50 sec, f/2.0, ISO 1600, Velvia film simulation)

This  picture shows one of the ways: in the past it would have been “choose the right film”; today it is “choose the right film simulation”. You can do this in post-processing, or even in the camera if you shoot JPGs. The shot above simulates Velvia film. Velvia was famous for being beautiful and saturated.

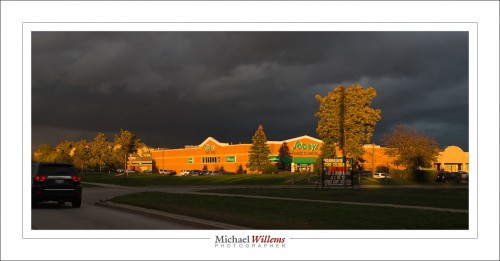
Then, be lucky, patient, or clever, and choose the right light. Like this beautiful late, late afternoon Golden Hour light on a “mainly overcast” day:

If it has been fully overcast that would have been OK too: overcast is generally better than “sunny” for saturated colours, by the way. Direct sunlight kills colours.

Next, make sure you get your white balance right. Like here, where I used custom white balance:

Cat Chilling

And, essentially, do not overexpose. Expose less and colours will pop. If necessary, use a flash to light up the foreground as you saturate the ambient light by slightly underexposing it.

And finally, you can do some more saturation in Lightroom… but that is a last step, that you should use judiciously, and if you do, do not go overboard.


And more on film

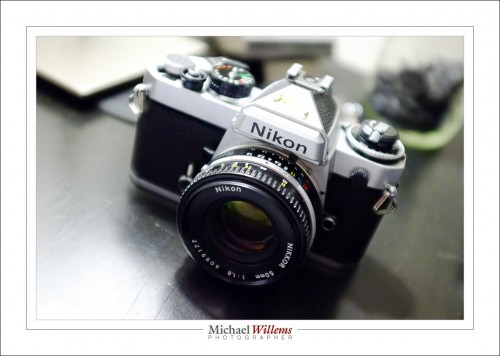
I am still playing with the Nikon FE with film. Not taking a lot of pictures, mind: the moment I touch a film camera, my old film skills come back. Including:

  • “Don’t shoot unless you mean to, because every click costs a dollar”.
  • Manual focus, where you want.
  • Meter carefully: no second chances.
  • Frame carefully: no post work.

Those are skills that are still very valuable; in fact they are skills you should have even when shooting digital. So perhaps your next self-assignment should be: shoot with manual focus for a day or two, and do not allow yourself the luxury of cropping in “post”. Pretend to shoot film!


Flare as a good thing

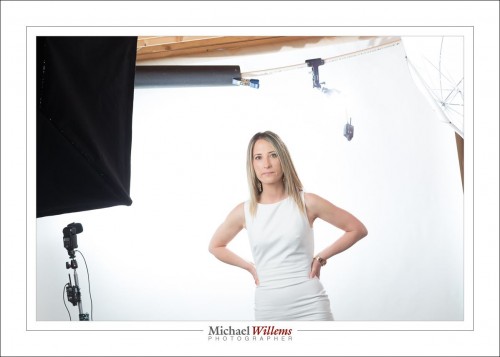
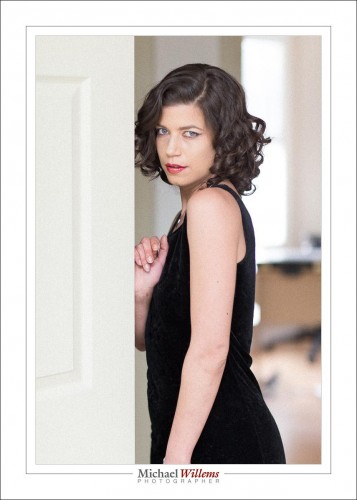
I did a portrait session yesterday, of another photographer, the talented and beautiful Tanya Cimera Brown.

Tanya wanted a high key portrait with blown out background and flare. A portrait that looks like it was taken in front of a bright window.

Flare, eh? Like this?

Yes, like that.

So how did I get that?

Flare is basically “lens imperfections with strong incoming light”. Like bright back light. It gets worse with some lenses (like the 70-200) and conditions (like filters). But instead, I used my 85mm lens. Not much flare there.

So I did it like this:

Five flashes: Softbox, umbrella, hair (strobes); then background, flare (speedlights). Flare? Yes, see that speedlight hanging down? Hardly visible? That is because it is shining toward me. And that with the bright background (speedlight left) gives me what I want, if my lens is in its light.

Done. A bit of logic always works. Logic rocks! Here’s one more.


To polarize or to ND?

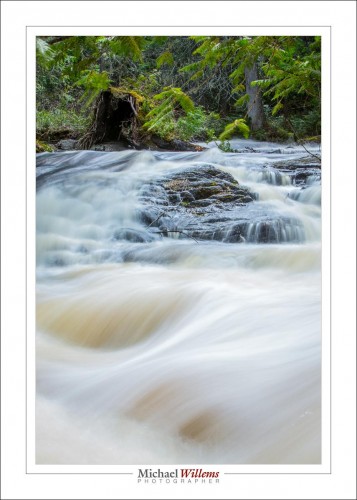
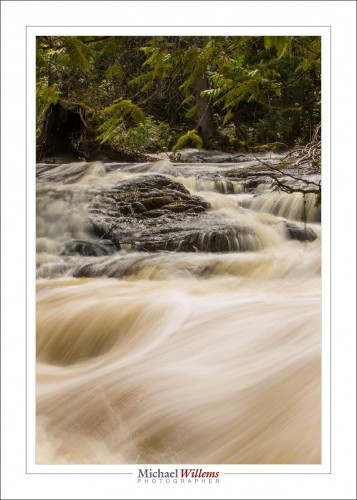
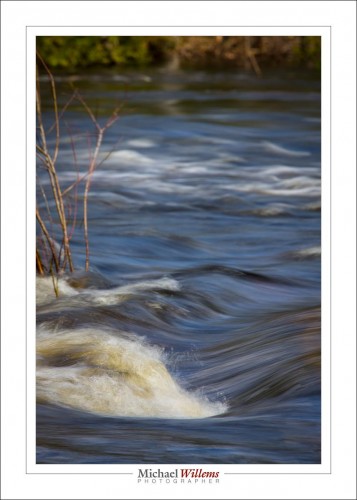
Saturday, I shot water details in Timmins:

When shooting water, like rapids, a polarizer is the obvious choice of filter. Turn the polarizer until reflections disappear.

But sometimes,  you need a neutral density filter, because it is darker. The shot above is an example of that: even with a dark (factor 8) ND filter and at f/32 and 50ISO, I could only get a shutter speed of 1.3 seconds. Which, as it happens, was fine; it’s exactly what I wanted. Any slower, and the flow lines would disappear.

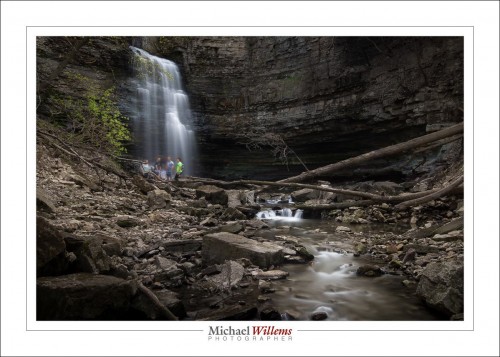
For a waterfall I would have wanted even slower. Much slower: 20 seconds.

If I had used the polarizer, I would not have done that, this time.

Why? Because I was shooting on a bright sunny day. Too much light.

Lesson: the best time to shoot water motion is on an overcast day. Bright overcast is fine!

___

My “Stunning Landscape Photography” learning e-book is available now from http://learning.photography.  Use discount code “Speedlighter” at the end to get an additional 10% off all orders!

Timing is everything

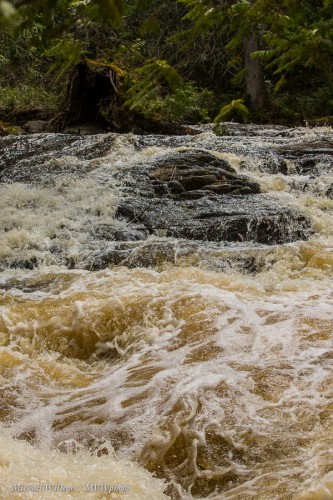
Here’s a waterfall outside Timmins, Ontario, yesterday around noon, with lots of spring melt water running rapidly:

1/800 sec at f/8, ISO3200

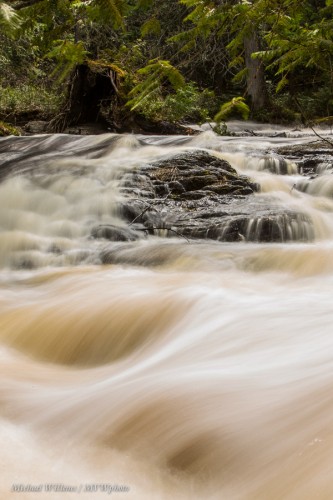
And here is the same scene:

But this time, 1.3 sec at f/32, ISO 50. Using, of course, a neutral density filter to allow for the slow shutter (and even then, that’s as slow as I could get with an 8X ND filter.

Which is better? Matter of taste. The first one shows the violence and chaos of rapids; the second one separates things. I like this one, as a finished product:

The most important thing to remember when shooting running water: experiment. Longer is not always better. Somewhere between around 1/3 sec – 1 sec is usually best for water, in my experience, because much longer and you lose the flow lines. And I like the flow lines:

(0.8 sec at f/32, ISO 50)

My advice: go find a stream, get out a neutral density filter, and go experiment. You will need a tripod, too.

And great news: my Landscape Photography e-book will be released officially later today! Stay tuned!


Slow down!

I have a useful mnemonic for you:

For a flow, go slow.

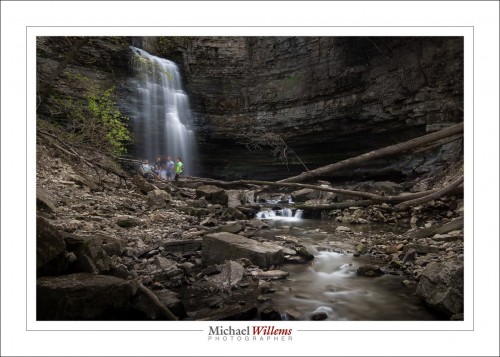
Meaning if you are picturing something that happens as a continuous flow, you should use a slow shutter speed, to capture it as that flow.  Like this, a few hours ago:

To do this I did the following:

  1. Defy death by climbing down an unofficial trail.
  2. Use a tripod.
  3. Use a wide angle zoom lens (16-35mm, on a full frame camera).
  4. Put a variable neutral density (ND) filter on the lens, set to its maximum darkness.
  5. Camera on manual. Use 100 ISO and a high f/number; in this case, f/20
  6. Now see what shutter speed I need (20 seconds).

And that’s it!

Notes:

  • You do not always need a slow shutter. For the waterfall, 1 second would have been fine too. But the river looks better at that slow speed.
  • At small apertures you will see sensor dust.
  • Use the 2s self timer, or you will shake the camera by pressing the shutter button.
  • Do not damage your equipment; it’s easy enough!

And you will get great pictures.

___

Footnote: two weeks from now, I shall be teaching “Landscapes” in Timmins, This will be part of that!


Trixie

A trick for you today; a post-processing trick.

Say you have a shot you like, like this model pose:

(1/125 sec, f/2.0, 800 ISO, using a Canon 1Dx with a 85mm f/1.2L lens. Ambient light plus bounced flash set to +1.7 FEC.)

But… when we look closely, we see that alas, it is out of focus:

Sharpening does not help, with an image that is out-of-focus to this extent:

So now we add film grain by moving the EFFECTS–GRAIN slider up to +66:

Unlike “digital noise”, film grain looks pretty cool. Like old higher-ISO Kodachrome film. And the key point here: we no longer notice the unsharpness as much. This image is now acceptable!

As a bonus, any skin blemishes now also disappear into the grain. The final image looks good:

So if an image you have is not ideal, do not give up. Images worse than this have been rescued. If it is really bad, make it B/W as well. And often, you end up with a perfectly good picture where the grain adds to the atmosphere.


400-40-4 reminder

You remember the student I shot yesterday with split lighting? Well, here he is again, in the same classroom, a few minutes earlier, with the exact same conditions:

Compare the two.

Yesterday’s photo was made with the camera in “studio settings”, which makes indoors ambient go away. This one was shot using the well-known “400-40-4” settings of 400 ISO, 1/40 sec, f/4. The “indoors flash starting point“, if you will.

That makes ordinary indoors light a little brighter than it is (the room was fairly dark), but still about two stops below ordinary lighting; the subject is lit with my flash bounced behind me.

These two settings should be ingrained in your flash brain as good starting points for very different requirements. Study the two and associate each one with a setting.

___

Need to learn basic camera stuff? Do get my e-book “Mastering your DSLR”, which is available from http://learning.photography — and use the limited time discount code speedlighter on checkout for a 15% discount. Act now, temporary discount!

Quick Hi-Key Recipe, or “What’s The Secret?”

There are many “secrets” in photography. They’re not secret, really: they are the distilled knowledge. The simplified “start here” points.

So let me give you one now—one of many from the Flash course; this one, which by the way I am teaching on behalf of Canon Canada at Vistek in Toronto tomorrow, Saturday:

Quick High Key Portrait

  1. Get a camera with a flash mounted on the camera.
  2. Set the camera to M (manual), 800 ISO, 1/125th sec, f/5.6
  3. Ensure that the flash is set to TTL mode (Through-the-lens metering).
  4. Set Flash Compensation to +1.7 stops (“plus one and two thirds”). You can do this on the flash (or on the camera if you are using Canon. In Nikon, do it on the flash please, or you are limited to +1 stop).
  5. Point that flash upward 45 degrees, behind you.
  6. Find small room with white (or at least whiteish) ceiling/walls behind you.
  7. Dress the subject in light clothing.
  8. Put the subject in front of you, about 1-2 metres away. Focus on model. Fire.

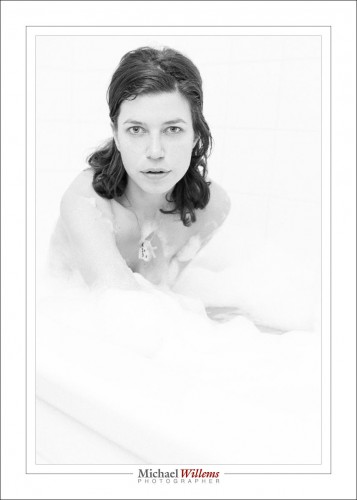
Now you will get this (I converted it to B/W and added some “film grain” for effect):

Not bad for a 30-second shot, no?

You should turn on your “blinkies”: you want the wall, but not the subject, to blink (to be overexposed, or close to it).

If the picture is too dark, increase flash compensation. If that makes no difference, then it is a lack of available power; in that case increase ISO, or decrease the “f-number” (or both).

And that’s all there is to it, really.