Timmins…

….is where I am about to teach the Porcupine Camera Club more flash technique today.

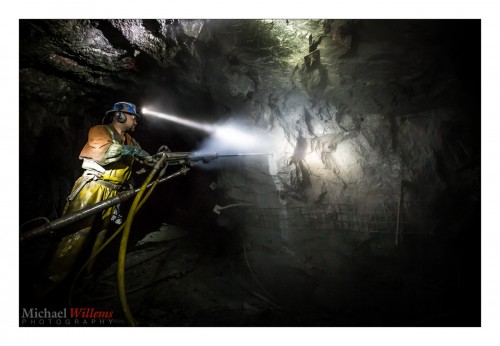
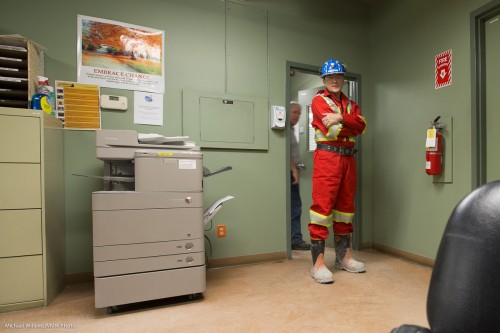
And today, I went 1.2 km underground, at a Timmins goldmine, to make pictures like this:

What did I learn, other than “things get dirty”, and “I like mines and miners”?

It’s tough light. And the boots are heavy and overalls cumbersome, but I knew that too.

  • I learned  that my main obstacle was the hard hat, and the safety glasses. The hard hat stopped me from being able to move the camera up to my face. And the glasses made it impossible for me to easily move my reading glasses into and out of place. I had to improvise.
  • I also learned that my helmet light was very useful both in lighting up subjects to focus, and in lighting them up for the photo.
  • I refrained from using my Pocketwizards where there were explosives being installed; radiating under 5W they were safe, I was told, but I thought I had better not take risks! So I used remote TTL for that part.
  • The first 600 metres were humid with fog; below that, the fog lifted.
  • I rarely had to go above 1600 ISO.

Great pictures resulted from my day UG (underground)… but I will fill you in on more technique the next few days.  After I sleep!


A tip for fast focus

Often, I shoot with manual focus. I do this when either of these are the case:

  • I want more personal control;
  • I use a lens that only allows manual focus, like my tilt-shift lens;
  • It is too dark to focus using autofocus, a situation that is in fact quite common with modern cameras.

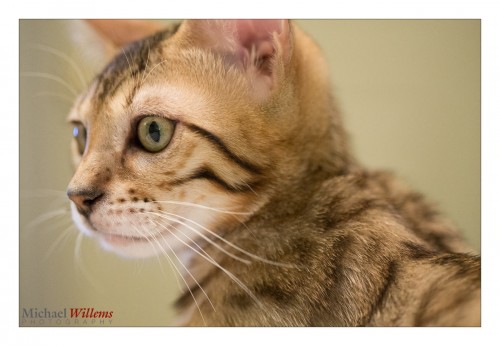
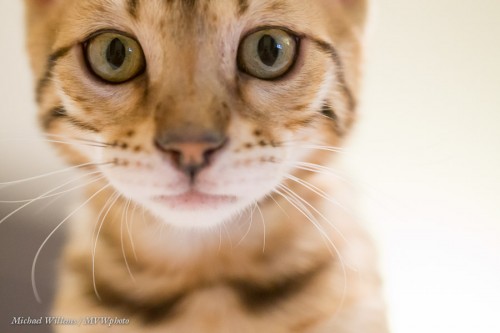
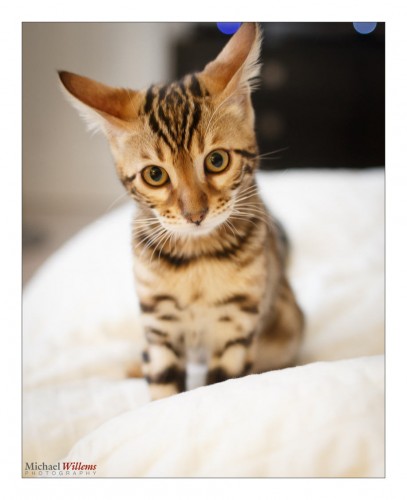
Tonight, I was taking a few snaps of my cats. It is dark here, it is evening. And I did it… this looks good, eh? Just a few minutes ago:

Why? Because the focus is sharp where it should be, on the pupil of the closest eye. Which at f/2.8 – I used f/2.8 to blur out the background – was not at all easy.

And it was too dark to autofocus. So I focused by hand. But this too was tough, because felines do not wish to sit still even for a millisecond. So I resorted to this technique:

  • Set focus to manual
  • Set drive to fast, continuous (10 fps)
  • Focus behind animal
  • While moving focus ring to bring focus forward, shoot in continuous mode.

When you do this a few times you will waste a lot of shots but some will be sharp, and you only need one. Like in this sequence:

Shot 8:

Shot 10:

Shot 12:

As you see, shot 10 is good. And that is the only one I need.

So next time you ned to shoot a moving object and it’s dark, try this technique. Just do not tell anyone how you did it. I got 16 good, sharp shots out of a total of 123. And I only needed a few. Though there are never enough cat shots on the Internet.


Light Direction

I am sure you all know that I usually use flash in my photography. But not always.

I use flash to get light under my control. Light that goes where I want it to, from where I want it to come from. I do this to get modelling, to get shadows with effect, to get dark backgrounds and great contrast. Hard light is fine, even – as long as it is off camera.

But sometimes, existing light gives me that:

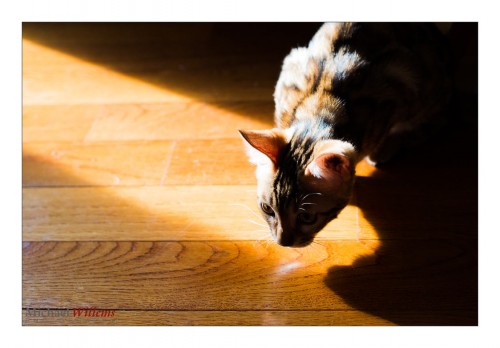
This gave me what I wanted:

  • The shaft of light coming diagonally from the side.
  • The shadow coming from Mau’s head.
  • The whiskers sharp, offset against the dark.
  • The eye sharp – view at original size to see this.
  • Simple – simplicity is everything.

Nice, no? And done manually, with manual focus. And no adjustment in Lightroom except a very slight crop.

So while flash gives you the possibility to make this kind of light every time, if it’s already there, you do not need to create it.


Group Shot Technique

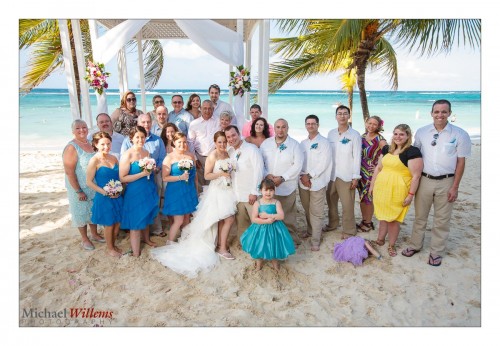
Ever had to take a group shot, like this one I toom of Kristen, Dan, and their wedding party in Jamaica last month?

You have heard me mention these many times. They are both fun and rewarding. And to do them, you need to be a people person:

  • Laugh. Smile. Joke. Tell your subjects to have fun, too.
  • Take charge, be in command, and have fun. Do not be quiet, do not be timid, and do not hesitate: if you hesitate, you will look weak and incompetent – and next thing, you lose the crowd and the shot is sub-optimal.
  • Tell them to look at your camera clearly: if they cannot see your lens clearly and fully, then it cannot see them, either.
  • Give them a count: “ONE – TWO – THREE – CLICK”. I say that every time so they know when not to blink.
  • Take each shot at least three times in case of blinkers.

Of course you are well advised not to start with weddings – they are way too important: leave those to the pros. But you may end up there, and in any case, the same techniques apply to back yard family shoots. Practice your people techniques when it’s not yet important, so you will be ready when it is.


Technology or you? Try manual focus.

Basic photography skills have not changed since the 1970s. They’re still the same, and you still need them.

One of those skills is focus. With all the autofocus functionality it is easy to forget that you can do it yourself too.  And you can get great results:

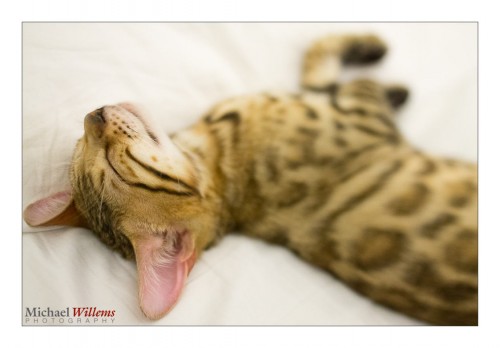
The most frustrating type of photography is manual focus/manual exposure of fast-moving objects like cats. Thank God they sometimes sleep:

And you learn from things that are difficult. So my advice: go shoot on manual focus for a day!

  • Set your lens or camera to “M”
  • Turn focus ring
  • Go past sharp point; return; repeat, decreasing excursions.
  • Shoot.

Takes a second or two. And you will understand depth of field better – and bonus: manual focus is needed when it is too dark to autofocus. Or when shooting macro. On some lenses, like my 45mm Tilt-Shift lens, it is the only way to do it.

And another bonus: you will need to think about each shot. The old skills weren’t so bad!


Props To You!

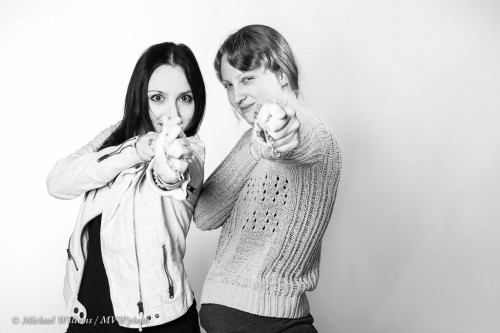
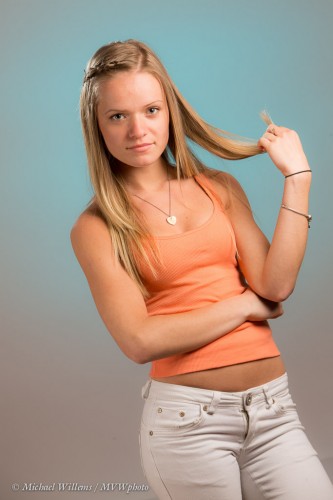
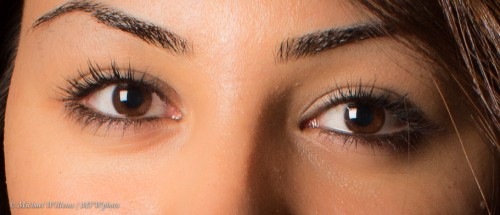
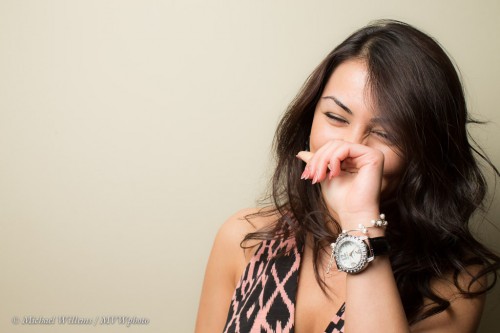
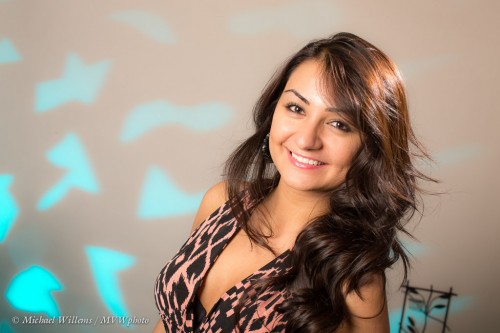
You can often make a shoot more fun by using props. Items. Even -or perhaps especially – in a studio shoot, like in the portrait shoot I did with a few young ladies the other day.

So, what props, and where do you find them?

Anything goes, basically. Anything fun. What you do is this:

  1. You look at dollar stores to buy props -these stores have fun items.
  2. You look in your studio (or home) for anything cool that happens to be lying around.

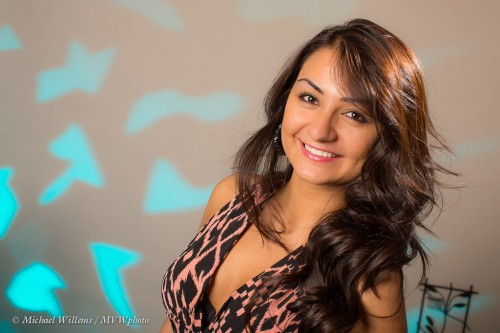
Like the rack, and the gobo with odd-shape cutouts:

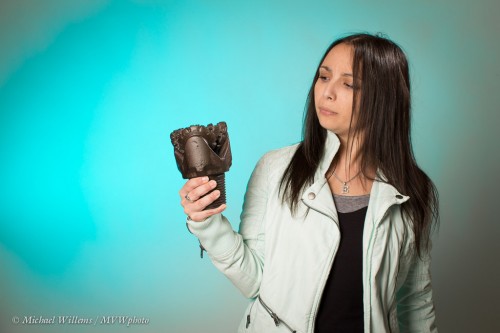
Or this primary drill bit, straight from the Libyan desert (I picked it up in the desert in the 1980s):

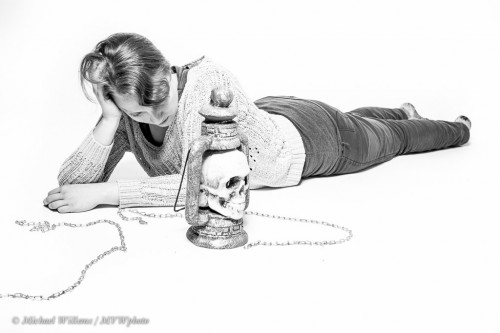
Or use the chains that happen to be lying around to hang works of art:

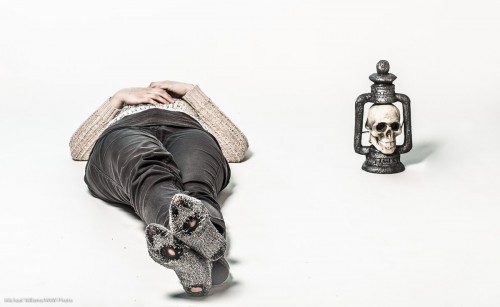
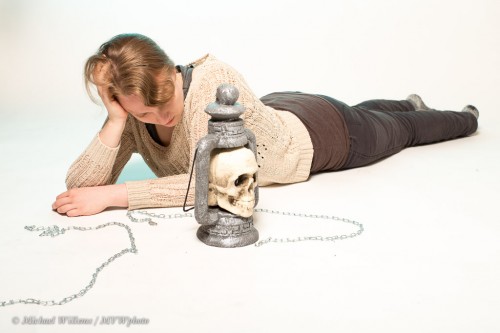
Or the fun (WalMart, cheap) skull lamp… and the models “holey” socks:

Or both the latter together in one shot:

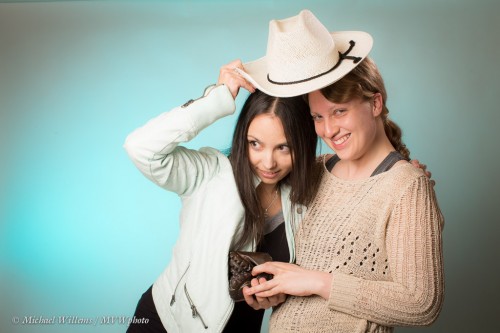
Or the stage cowboy hat:

The point about props is that they should be fun, and they should be visually interesting, and that they should raise questions, rather than spoon-feed the audience with answers. And you can find them anywhere!

So here is your assignment, if you want one: do a portrait with props, and spend no more than $10 on these props. The props should help raise a question in the viewer’s mind. Have fun!

___

Note to all Ontario readers: I am doing a portrait special in Oakville: on May 31/June 1, I will do your portrait for just $125. Check out www.mvwphoto.com/Special.html and email/call me to set up your time. I’ll even teach you some stuff about portrait photography while I make your portraits!

Portraits

Here’s a shot from last night’s Portrait Lighting workshop:

That is a classical portrait:

  1. Key light (metered normally); with a softbox.
  2. Fill light (two stops darker), also with a softbox.
  3. Hairlight (a speedlight using a grid).
  4. Another speedlights as a (gelled) background light.

The participants now know how to do this. But you can keep it simple too.

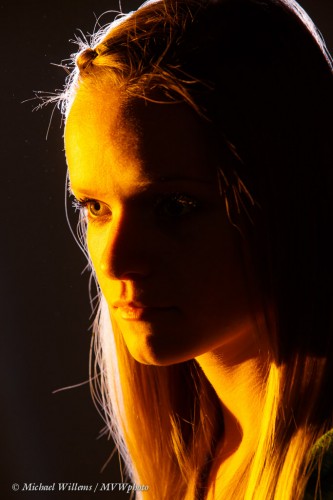
So I turned off all lights except the two speedlights, re-oriented those, and then got this:

The second speedlight is behind the model, aimed at us. And note, I focused very carefully on the left (for us!) eye.

The message: you need to know classica portrait techniques, but once you know these, you can get creative using very simple light. Stay tuned and find out more and more about how to do this.


Portraits – Special Offer Tonight

We love doing portraits, since people are so often the most important parts of our lives. Tonight, in a few hours, from 7-10pm I teach a “Portrait Photography” course in Hamilton, in the studio, and I have a special offer: sign up right now and you can bring a friend for free.

Why? Because I want to encourage all photographers to use studio techniques. But you have to hurry.

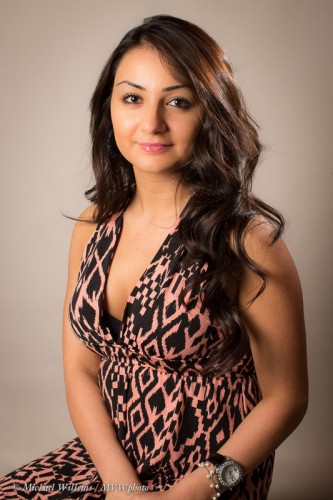
And it’s worth knowing how to do studio shooting. Here, for example, was the lovely Reeta in my studio last night:

That simple setup (which you will learn tonight) leads to this:

Important here: the catch lights. Clear, sharp, and off centre:

Also important: catch the mood!

But you can do more, easily. Here’s some patterns thrown onto the back by a cutout:

And of course once you have the lights down pat, you can then get creative and get crazy… like Alana here in a creative and very personal pose:

Life’s more fun if you know how to do studio photography. And all you need is your DSLR and any lens, and a few pocketwizards and lights – all stuff I explain in my courses.


Last call for….

….tomorrow night’s course in Hamilton, Ontario on Studio and Portrait photography (www.cameratraining.ca/Studio-Ham.html). In just three hours, from 7-10pm, get the fundamentals plus lots of practical tips and “guaranteed success” starting points, or “recipes”, for studio-style portraits.

It’s just $145, a very small class, taught by me in person, and you need nothing special (just bring your DSLR camera). Book right now on www.cameratraining.ca/Booking.html

What, again, is a “studio-style portait”?

That picture qualifies, not because it was made in a studio (it was in the classroom at Vistek’s Flash course Saturday), but because it was made under controlled conditions:

  • The subject was “posed” (although I call it “positioned!) carefully.
  • It involved flash (not by any means necessary, but usual).
  • It has simple layouts.
  • There is no “clutter”.
  • Light(of whatever type) was carefully considered and controlled.
  • The subject is the subject – i.e. it is not an environmental portrait.

The point about controlling light is especially important. I used two small flashes in the case above: one. through an umbrella, for the main light (the “key light”) and one as the rim- or hair-light, shining towards the camera.

If you come tomorrow night, you will learn all about this, and much more – like light positioning, camera settings, using a light meter, success recipes, obtaining natural expressions: the list goes on, and all inside three hours, with a professional studio, a model, and myself. See you there?


Studio is simple

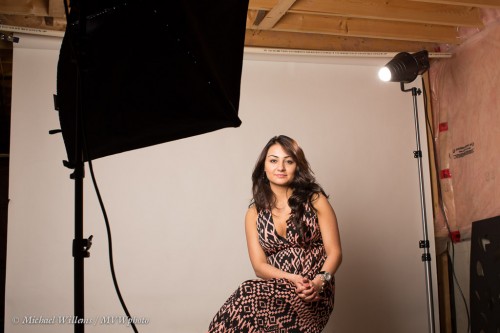
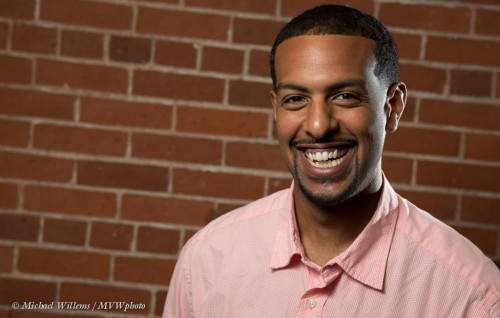
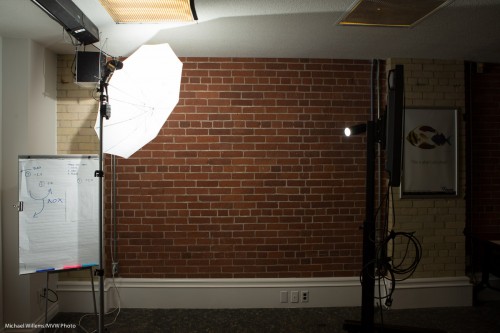
Studio shooting is very simple. This, today at my Vistek flash course, took but a moment or two to set up: a studio, using just ordinary speedlights and a few accessories:

Two speedlights, fired by pocketwizards. One on a lightstand, through an umbrella. The other on a clamp through a snoot from the back. Both were to manual power at 1/4 power.

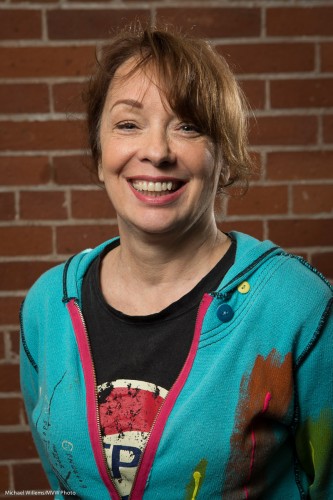
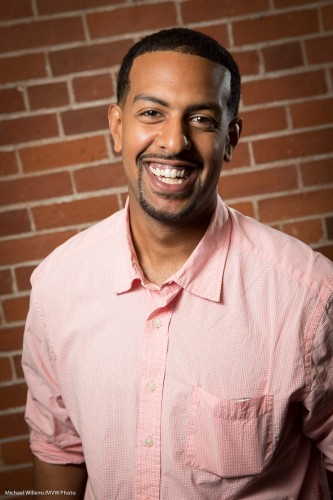
And at 200 ISO, f/5.6, 1/125th second, that results in this student portrait:

And the great thing about this kind of “manual” shooting, where the flash is also set to manual (rather than using TTL metering) is that once you have the light right, it is right for every subsequent shot.

Regardless of subject: a pale person dressed in white, darker person dressed in black, and everything in between. You will never need to re-meter, provided you have each subject stand in the same place.

And how do you like those smiles? And a hint: they were not created by telling people to smile.

___

NB: This post shows you it’s simple. Want to learn the details of this type of studio portraiture? Come to my Tuesday evening course in Hamilton: http://www.cameratraining.ca/Studio-Ham.html and I’ll teach you all this – pocketwizards, light meters, light angles, and more.