X marks the spot

Today, another small but important tip:

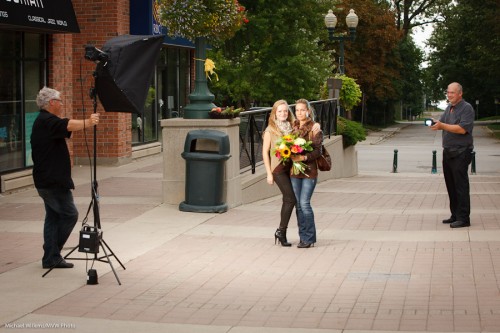
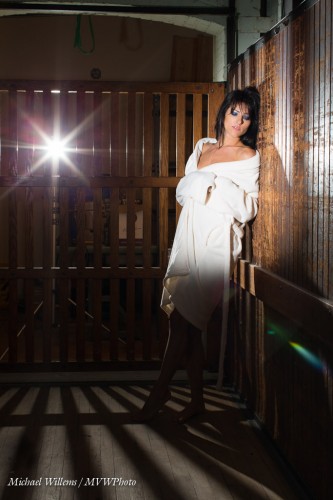
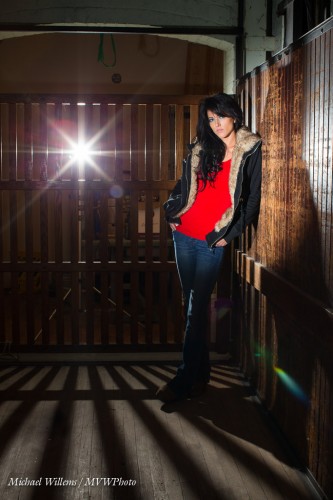
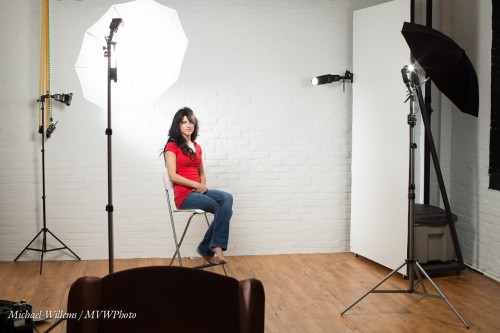
When you shoot portraits, stick some painter’s marking tape onto the floor exactly where you want to subject to stand.

Why? Well, if you shoot with manually set flash, you will want to  keep the subject in the same place, because if they move even a little closer to, or away from, your lights, you need to re-meter and re-set your exposure or your flash power. But even when you use TTL, there is a lot to be said for consistency. Your light direction is paramount, and small changes in position can dramatically change that. Finally, the marked spot makes the shoot faster: no need to subjects to constantly be told where to stand.

So make life easy for yourself: “X marks the spot”.  This way you can make every shot consistent and successful.


The Dramatic Portrait

Outside, right now. It is bright. Bright. Super-bright! Noon under a blue sky, and snow everywhere.

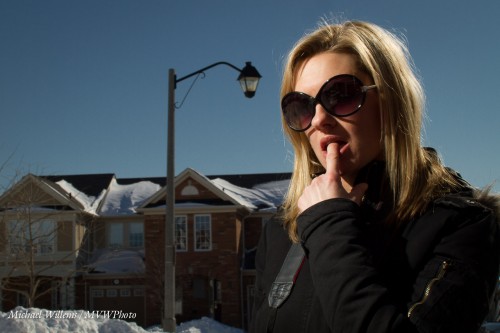
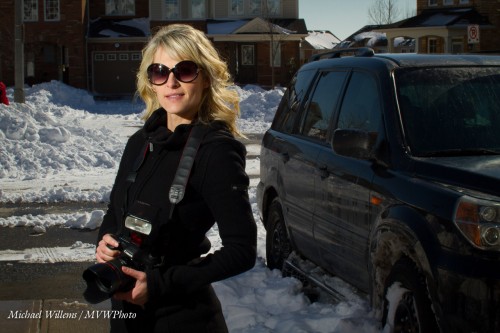
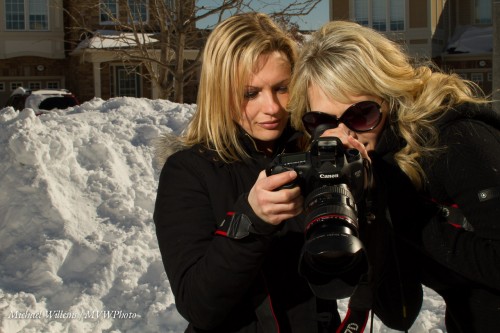
So now how do I do a dramatic portrait like these of my two students, wonderfully talented photographers Jenni and Becky (respectively)?

How indeed. Look at them full size to see the drama. Saturated colours plus plenty of personality! And that is how we shot them – no “Photoshopping”.

If I had used just my camera I would have had to angle them into the sun – bad. Instead, I prefer to:

  1. Angle them away from the sun to avoid squinting.
  2. Thus, use the sun for the hairlight (The “Shampoo-y Goodness”).
  3. Then, get a dark, saturated, background. First, I set my shutter speed to the fastest I can use: 1/250th second, the maximum flash sync speed.
  4. Then, I select a low ISO (100) and small aperture (wait for it: f/18).
  5. Then I use an off-camera TTL flash to light up the subjects. Yes, TTL, in this case: no need for Pocketwizards here.

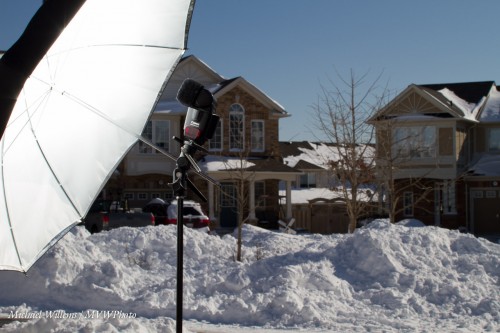
Now, the challenge: enough flash. Unless the flash is very close, it will not work well if it is a simple speedlight. I tried shooting into an umbrella:

But this needed the umbrella to be a little closer than I liked, so I turned the flash around and shot direct, discarding the umbrella. Yes, you can use direct flash, unmodified, if you are mixing with ambient light, and if the flash is well off camera. This gives us short lighting.

Here’s the students:

And they did very well indeed: their photos are stunning. Dramatic, and they now have a whole new range of possibilities added to their repertoire. You should consider learning the same: yes, you can do this with simple equipment.


___

Want to learn all this stuff? Allow me to once again point out these current and upcoming learning opportunities:

Michael


Keeping it Simple – The Five Minute Portrait

What do I need for a portrait, like this?

A studio, right? All sorts of light, right? Light meters? Pocketwizards?

Not necessarily.

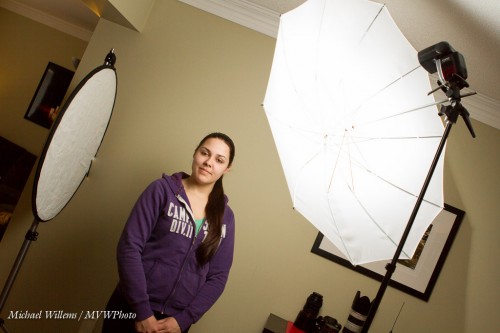
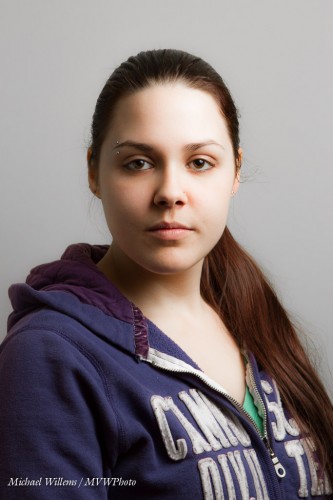
For this portrait of Sarah, I was showing her how to do this the easy way. You need:

  1. A camera.
  2. One flash, like an SB-700 or a 430EX.
  3. If is it a recent Canon (like a 7D, 60D, etc) or most Nikons, that is all. If an older Canon, you need an additional flash on top of the camera to drive the other flash.
  4. A light stand
  5. An umbrella
  6. A bracket on that light stand to mount the flash and umbrella
  7. A clean wall
  8. A reflector – this can be a “proper” reflector, or a white sheet, or a piece of bristol board, or whatever you can get someone to hold – or another wall at 90 degrees to the background wall!

That looked like this:

And that really is all. You now do the following:

  1. Mark the floor where the subject is to stand (use tape).
  2. Put the stand up, at 45 degrees from the subject, and 45 degrees up.
  3. Move the reflector in place.
  4. Put the flash in “Slave” or “Remote” TTL mode.
  5. Put your camera’s flash in “Master” or “Commander” mode.
  6. Disable flashing from your on-camera/popup flash. It will send commands to teh remote flash, buy it will not fore when the picture is actually being taken (else you would get nasty shadows).
  7. Move the model’s body toward the umbrella; face to you.
  8. Fire!
  9. Check results.
  10. You will probably need “Flash Exposure Compensation” of +1 stop if you are using a bright wall. For bright clothing also, maybe +2 stops. Ensure you gte good catch lights, too.

And that’s that. Takes a few minutes only. No, it does not always need to be complex.


A few quick pointers

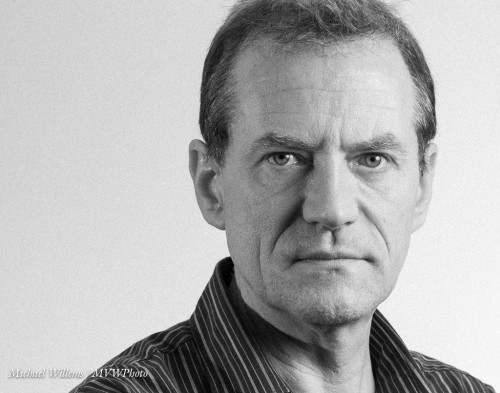
Here’s me yesterday, shot by my student Sarah. Great portrait. She shot it vertically, but I cropped it horizontally. Did she need a lot of equipment? Noe: her existing 7D with 580EX flash, plus my stand, bracket and umbrella.

I would today just like to briefly answer a few frequently asked questions.

  1. Do you shoot RAW? Yes. You have to. It’s a no brainer – only shoot RAW please.
  2. What mode do you shoot in? Manual. That way I am in control. Not the camera.
  3. What ISO do you shoot at? Whatever I feel like. High enough. 1600 easily, 3200 if I must. See yesterday’s post!
  4. What batteries power your flashes? Rechargeable, NiMH. Low-self discharge. Using Maha or Lacrosse conditioning chargers.
  5. Do you use TTL or manual flash? TTL at events, usually. But of course, when shooting in studio settings, when I take repeated shots, or in a studio or outdoors using strobes, then it’s manual flash all the way.
  6. Can you use your flash straight-on? Sure. When you have to. Or outdoors, when your flash is just the fill light (say, two stops below ambient). But otherwise, bounce; or use off-camera flash, or softened flash, or all of the above.
  7. Is a catch light necessary in portraits? I would not say absolutely necessary, but it is highly recommended. See above.

Useful?

More on this blog: search for these terms here and red all the detail.

And have fun!


Never do this.

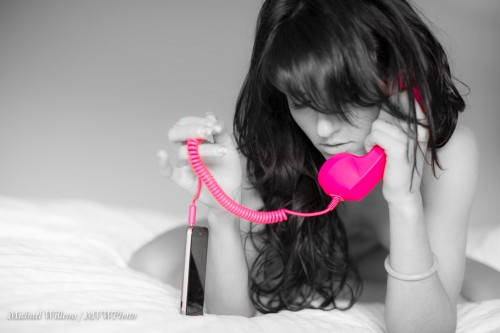
This. Selective colour. As I mentioned here before: a sin, a never-do, a teary clown: a cliché.

So why did I do it in that image I shot yesterday?

Because to every rule, there is an exception. Don’t ever let anyone tell you to “always” or “never” do something. Always or never means “Always or never – EXCEPT if you have a good reason in your own mind to break the rule”.

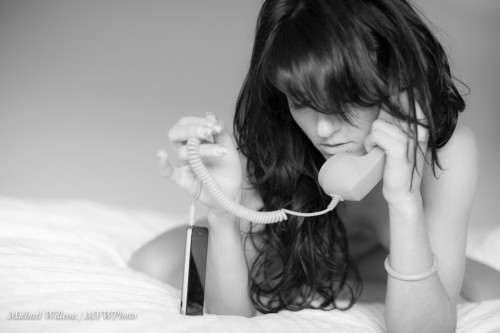
In this case, the image worked best in B/W, but the cool iPhone headset in luminous pink was too good to not show in colour. OK, selective colour then, and damn the torpedoes.

How:

  1. Go to the DEVELOP module in Lightroom
  2. Enter the HSL section and select S (Saturation)
  3. Drag down all colours to zero, The with the pick tool, select the handset and drag UP. (Red and Magenta, in this case).
  4. Now with the BRUSH tool, set saturation to zero, and wipe out any saturation in the rest of the image (face, hands, and so on).

Took me just a few seconds. Which is why I can try it out, and then decide perhaps the B/W version is better after all?

You judge. And remember: never take anything for granted in how you shoot. Always be ready to experiment. That’s how you get unexpected results. But also, never be afraid to throw out your experiments.


Work to be done.

As you know, I believe that as a photographer, you should, as much as possible, make your photos in the camera, not in post-production (like Photoshop or Lightroom).

But there is always some work to be done in post. This is one reason that photographers cost money – time is money.

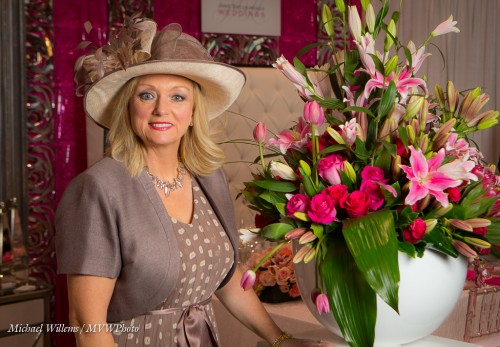
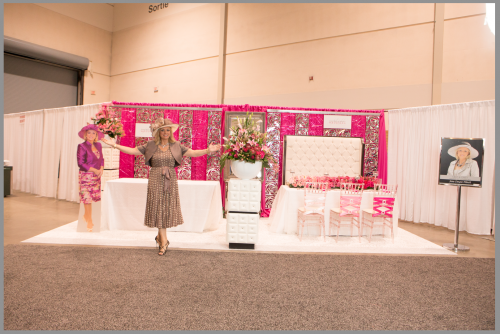
Yesterday, I shot celebrity wedding planner Jane Dayus-Hinch of “Wedding SOS”, at the National Bridal Show in Toronto:

But at an event, circumstances are never ideal and as the photographer, I try to be quick. That means there is work.

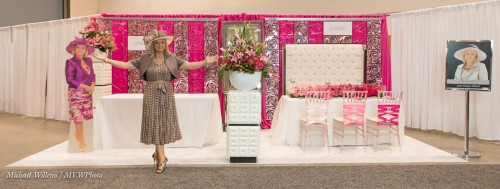
Take this shot, of Jane in front of her booth:

Fine, but this was at a busy show. So we had to clear space and shoot with what we had (a Canon 1Dx and an off-camera flash in an umbrella). That gave me this:

So what kind of “Post” work did that need?

  • Cropping, probably the most important step.
  • Rotating, to make horizons horizontal.
  • Perspective correction – parallel lines should be parallel, not converging.
  • Lens corrections to remove barrel or pincushion distortion, common with zoom lenses.
  • White balance and exposure fine tuning
  • Removal of “stuff”, like exit signs and columns in the background.

Only after these steps is it a professional photo. And those steps take time. And there’s 100 photos to be looked at this way.

So when you hire a pro, or when you are the pro, count on a lot of extra work to finish the product. Fortunately, Lightroom (and Aperture of you are so inclined) are lifesavers – they have cut 80% off my previous “post-time”.


Shoot Notes

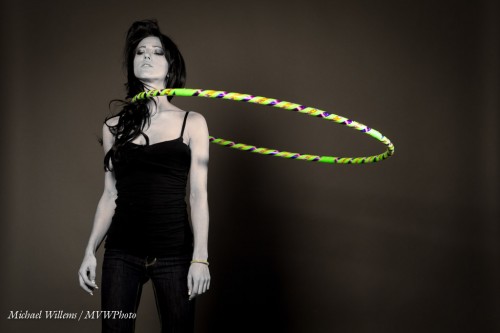
A story-telling (or perhaps rather “question-raising”) photo from a shoot the other day in Hamilton Studio:

This is a rare occasion when I use selective colour. In this case, that is very easy in Lightroom: I use the HSL controls to reduce the saturation (“S”) of only orange and red to zero.

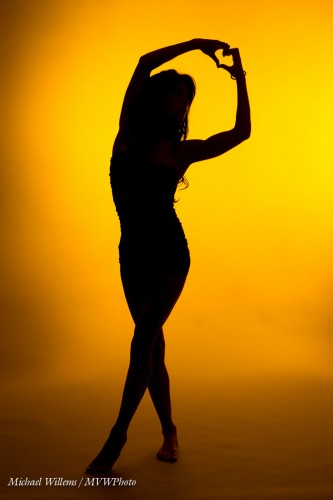
But usually, I do things in the camera. Silhouettes, for instance, like this one:

As you learned here in the past, this is very simple. Just leave the front light off and light only the background (with two speedlights in this case, each fitted with a Honl Photo Egg Yolk Yellow gel).

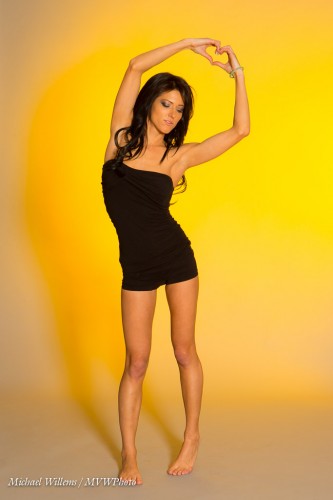
I decided that additionally lighting the foreground with a far away, not close-up-as-usual, softbox can also work very well:

To my surprise, Egg Yolk Yellow works exceedingly well as a background for model Danielle when I also light the foreground with one remote distant softbox. The distant softbox also works well, in showing her legs to be round (when otherwise they would be lit flat if the softbox was in front of her).


Why flash at all? Why outdoors?

No, I am not referring to people who enjoy opening their raincoat outdoors to show that they are wearing nothing underneath. As the Speedlighter, I am of course once again referring to flash lighting.

On a pro photographers’ forum recently, a few people said they shot “with available light only”. They seemed proud of it.

I have heard this many times. And I admire people who can do this. But I must admit that whenever I hear it, I think “this is probably because the person in question does not know flash”. And in most cases, that is true.

I know, there are legitimate differences in artistic insights. And yes, you can make great art without flash. No dispute there.  But that said:

  1. The number of situations you can handle is very much restricted if you do not use flash as an option.
  2. The number of styles you can produce is very much restricted if you do not use flash as an option.

Situations include very dark rooms. Back light. Bad colour. High contrast light. Badly directed light. Uneven lighting. Direct sunlight without squinting. Special effects requiring extra light. Special effects requiring colour. The list goes on.

And styles, even more so.

An example. Lucy and Matt’s wedding last year. Here’s me, about to shoot a group shot in direct sunlight:
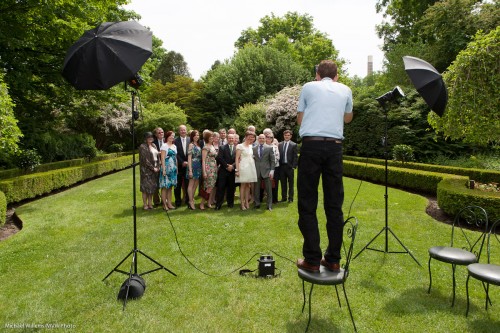
\

(Notice how I am up? That is the only way to get all these people into the shot, if there are many layers of people.)

Anyway, if you zoom in (click until you see “original size”, you will see the people are not that well lit – not, that is, in a flattering way. And “bright pixels are sharp pixels” (Willems’s Dictum) – here, the people are not the bright pixels!

But in my shots, they are:
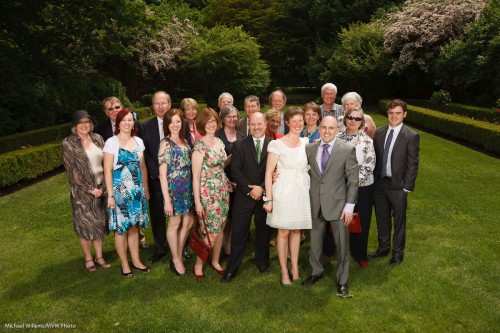
See what I mean?

And take student Melissa at last year’s Niagara School of Imaging at Brock University. No way you could do this type of dramatic portrait without flash:
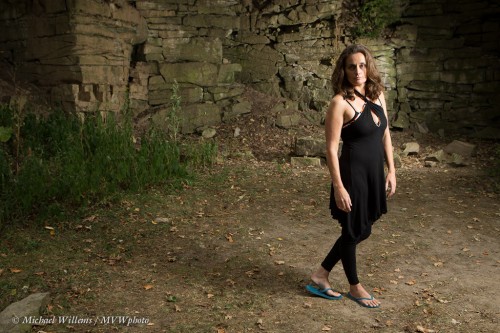
Obviously, the effect photo from the other day cannot be done without flash either:
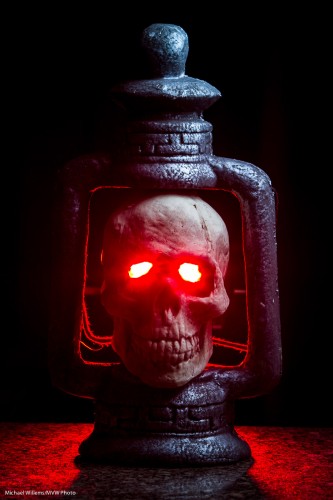
Nor can this:
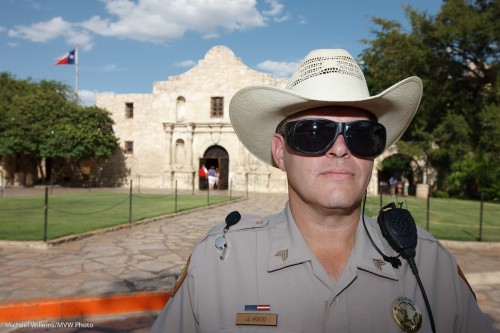
Or this:
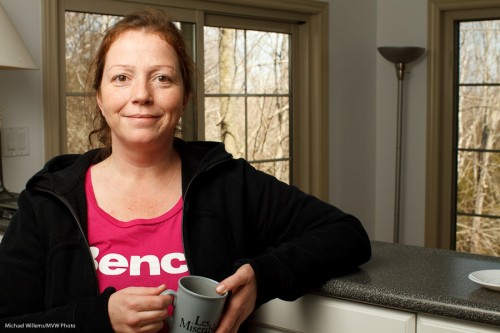
And the list goes on. Like this outdoors fashion shot of Melony and daughter Vanessa:
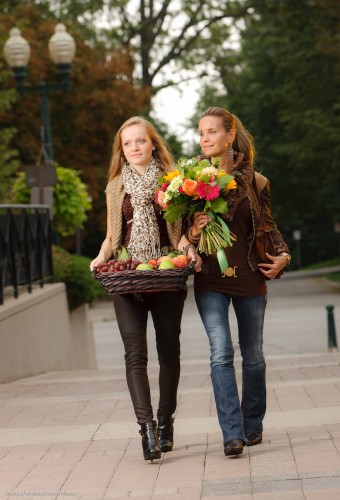
Vanessa and melony showing fashion (Photo: Michael Willems)

Which was shot like this, of course:

This, too, needs flash:
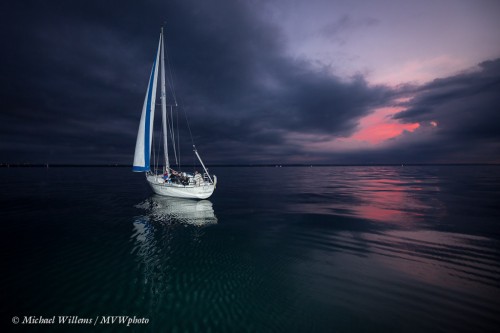
The list goes on. I think perhaps over half my images could not be made without flash. So.. why would you want to be a photographer who deliberately restricts herself or himself to half the possibilities?

___

Don’t forget, my new eBook is out: A unique book with 52 photographic “recipes” to help you get started immediately in many situations – including many that need flash. Read all about it here and order online today:

www.speedlighter.ca/photography-cookbook/


OCF again

And today, some more off-camera flash, using images I made earlier today as an example.

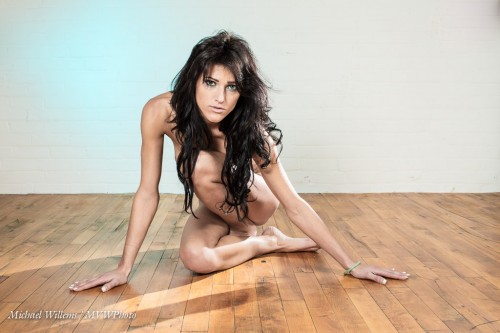
Simple means (a camera, a couple of speedlights, a light stand or two – all affordable, light, and simple) and some knowledge is all you need for this:

In fact I used just one (off-camera, modified) speedlight for that shot.

And for this one, just two:

One was behind the elevator as you can see – aiming at us. It was fitted with a Honl Photo 1/4″ grid. The other flash, on our left, was fitted with a Honl photo snoot. That’s all – very simple, and with great results. Here’s another version:

What do those images show?

  • That you can use direct, unsoftened flash – as long as it is off camera.
  • That it is more about not lighting – that’s where it starts.
  • That shadows are cool.
  • That prime lenses are good.
  • And no filters, or the back light will cause unacceptable flare and lens artefacts.

If you wish to see more, head for my tumblr site (those are nudes).

Sometimes I use more lights, as in here: two speedlights with umbrellas, one with a snoot, and one with a grid and a gel:

Which can lead to images like this:

All these shots can be made using very simple means.  And that is my point here today: off-camera flash can be very simple indeed, and can lead to great results.


OCF!

OCF? Yes, “Off-Camera Flash”.

The worst place for your flash is on your camera, near the lens. Taking the flash off camera is one of the best things you can do. And so why are you not yet doing it?

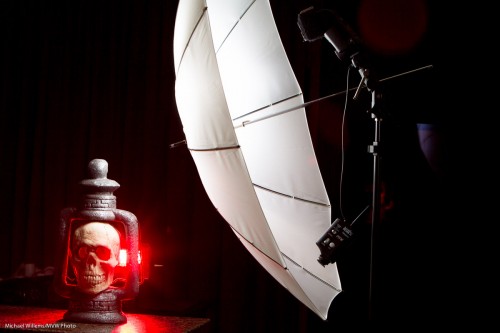
Look at a shot like this:

Took a long time to set up? No – student Jeff and I did this in a few minutes earlier this evening, right on my kitchen counter.

This needed off-camera flash. Here’s what we used:

  • One small flash (a speedlight) on our right, shooting though an umbrella.
  • With that, the shot looked OK but a little bland, so Jeff suggested a red light behind. Good idea: another flash behind the skull.
  • This second flash was fitted with a Honl Photo 1/4″ grid, to stop the light from going “everywhere” and spoiling the shot.
  • It was also fitted with a Honl Photo red gel, as you can see, for great effect.

All this setup looked like this:

A few other notable points:

  • I am firing the flashes using Pocketwizards, so that Jeff (who shoots Nikon) and I (who shoot Canon) can both make the same images.
  • This means I used a light meter to measure the light, and hence to set the flashes’ power.
  • The umbrella is close to the skull in order to be able to be at low power. This in order to not light up the rest of the room. (This is the “inverse square law”).
  • I am not using lens filters… they would add ruinously more flare.

You can do this too. And even simpler: use remote TTL. A Nikon or modern Canon camera, two flashes (SB600/700; 430EX) and a few affordable stands, some ditto modifiers (I use the excellent Honl range of modifiers), a few ditto brackets: this stuff is NOT complicated or expensive. It’s simple once you know.

Like brain surgery.

Ah. But the difference between this and brain surgery is that brain surgery takes years to learn, and this takes.. well, hours. I recommend you learn to take your flash off-camera… today. And you will never look back.