Simply simple.

I had lunch with a student today – this student is bright, and is doing a private one-week full time crash course with me, something I recommend for anyone wanting to do real photography (tomorrow, we do a studio shoot).

Over lunch, we brought our cameras. Of course.

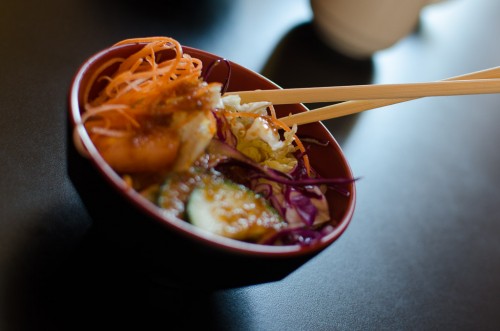
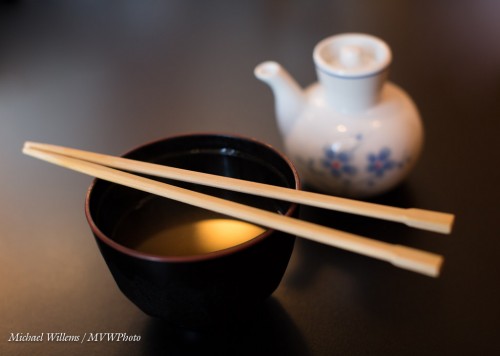
And I made this shot of my Miso soup:

A few questions. Like: “what was I using”? And “What makes this shot effective”?

I was using a full frae camer with a 50mm prime lens. My student, a crop camera with a 35mm lens. Equivalent, therefore. The prime lens allows those nice blurry background, and it allows fast shutter speeds at low-ish ISO values: I shot this at 1/80th second at f/2.8, at 400 ISO. With a non-prime lens I would have had to use slower shutter speed (motion blur) or higher ISO (grain), and I would not have obtained the nice blur.

What makes this image work, though?

  • The simplicity. The original shot was just a little wider but had some “stuff” in it. A pro shot is good is if has no “stuff” in it that should not be there – and generally, “stuff” should not be there!
  • The blur. Only part (around the chopsticks) is sharp.
  • The contrast – the dark table really helps.
  • The 45 degree angle.
  • And finally that wonderful sunlight reflection in the soup. Yes, that was deliberate: I angled the shot until I got the reflection.

My student did well, too: here’s his shot:

Well done, Jeff. Here, again selective sharpness, combined with the backlight, makes this an effective shot. In this shot, too, we cropped to get rid of distractions.

So the lesson today?

Keep. It. Simple.

That is so often the secret to one of those “wow, that one worked!” shots. Everything that is in a photo should be in that photo because it should be in that photo, or else it should not be in that photo.



Book!

As I mentioned, my long promised eBook is ready and is available now!

Here’s the link:

www.michaelwillems.ca/Buy_Book.html

The book, a 108-page PDF (without DRM) costs $19.95.

(“Without DRM” means you are not addled with complexities in downloading or cumbersome technical restrictions on how you use the book you buy!)

This book is pretty unique in that it gives you recipes you can apply immediately, not just basics where you have to work out how to apply them.

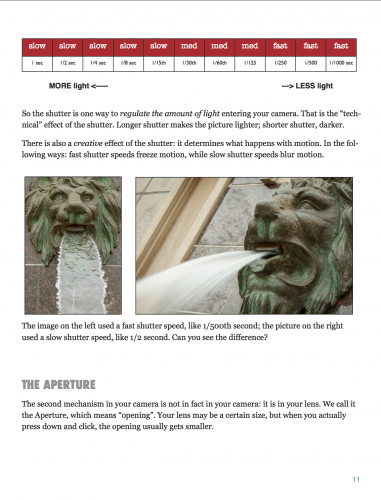
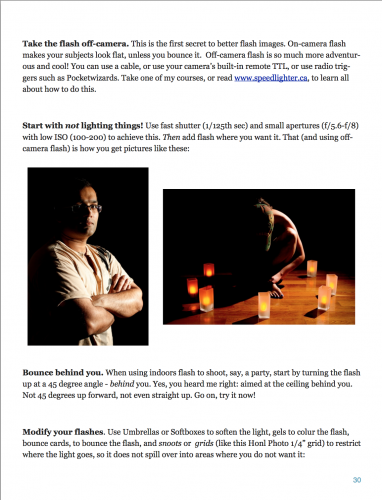
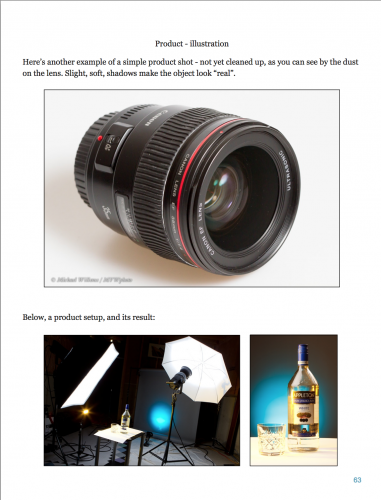
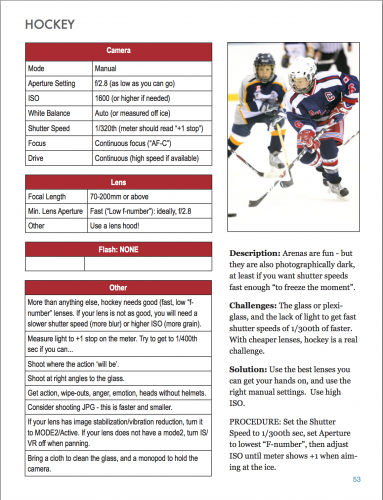
A few sample pages:

I look forward to hearing what you all think. And remember: questions and requests are always welcome.

Michael

(PS Why not free, or $5? Well, I do give away the free speedlighter.ca as you know. But as for eBooks: There are many free ones, but they tend not to be the best. Many eBooks like mine sell for $30-$50. Look at Kelby, Grecco and McNally, all of whose books sell for around those prices.  I myself recently bought a photography eBook for $79US. Also – most eBooks are DRM protected; mine is not. An important distinction. And finally, the Photography Cookbook is 108 pages, not the 30 pages you so often see in eBook PDFs. Enjoy!)


Darkness…. can be good

Advice: don’t “correctly” expose all your photos!

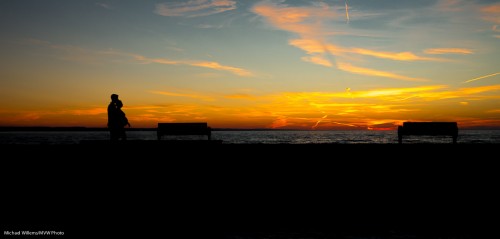
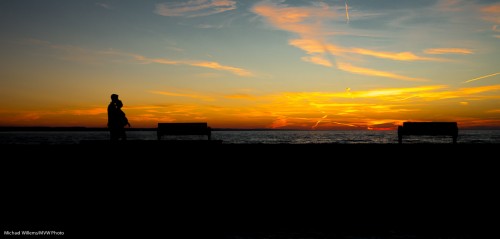
Two examples here; first, “Beginnings and Continuity”, Port Dalhousie, ON:

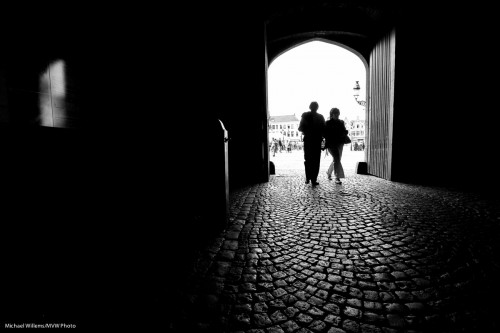
Followed by “Continuity and The Now”, Brugge, Belgium:

Both these images use darkness as a device. The top one does this in order to saturate colours and to silhouette the pregnant couple. The bottom one, in order to emphasize the stone and the stark cold strength of buildings built to last many centuries, as well as to anonymize the people who come and go in the “now”, while the “continuous” lasts.

In all these cases:

  1. Look for strong back light, and a subject that is not lit by that (or any other strong) light.
  2. Expose for that back light (e.g. spot meter off the sky).
  3. Adjust to taste.
  4. Do any remaining work in post producrtion – but if you do this well, there is little or no such post work to be done.

And Bob’s your Uncle.

Try it now!


Shake It Up

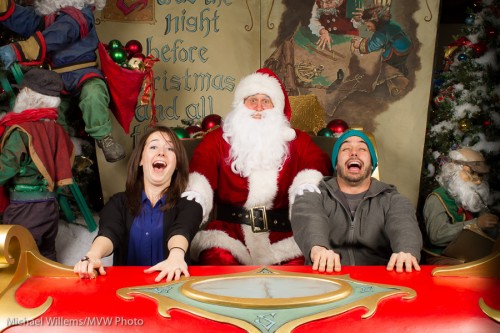
A quick pic of the day, taken today:

Yes, you can have fun and shake it up!

Of course I used studio lights for this photo (I am shooting Santa pics at Hopedale Place Mall, every day until Christmas Eve). And I am working all day and sending emails out part of the night.

So tonight, because it has been very busy, let me just share a little reminder with you of camera settings:

Studio:

  • Manual exposure mode
  • f/8
  • 1/125th sec
  • 100 ISO
  • Manual flash

Indoors flash, as in parties and malls:

  • Manual exposure mode
  • The Willems 444 rule: 400 ISO, 1/40th second, f/4
  • Flash on the camera aimed backward (or pop-up activated).
  • TTL flash

Those will get you going. For the rest, ask me about the still abaiable Christmas Training Gift Certificates.

Back to regular programming soon!


Show without showing

As I pointed out in a recent post, you can often show without showing.

In the following image, we know that the subject is smiling:

Odd, since we did not show the one thing we are trying to show: the smile.

The same is true of many other photos. You can show expressions with eyes. A car’s speed without showing the car. An accident without showing the wreck. Disease with showing wounds. War without depicting the victims. The list is infinite.

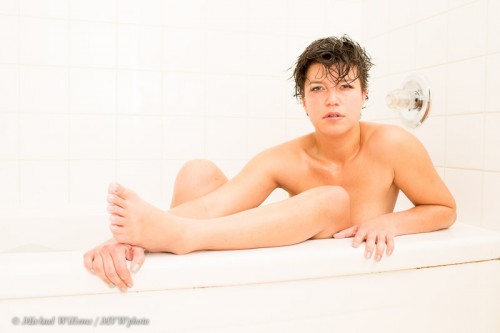
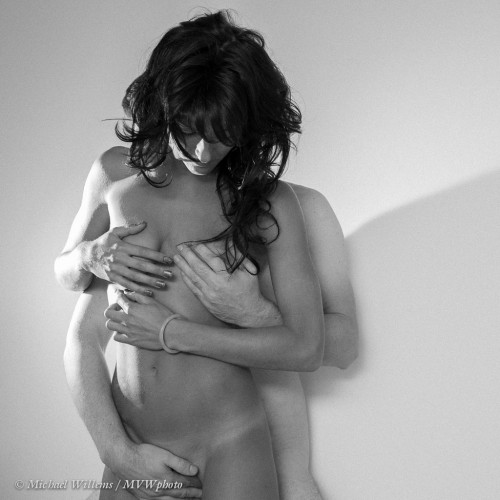
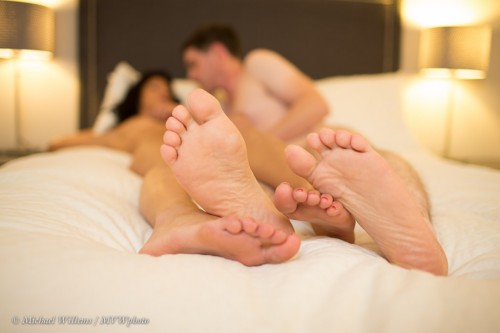
One assignment you might set yourself is to show something without showing the actual thing itself.  Like I did in the following recent examples, which show nudity and sex without actually showing nudity or sex. As in so many forms of art, implying, making the viewer work it out, is the art of it.

No-one reasonable could object to these images – the Vatican contains a lot more graphic detail in its artworks – but more importantly, all of these make the viewer do at least some the work of working out what is happening.

A side note: all these were shot the way you see them, not made in Photoshop.

Model in bath, using speedlights and high-key exposure:

Lovers holding on – two speedlights, in black and white:

Man and woman in bed:

The last shot, by the way, is a good example of why we use fast prime lenses. All of the last three were shot with a prime 35mm lens on a full frame camera – I love that lens, and in the last example I also needed that lens: blurring out with an aperture of f/1.4 is often the best way to not show something.

 
(For those interested: more of this and subsequent shoots on my tumblr art feed (nsfw): http://mvwphoto.tumblr.com).
 

Party time

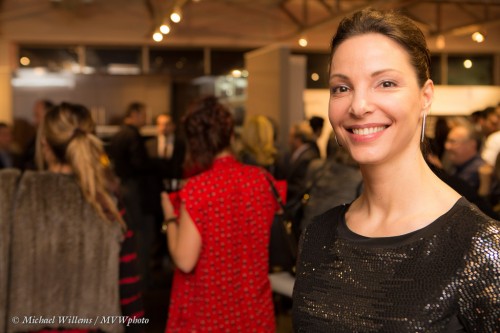
I just shot an event. With a single camera, and a 24-70 lens only. Bouncing my flash, of course, as in this image of incredibly-beautiful-as-well-as-incredibly-intelligent Tatiana:

If you have a camera and a flash, you will have plenty of opportunity this season to do this kind of shooting as well and to get it right. Christmas, Hannukah, New Years’ Day: whatever your favourite celebration is: make great pictures.

I’ll get you started. My settings were:

  1. Camera in manual exposure mode; flash on TTL.
  2. The Willems 400-40-4 rule: but modified to use 800 ISO instead of 400, at the usual 1/40th second at f/4.
  3. White Balance on Flash, with slight adjustment in post every time I bounced off a brown ceiling instead of a white wall. (Brown is just dark yellow, so move the White Balance slider to “Blue” (cold) when adjusting these.)
  4. Flash aimed behind me, straight or at an angle.

To keep in mind, a few notes:

  1. Focus carefully, and yes, in the dark that is difficult and slow. Life’s tough.
  2. Move people to where there is a nice background and you can bounce off a white wall.
  3. In darker rooms, or where the ceiling and wall are higher or less reflective, go to 800 ISO – or higher when you need to! Better to do it in the camera than to underexpose and push in post.
  4. Use the Rule of Thirds.
  5. Think about your light direction. In every shot.
  6. Change flash batteries before they run out, not after they do.
  7. 35mm is a great focal length for people shots (24mm if you are using a crop camera).

More about all this later this month. I took around 300 pictures – fewer than usual because I was a little more selective. We evolve as photographers, and I go up and down in regard to the number of images I make. I like to get them right, rather than fire away randomly.

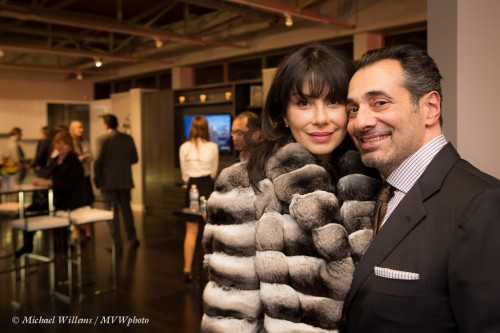
A couple more samples. Couples in posed shots are great:

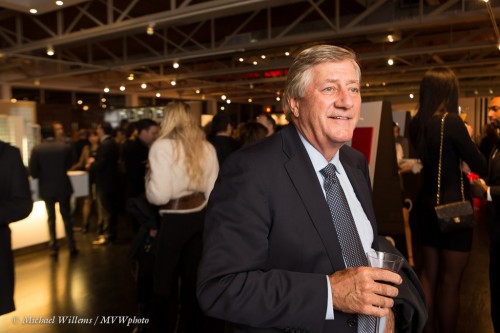
Movers and shakers, celebrities, politicians like Mike Harris are used to being photographed:

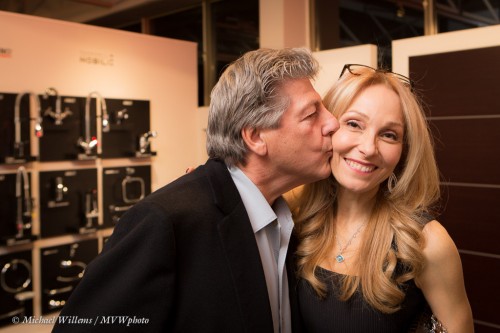
You can ask people to do things (like “Go on – kiss your wife!”):

Shooting events is fun; people will listen to your suggestions and do what you ask; and if your  technique is good, your clients (or family!) will love your shots. Go have some fun this December!


Speakers

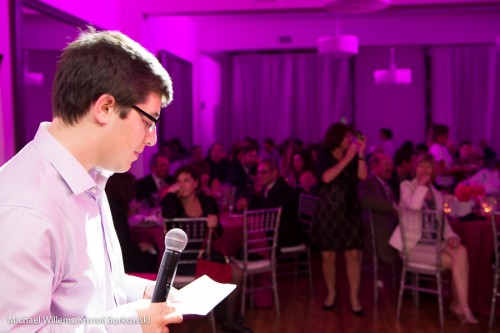
You will often shoot speakers. Speeches. Announcements.

A few suggestions:

  • Shoot from behind the speaker, not just from the front. You want to see the crowd the speaker is addressing!
  • Wait for pauses. Speakers keep speaking, and every shot has funny distorted mouths, unless you wait for natural pauses. Which can be frustratingly few and far between.
  • Try to get some back light (as I did here).
  • Consider using a long lens also, with natural light.  But not for the “behind the speaker” shots – those need a wide lens with bounced flash.

Those few very simple tips will make your “speech! – speech!” shots much better. Better than before, and better than Uncle Fred’s shots.

And now some sleep: I am teaching a full day workshop in Timmins, Ontario today (Sunday).


Partayyy!

Party time. You have read about it here before, many times, but let me reitereate something.

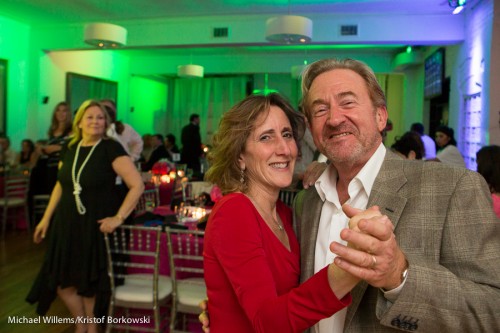
Consider these three good (if I say so) recent party shots (made during a Bat Mitzvah party):

What do they all have in common?

I’ll help.

  • ONE: they are flash shots.
  • TWO: They are not DIRECT flash shots – the flash is bounced off something, somewhere.
  • THREE: The background is well exposed for all three. A little darker than the foreground, but only a little (say, 1-2 stops).

And as regular readers know – we start with step three. Always start with the background. Indoors, start with the Willems 400-40-4 rule (400 ISO, 1/40th second, f/4) and then change ISO as needed for a good background.

Then – and on;y then – worry about the flash. Use flash exposure compensation if needed. Higher ISO if you need more flash range (e.g. for high ceilings). Move if needed to get a bounce surface.

OK, your challenge: go take a few shots like this. The festive season demands it!

What you need

A studio setup usually uses big, wall-outlet powered lights (“strobes”) and more.

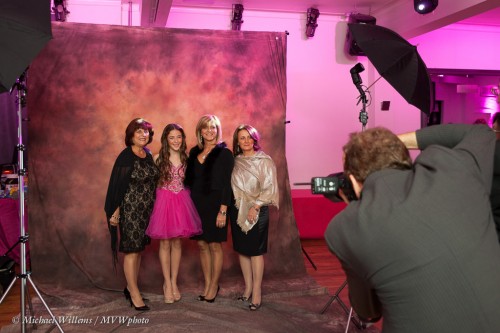
But here’s me, on a recent shoot:

As you see, I used speedlights there. They are smaller, lighter, easier.

The setup was:

  1. Camera and a backdrop.
  2. Two light stands.
  3. On each light stand, a bracket for mounting umbrella and flash.
  4. On each light stand, a Pocketwizard (as received) and a Flashzebra cable to connect pocketwizard to flash.
  5. Pocketwizard on camera (as sender).

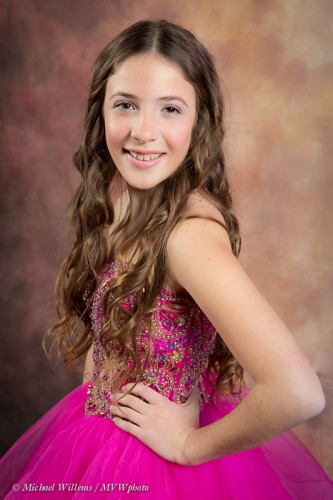
All you need to do simple portraits like this:

But the real minimum is this:

1. One light stand

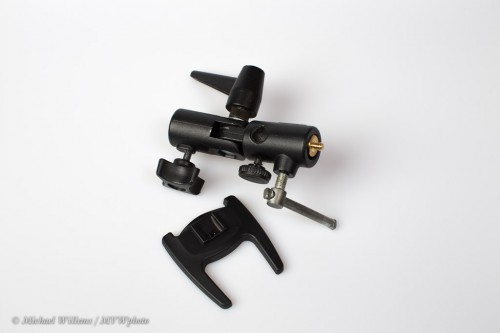
2. One bracket like this:

3. One remote flash to put on that bracket

4. One umbrella to put into that bracket

5. One way to fire the remote flash using TTL (the on camera flash is set to not flash, but to just send “morse code” commands to the remote flash). This local master flash can be a large flash (SB-900, 600EX) on your camera, or on certain cameras like most Nikons and many recent Canons, the pop-up flash.

And that is really all as a minimum!

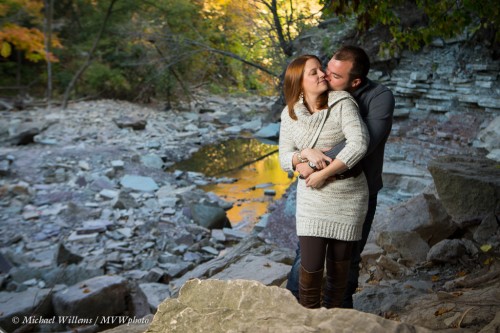
When using that, you simply mix available light with flash, using the techniques outlined on this blog. Then you can do shots like this, of Dan and Kristen, whose engagement photos I made recently in Hamilton: