Your light meter is not perfect

Your camera’s light meter is a reflected light meter.

Here’s how it works. And you need to simply accept and remember the following:

The in-camera light meter is designed to give a good reading when aimed at a mid-gray (“18% grey”) subject.

By implication, this means that when you aim at a non-midtone subject (like a dark subject or a light subject) the image will be incorrectly exposed.

In other words, because the camera “thinks” that it is looking at mid-grey it will try to render the subject as mid-grey.

One solution is to set your exposure manually while looking at a grey card; then using that exposure for your subsequent pictures taken in that light. That way I get pictures that are right regardless of the subject’s brightness.

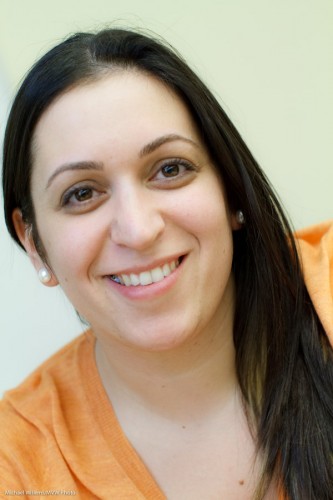
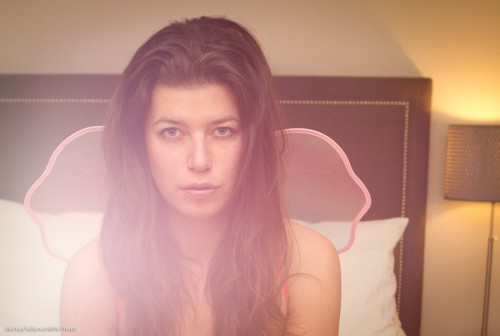
Like these two taken at yesterday’s Sheridan College class, of two of my students:

[1] Darker subject, coat, camera:

[2] NBow a lighter subject, dress, wall:

Both were correct at the metered settings of 1/125th second, f/2.8, at 800 ISO. Which I measured off a gray card!

 

Flare!

As a private pilot, this used to means something good that I did I did upon landing (don’t flare and you bump into the runway hard).

But as a photog, it is a bad thing, that I have mentioned before. To avoid it, use a lens hood, do not use filters, and point away from that incoming light. But as you recall from the post a few days ago, it can nevertheless sometimes be good, remember:

Kim Gorenko (Photo: Michael Willems)

So let’s talk a little more about techniques to do this:

  1. I aim a light (the sun? a flash? In my case here it was a 430EX off-camera flash) into the lens while keeping it out of the actual shot.
  2. I may remove the lens hood – that is there, after all, to prevent flare
  3. I do remove filters: I want flare to be controlled by me, not by  optical mistakes that happen as a result of the bouncing of light between my filter and my lens elements.
  4. And most importantly: I try various angles – very close to the lens I may see lens elements and aperture shapes etc.
  5. If I see Aperture artefacts, then I think about my aperture: small or large? If not fully open, these artefacts, of they show, will takle on the shape of the aperture (a pentagon or hexagon, usually).

Final question: Why not do in in post-production?

Sure – you can of course do this in Photoshop – but it is often more fun, and less work, to do it in person than to try and recreate it later.


QTOTD: Music

Or “Quick Tip Of The Day”:

I am setting up for a portrait shoot, and his reminds me to mention to you the following quick tip:

Always have some music on the in the background when shooting a portrait. Age- and person- and shoot-appropriate music. This way you set the mood, you relax, and you avoid awkward silences.

Now to that portrait shoot and talk to you in a few hours.


Angle

A word about a very important aspect of people photography: angle.

When I make a portrait, one of my main tasks is to find the right angle. People have flattering angles, and less flattering angles. Angles that make them larger and angles that make them ssmaller. Angles that make them friendly, and angles that make them intimidating. My job is to find the very best angles.

Like this angle, in a shoot a few days ago of model Kim:

Kim Gorenko (Photo: Michael Willems)

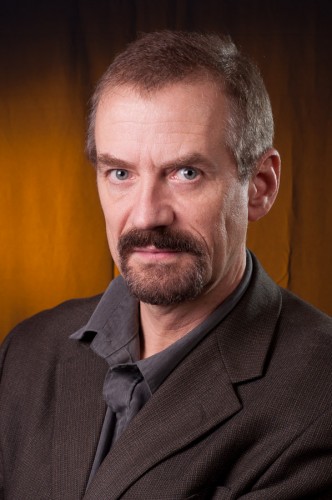
And look at me, photographed on Wednesday by David Forster. Less beautiful, of course… but that makes it more of a challenge. First a neutral angle:

Michael Willems Portrait

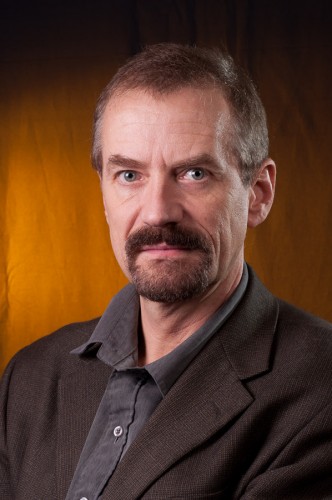
Now, an angle from above, with the camera tilted a little:

Michael Willems Portrait

See how different that looks? I like it much better – I look better when seen from a slightly higher viewpoint, it appears.

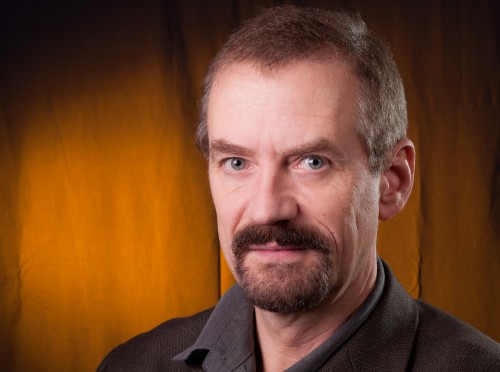
And finally, the first one of those two, but now tilted a little to the left in post-production:

Michael Willems Portrait

Much better than the first one, no? Not like the second one, but better than the first one.

A little angle adjustment can make a huge difference and cause a huge improvement in your images. So – experiment with viewpoint, with person angle, and with camera angle.


Forbidden word

A forbidden word when doing portraits, especially of men: “SMILE!”.

I say that for two reasons. First, you do not necessarily need a smile in every portrait. Art portraits, glamour: fashion, personality: there are many categories that do not need (that actively should not have) smiles.

Secondly, people, especially men from age two upward, are usually not good at smiling on command.

Here’s me, photographed the other day by student David Forster in his studio, using his D90:

Michael Willems

That is kind of a wry smile – and it certainly works, for me. If David had called out “smile” I would have looked much more awkward.

The lesson:

If you want smiles, make your subjects smile – do not tell them to smile.

The shot was lit with speedlights with Honl Photo modifiers: a grid for the background light, and a snoot for the hairlight. A softbox was used for the mainlight and an umbrella for the fill light.


Flare…..

….is bad.

Or is it?

“Flare” is what happens when an incoming light source throws light into your lens – you are perhaps not using a lens hood, or you are using a filter (which can increase flare) and you have a close light source.  The picture loses contrast. Which is usually to be avoided.

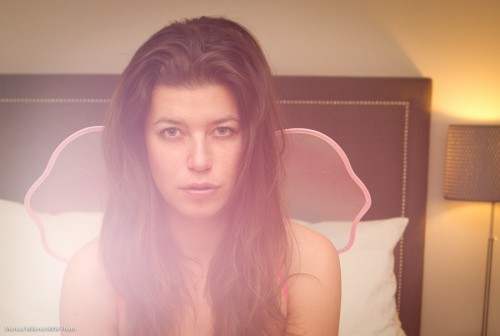
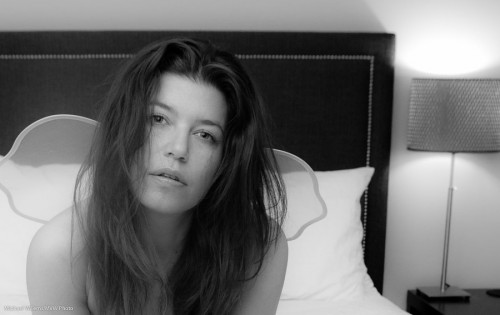
But sometimes you use deliberate flare for effect. Like in this image – the favourite of my model in today’s shoot (and that shoot explains why this post is so late):

Kim - Photo: Michael Willems

I like the flare in that – my model loves it.

How would this look without flare? Maybe in B/W? Like this:

 Kim - Photo: Michael Willems

So – try to add a little flare in some pictures every now and then for effect. Just aim next to a strong light source.

(Incidentally, that light source here was an off-camera speedlight – I aimed it towards me.)


Why shoot THROUGH an umbrella?

We shoot through the main umbrella in a portrait for several reasons:

  1. The umbrella is now closer to the face, making it larger, making the light softer.
  2. You see a circle as a catchlight, not a circle with a black blob (the flash).

Look at this example – a small part of a recent porttrait, where the main light is a square softbox:

The secondary light (which really ought not to be in the image, ideally) is a reflected umbrella – with the black blob. A shoot-through umbrella would not do this.

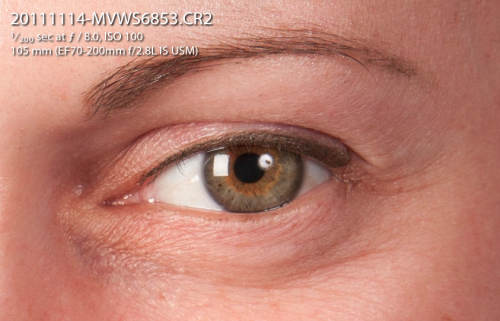
Incidentally – focus on the eyes always, and do be sure there is always a catch light (yes, ideally, just one). That makes the eyes come alive: without a catch light, the person looks dull, hardly alive.


Why aim back?

You remember the Willems 400-40-4 rule (the “444 rule”)? If not, check under “ARTICLES” above. Part of that rule: indoors, aim the flash 45 degrees behind you.

Behind? Why?

Of course the main reason is that this way, the light will come from 45 degrees above, well ahead of the subject, rather than from “right above their head” – i.e. the angle of light onto your close-by subjects is good.

But the other reason is also worth mentioning – I am unsure I have pointed that out explicitly. Namely…. If you aim your flash forward, some light will go forward directly to your subject. And what does that do? Cast a shadow: the bane of flash photos. That’s something to watch for very carefully, especially when there is a wall, say, behind your subject.


Open wide!

I mean – wide angle lenses are more useful than most people realize. As frequent readers here know, I do tend to say this over and over. And let me reiterate it here, again.

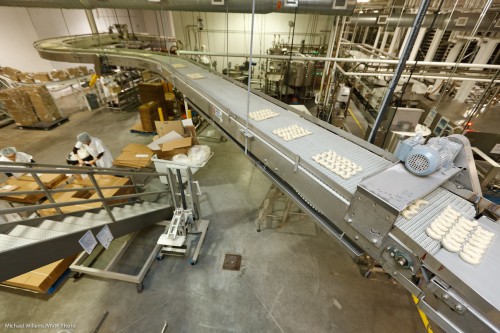
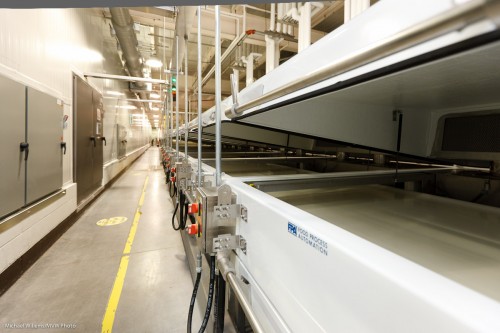
Last week I shot an industrial food facility. And again, the shots I like most are the wide angle shots – like 16mm on a full-frame camera (that is 10mm on your crop DSLR).

And that gets us shots like this:

Industrial Food Facility (Photo: Michael Willems)

Industrial Food Facility (Photo: Michael Willems)

Industrial Food Facility (Photo: Michael Willems)

A wide angle lens, especially when you get close, introduces – you know it – depth, three-dimensionality, perspective, size, and hence drama; and above all, it gives a 2-D still photo credibility.

So if you do not have one yet, ask Santa now (*and you can also ask him for a gift certificate for personal training while you are at it – ask me how).

A “wide” lens is a 10-20mm lens, that order, when you are using a crop DSLR, or a 16-35 or 17-40 when using a fill-frame camera.


Establishing Shot

Tip: When you shoot an event, shoot an “establishing shot” that shows where the event was held.

Like this:

You can take the shot afterward, or another day – but never start your pictures “in the middle” without showing context.

This will make your event shoots more like rapportage – a story.