A trick, revisited

With the holidays approaching, it is time for a refresher on an “event shooting” flash trick I have mentioned here before.

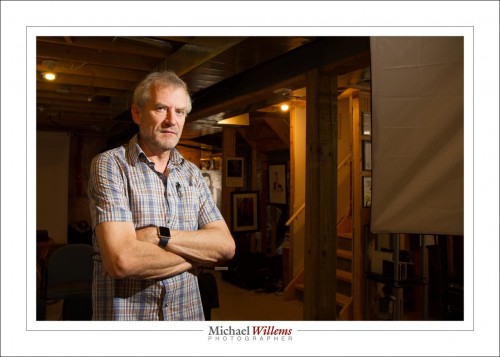
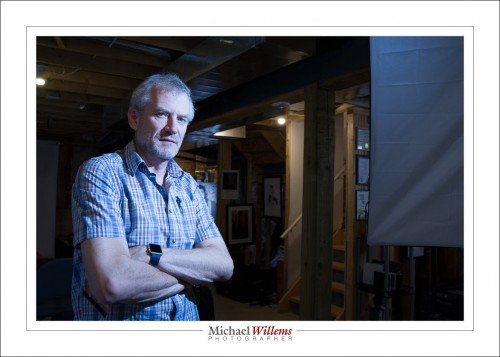
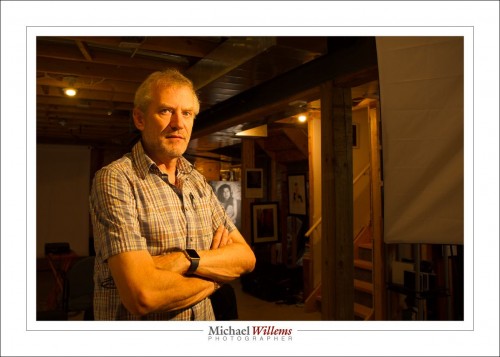
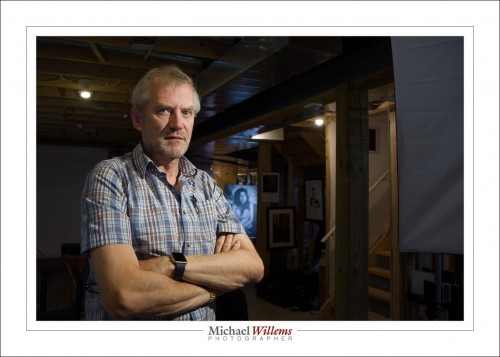
You all know how important it is to avoid, at least when the flash is on your camera, direct flash light reaching your subject. Both in order to avoid “flat” light, and especially to avoid those hard drop shadows, like this:

But you have also heard me talk (and those who come to my upcoming flash courses will learn hands-on) that you should “look for the virtual umbrella”. For most lighting, this means 45 degrees above, and in front of, the subject.

So when you are close to that subject, you aim your flash behind you to get to that point. Good.

But what when you are far, as when using a telephoto lens? In this situation, which happens at events, like receptions, the “virtual umbrella” may be in front of you. And aiming your flash straight, or even angled, forward is a no-no, since the subject will be lit in part by direct light, which will give you harsh shadows, and even worse, shadows from thesubject on the wall behind him or her.

A-ha. Unless you block the direct part of that light!

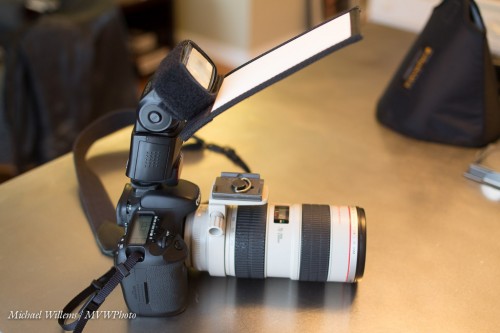
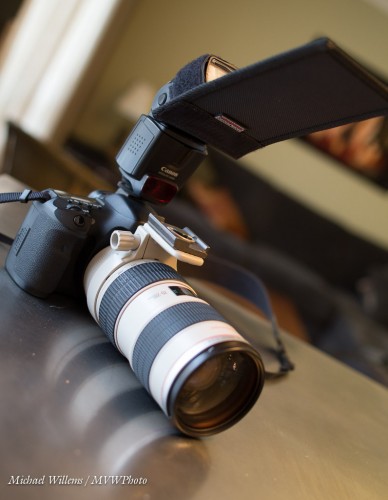
Like this:

As you see, I use a Honl Photo bounce card/gobo to block the direct light. Simple, affordable, and very effective. I use either the white bounce side, or the black flag side, depending on the ceiling and position.

Simple, effective – done!

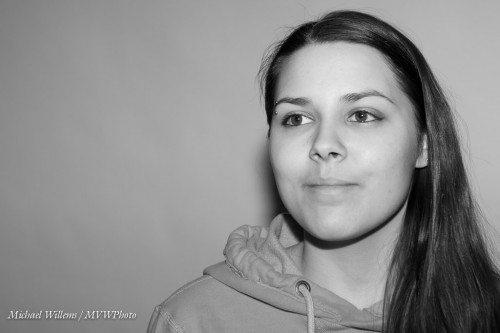
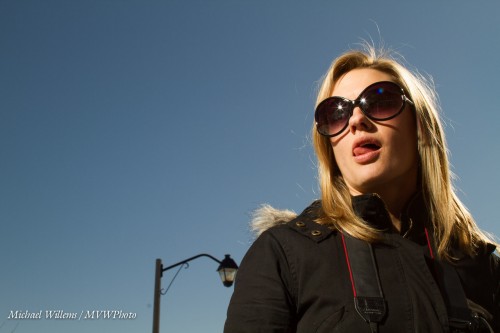
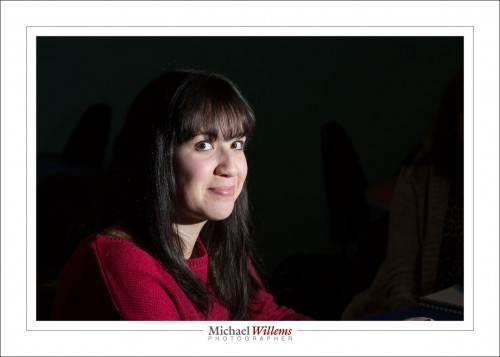
And one more thing. Direct flash is not bad per sé. Not at all. As long as it is not coming from where your lens is, it can be very effective, like in this “funny face” shot of a student a couple pf years ago (you know who you are):

Lit by a direct, unmodified flash. And the hair light, the shampooey goodness? Yeah. The sun. Just saying.

So, you now have yet another trick in your basket. Go try it out!


Filters for correction

You can use some gels (colour filters) for correction, Here’s an example.

Take this: I am lit pretty much OK by my flash, and with the camera set to FLASH white balance,, but the background is a tungsten light, so it looks red. I happen to like that, but what if I want that background to look normal, white, the way it looks to me?

Well…  can I not just set the white balance to Tungsten?

No, because then, while the background would look good, the parts lit by the flash would look all blue, like this:

Part 1 of the solution: make the light on me come from a tungsten light source too, so we both look red. We do this by adding a CTO (colour Temperature Orange) to the flash.

Part 2 of the solution: Now you can set the white balance on your camera to “Tungsten”, and both I and the background will look neutral:

Done. Now we both look normal.

So, in summary:  when you are dealing with a colour-cast ambient light, gel your flash to that same colour cast, and then adjust your white balance setting to that colour cast.


You can learn all about this, and much, much more, from my e-books. Now available from http://learning.photography — the checklist book even as a printed manual now,

Problems and solutions in event shooting

In 2010, I wrote this:


I shot an event yesterday that prompts me to give you some TTL management strategies. This is a long post – one that you may want to bookmark or even print and carry in your bag.

TTL Management Strategies? Huh?

Yup. TTL (Through The Lens) flash metering is great, but it can have its challenges. Unpredictability, or perhaps better variability, being the main one.

So why use TTL at all? Well, for all its issues, it is the way to do it since you are shooting in different light for every shot, and you have no time for metering. Metering and setting things manually (or keeping distances identical) in an “event”-environment, especially when bouncing flash, is usually impossible. So TTL (automatic flash metering by the camera and flash, using a quick pre-flash) it is.
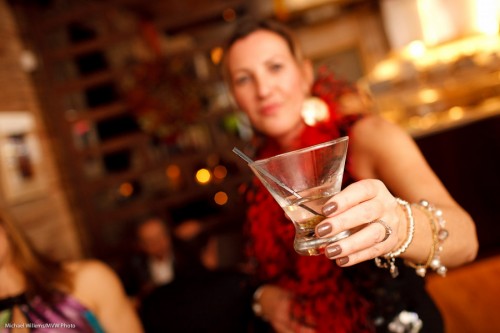
Cheers! (a Michael Willems signature shot)

Yesterday’s event was in a restaurant that had been closed to the public for the night. Challenges for me were:

  1. Light. It was dark. Very dark, meaning achieving focus was tough and settings needed to be wide open and slow.
  2. Consistency. The venue was unevenly lit: parts were light, parts even more dark. Meaning that achieving “one setting” is difficult.
  3. Space. Space was limited: hardly enough space in a small venue to walk around, let alone to compose shots.
  4. Bounceability. Walls were all sorts of colour, mainly dark brown, making bouncing a challenge.
  5. Colour. This also created coloured shots. Orange wall = orange shot.
  6. Predictability. Long lens? Very wide? Fast lens? Every shot seems to need another lens – which is impractical.
  7. Reflections. There is a good change reflections of glass or jewellery will upset your shots, causing them to become underexposed.
  8. Motion. People kept moving (uh yes, especially when the chair dances started).
  9. Technology. Batteries run out. Flashes stop working. Cards get corrupted. Nightmare scenarios we all know.
  10. Time. People were not there for me – it was of course the other way around. So my ability to ask people to pose and to move was limited. They are there for a party, not for the photographer.

So then you shoot and you notice that shots are too dark. or too bright. Or faces are too bright while backgrounds are too dark. But this is all in a day’s work for The Speedlighter… that is what I do for a living!
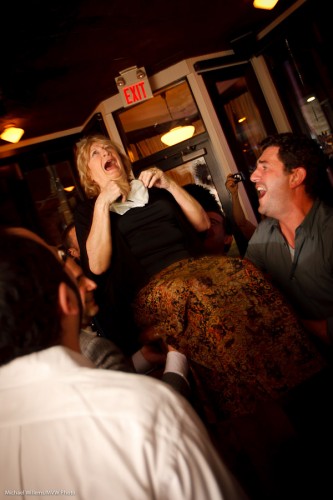
Mazel Tov!

I am sure everyone who has ever shot events is familiar with these issues. To solve them and come up with solutions, I have developed a number of strategies. So let me share some of them with you here.

(Click to continue and read the solutions…)

First, and this is not what this post is about:

Know your camera intimately and use the standard settings. Like a safe start setting of:

  • “Manual, 400 ISO, f/4.0 at 1/30th second”.
  • Aim the flash 45 degree up behind you.

Your objective with this is to get soft flash light onto your subject and warm ambient light into the background. Try to get the meter to “minus two stops indicated” when you aim at an average part of the room.

To learn all about this, read this blog and take one of my courses, a one-on-one, or a Mono course, or do the Flash course with me at Henry’s School of Imaging.

This post, however, is about the next step, which I also teach in my upcoming “Event Photography” course, namely: how to reduce the variability and get consistently great results.

My strategies to achieve this include (and you’d better sit down for this one: there are 20):

  1. Choose lenses for success. A 35mm fast prime (or 24 on a crop camera) is a good start, and this is what I used most of last night, but wider (like a 16-35, or  10-20 on a crop camera) is sometimes easier in tough light and is often necessary when space is tight. Sometimes you’ll want a long lens. I carry two cameras an no more than three lenses at any events.
  2. Give yourself time. Do not allow yourself to panic: I see beginning photographers do this. Instead, take your time, and shoot many test shots; find your happy spot. For me last night it was 800 ISO, f/3.2, 1/30th second. It took me a good while to arrive at this! Shoot, regularly check the shot, and when you see a pattern emerge of good shots at a particular setting, use that setting.
  3. Focus carefully. This is crucial: it is very tough and can be slow in low light. The trick: aim your single focus spot at brighter, contrasty areas (like faces, contrasty clothing), then focus, then hold that and recompose. And watch your distance: focus on something the same distance as your subject. Otherwise you get blurry pictures – also, TTL is sensitive to distance!
  4. Meter off mid grey. When you do this focusing, you are also metering (unless you have separated focus and metering, which in an event shoot is not an obvious choice). So be careful. If you focus and meter on a dark area, the flash will overexpose. On a bright area? Then it will underexpose. Most cameras meter with considerable bias towards your chosen focus point. So try to focus on something that is neither very bright nor very dark.
  5. Avoid hot spot reflections. TTL metering (especially on Canon cameras) is sensitive to this. Result: your entire shot in underexposed. On some cameras you can set your TTL metering to “centre weighted average” instead of “Evaluative” or “3D Color Matrix” metering: some photographers choose to do this. In any case, be aware of windows, mirrors, anything that can cause this issue.
  6. Use Flash Exposure Compensation (FEC). If you know you are metering off a bright white area, turn the flash up a stop. Conversely, if your subject is small with a big background (a person against the room), that subject may be overexposed. In that case, turn FEC down a stop. You will be using FEC a lot in many shoots. During the evening, you will see where you need plus, and where you need minus.
  7. Use your histogram. Avoid judging your shots solely by the preview on the LCD. Use the histogram by checking every now and then. It is OK to “expose to the right” (search for that on this blog, if you do not know what it means).
  8. Do not obsess about previews. Take a look often, but do not obsess. Images will be better on your computer than on the LCD, in all likelihood. You are there to shoot, not to edit.
  9. Find good bounce areas. For every shot, try to find a bounce area behind and above that is bright-ish, and that when reflecting flash, throws light onto the front of your subject’s faces.
  10. Go to a higher ISO. In a dark environment, where you bounce off walls and ceilings that “eat”most of your light, you will want to use a high ISO, like 800. Sometimes even higher: I shoot in clubs at 1600 ISO quite often.
  11. Use rechargeable NiMH batteries in your flash. These charge your flash more quickly. Essential in a fast-moving event situation, so do not use ordinary alkalines.
  12. Change those batteries often. You will be shooting at high power, and soon your batteries will get hot and will stop working. Happened to me last night – so I changed batteries a few times. Do not worry about “but they are not done yet”. Change them while the going is good. Batteries never fail at a convenient time. Take charge!
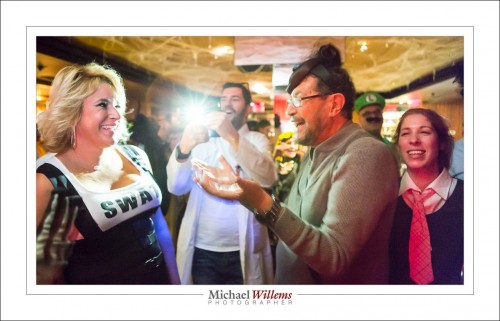
  13. Do safe shots. You will develop your style and this should include some safe shots. My signature safe shot is the “hold out your drink at arm’s length” shot I started this post with, above. Another safe shot is the food, shot at wide angle. Develop your own safe shots and always get some of those.
  14. Find good places. In an event location, there will be some shots (“in front of that great lit-up brick wall”) that work well for you. In that case, once you discover them, hang around those areas, even try to get people into those locations if you possibly can. The more of those you get, the more your ratio of great versus OK will go up.!
  15. Shoot ratios! This is a crucial point to understand. You are not in a studio environment. Not every shot will work. A failed shot or two is no issue. You are aiming for a good ratio between good and bad. I am delighted if 75% of my shots at an event are good enough to be shown. At a pinch, I will settle for half, if I must. This approach takes pressure off you. A bad shot does not mean you are a bad photographer.
  16. Shoot a lot. The ratio-approach I mention above means that event shooting is possible regardless of your expertise level: just shoot more. Tough light? Shoot even more. I do that too, and for for shots that I must get (mother with son, the happy couple, the main speech – that sort of thing), I always shoot two or three, even if I think the first one is good. So – shoot a lot.
  17. Do not delete bad shots in the camera. This takes time and wastes battery. You should be shooting, Also, you want to be able to tell your ratio of good vs bad – if you delete bad you will never know and you will never see the improvement.
  18. Shoot RAW-  and try to get within a stop. Crucially, you do not need to get every shot right. If you are within about a stop either way of perfect you are just fine and the rest can be done in post. Events need much more post-production than studio work. Many shots will need adjustments: exposure, white balance, crop. Vignette, sharpening, skin adjustments.
  19. Do not worry about white balance. Set it to “Flash” and adjust later.  That is why you shoot RAW.
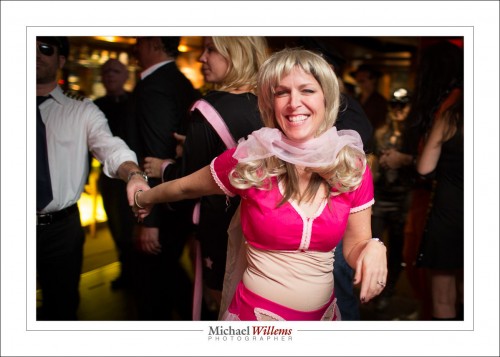
  20. Catch the moment. Often, this is more important than the quality! Choose the decisive moment. “If it smiles, shoot it”. Look for moments and “damn the torpedoes” – shoot! The chair dance shot above is a good example: yes, more light and no “exit” sign and a tighter crop would have been even better,  but the moment beats all that.

Whew. A lot of strategies. Do not forget to have fun. Be a people person. Smile. Whatever you shoot, it will be OK, it will be better than if you do not shoot. get on with people, smile, laugh, eat and drink a bit if you are invited to. Enjoy!
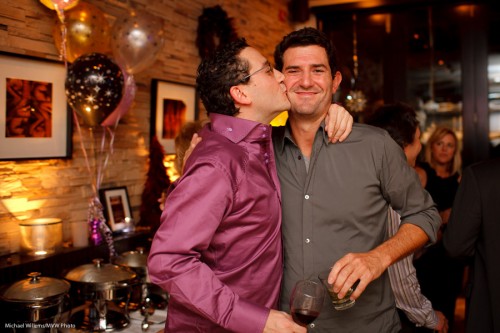
Kiss kiss! The decisive moment.

To learn the strategies, I recommend that you now read this post again, print it, and then start implementing the ideas one by one.

Practice makes perfect, you know what “they” say… and New Years’ Eve will be a great time for you all to practice.


And all that still holds today, of course!


Smile?

Ever wonder why models never smile in advertising photography? Why they always look so serious… aggressive even, sometimes?

Because they want to look perfect, that’s why.

Smiles create smile lines… but unlike you and I, photo editors, Cosmo readers, and models who want perfection call these lines “wrinkles”. And they dislike them, and the shadows they create. Like so:

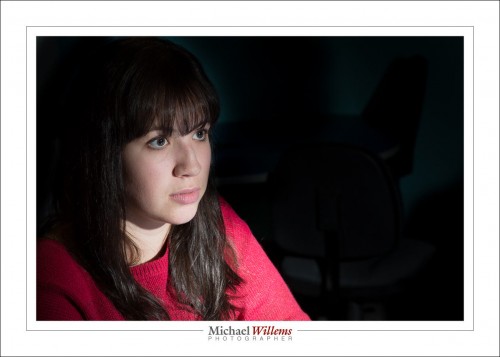
The aforementioned (and, truth be told, most women) usually prefer this, a very “no-shadow” neutral look where skin is perfect:

If you are shooting traditional model shots, like for a portfolio, that’s what you do.

  1. Puff out some air, like when you voice the letter “P”.
  2. Let face come to a rest; this takes 1-2 seconds.
  3. Leave mouth ever so slightly open.
  4. Ensure that all facial muscles are 100% relaxed.

Result: skin is flawless. No shadows, no unevenness, no wrinkles. No personality is shown. Just beauty.

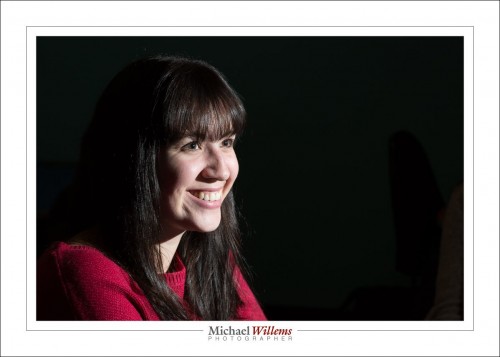
But wait. The look you want depends on what you are shooting. When you want to depict personality, you can have a person looking angry, surprised, sad… even happy. Like this:

So relax and shoot what you want. Do not shout “smile!” for every shot; but do not avoid all smiles either. If only because your model will feel better. But also because you may indeed want to show different sides of a person’s personality.


A difficult shoot

A shoot Saturday. A club, with no good ceiling or wall to bounce from. And no light to focus. And an audience that did not stand still for a moment, meaning focus was even more difficult. Those were the three main problems.

And yet:

Wow, eh. 325 photos like that.

So what’s the secret?

Boiled down to a few bullets, it is:

  • Expose for a “–2 stops” background, as you know from my Flash courses.
  • Feel free to use high, or very high, ISO values. Use noise reduction in post-processing (e.g. in Lightroom).
  • Use prime lenses, or at least have them available.
  • Shoot a lot: as much as twice as much as you need.
  • Be within about two stops of perfect, and shoot RAW.
  • Take any portraits at least twice, in case focus is off, etc.
  • Look for “moments“, not just steady “grip and grin” images.
  • (Hence): do not be afraid to throw out half your pictures.
  • Be willing to do post work on many pictures.

In Saturday’s shoot I had over 700 pictures, and that boiled down to about 600 usable ones, of which I used 325 (Why? Well, if you have five pictures of a specific moment, you may want to use just one).

I shot the majority of my images at 6400 ISO, 1/25 sec, f/2, using a 35mm f/1,4 lens). And even then I had to push many of the images. 

But with a modern camera, it is doable, and even an impossible venue like Saturday’s can lead to a great shoot.


It’s all about the…

…light!

And I cannot over-emphasize that. It is all about the light.

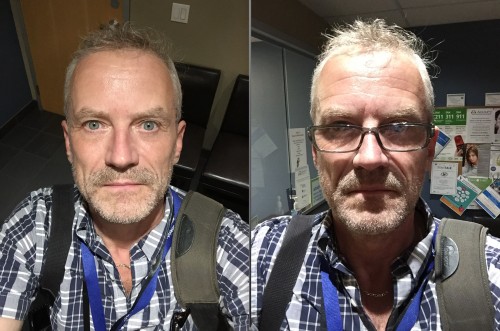
Take this picture. It shows a wrinkled, tired, old-looking photographer:

Now take that same person and move his face into the light, so that the light comes from approximately 45 degrees up, right in front of him. Now we see a much better looking photographer:

The photographer (that would be me) took those yesterday, just a few seconds apart, with his iPhone.  Here they are, side by side:

Keep this in mind when doing any sort of photography: yes, it is all about the light, and yes, it makes a huge difference to any photo. When using a flash, bounce behind you, so you get the left-hand photo rather than the right-hand one. I teach this in my flash courses, of course. But until you take a course, at least keep this in mind. Please!
 

Photosensitive

Tonight, I attended the 25th anniversary of Photosensitive, a collective of Canadian photojournalists.

I am honoured to be a member of Photosensitive, and I have contributed to the last two Photosensitive projects, “Picture Change” and “Aging”.

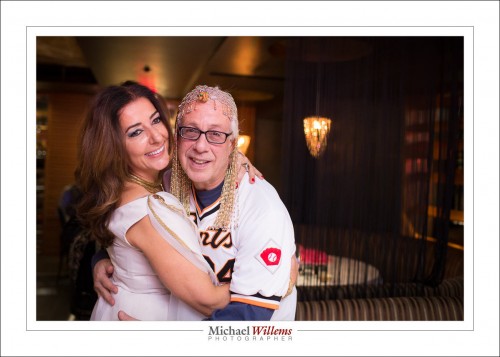
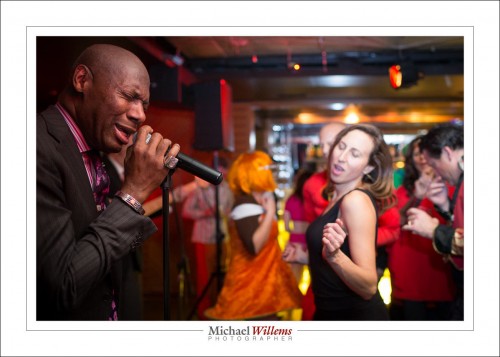
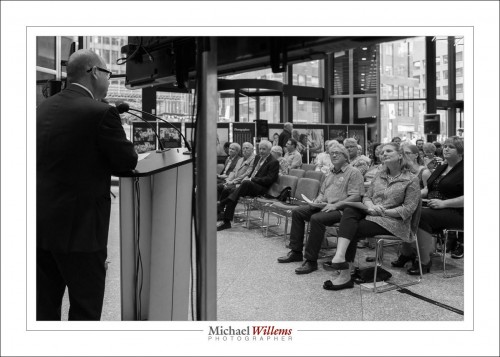
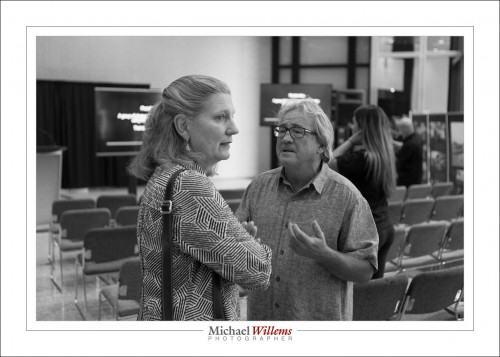
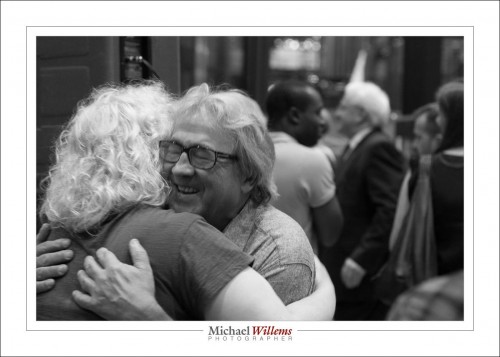
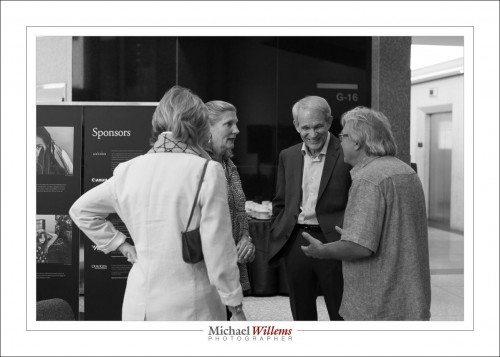
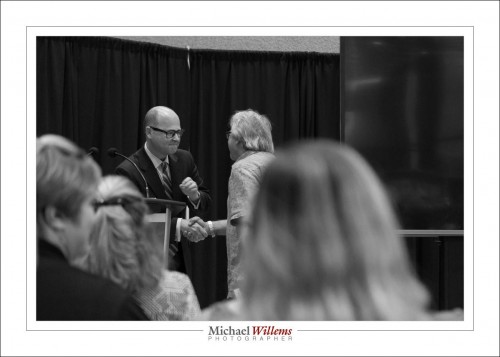
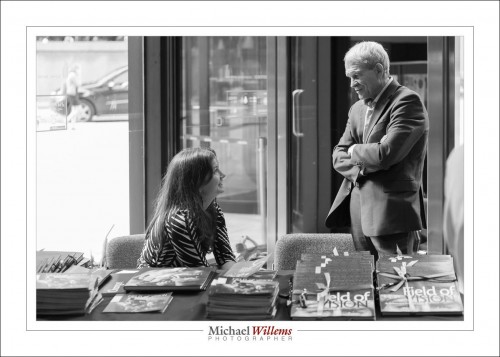
A few pics from tonight:

One lesson: don’t be dogmatic. No flash here; I merely used 1600 ISO, f/2.8 at 1/100 sec. When you work it out (which I will leave to you), that’s basically two stops brighter than 400-40-4, which makes sense, Normally, if I used a flash ambient would be –2 stops; this time, ambient has to carry the photo, so it’s two stops brighter.

Photosensitive does everything in black and white.

I used only available light and my 24-70 f/2.8 lens. Why? To shake it all up a little, that’s why!

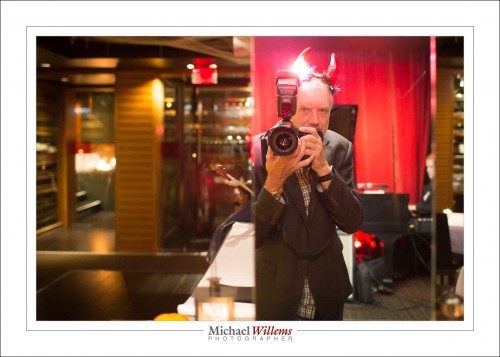
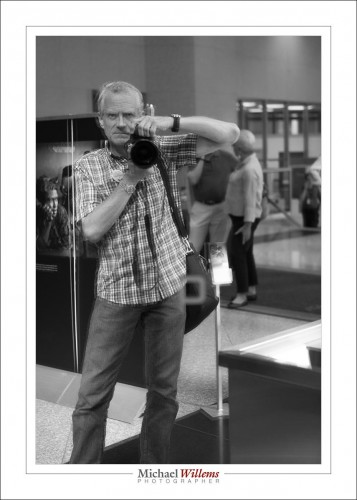
Me in the mirror…:

Black and white rocks for this sort of work. Look at the photos at full size.


Mission: impossible

Sometimes you are faced with a situation that would be easy to solve with a flash.

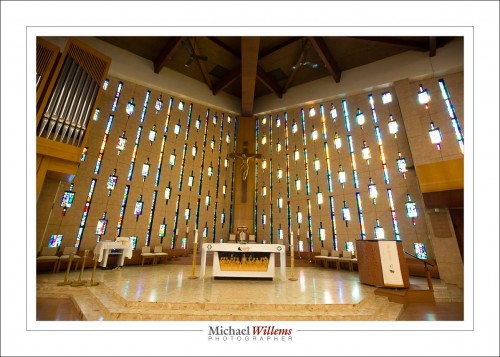
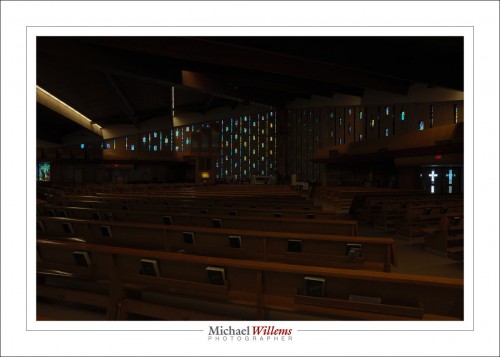
Like this church, in which I co-shot a wedding on Saturday:

You can see why the situation needs flash. Without it, I am stuck: I expose for the church, and the stained glass pretty much disappears, as you see above.

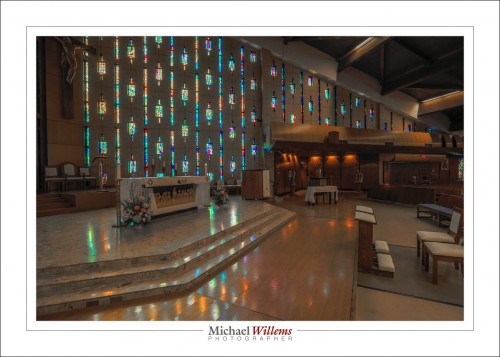
Or I expose for the glass:

Yeah, the glass is back. But now I lose the church.

OK, flash then. Simple! (If you have done my courses and bought my books.)
But Wait.

It is a Roman Catholic church, and that church is used to an authoritarian top-down command structure, and in this particular case that works against us. Because the photography rules (and there’s a full page of them) say:

“No Flash”.

Now I am stuck. As my colleague George quite rightly says: “we are here for the people” (and you can imagine him shrug). Right he is.

But hang on. There are still tricks we can use.

One: use the built-in HDR mode in your camera, if it has is. Some high-end cameras do, and my 5D Mk3 is one of those.

Select it and press. The camera now takes three pictures (my choice), two stops apart from each other (my choice), and crunches a few seconds, while it combines them into a JPG file:

Now, the bright and dark areas are no longer 12 stops apart.

And that was the problem: the difference between bright and dark was simply too great for a camera to handle in one image.  Select HDR (which you all know stands for “High Dynamic Range”—right?) and hold the shutter down until it has done three shots (or more, if you prefer).

And then you can work the image a little more in Lightroom, if you like. Problem solved. There’s always a solution.

___

I have moved to Brantford, Ontario. The new studio and classroom welcome you: call 416-875-8770 or5 email michael@mvwphoto.com.


An old light trick

This came up in class tonight, so, a repeat:


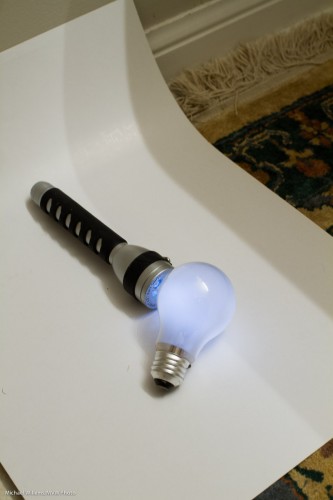
Okay, here’s a simple trick shot for you.

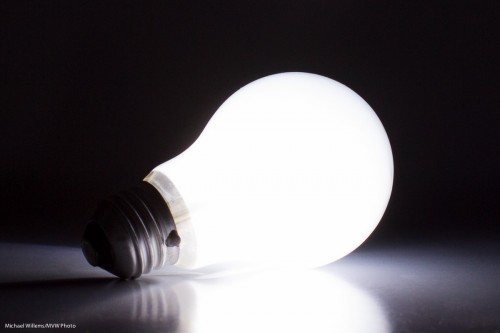
How did I get the bulb to light up without it being connected?

Simple. Like this:

I used an LED flashlight behind the (frosted) bulb. That makes it look like the bulb itself is lit. 6 second exposure, 200 ISO, f/5.6.

Sometimes “simple” is all it takes.


Abstract, or meaning extracted?

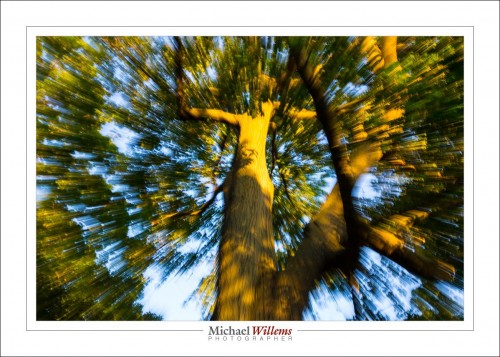
This tree, from yesterday’s walk with students:

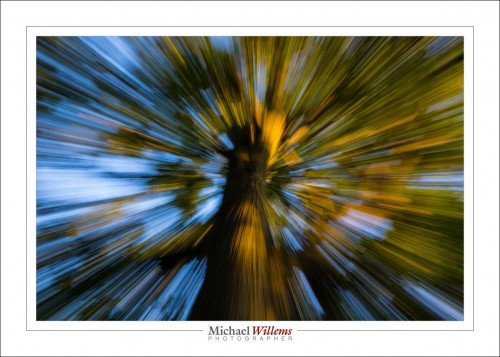
I made that by zooming my 16-35 lens while shooting at about 1/15 second. That gives you either something that is still recognizable as a tree, or something that is less so:

Which one is better? They are both good. The first one says something about the tree, I feel. The second one is more about the line, motion, shapness.

And the point? The point is that you can do with your photography what you want, from literalism t abstract art. And that there are many tricks. And that you should use those tricks!