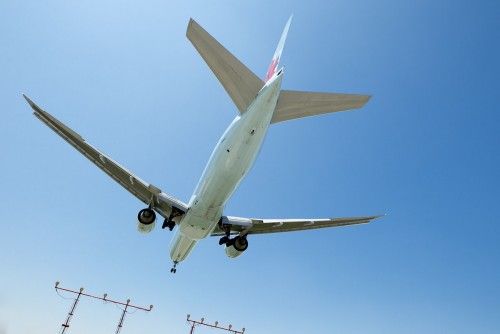
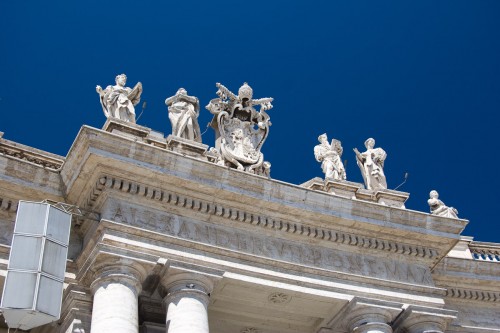
Africa….

You have heard me mention the Africa trip in August? Great news: info and a detailed itinerary are now available here (click) and there are still spaces available.

For the photo trip of a lifetime, click now and come to one of the two info evenings in Oakville May 14 or May 18. Reserve your spot on the presentation evenings quickly: RSVP now. First come, first served!

Now I go back to deciding which lenses to bring (hint: one of them will be loooong).

Africa…

Check out this page.

In August 2012, international photog Kristof is doing photo training during an Africa Safari trip. And great news: I will join too, if we get enough signups!

This is the trip of a lifetime, both as a trip and as photo coaching. Check out the page and contact me or Touch de l’Afrique if you are interested: come and I’ll be there too, so Kristof and I can help you with two teachers present through the trip.

Bett still: Monday evening, in downtown Oakville, an information evening about the trip. Follow the link above and RSVP to Kristof to ensu your place!

Kristof and I will teach Travel Photography, wildlife, lenses, light: everything you need for a perfect memory of the trip, plus a great boost in your pro skills!


Lens for Alaska?

Reader Tyrone asks:

I’m going away to Alaska on a cruise and was wondering if you had any recommendations for particular lenses that I should get for this trip.

Sure.

First, it is not easy. You will want a wide range of focal lengths, from very wide (say a 10-20mm lens on a crop camera – this will give you depth and National Geographic type shots) to long (say, a 70-200); as well as a fast lens (a prime 50, say, for indoors portraits, or a prime 24 or 35).

The long lens is for faraway scenes and whales – but long lenses need fast shutter speeds and even then, when a ship is not steady (it is a ship after all) you will blur many images. Still, there will be whales and you will want the long length. A stabilized lens (IS/VR) is a big bonus.

So I would say, if at all possible: one wide, one long, and one prime fast.

Why not, say, an 18-270 all-purpose lens? Because its image quality is not as good, and its smaller aperture will reduce your available shutter speeds.

Two final notes.

  • You can also rent lenses!
  • Bring a spare camera, spare batteries, storage.

And finally: have a great cruise!


Hazy? Solution here!

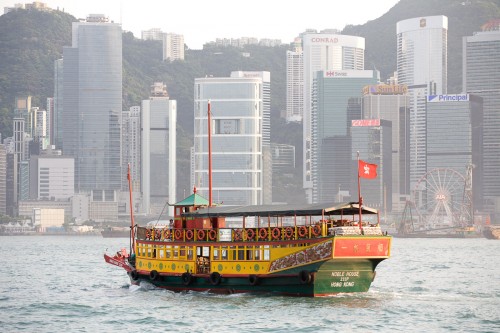
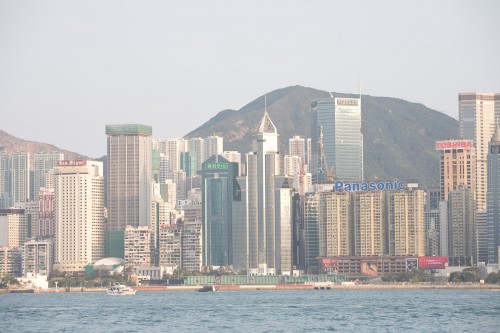
I have asked this before… what do you do when it is hazy? Like in this shot of Hong Kong?

Hong Kong (Photo: Michael Willems)

No-one will be impressed.

So you can take the image into Lightroom, and drag “blacks” to the left and “exposure” to the right. Or do a “Levels” adjustment in Photoshop.

True. But as said before, you can make the drawback into a benefit. Male lemonade out of the lemons. And I thought I would show you another “improved” example. Here:

Hong Kong (Photo: Michael Willems)

So you find a sharp object to put in front. Simple – now the haze becomes a benefit. Making lemonade out of lemons.


Tell the story

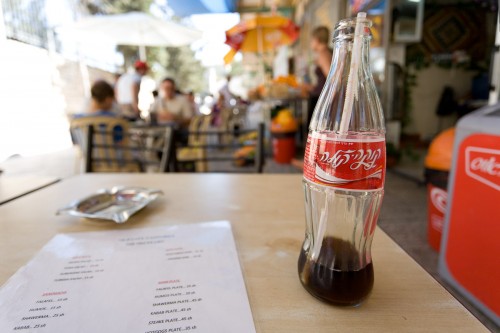
Here’s an image from a 2007 trip to Jerusalem:

Jerusalem 2007 (Photo: Michael Willems)

A typical “B-roll” picture – a picture that helps…

  1. …set the scene – where we are;
  2. Tell something about the environment;
  3. Make the viewer “work it out”;
  4. Provide a visually interesting image.

In this case, elements are: the blurred scene in the background (people eating and drinking, the waiter, the umbrellas); the Hebrew on the coke bottle; the menu including shoarma; the sunny background; and the three-dimensional feeling created by the “close-far” technique.

When you next travel, try to take lots of images like this. You’ll be amazed how much easier it is to tell the story.


Help – it’s night!

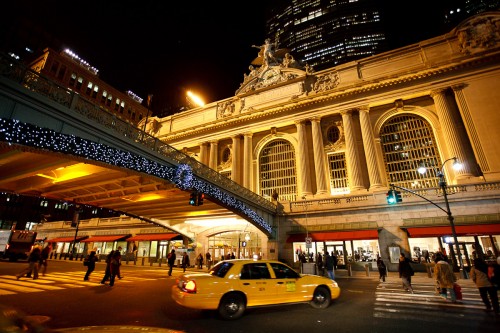
Grand Central, NY (Photo: Michael Willems)

It is night, as in this old shot of Grand Central Station. How do you deal with this?

Technique. A combination of techniques, actually. Use as many of these as you can:

  • Stabilize your camera. Use a tripod, or balance the camera securely on any surface (protecting it with a bean bag).
  • Use a wide lens. This makes it possible to shoot slower.
  • Use a stabilized lens.
  • Use exposure compensation (minus!), or spot meter off buildings, to avoid too-long shutter speeds.
  • Increase your ISO if you have to.
  • Sometimes I even slightly underexpose and then push the exposure later – better a little grain, if I must, than motion blur.
  • Take many shots – and just use the sharp ones!

As you see, there is no single answer. A combination of the above will work. Night is the best time for many shots – use it.

This shot is from the all-new “Travel Photography” course I just wrote for the School of Imaging, by the way. Completely rewritten and worth taking – if you are going to travel, you owe it to yourself!


Points of view

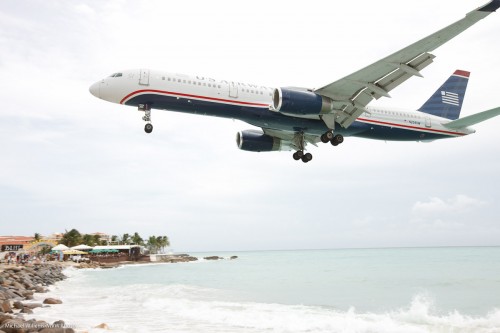
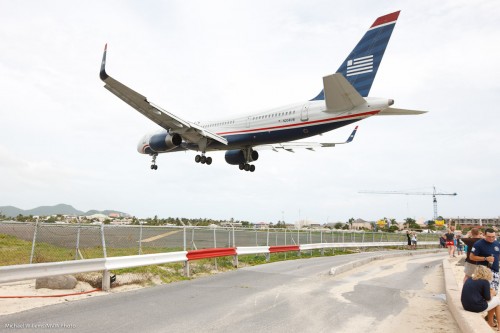
Just to show how much a few seconds and  shift in viewpoint can change your photo, look at these images:

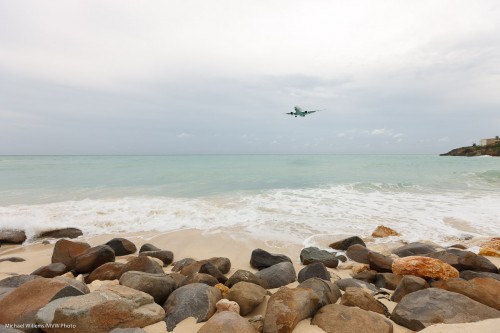
Aircraft landing, Sint Maarten (Photo: Michael Willems)

Aircraft landing, Sint Maarten (Photo: Michael Willems)

Aircraft landing, Sint Maarten (Photo: Michael Willems)

Most people would assume that…

  • The larger the aircraft, the more impressive
  • The less perspective distortion, the better

I am not sure I agree with that.  The top picture is a favourite, even though the aircraft is tiny. And while aircraft spotter sites insist on “straight” images, I much prefer the drama a wide lens gives you (bottom images).

This is not to say that I am right. What I mean is: cameras, and lenses, are powerful creative tools, and you should think about how you use them; try to use them in different ways; be creative; experiment, and follow your intuition.


Zip it

Travel tip repeat: you have heard me mention bags before, but now let me get specific: when traveling in a warm climate, carry Ziploc bags. Because they close with a pretty much airtight seal. And then put the camera and lenses into those bags when you carry them out. And then wait until the equipment has warmed up – maybe 10-20 minutes.

If you don’t, then the moment you walk from the airconditioned inside to the moist, warm outside,  this happens:
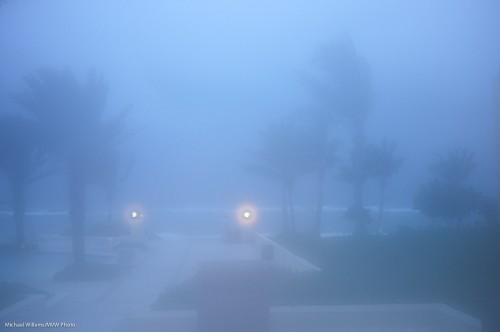
I.e.due to fundamental physics, the camera mists up. Viewfinder, lenses: possibly even inside. And that is bad – misting up means moisture – water. Water can lead to fungal growth in tropical climates, and in any case, it is never good.

For the camera, that is.

But it can work in pictures – low contrast pictures can carry a mood very well, like in the following image of tropical storm Irene, which turned into a hurricane later:
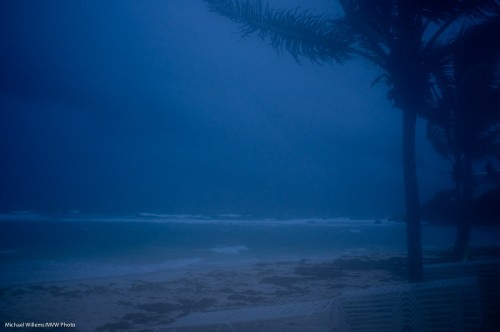
Storm in Sint Maarten (Photo: Michael Willems)

That slight residual fogging helps, here. But I would of course not recommend that, for your camera’s sake.

One more thing – carry a microfibre cloth, as well, and wipe off any excess moisture as soon as possible. Keeping your camera healthy is a good idea.

 

Carib

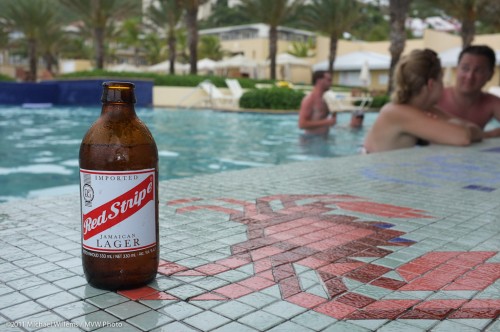
I am in the Caribbean, on the island of St Maarten, for a few hours. INcluding the pool bar, of course:

Westin Resort, St Maarten (Photo: MIchael WIllems)

But also including camera care. The moment you walk out of the hotel – bang, the camera mists up. This is due to the difference in temperature and the humidity.

Solution for tropical camera use: Before using, wait until the camera warms up.

And a very good way to do that is with the camera in a closed (tightly wrapped) plastic bag. That way, the misting up, which is bad for cameras, is minimized.

10-20 minutes and you can take as many pics as you like. Or put bag and camera on your balcony before you go out!


Traveling

As of today, I plan to be traveling for a week, so if posts are repeats, or delayed, you will know why.

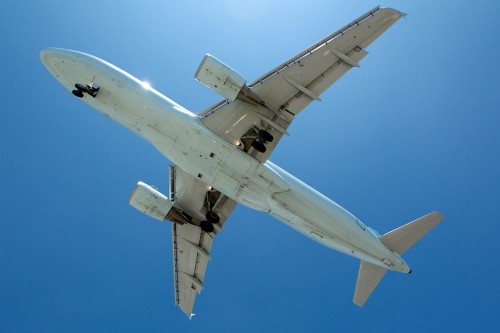
Aircraft Landing (Photo: Michael Willems)

Aircraft Landing (Photo: Michael Willems)

Of course upon my return I hope to be able to show you some nice pictures.

In the mean time, a travel tip – and there will be a few more I should think.

TIP: when skies are blue, and you want contrast, use a polarizer. This is a filter that, when you turn it just the right way, removes non-metallic reflections and does this to the sky (especially at right angles to the sun):

Meaning a super-contrasty look between sky and clouds (even when shooting B&W).