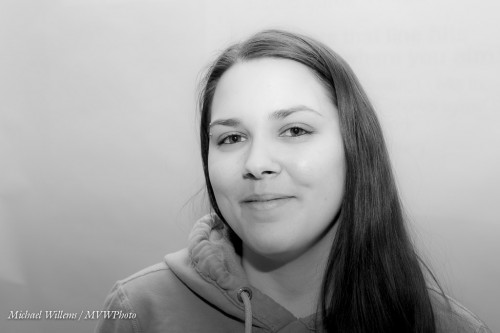
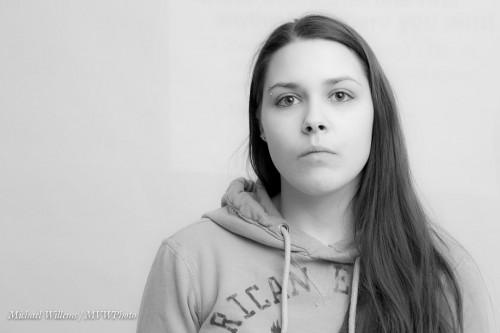
Trixie

I shall now repeat a flash trick I have mentioned here before years ago. Time for a refresher.

You all know how important it is to avoid, at least when the flash is on your camera, direct flash light reaching your subject. Both in order to avoid “flat” light, and especially to avoid those nasty drop shadows, like this (don’t do this at home, kids):

But you have also heard me talk (and those who come to my upcoming flash courses will learn hands-on) that you should “look for the virtual umbrella”. For most lighting, this means 45 degrees above, and in front of, the subject.

So when you are close to that subject, you aim your flash behind you to get to that point. Good.

But what when you are far, as when using a telephoto lens? Then the “virtual umbrella” may be in front of you. And aiming your flash forward is a no-no, since the subject will be lit in part by direct light.

A-ha. Unless you block the direct part of that light!

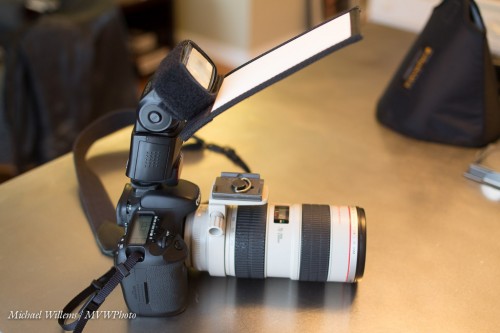
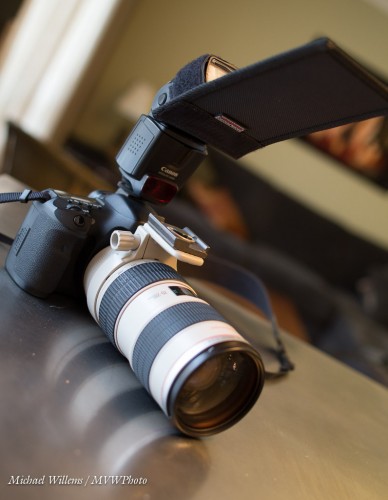
Like this:

As you see, I use a Honl Photo bounce card/gobo to block the direct light. Simple, affordable, and very effective. I use either the white bounce side, or the black flag side, depending on the ceiling and position.

Simple, effective – done!

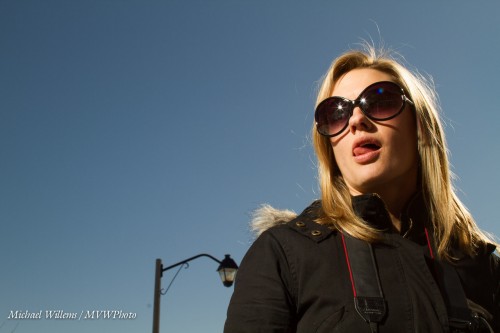
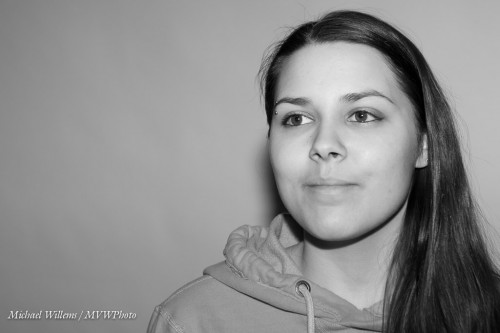
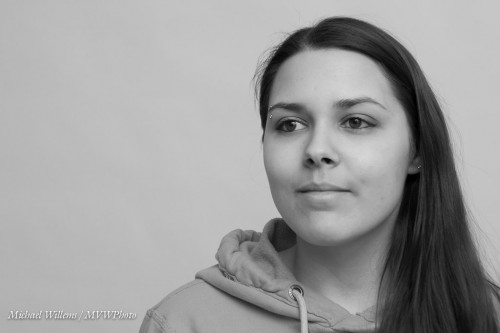
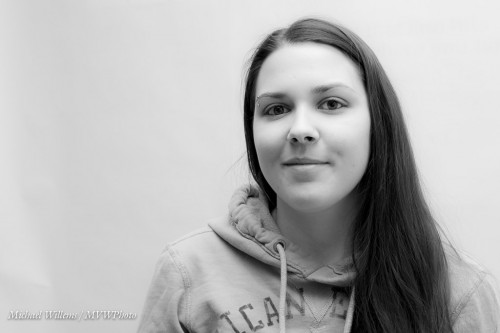
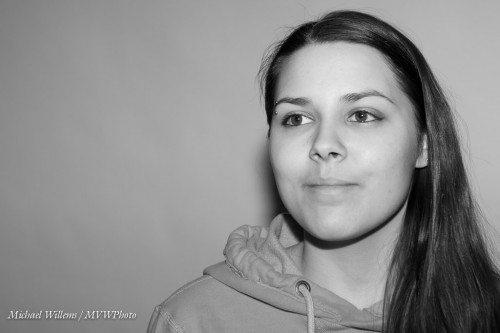
And one more thing. Direct flash is not bad per sé. Not at all. As long as it is not coming from where your lens is, it can be very effective, like in this “funny face” shot of a recent student (you know who you are):

Lit by a direct, unmodified flash. And the hairlight, the shampooy goodness? Yeah. The sun. Just saying.

(And yes, that too is something I will teach those of you who sign up for one of my upcoming flash courses.)

 

A bottle is a bottle is a bottle?

I don’t think so.  Look at this bottle:

Now look at this bottle:

Now look at this bottle:

They are of course the same bottle, same  time, same camera, same lens: but lit very differently. Number one, back lit with visible background. Number two, lit from its front by soft umbrella light, with a simple reflector/scrim background. Number three, back lit with soft light, bounced against the reflector; also with that same simple background.

The point is: hardness/softness of light and direction of light will make major differences to the image. When you make a photo, ask: what if the light was on the other side?  What if it was hard and direct instead of soft? Wat if I had several light sources, not one? And then, try these things. Use flash, of course, not just available light – try both, or a combination. What will happen is that you will get a good appreciation of what’s possible – and these skills will take you far.

One thing you need is flash skills: learn them from me. All new dates on www.cameratraining.ca/Schedule.html – sign up now, if you want to take part in a great learning experience.


Street

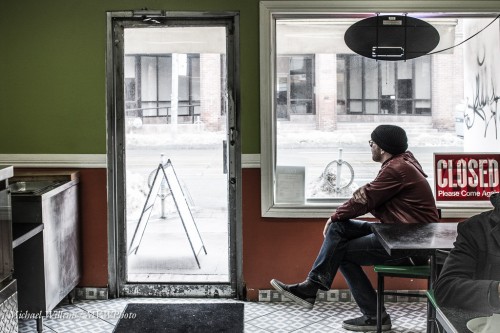
A shot from today, as I was awaiting my lunch Roti, on Queen Street East in Toronto:

Grunge. Street. Sign. Composition. Thought. Storytelling, or rather, making the viewer look at what’s happening and try to figure it out. The moral of this story: carry your camera everywhere. Do not be afraid to use it. Tell stories, raise questions. No, I do not only shoot portraits and nudes.

(Though I do shoot those, too. Look here for a set of two (warning: nudity – if that warrants a warning in your world), and view both: a recent nude I shot, and then one from over 2,500 years ago – an awesome coincidence, as I had never seen this until after the shot. Plus ça change…)


Equipment doesn’t matter.

Except sometimes it does.

When should you buy a new camera? Not often, and not because the new camera has more functions or pixels.

One reason: because it has higher useable ISO. I have talked about this before. Here’s another example, from my Canon 1Dx, which has fewwer pixels than that 1Ds Mk3 I was using before. Fewer pixels plus more modern technology means higher useable ISO.

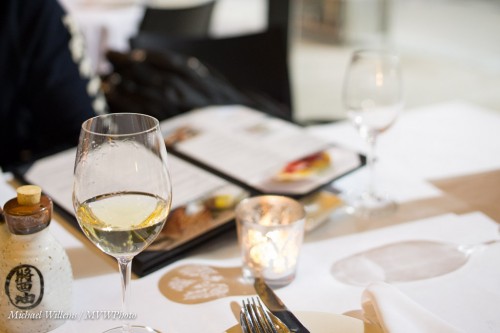
For example, unchanged from the camera, I just converted this from the RAW to a JPG – an image I shot at a whopping 12,800 ISO at f/2.8, 1/160th sec:

Yes, 12,800 ISO. No noise reduction in Lightroom – this, as said, is from the camera.

Even magnified to real size, 1000 pixels wide (click through to see at that size), it is really good – good enough for a large print.

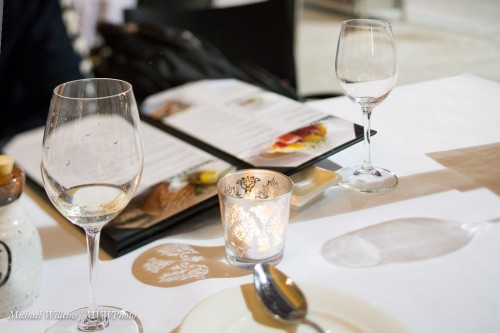
So with a modern camera you can shoot dinner in a dark restaurant at good quality with an f/2.8 lens, using available light. Is that cool, or is that cool? And that is why eventually you will trade in your 5D Mark I for a Mark III, or something like that.

On a side note:

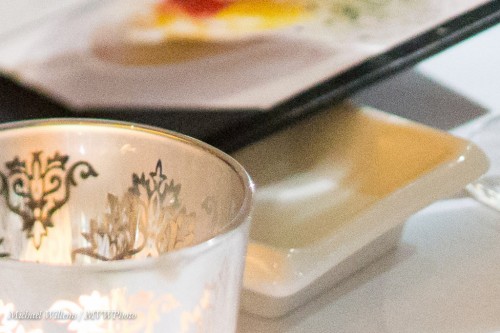
Q: how did I get both glasses sharp at f/2.8? Shouldn’t f/2.8 from up close look like this, with only one of the glasses sharp?

A: Yes it should. But I used my 45mm tilt-shift lens, which allows me to shift the focal plane to where it is in line with both glasses.


About A Crop

Yesterday’s post prompts me to talk a little about cropping, today. After all, cropping your picture (either in camera or, more commonly, afterward, in post) is an essential step to making the image what it is.

You crop in order to:

  • Fit to a certain aspect ration (say, 5×7).
  • Get rid of “stuff” that doesn’t belong – i.e. to simplify.
  • Get in close.

Famous photojournalist Robert Capa once said: “if your pictures aren’t good enough, you’re not close enough”. He had a point.

Consider these three images from the other night: the original, and two crops:

There is no “right” or “wrong” in these crops. But I would argue that the third image, i.e. the closest crop, is the most powerful version. They are certainly all very different images, that tell different stories (or raise different questions).

You can crop in camera, or shoot a little wide, to leave space for cropping later (that’s why the Good Lord gave you all those megapixels). I tend to often shoot just a little wide in the camera, so I can creatively crop later.

Exercise: crop your recent images really tight and see what you end up with. Yes, you can cut through heads, as I am doing above.


Last chance, plus more chances:

Allow me to do a little course promotion, because many have asked me for new dates. My Hamilton courses are filling up, but there is space enough, still, if you act:

Click here to see the schedule and to book courses like:

  • The Art of Shooting Nudes, featuring model Danielle (see http://mvwphoto.tumblr.com/warning, nudes) has only two spots left.
  • Using Canon/Nikon TTL flash, a shorter version of my full flash workshop, which teaches you all about using those systems with TTL automatic flash for great creative results.
  • The full Flash course, which is also on again, on April 28. I have extensively updated this hands-on workshop!
  • More of my courses are available now also at Vistek Toronto in the next month or two.

This is a great time to learn professional photography skills; or, if you are already a working photographer, to hone your skills. “Digital” has made it much easier: with a good teacher, you can now learn in a few hours what used to take weeks, even months, to learn. Go for it, and be proud of your work!


All’s fair in love and war… and art?

There is a controversy over the image that won the World Press Photo award. The photographer did some desaturating: read about it here.

Personally, I think that in a press photo, changes are allowed only if they do not change the nature of the photo (i.e. cropping, exposure adjustment, white balance are OK), or if they bring back the image to what a person would have perceived. But when the adjustment is done to make a political point, as seems the case in the above example, I am against it.  There is no well-defined line, so it is a tough call, but if I did that for a press photo, I would not work in press again.

However, in art, all is allowed. The question there is: is it OK to still call yourself a photographer, when you do such trickery?

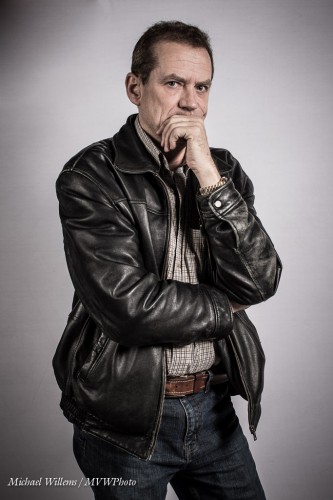
Like this image from a few hours ago, showing, um, me:

The original, “actual” image, was this:

But then I added some Lightroom effects to desaturate the image, and increase the contrast. Cropped, it looks even better (can you tell, I rather like negative space, and the rule of thirds?):

View at original size to get the idea. Nice, no? And very fashionable. This desaturate thing, like HDR,is all the rage.

But if I do this, am I still a photographer?

On balance, I think so. If I do not overdo it, yes. If the original is still recognizable in the end product, yes. If I don’t do it every time, yes. If I do what can be done in camera, in the camera, yes. After all, photographers have always spent lots of time in the darkroom. Ansel Adams spent more time in the darkroom than in nature. And in the past, you would have chosen a film to give you the effect you wanted, and filters.

So I think that you can do dramatic post as long as:

  1. You do it well.
  2. You do not overdo it.
  3. You could not have done it in camera.
  4. It’s not journalism.

What do you think?


How Dark Is It?

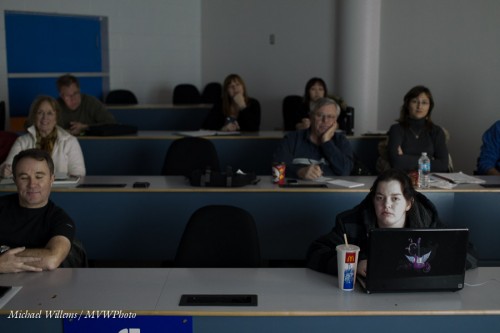
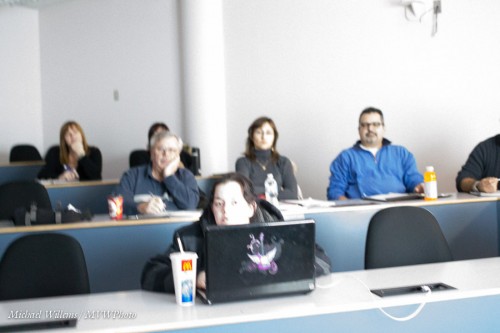
I looked around and asked my Sheridan College class, yesterday night: “how dark is this classroom?”

Most said “rather dark”, because it looked rather dark.

To us.

But not to my camera. Not necessarily.

I showed them. Click-click-click-click-click. And it was this dark in the room:

No, this dark:

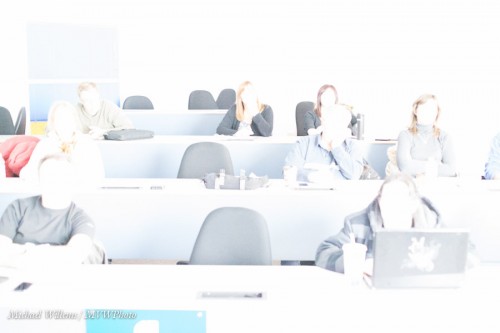
No, this dark – not that dark:

No, this dark – not at all dark:

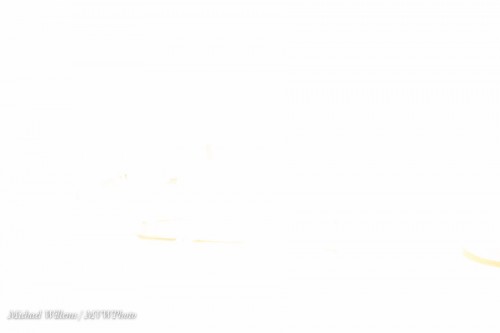
No, this dark – extremely bright:

The point I am making: your camera is a light-shifter. Do not settle for “my eyes are seeing X so the photo must look like X”. Why? Says who? Unleash your creative side, and see the camera as a light shifter.

And when you combine that with flash, you have a true creative tool at your disposal. Learn it; use it!


Tilt. Shift.

Why do I use my 45mm tilt-shift lens so often? Because I can. Because I like focusing manually. Because it is sharp. And because I can do shots like this even at a wide aperture:

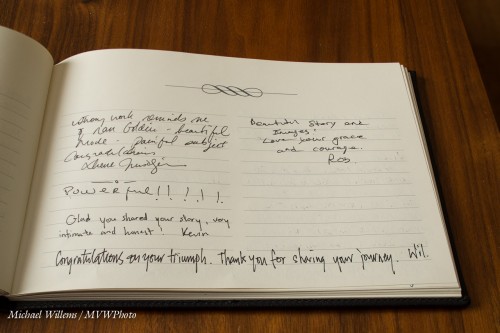
I just shot some pages of one of my exhibit guestbooks. I did this for the upcoming Photosensitive “Picture change” Project, which I am very much honoured to be a part of.

To make pictures of a book like this from behind it, I would normally need to be at, perhaps, f/16. Which would mean no hand-holding, but a tripod and a long exposure. But by tilting the lens down, just as if I were using a view camera, I can shift the plane of focus so that the entire book is in focus even at a wide aperture like f/4. Simple and quick.

I used my tilt-shift yesterday as well, to do some nudes, as training material for the upcoming “art nudes” course. You can see them on my Tumblr feed. Not an obvious lens choice, perhaps (I would normally want a lens in the 35mm range, in a small room), but a good choice under the circumstances, where I am pointing up and down (which is where the shift comes in).

___

(By the way: there is still space on the course, just two spots left; and there are more courses planned too: see http://www.cameratraining.ca/Schedule.html)


Find the Umbrella

Of course you bounce, yeah? I mean – one on camera flash, and you bounce that off the wall? My favourite modifier!

So you do NOT, ever, do the following indoors: aim straight at your victim. You see why:

Ouch. In spite of lovely Sarah, that gives flash a bad name. Instead, you bounce your flash off a wall or ceiling:

How do you decide where to point it?

One of the many things I teach in my Flash courses is just that. When using on-camera bounce flash, you should “find the umbrella” – i.e. where it would be if you were in a studio – and then point the umbrella there.

That often – usually, in most social situations – means you point the flash behind you.

Not straight up, when you are close: straight up when close to people means you get “the undead”: people with dark eyesockets:

Also, in this situation you do not point forward and up 45 degrees, for two reasons: (a) you get only a lit forehead and background; and (b) you get a lot of direct forward light, so it’s back to the horrible shadows:

Poor Sarah.

Let me correct that by showing you how it looks when I aim the flash up, 45 degrees behind me:

It’s easy once I show you. For now, just remember: find the virtual umbrella and point your flash there.

(By the way: when you do need to point forward -when the subject is far-, you need to do something else, and I will teach you a cool trick about that soon.)

___

The above images, featuring Sarah, are from yesterday’s all-revamped Flash course that I taught in Hamilton. Good news if you had to miss it: several new dates have just been scheduled, and several new courses! Sign up right now: www.cameratraining.ca/Schedule.html