Meter the light

You know how in 1970 photographers always used to use light meters?

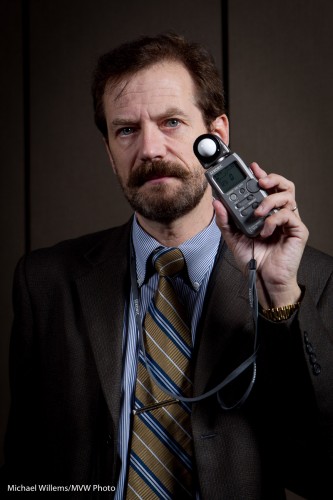
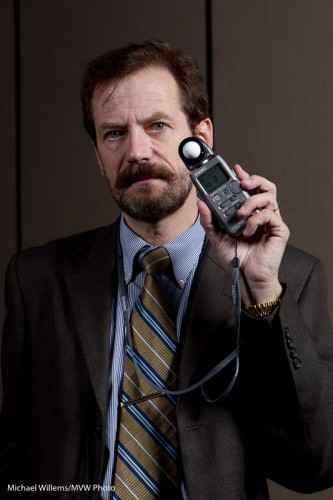
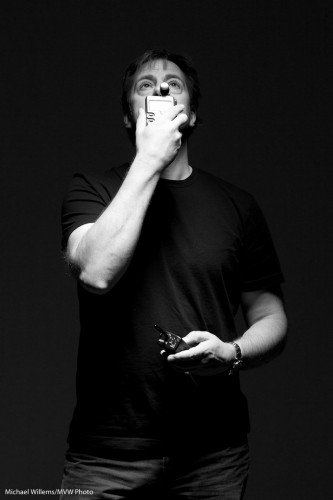
Like this one, in a pic from the recent photo show:

Michael Willems holding a light meter

Michael Willems holding a light meter

Yes that is right: I am using a light meter. In 2010. And like most working photographers, I use one often.

Why?

Here’s why.

1. Type of meter. The light meter built into your camera is a reflective meter. It meters light that is reflected off the subject.  So if the subject is dark you might get a long exposure time (little light is reflected off it, so your camera sees little light), while if the subject is bright, you might get a short exposure time (a lot of light is reflected, so your camera sees a lot of light).

This means that the subject affects the metering. This is wrong. Think of a bride or a groom in a room. The bride would cause a fast shutter speed (see above), causing the room to be too dark, while conversely the groom would cause the room too bright. Clearly the subject’s brightness is absolute and should not cause the exposure to vary.

An incident light meter, and that is what hand held light meters are, measures the light falling onto the scene. The subject’s brightness has no effect at all. Problem solved!

2. Flash. The only way to meter a flash of light is by using  flash meter. You can use the histogram and a lot of trial and error, but that is just that: trial and error. A light meter gives you the right result.

So in a studio setting, or when using manual flash, you use a light meter. Now you turn it to “flash meter”. And again, guaranteed results.

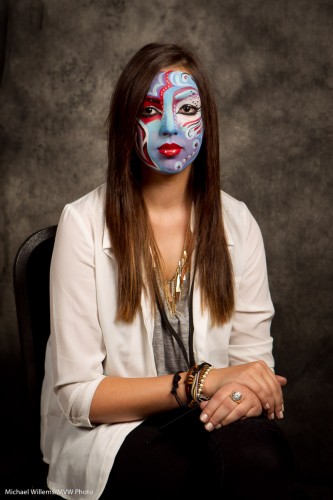
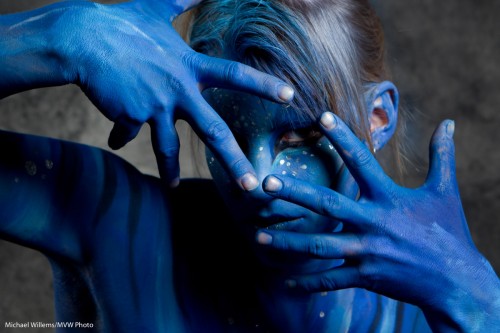
And that is why we use them still. Like in this shot from this weekend’s show:
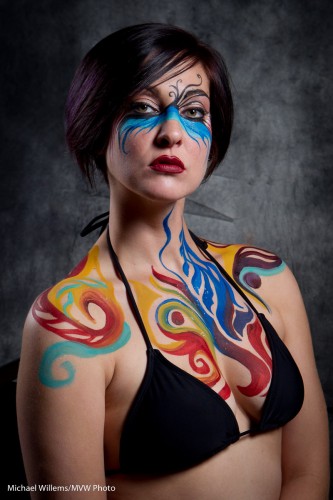
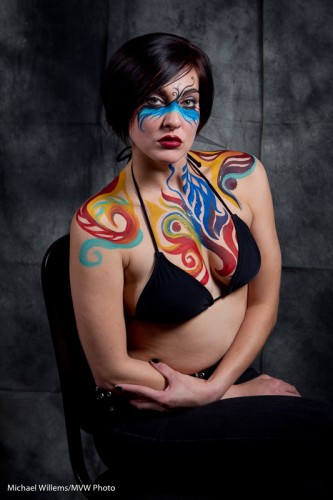
Bodypaint Model

Bodypaint Model

Portraits at the show

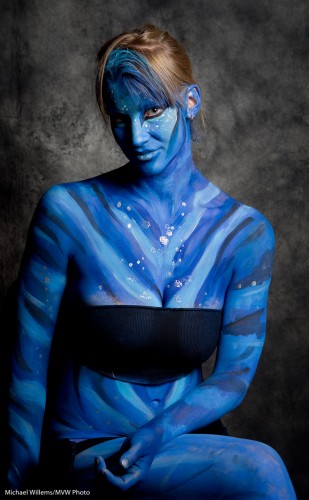
I shot a few portraits at the Imaging Show yesterday. Simple portraits with just two lights.

Like this:

Bodypaint Model at the Imaging Show

Bodypaint Model at the Imaging Show

You can do that too. All you need is:

  1. a few lights (in this case two umbrella-fired Bowens 500 Ws strobes),
  2. a light meter,
  3. a cable or pocketwizard,
  4. and a camera.

I used the 24-70 lens but would have preferred my 70-200mm lens.

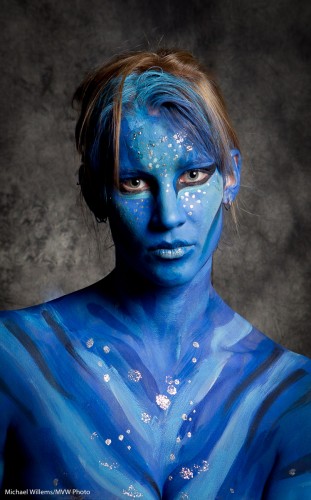
Bodypaint Model at the Imaging Show

Bodypaint Model at the Imaging Show

As you can see there, it is all about what you do NOT light. That was lit with just one light through an umbrella, with no reflectors.

Another:

Bodypaint Model at the Imaging Show

Bodypaint Model at the Imaging Show

And one more, showing the importance of body language:

Bodypaint Model at the Imaging Show

Bodypaint Model at the Imaging Show

Other settings:

  • The camera was of course on manual, at f/5.6 at 1/125th second and 100 ISO.
  • Make sure Auto ISO is disabled.
  • Make sure you get catch lights in the eyes.
  • Move the model away from the backdrop if you can.

Portraiture is fun, and simple portraits like this are in everyone’s reach. Even if perhaps the “Avatar meets Cirque Du Soleil”-models are not (thanks Melony for that apt description).

Henrys yesterday

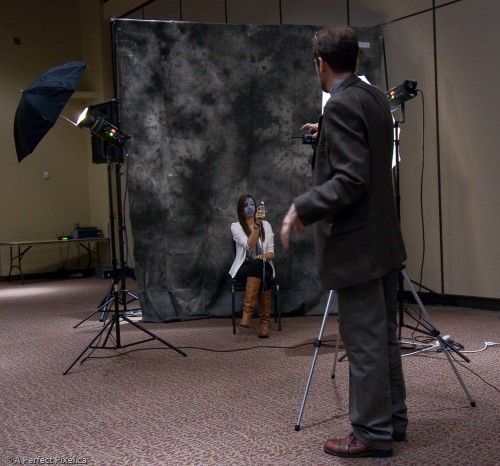
My friend and student Ray made this picture of me at the International Centre, at the Photo Show, setting up a shot:

Imaging show, Michael Willems and model

Imaging show, Michael Willems and model

She is, as you see, holding the light meter.

No that is not heavy make-up. It is body paint.

I was in front of a crown of hundreds and am now setting off for day three of the same. Flash, portrait lighting, and Travel Photography. Fun!

Photo Show

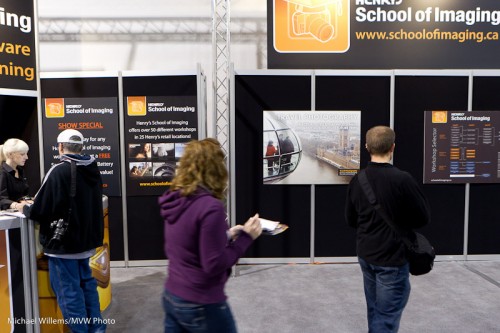
So I am talking at the Photo Show on Sunday again, after two days doing the same. Inspiring to see how many people like photography.

Photo Show Fall 2010

Photo Show Fall 2010

That image from the London Eye in the background is mine. And here, me, holding a light meter:

Michael Willems

Michael Willems

A key lights, set to f/6.3, and a fill light set to f3.5, two stops below.

And the same with a more decorative model and a backdrop:

Bodypaint model

Bodypaint model

And finally a note: if you have questions, please ask. I am happy to help.

Darkness

Can be good. As in this recent low key portrait of my friend and colleague photographer Joseph Marranca:

Joseph Marranca

Photographer Joseph Marranca

A low key portrait is a portrait where background and clothing are dark, and only a small part of the image is lit.

We used one small beauty dish. Straight above Joseph. And the white studio walls, because they got no light, turned dark. This is key: umbrellas would have spilled light onto the background. This small directional light allowed the background to remain dark.

(The dish failed to perform: it did not make Joseph beautiful).

Softly softly.

Much of what we do as photographers is to soften light. Meaning make the shadow less harsh.

You do that by making the area that emits the light larger with respect to the subject.

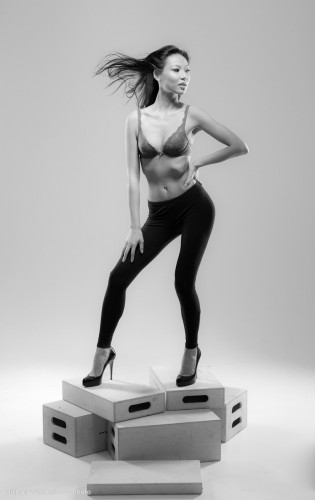
Look at this recent studio image:

Model on apple crates

Model on apple crates

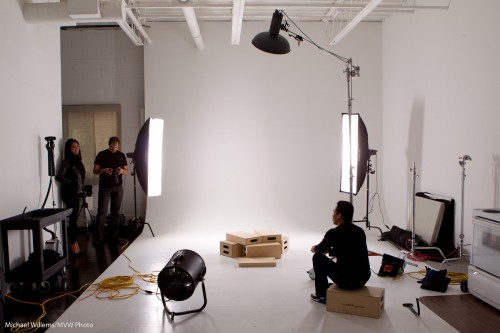
For a picture like this, straight out of the camera, you would (and we did) use studio lights like this:

Studio with lights

Studio with lights

A beauty disk and two strips. All designed to direct light, but especially to make the light source larger.

(Do you see how the two strip lights also throw a wonderful lit vignette onto the background?)

Joseph and I teach this kind of lighting (see www.cameratraining.ca).

I am also teaching for the next three days: pretty much all day Friday, Saturday and Sunday at the Henry’s Digital Imaging Show at the International Centre. Come see the show: worth every minute!

RAW or DNG?

A student asked a question (you know who you are, Alan), that I thought I would answer here.

But there is not much to answer, since Alan has masterly answered most of his question himself. Here is his question in its entirety (except I removed the name of a book):

I’m learning Lightroom – what a fascinating system. It’s going to take some time to get used to having it manage my photos, instead of doing it myself. But I can see the benefits. Thank you again for recommending it.

Now — what about the whole RAW vs. DNG thing? The book I purchased, “[Book Title]”, strongly and repeatedly recommends converting the CR2 files to DNG, and then discarding the CR2.

I understand that DNG is just another type of RAW file, but it makes me nervous:

1. CR2 is, well, really RAW. It’s the original file.

2. A “benefit” of DNG is that it doesn’t have the separate XMP sidecar files, but instead writes the sidecar-type metadata into the DNG file. That means that every time I edit a picture, I’m editing the DNG file. What if that leads to corruption? The constant modification of the DNG seems contrary to the philosophy of never altering the digital negative.

3. Since the DNG keeps changing, that means that my Time Machine backups will have to keep backing large DNG files. By contrast, the CR2 file is backed up once, and never touched again. The only thing that Time Machine has to backup is the very small XMP.

I have hundreds of CR2 raw files (I only keep the good ones, maybe 10-20 per shoot), and am really unsure what to do here. (I searched your blog, didn’t find this issue addressed.) Do you stick with the CR2 files, or convert to DNG?

I removed the name of the book because this way I feel free criticising its advice.

Alan is right. All his arguments are spot on.

And let’s expand the first one: a RAW file is the original negative, and a DNG file is an interpretation of that file. It is not a straighforward process. You have to interpret the CR2 file and make it into a DNG using your interpretation of what the bits mean.

Because of that and the other reasons Alan has worked out, my advice is to keep your original RAW files and not to convert them to DNG.

Sunburst

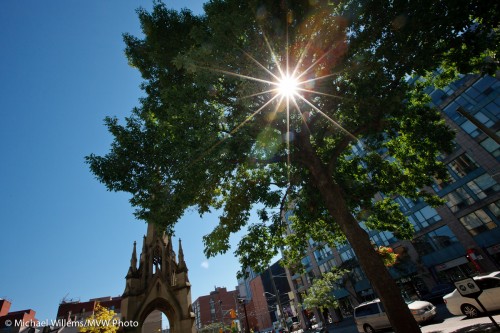
Look at this recent sunburst picture:

Sunburst

Sunburst, Toronto

For a picture like this, a few things may help:

  • You need a small(-ish) aperture to get the effect
  • Feeding the light through an object (like the tree) is essential for several reasons. One, to enhance the effect. Two, to protect your eyes, Three, to protect your camera.
  • Do it quickly. No sense burning the camera.
  • Remove filters. They can cause more flare.

Oh…. and can you see that I used a speedlight to light up the tree?

Repeat picture

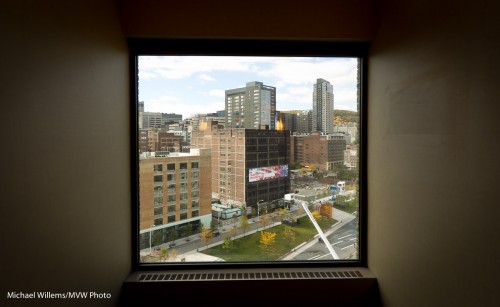
A repeat from a previous post – not the same post but I shot the same picture of the Quartier Des Spectacles again in the Montreal Hyatt Regency hotel the other day:

Montreal-Framed

Montreal-Framed

The framing did it for me, and the shadows.

We talk about framing as a useful device to draw attention to our subject. We frame pictures with whatever we can frame them with. Walls. Branches of a tree. Or a window frame, like in this picture.

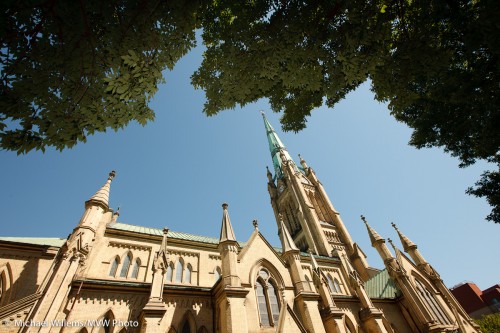
Or indeed by branches:

St James Cathedral

St James Cathedral, Toronto

Can you see how I used a very wide angle lens, and I used my flash to light up the tree? I am known as the speedlighter for a reason!

Signs of the times

Today, another tip for urban photography.

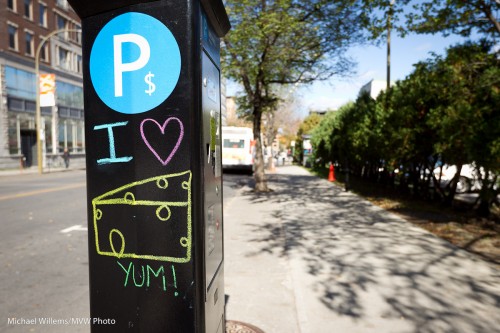
Shoot signs. Anything that has writing on it. Because it can provide context. It can tell stories. It can provide interest. It can provide amusing juxtapositions.

Two snaps from a short walk through Montréal a couple of days ago:

ilovecheese

ilovecheese

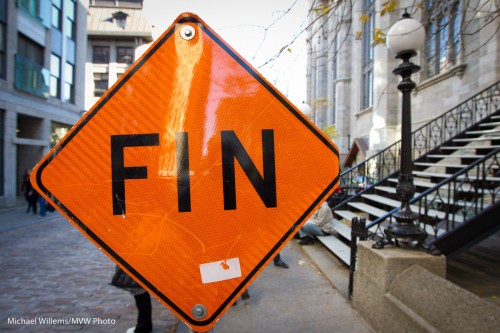
fin

Fin

Don’t you love how that last one helps end the story, as the last one in a series?