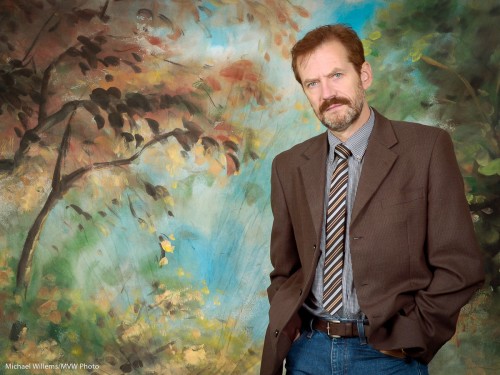
Gearing up…

….to another Creative Lighting workshop tomorrow in Mono, an hour north of Toronto.

Joseph and I are coming up with the shots as we speak. Professional model, make-up artist, lunch, equipment, teachers: check. Couple of spots left, check. Fun will be had: check.

http://www.cameratraining.ca/Mono-Day-2.html

A shot from last time, to whet your appetite, should it need whetting:

Model Lyndsay Biernat in Mono

Model Lyndsay Biernat in Mono

Of course the emphasis is on creative light. Check back soon to see how we used creative light this time.

Dragging the shutter

A quick note for you today (and this is the kind of thing my students learn at length in my advanced courses, like the one tomorrow in Mono – there’s still some space).

Every had your camera react unpredictably when using flash? Yeah, I thought so. You flash and then the shutter stays open for a second and it’s all a blur. Or you flash and the background is dark black.

Why?

When you shoot indoors, say, and use your flash, your camera behaves differently in different modes – and this behaviour varies per camera.

Aperture mode (A/Av):

  • Canon: the shutter will be as slow as needed to expose the background too (caution: this may lead to very long shutter speeds if ambient light is low).
  • Nikon: the shutter is restricted to 1/60th of a second or faster (this can be set).  But… if you also engage “SLOW” mode, the shutter will be as slow as needed to expose the background too (caution: this may lead to very long shutter speeds if ambient light is low).

Program mode (P):

  • Canon: the shutter is restricted to 1/60th of a second or faster.
  • Nikon: the shutter is restricted to 1/60th of a second or faster (this can be set).  But… if you also engage “SLOW” mode, the shutter will be as slow as needed to expose the background too (caution: this may lead to very long shutter speeds if ambient light is low). .

So

  • Canon is simple: Av = long shutter speeds, P = 1/60th or faster.
  • On Nikon cameras, both modes are restricted to 1/60 or faster normally, but either mode can be freed from this by using the “SLOW” setting.

So what is the best mode when using flash indoors?

Ah, that would be Manual. That way the camera does exactly what you want. But we will get to this again another day.

TIP: if you want to try Manual indoors flash, start at 400 ISO, 1/30th second, f/4. And bounce your flash off the ceiling/wall behind you.

Guess what.

Two techniques today that I have pointed out before, and I will do it again until everyone uses them regularly.

  1. Close-Far
  2. Selective focus with supporting background elements

Like here:

Food, and food

Food, and food

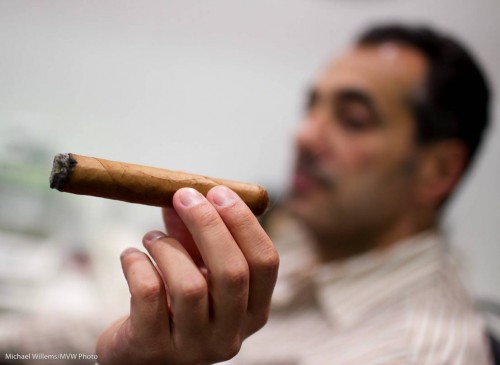
And here:

Cigar and person

Cigar and person

These pictures:

  • Make the foreground subject really stand out
  • Achieve perspective (close-far: get close to your close object!) and
  • Provide environment, or context, where theuser has to put two and two together to create the story. The eye goes to close object – background – back to close object.

One more example – then go out and shoot some!

Cheers (Teen with orange juice)

Cheers (Teen with orange juice)

Instuctions, should you need them:

  1. Wide lens, often the wider the better
  2. Get close!
  3. Focus on the close object.
  4. Use the largest aperture (smallest “f-number”).

Have fun!

Expose, experiment

As photographers, we sometimes get stuck in ruts. Like the rut that all exposures have to be “natural”, and show the world like it is.

And this is a misconception. When we use fl;ash, we are showing it in an unnatural way, aren’t we?

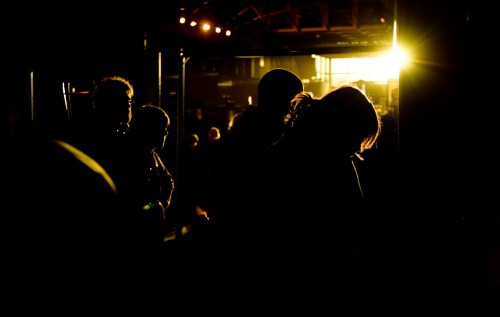
And even when not using flash, you can create interesting effects by exposing more, or less, than you normally would. Less, like in this shot:

Royal Show, Crowd

Royal Show, Crowd

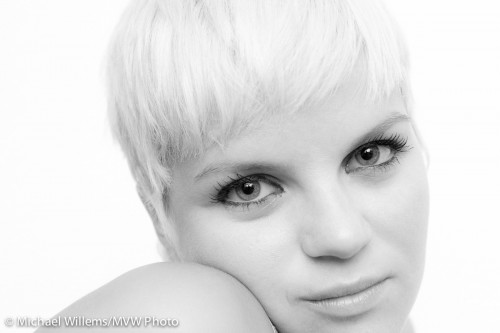
Or more, like in in this high-key portrait of model Lyndsay:

Lyndsay Biernat, High Key portrait

Lyndsay Biernat, High Key portrait

To do this you simply either:

  • Use exposure compensation (+ is brighter, – is darker)
  • Spot meter off something bright (makes the picture dark) or dark (makes the picture bright)
  • Use Manual exposure mode and watch the meter: – is dark, + is bright

As an assignment, today, take a few pictures darker or lighter than your meter would normally make them.

Card Speed

A question I get often is “what memory card speed do I need”. The ratings are confusing and the offering even more so. So this is a good question. A reason to explain card speeds.

I have explained before why and when you need fast cards (in short, when you shoot high-def video, when you shoot sports, and when for simple convenience you want to be able to review the pictures on the back of your camera as quickly as the camera will allow).

But what do the ratings mean?

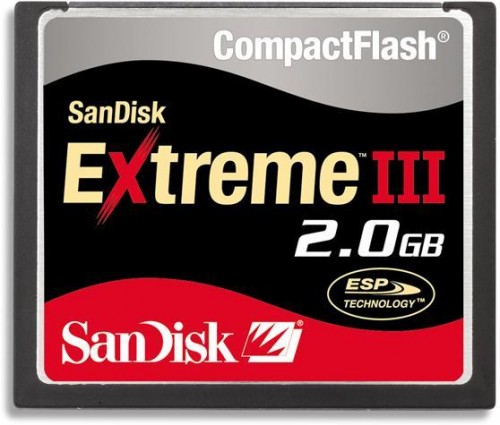
  1. CF Card ratings. The original CD-ROM had a transfer rate (“how fast can data be moved off the device?”) of 150 kByte/second. That is what we call “1X”. So 10x = 1.5 MByte/second, and “40x” means “6 MByte/second”. This is how CF cards are rated.
  2. CD card ratings. These are usually rated as a “Class”. This expresses the minimum transfer speed in MByte/sec, so class 6 means 6 MByte/second.
  3. Manufacturer ratings. Oh, well, these are mainly (but not all) marketing. “Extreme this or that”. You need to Google these and translate them back to real numbers.

Be aware of a few things.

  • Just like Megapixels, a simple number does not tell the whole story. Is the data rate continuous or “burst”? Does the card do more error-checking and correcting while it is doing the transfer?
  • And be weary of large sizes: if you lose a 16 GB memory card due top failure or theft, you lose hundreds or even thousands of pictures all at once.

Michael’s tips: Buy a few good brand-name memory cards (Sandisk and Lexar are the class leaders). Own at least one fast card. For hi-def video, you need a class of at least 6 (6 Mbyte/sec).

Autumn tip

A quick tip for those of you who, like me, are in the part of the world where autumn is coming.

If you want beautiful fall colours, you need to keep two things in mind:

  1. Brightness. Expose properly, and when vegetation is concerned that means expose less than your meter wants. Foliage is dark and you need to tell your camera that. So use exposure compensation as needed – minus 1 stop is not uncommon.
  2. Colour. Be sure to set your camera to the correct white balance. This usually means “daylight” or “cloudy”: the default “auto” (AWB) setting may get rid of the beautiful radiant colours.

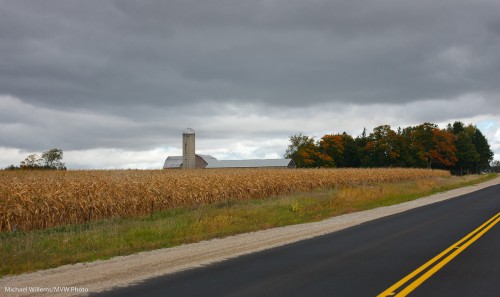
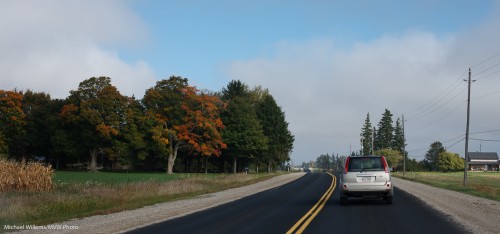
And the colours are starting. Here, a couple of shots I shot while on my way to Drumbo this past weekend, to shoot the Drumbo Country Fair. Those colours are on their way:

Fall is coming: Drumbo, Ontario, Sep 2010

Fall is coming: Drumbo, Ontario, Sep 2010

Of course I could not possibly have been shooting this handheld while driving: that would not be allowed in Ontario. Right?

Fall is coming: Drumbo, Ontario, Sep 2010

Fall is coming: Drumbo, Ontario, Sep 2010

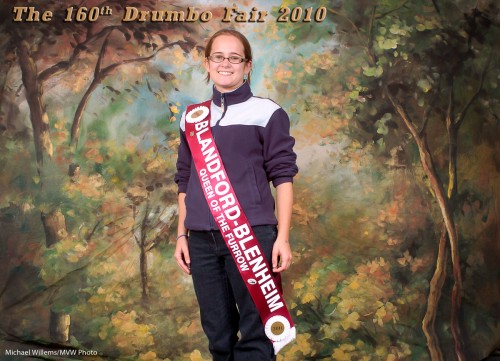
And here’s a snap from what I was shooting:

Drumbo, Queen of the Furrow

Drumbo, Queen of the Furrow

One more tip: for best fall colours, either shoot late in the day (the “golden hour”), or early in the morning (if you can get up, early morning light is just as beautiful, plus there is little wind). And know where the sun is!

Why do lenses cost so much?

I often hear this question: why do lenses cost so much? And why are fast lenses even more expensive?

There are several very good reasons for this.

  • Lenses contain very expensive, high-quality optical glass. The more glass, the more cost. The faster a lens, the more glass (that is what “fast” means: a larger opening): ergo, the higher that cost.
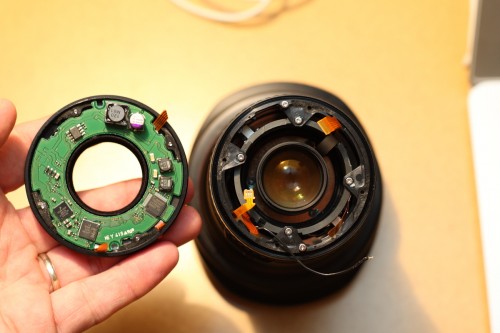
  • Today’s lenses contain sophisticated electronics. See my 16-35 f/2.8 lens below, a while ago after I, um, dropped it. Twice.
  • Economies of scale: of course a more popular lens has lower cost, because it sells more (look at the popular 50mm f/1.8 lenses).

Here’s that lens of mine:

Lens "wide open" - for real

Lens "wide open" - for real

The good news: as I have said here many times, lenses are an investment. They are more important to your picture than the camera, and they retain their value, often for decades.

TIP: go to the online Canon Museum and go to the Virtual Lens Plant to see a very interesting series of videos about lens manufacture.

But.. but… it’s complicated!

Well, sometimes things need work.

I often have students who ask “do I really need two lenses?”, “do I really need a reflector”, “do I really need a tripod”? “Must I really use manual”, … and so on.

The other day I attended a very entertaining shoot with Ivan Otis, and this shoot was a typical example of “how it’s done”.

Even a simple fashion shoot like this involves cameras, light stands, reflectors, computers, umbrellas, light meters, batteries, cables, softboxes, pocketwizards, props, two assistants, a make-up artist (“MUA”), a hairdresser, lunch, and of course a model and a photographer.
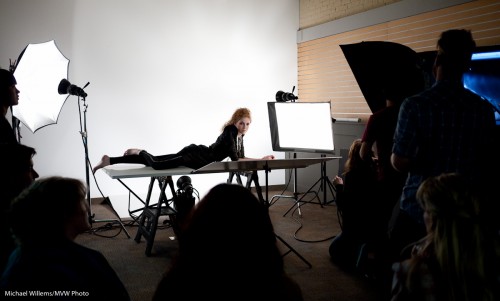
A Fashion Shoot

A Fashion Shoot

A more involved fashion shoot would also have fashion advisors, a creative director, and more.

So the answer to “do I really need all this” is “it depends, but you cannot always do everything with one handheld camera, a 50mm lens, and a pop-up flash”.

The complexity in a shoot like the one above is not done just to make things complicated! As I always say, the Sports Illustrated swimsuit-issue model cavorting happily on the beach looks good only because there is a guy with a big reflector cavorting along right behind her.

That said: you do not need to over-complicate things. Simple means can often achieve great results. Like this, taken at a recent Mono workshop Joseph Marranca and I taught:
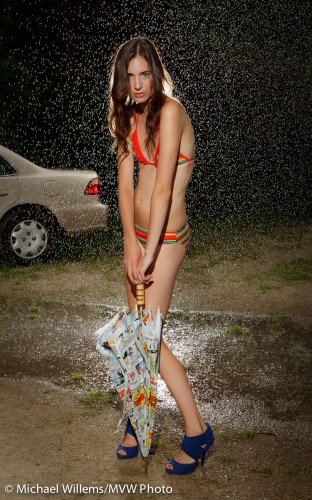
Evanna Mills in the rain

Evanna Mills in the rain

That used just three bare speedlights and a handheld camera.

(On that note: our next “advanced lighting” all-day workshops in Mono, Ontario, will be held on 3 October and 20 November, and as of the time of writing, there is still space).

Questions

Reader questions today:

I was searching your blog to see if you had anything with output sharpening for printing from LR2 and did not come up with anything. I have read or been told at one point that you want to do some over sharpening of your images when you go to print them to compensate for the process of putting ink to paper and having that ink spread?

Is this something to worry about, and if so any suggestions for settings?  I have the basic LR2 sharpening output features and the mogrify add on has some output sharpening options as well.

There are two reasons you may need to sharpen images.

  1. “In-image sharpening”: a DSLR has an anti-moiré filter in front of the sensor which unfortunately blurs the image a little. A little sharpening (edge detecting) afterward helps bring back the optimum sharpness. Usually not a big worry.
  2. Output sharpening: Plus, when you decrease an image in size – e.g. to bring back a full-size images to 1024×768 size for your iPad, or to 800 wide for an email – you lose sharpness. Sharpening brings back the original sharpness.

Good news: if you use Lightroom, this is taken care of.

If you want additional in-photo sharpening (type 1), select this in DETAIL in the Develop module.

And if you want output sharpening (which as you correctly surmise, you do!), just select “standard” when producing your output or print (and select what the image is for). It is in the export and print dialogs. Lightroom automatically takes care of the right amount of sharpening, given the output parameters. This is really very clever. In the Photoshop world this was a lot more work.

Another thing I have heard was that for guys like me who don’t have an expensive printer at home, you can download or get printer profiles form local printers and adjust your images accordingly so you can see how they will turn out from their printer.  Any experience on this subject.

Yes, and it is true. For anyone. Download, install, and use the right printer profiles for whatever printer and paper combinations you use. Check with your printer and your paper manufacturers!

Printing is black magic – but once you have a certain print type –  printer – paper combination sorted out it will always work.