Where.

Travel photography is a popular reason for people to buy a camera, and to actually use it. Before you go, buy my book on travel photography and have me put on my Impactful Travel Photography seminar for you and a few friends (see http://learning.photography).  And let me give you just a couple of starting notes in this post.

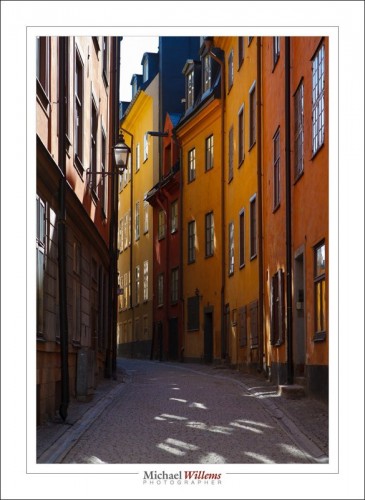
Gamla Stan, Stockholm, Sweden

First: research where exactly you are going to go. I use Flickr and to a lesser extent Google image search to look for great images in the location I am going to. Then I look up where exactly they were taken, and at what time of day (Flickr usually retains the EXIF data). I look for best viewpoints and then research where they are: “where was that great photo taken from, and at what time”. I even look at what lenses were used. Not that you should copy, but you can draw conclusions from that kind of data.

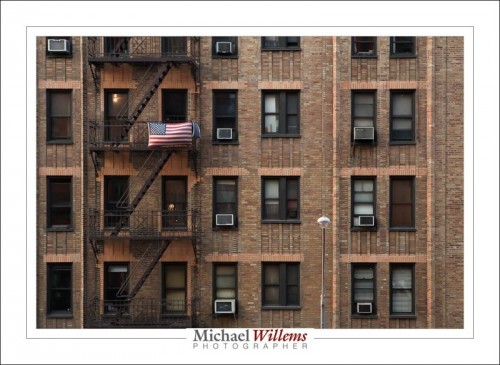
View from the Hotel Chelsea, NY, NY

I also look up attractions’ GPS coordinates, since attractions do not always have a street address. You can google that: Searching for “latitude and longitude of Zabriskie Point” gives you “36.4200° N, 116.8111° W”.

I also look for shooting locations of Hollywood movies: why not let Hollywood do the heavy lifting of finding great locations?

On location, I always ask the hotel reception, the concierge; I buy postcards of locations, and I look for events, since people often do not mind being photographed at them; they expect, rather than resist, cameras.

Bring an app like Daylight to check exact sunrise and sunset times; an hour each way around sunrise and sunset , you get wonderful light.

Then check you have what you need. Camera(s); batteries; chargers; memory cards; lenses; flash(es); perhaps an ND and Polarizing filter or two; some cloths for cleaning (anything that is small, light and cheap is good!); whatever you need, think about it now, not just before traveling.

In other words: preparation does wonders when traveling.

An old light trick

This came up in class tonight, so, a repeat:


Okay, here’s a simple trick shot for you.

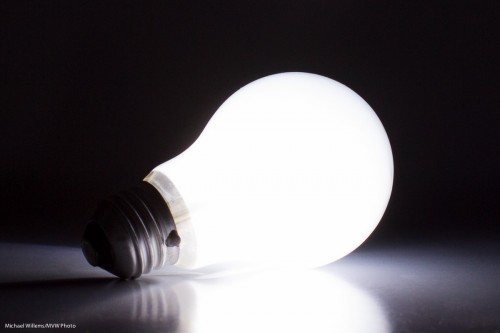
How did I get the bulb to light up without it being connected?

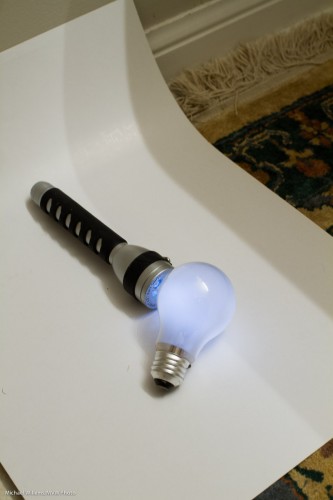
Simple. Like this:

I used an LED flashlight behind the (frosted) bulb. That makes it look like the bulb itself is lit. 6 second exposure, 200 ISO, f/5.6.

Sometimes “simple” is all it takes.


Abstract, or meaning extracted?

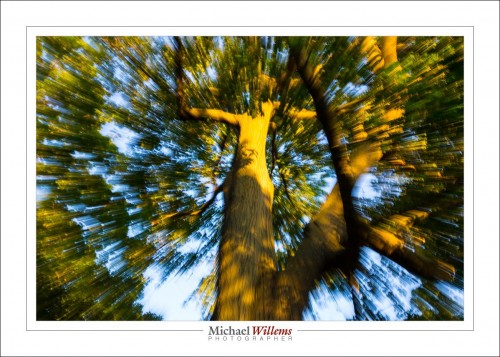
This tree, from yesterday’s walk with students:

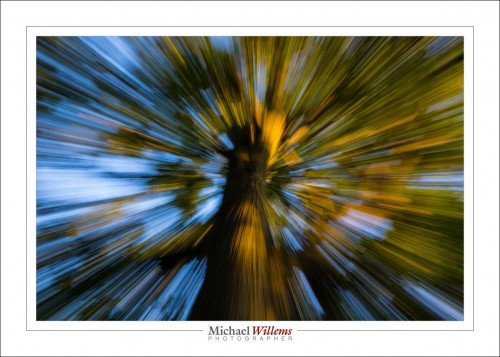
I made that by zooming my 16-35 lens while shooting at about 1/15 second. That gives you either something that is still recognizable as a tree, or something that is less so:

Which one is better? They are both good. The first one says something about the tree, I feel. The second one is more about the line, motion, shapness.

And the point? The point is that you can do with your photography what you want, from literalism t abstract art. And that there are many tricks. And that you should use those tricks!


Exceed Your Limits!

That sounds like something on an inspirational poster in your company’s HR office, doesn’t it? But I mean it. You can exceed your limits. Your shutter’s limits, that is.

One of my cameras has a flash sync speed of 1/200 sec. That means, see the post from two days ago, that I cannot go faster than that without this happening:

See that black bar? That’s what happens. Flash does not reach that part of the photo; the shutter curtain is too slow and gets in the way.

But sometimes, especially in bright sunlight, I want to shoot at 1/250 second, or even at 1/300 second.

And you know what? Sometimes I do.

In that picture, taken at 1/250th second on a camera that only goes up to 1/200, is the black area at the bottom really annoying? No. It is not obvious (there is also ambient light) and in any case, I want to vignette a little anyway.

Remember, it is only the bottom (or if I turn the camera to portrait orientation, the right) that will lack flash. So I can use a faster-than-allowed shutter speed while using a flash, IF any of the following four apply:

  • the subject of my photo is just in the centre; or
  • there is a lot of ambient light; or
  • I can crop off the black area; or
  • I want a strong vignette anyway.

There. Another trick on your flash bag of tricks!


Make it better.

Here’s a typical outside flash shot. (Taken by the über-talented photographer Lisa Mininni while I was teaching her flash tricks yesterday):

What did we do to make this?

[A] Take the shot:

This was a flash shot, of course. So outside in bright sunlight the settings are very, very simple.

  1. Pocketwizard on camera.
  2. Second Pocketwizard connected to the flash by means of a “Pocketwizard to hotshoe”–cable from www.flashzebra.com. Modify with a softbox or umbrella (the latter is smaller but will blow over more easily in the slightest breeze).
  3. Flash set to manual, half power. (Be ready to increase to full if you need to—but the flash may overheat, and recharge time between shots will be long).
  4. White balance to “Flash”.
  5. Camera manual, 100 ISO, 1/250 sec.
  6. Then, determine the aperture you need for a good background. Start at f/8—and then vary from there. On a day like yesterday, I needed f/11 to f/16.
  7. Once your background is right, look at the flash part. If the flash is too bright, reduce its power level or move it farther away from what it is lighting. If the flash is too dark, increase its power level or move it closer to what it is lighting. Or add a second flash, Worst case, use direct, unmodified flash.

[B] Finish the shot:

That finishing (not “editing”!) is just as important as taking the photo, and it consists of:

  1. Verify exposure and tweak if necessary. (If you have taken the shot properly, this should not be needed.) Pay attention also to “highlights” and “blacks”.
  2. Set white balance to “Flash”, if it wasn’t already. (Ditto).
  3. Correct lens and “architecture”–distortion.
  4. Crop and rotate if/as needed.
  5. Sharpen if/as needed.
  6. Perhaps add a very slight post-crop vignette.

Those steps are pretty much standard, and a typical picture takes me less than 30 seconds to finish.

[C] Options

I could of course add another flash, for the background. Set that to quarter power.

OK. How was this shot lit, then? Here’s how:

That’s right—always make a pullback shot, where you can see the lighting setup. You’ll forget. I used a third pocketwizard connected to the second flash via a second hotshoe cable.

Is this rocket science? No. But it is fun and it does open up untold creative possibilities.

___

Come to me for a private lesson and I will teach you how to do this, how to use modifiers, how to balance light sources, how to use gels, and much, much more,. You don’t need much, other than an SLR, a flash, and knowledge of the basics (“what is aperture and shutter speed and how do they work”)—but I can even teach you those if you like. See http://learning.photography or give me a call on +1 416-875-8770 and never look back. I can teach you remotely, too, using Google hangouts, too, even if you are in, say, Australia.


Sync

An October 2009 post that is still valid…:


A reminder to all flash photographers: you need your shutter speed to be below the camera’s flash synch speed.

What does this mean? Let me explain.

The flash fires for the briefest period, of course. Like 1/2000th of a second. That is why we call it a flash.

So when it fires, if the light is to reach the entire film or sensor, the shutter needs to be totally open at that point.

That much is obvious. But what is not obvious is that there is an engineering limitation in your shutter. Beyond a certain shutter speed, the camera’s synch speed, the shutter never totally opens. Instead, a small (increasingly narrow) slit travels across the shutter to give each pixel a brief exposure time.That’s cool – the shutter does not have to be super-fast and expensive and you get a fast shutter speed.

But this gets in the way when you are using flash. When you fire during those short exposure times (on most modern cameras, faster than about 1/200th second), the light does not reach the entire sensor. Look at this example I shot to illustrate this, at speeds from 1/200th to 1/1000th sec:

SHUTTER

You can see that as I exceed the sync speed, the light only reaches part of the shutter.

You should also note that especially when using external flashes with Pocketwizards or similar, flash takes time to set up. My 1Ds MKIII has a synch speed f 1/25oth second but as you see, at that speed it is already beginning to cut off. Best stay a bit below your synch speed (I typically set my shutter, when I am using studio flash, to 1/125th second).

(There is a way to overcome that: fast flash, which some high end flash units offer. This continuously, all the time that the shutter travels, pulses the flash at a very rapid rate, so that the slit, as it travels across the sensor, has light coming in throughout its travel time. It works great – do use it when taking flash images outside – but it uses a lot of energy, and hence decreases the range of your flash.)

(Advanced tip: I know of at least one photographer who uses this effect to introduce an electronic version of a neutral density filter or a barn door: he sets his camera to 1/320th second while using flash, and turns the camera upside down. That makes the top part of the image dark, at least as far as the flash part of the light is concerned!)

SLR TIP from four years ago

Exactly four years ago, 15 July 2011, I wrote this – and it is still relevant. Plus ça change…


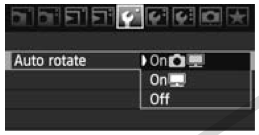
When you are using an SLR to look at images you have taken on the back of your camera, set your camera to not autorotate the images. That way you can see the image fill the entire LCD instead of part of the LCD with big black bars on both sides. And that looks so much better!

On some cameras (all Canon SLR cameras, for instance) you even have two options: “turn or not turn” on the camera display, and “turn or not turn” in the image itself.

In this case I set autorotate ON in the file, but OFF when reviewing on camera (i.e. I use the middle option: the file is unchanged, just the displaying on the camera changes).

You will find thise fuction either in the playback menu of your camera, or in the settings menu.


Story, story, story.

When shooting an event, always tell a story. People do not want to just see random images; since Gilgamesh and Homer, people like to hear stories.

In practical terms, for you as a photographer that means:

  1. Start with an Establishing Shot or two, to establish where the event is taking place
  2. Make sure that before you present the work to your friends, your relatives, or your client, you arrange (not: shoot) the event in (chrono-) logical sequence. In Lightroom, use a collection, and sort it manually. When exporting, use the sequence number in the export filename, so your sort order is honoured.
  3. Shoot a “B–roll”, including decorations and food. B-roll pictures are the background. The decorations. The food. The small details. You can shoot those before, during, and sometyimes even after the event.
  4. Include signs that have names and details of the event.

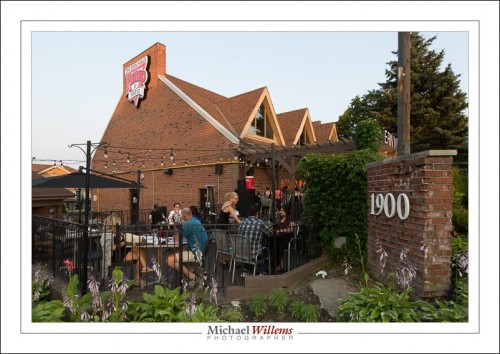
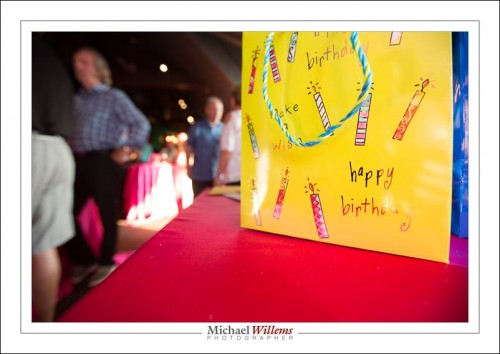
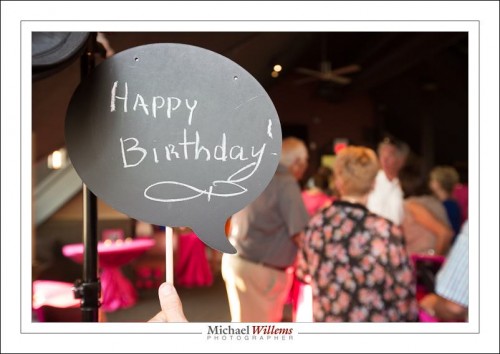
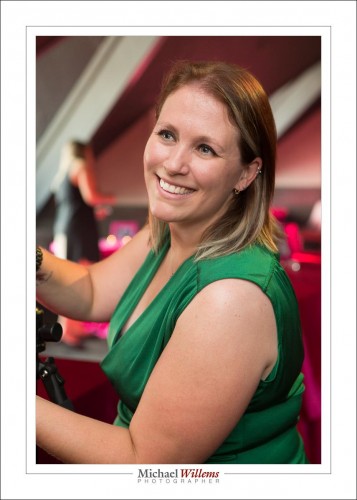
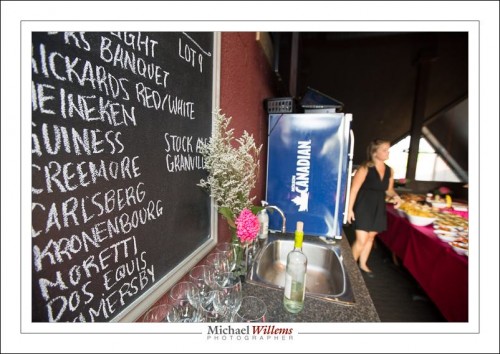
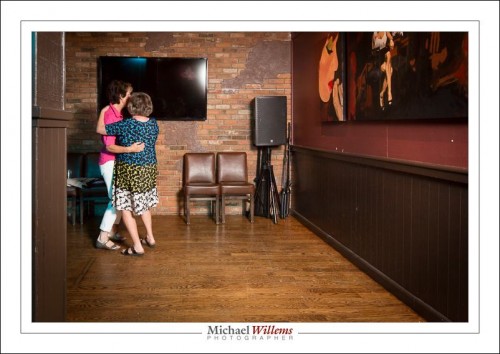
Let’s look at some examples from the event I co-shot Saturday night. So these are not the event pictures (those feature people); these are the “B-roll shots” that act as glue to keep the people shots together.

These are examples of the kind of shots that make random people pictures into a story your friends or customers want to see. It’s easy, it’s fun.

(All images except the first one: camera on manual; flash on TTL; flash bounced behind me at a dark ceiling, so 1600 ISO was needed to get enough bounce.)


Improvise? Yes, improvise.

You can improvise in so many ways.

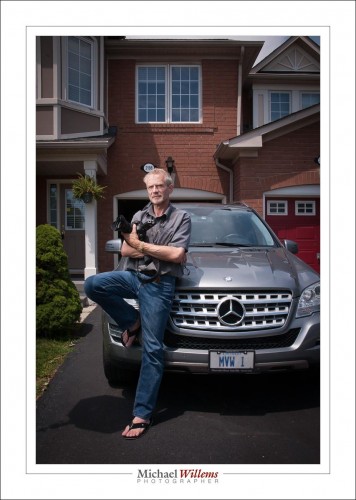
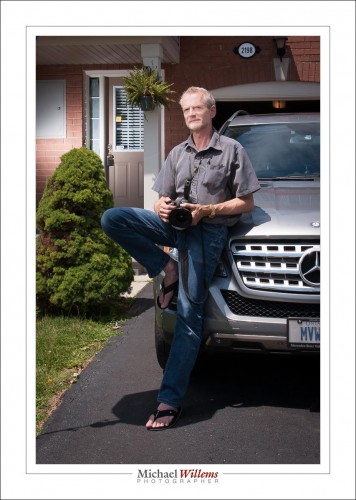
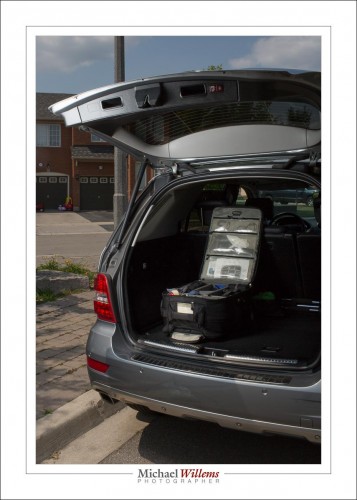
Take this image:

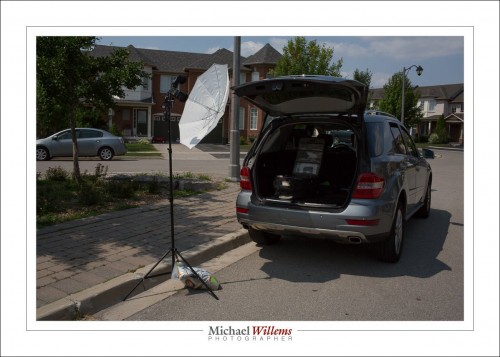
Just now. It’s 30C (86F). And sunny. So I need a flash, otherwise that sky would not look blue; it would look white instead. because exposing highly enough to see the inside of the car would make the sky way too bright.

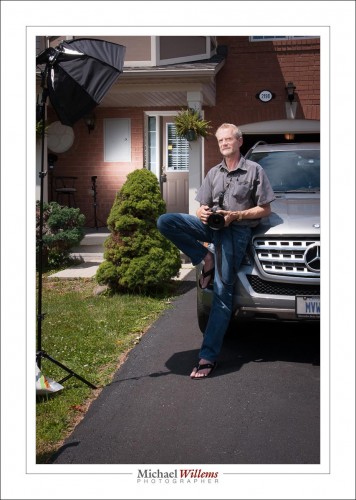
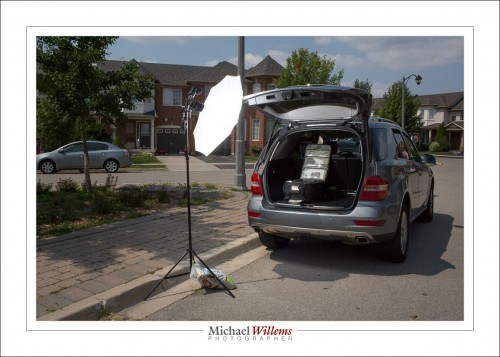
Instead, I expose for the sky (the usual outdoors flash recipe: 1/200s, 100 ISO, then f/4–f/22, start at f/8). Then I add flash. Three flashes in one umbrella, fired by one Pocketwizard:

Without flash, that would look like this:

A portrait would be nice, with this light. 100 ISO, 1/200 sec, f/16.

Anyway, I said “improvise”. How so?

The sandbag, that’s how so. That umbrella would be all over the place, breaking my equipment on its way down. You need a sandbag to stabilize it and to hold it down.

And what I often use, when I don’t happen to have a sandbag available, is a 15kg bag of kitty litter. Which is what I am using here, if you look carefully. That light stand isn’t going anywhere!

___

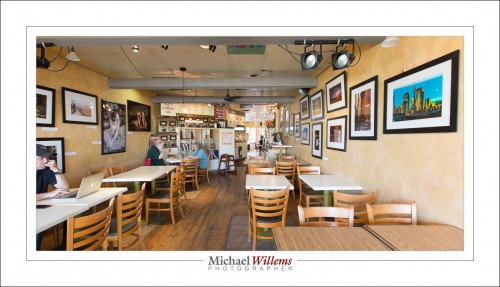
Come meet me tomorrow at CJ’s Café in Bronte, Oakville, for the official opening of my month long exhibit of wall art. And perhaps buy a piece: tomorrow only, I have lots of extra works (over 150), at once-only prices.

Tell me you are coming: https://www.facebook.com/events/1449929615312360/

A few opportunities.

I am a big proponent of wall art, as you probably know by now You should have walls full of it: your own, and other people’s. A great way to express your personality, and if it’s someone else’s, an investment too.

I can help with “your own”: that’s what the courses are about (see yesterday’s post and see the a la carte courses, or take an evening course at Sheridan College in Oakville, where I teach “Photography, Basic Digital” and as of September, also “Photography, Intermediate Digital”, as a faculty member of the faculty of continuing and professional studies), and that’s what my seven(!) e-books are about (see http://learning.photography). Once you can do it yourself, you can fill your wall with your best work.

But I can also help with the “someone else’s”. As you know, I am currently exhibiting some of my work at CJ’s in Bronte, Oakville, Ontario: see the event page here.

The official opening is this Sunday, 12 July, at from 2–4pm. And great news: on that day only, if you are considering buying any of my limited edition photographs, then:

  • I will have a special discount for in-person visitors.
  • I will bring a further 115(!) unframed giclée prints, handmade by me at 13×19″ using permanent pigments on art paper, individually autographed. Unframed prints are of course more economical to buy than framed prints.
  • I will give away one print to a lucky visitor.

So… perhaps this will be the start of your wall art collection. Come join me for a coffee Sunday, 2pm. See you there? And by all means bring a camera; practice some of your photography.