Full-frame sensors: The advantages

Full-frame sensors have several advantages over smaller sensors:

  • Full frame sensors have lower noise (better quality) than crop sensors with the same number of megapixels. This means they are better at high ISO values, where noise can become a problem, than crop sensors.
  • The viewfinder is larger and brighter.
  • You can achieve slightly blurrier backgrounds.
  • Wide-angle lenses work as wide-angle lenses on a full-frame camera (as opposed to on a crop camera, where each lens works as though it were longer, compared to using the same lens on a full frame camera).

That’s a nice list, and it explains why most pros use full frame cameras, but there are also advantages to using slightly smaller sensors:

  • They cost less.
  • They are smaller, so cameras with a crop sensor can be slightly smaller.
  • They can use special lenses (DX lenses for Nikon, EF-S lenses for Canon, etc) that were made especially for smaller crop sensors; these lenses are therefore smaller too, so they cost less and weigh less.41
  • Lenses “appear to be longer” by the crop factor compared to the same lenses used on full frame cameras: this is obviously an advantage if you need a long lens, such as when shooting lions in Africa.

Drawback of these lenses: if you upgrade to full-frame, you need to replace your lenses.

Effect on Apparent Lens Length

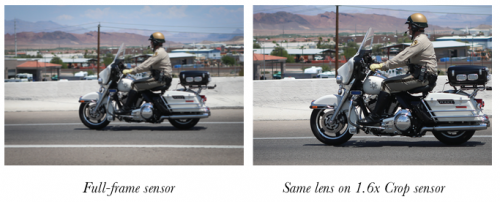
As said, crop cameras “appear to lengthen a lens”. That is, a 35mm lens works like a 50mm lens when used on a crop camera; a 50mm lens works like an 80mm lens when used on a crop camera; a 200mm lens works like a 300mm lens when used on a crop camera, and so on.

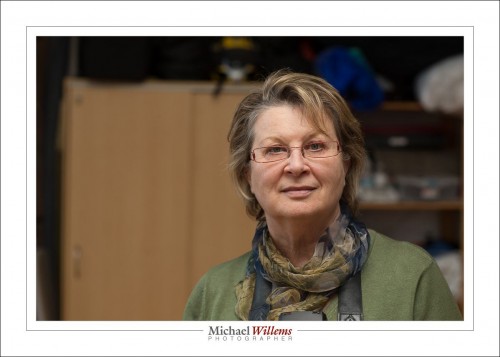
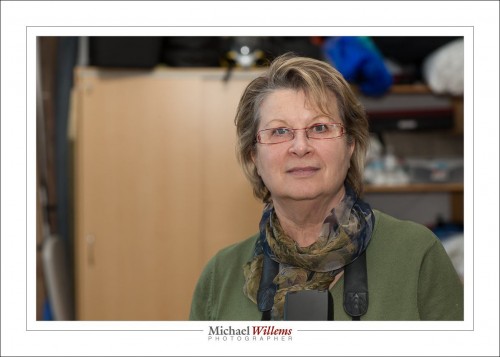
The same lens, for instance, mounted on two cameras with the same number of megapixels, one with a full-frame sensor and one with a crop sensor, might give these two images:

In this example, on the 1.6x crop sensor (the sensor that is 1.6x smaller than full frame), the same objects in the resulting image would be 1.6x larger. An advantage when you want telephoto behaviour; a drawback when you want wide angles.

Let’s Be Clear: Unless otherwise mentioned, in this book, when we discuss lenses and what they do, we use the behaviour when that lens is mounted.

on a full frame camera, i.e. we describe the lens “as it would work on a full- frame camera”. So when I say a 50mm is standard lens, I mean it is a standard lens on a full frame camera (on a crop camera you would use a 35mm lens for the same effect).

“What type of lens should you buy?” The choice is up to you. Both full-frame and crop lenses have advantages and drawbacks. Only you can decide whether quality is most important to you, for instance, or money.

Either way, any modern DSLR will provide quality beyond that of good professional cameras even just a few years ago. This is a great time to be a photographer.

The article above is part of Michael’s “Mastering Your Camera” book, obtainable from http://learning.photography. You can get a full chapter preview from here.

 

Trick-repeat

I shall now repeat a flash trick I have mentioned here before several times, in 2011 and 2013. Time for another refresher.

You all know how important it is to avoid, at least when the flash is on your camera, direct flash light reaching your subject. Both in order to avoid “flat” light, and especially to avoid those nasty drop shadows, like this (don’t do this at home, kids):

But you have also heard me talk (and those who come to my upcoming flash courses will learn hands-on) that you should “look for the virtual umbrella”. For most lighting, this means 45 degrees above, and in front of, the subject.

So when you are close to that subject, you aim your flash behind you to get to that point. Good.

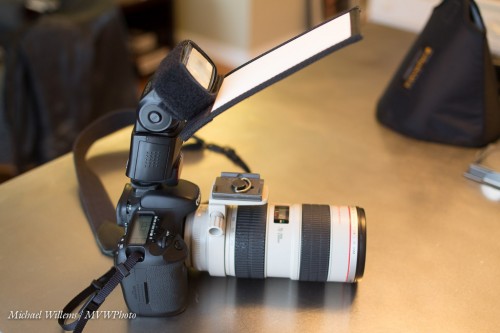
But what when you are far, as when using a telephoto lens? Then the “virtual umbrella” may be in front of you. And aiming your flash forward is a no-no, since the subject will be lit in part by direct light.

A-ha. Unless you block the direct part of that light!

Like this:

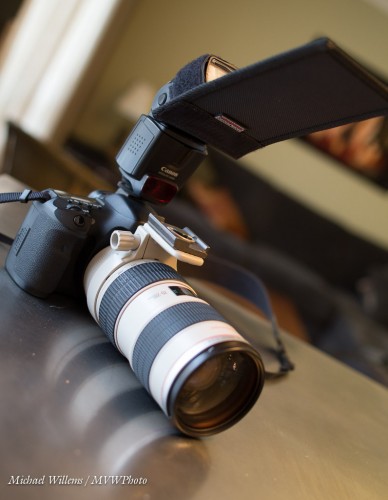
As you see, I use a Honl Photo bounce card/gobo to block the direct light. Simple, affordable, and very effective. I use either the white bounce side, or the black flag side, depending on the ceiling and position.

Simple, effective – done!

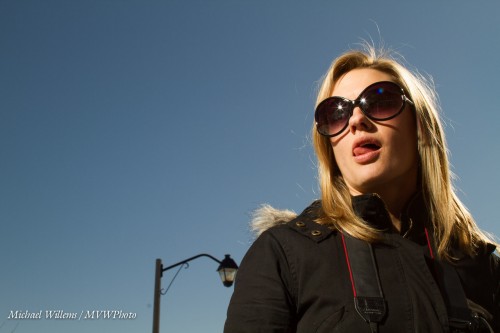
And one more thing. Direct flash is not bad per sé. Not at all. As long as it is not coming from where your lens is, it can be very effective, like in this “funny face” shot of a recent student (you know who you are):

Lit by a direct, unmodified flash. And the hairlight, the shampooy goodness? Yeah. The sun. Just saying.


Flash Bias

…or Flash Exposure Compensation (“FEC”), means that flash is still automatic (“TTL”), but you bias it 1-2 stops up or down. Meaning the camera meters as usual (using TTL), but it adds or subtracts a stop or two when taking the shot.

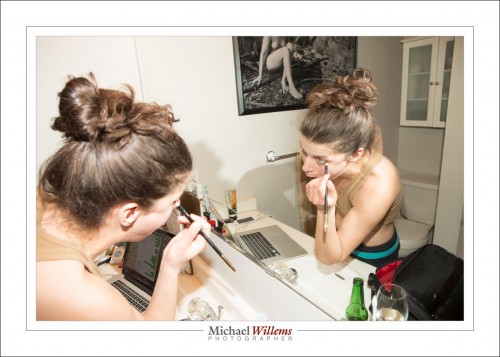
In the shot of the model applying make-up, the bias is +1.66 (+1 and 2/3) stop:

I usually shoot with a positive bias like that because I am in a white environment, and the camera, not being equipped with a brain, has no brain. Plus, I like to light skin brightly, because bright skin is skin without shadows; skin without imperfections in other words. And hands up those iof you who like to see imperfections in skin. See; I didn’t think so.

Now, be careful: FEC only works if there is enough power available. In other words, if there isn’t enough power available it does not help qat all. In tat case, open up the aperture or raise the ISO.


De gustibus..

…non est disputandum. You can’t argue over taste.

As regular readers know, I like to shoot “in camera”, and keep post editing to a minimum. For the most part, my photos are basically SOOC: “Straight Out Of Camera”. But sometimes. I make exceptions.

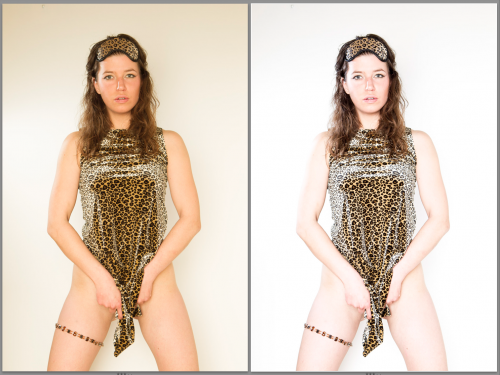
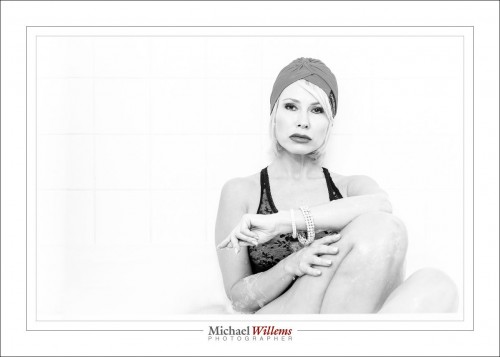
One is this style, a very bright, contrasty, cool, desaturated, sharp style that mostly loses everything into pure white, making eyes and other features stand out dramatically.

Here’s another example, before and after, so you can see what I did. Here’s the original, before the edit:

Shot at the following settings (press “i” in Lightroom repeatedly to cycle through the Information options):

After the enhancement:

Note: the “before” picture was not bad. I strongly believe that you should use techniques like this to enhance, not to fix.

I like this so much that I made it a User Preset. After making your adjustments, click on the “+” in the Develop mode’s preset panel on the left.

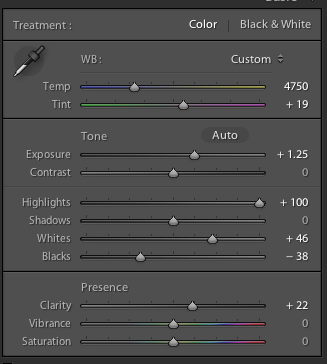
This preset consists of the following adjustments:

…in addition to which, I set “sharpening” (in the DETAIL panel) to +80 and “noise reduction” to +20.

Here’s a side-by-side comparison of an image before and after:

I like that sharp look a lot.

Be careful not to overdo it and apply a particular “look” to all your work. Aim to do it in camera, and apply styles (via presets) only when needed, when they add something. As I believe this one certainly does.

___

BUT MICHAEL, I hear some of you say. “you are giving away your secrets”. Yes, I am. Because adjustments can be found anywhere. What cannot be easily copied is my artistic insight, people skills, $30,000 in equipment, and experience.

Would you like more secrets? Be my guest: have a look at the Christmas Specials on learning.photography: see http://learning.photography/blogs/news right now.

Take direction.

I took a few photos today of talented photographer Lisa Mininni, to demonstrate flash direction to her when bouncing; and I thought I would share them with you here.
I often see people, even pros, walk into parties bouncing their flash straight up, at 180 degrees. Here:

Not good: dark eyes. Because of the straight-up bounce, the light comes from straight above. So the eye sockets fill with, well, with darkness.

Next, I see people all the time with their flashes aimed 45 degrees up, forward.

What’s happening here is that the light lights up the subject’s forehead, and the ceiling above and behind them. As we go down, it progressively lights less.

Now, we use a reflector. I have seen those in use many times before. I get:
Not bad. But.. a little harsh. The light could be better.

And when I see “better”, I mean bouncing 45 degrees behind me. Provided there is a roof, cekling, wall, somwethign to bounce back light, you can do this. Even with high ceilings, as in the studio I made these in, where I would estimate they were at least 13 ft high:
Perfect. To really see the difference, view them large and download to your computer.

Now, keep in mind:

  • 45 degrees behind is merely a starting point. And a good one. But the real way to do it is to start with the subject’s face. From there, mentally draw a dotted line to “where the umbrella would be” if you were in a studio. Now continue that line, and where it hits a wall or ceiling, that’s where you aim.
  • What I am talking about here works—usually. But each situation is unique, so “never say never”. Sometimes, “straight up” or “forward” are the way to go.
  • I am mixing with ambient light. A good starting point for that, as regular readers know, is the “Willems 400-40-4 rule”: 400 ISO, 1/40 sec, f/4.
  • Watch your power. If the ceilings are too high, or if you need to use a small aperture like f/8, you may have to go to higher ISO values.

Using a flash is easy once you know how. Learn, and see how amazing the options are that are now open to you.


TIP: My courses and books will help: see http://learning.photography—special Christmas pricing applies. Joining the Facebook Speedlighters Forum on https://www.facebook.com/groups/SpeedlightersForum/ will also help: many people will help you learn.


Always look on the bright side

When lighting skin, there’s one rule I go by: I light it brightly.

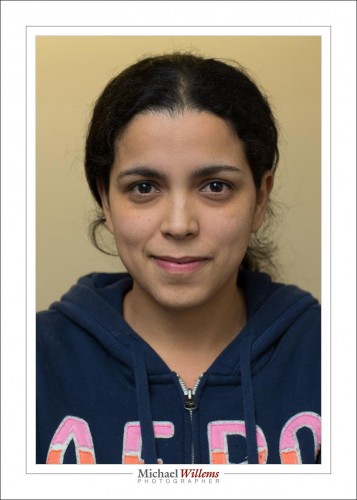
This student on my college course looks great and pretty:

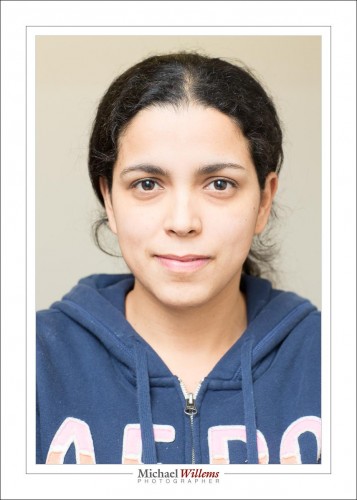
But look what happens when I light her up 1.66 extra stops:

Her skin looks even better.

So when I use flash, I expose 1-2 stops over normal, by using flash exposure compensation when using TTL flash, or by increasing flash power, or by simply exposing more when using available light. You will see a lot of high-key images in my work:

Those are from a shoot I did today. One on camera flash, manual, 1/4 power, camera on 400 ISO, 1/125 sec, f/5. And one flash on my left, set at 1/32 power, aimed direct at the subject through a 1/4″ Honl photo grid.

Can you seen the effect of the individual flashes, and of exposing so brightly?


Miss Info

A friend and student, the other day, would not let me format her memory card. “Nooo”, she almost shouted. The reason? Some Internet-famous wedding/family/baby photographer said, on her blog, that formatting is harmful for memory cards.

That is spectacularly bad advice. Let me assure you that not only is formatting a card not harmful, it is beneficial for you. Without formatting each time, eventually, memory errors such as lost clusters, excessive fragmentation, and so on will creep in and destroy your content. natural degradation will not result in areas being mapped out, as would happen if you formatted. Of course data loss can happen anyway (see yesterday’s post), but the chances are greater if all you do is delete rather than format. Bad, bad idea.

Where did this photographer get the idea that formatting is bad? What qualifies her to give opinions on technical issues like this? Now, I do not know this photographer; I do not even know her name,. What I do know is that her advice is bad. Perhaps she has an electrical engineering degree, like me, but that does not mean she cannot be wrong. And here, she is.

Which brings me to today’s subject: the Internet is a dangerous place, full of misinformation. Read, but read more, and read counter-opinions, and check out the writer’s qualifications. I would ask Sandisk and Lexar, or canon and other camera makers. And I am pretty sure they’ll recommend that you format a memory card after, or rather before, each use.

Yes, formatting wears out a drive, as does every type of writing to it. But only after many write cycles—think millions. If you format a card hourly for half a century, you may perhaps see degradation. But that is hardly likely, is it?

My moral: careful whom you believe. Hesitate before you take legal advice from me, dental hygiene advice from an obstetrician, or electronics advice from a baby photographer of some repute. Just sayin’.

Oh yes, and format those cards. Frequently. Every time.


Remember: Ten Memory Card Tips

A word, and a few tips, about memory cards. And how today, another CF card lost its content during—in the middle of—a shoot.

My CF card failed with “error reading contents” while importing into Lightroom, during a commercial shoot today. This was a CF card, connected to my Macbook Pro through a card reader, on location. Embarrassing to say the least.

I suspect the card reader is the issue, since this is the second card in a month, same way. Regardless, I lost the contents and had to reshoot a part of my shoot. Ironically, this happened after I had, just moments earlier, remarked to my assistant that I was taking a risk, shooting part of this shoot on a Canon 7D, which does not allow saving the same issue to two cards simultaneously. And sure enough. Note to self: use the 1Dx every time, not almost every time.

Ten Tips for memory cards:

  1. After use, format your memory cards; do not “delete all images”.
  2. Do this formatting every time—after you make and verify a backup of the photos, of course.
  3. Do it in the camera, never on the computer.
  4. If a piece of equipment fails, discard it. Take no chances.
  5. Use cards that are as fast as you need—no faster or slower.
  6. Use cards that are as large as you need—no larger or smaller. I recommend that you use multiple smaller cards, not one large one. I use 16 GB cards and 8 GB cards.
  7. Push cards in, and pull them out, gently and slowly. And preferably after you turn off the equipment’s power.
  8. Unmount the cards before removing them from the computer.
  9. Deleting is never permanent; formatting may or may not be.
  10. You can often recover bad images. Both Lexar and Sandisk offer utilities that help recover images from “bad” cards.

My assistant today was Maged:

As always, he offered good advice; he was a “second pair of eyes”, which is what a good assistant should be.

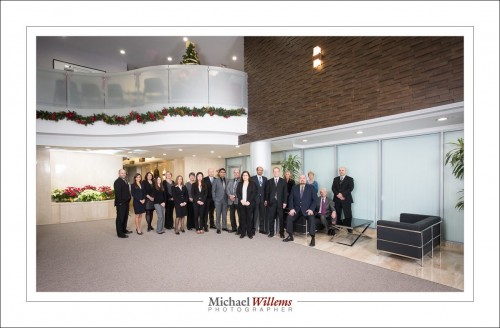
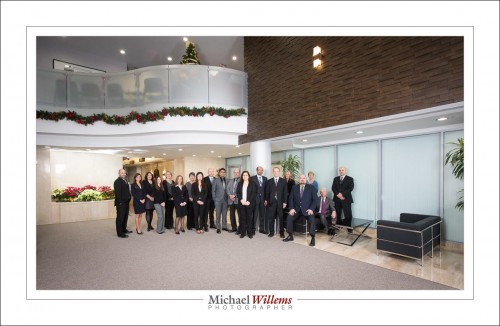
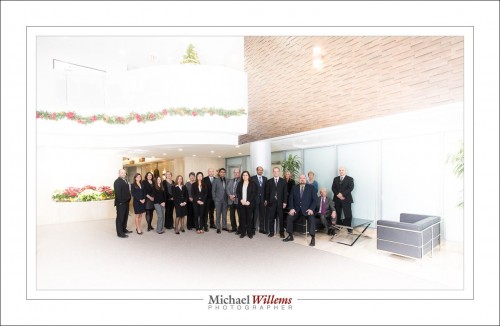
Here’s that group shot with a little post-crop vignetting:

But we could go the other way for effect, and vignette positively:

I have never done that, but one day I will.

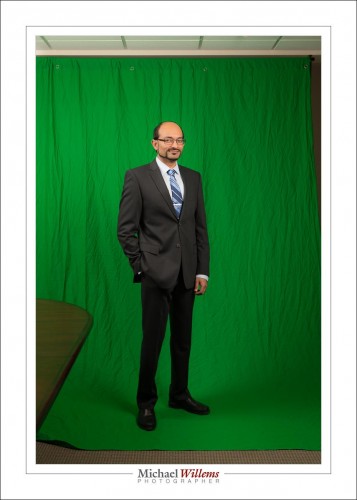
Part of today was a “green screen” shoot:

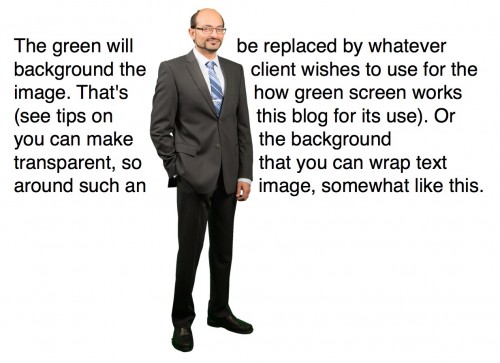
The green will be replaced by whatever background the client wishes to use for the image. That’s how green screen works (see tips on this blog for its use). Somewhat like this, where I made the background transparent:

And now, back to finishing my images. After I unpack the truck, that is. Photography keeps me fit.


Evolution of a shot

How do we set up a shot with both ambient and flash light? Let’s look at one.

Let’s start like this:

That’s the studio setting: 1/125 sec, f/8, 200 ISO. Ambient light plays no role. That is the definition of the studio settings.

Is that what we want here? I would say no. We want to see the lamp!

So now, let’s mix in ambient light, shall we? We aim for –2 stops on the light meter. Here’s 400-40-4, which gets me very close:

That’s 400-40-4 (i.e. 400 ISO, 1/40 sec, f/4): the “party setting”.

Much better, if we want that mix.

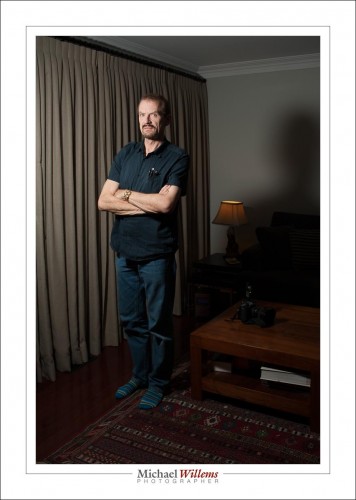
Now let’s open that curtain and take a look. Fortunately., the outside light and the lamp are in the same range, so I can set my camera for either of those. 400-40-4 will do it. If I had to choose, I would choose based on the lamp, the most important element.

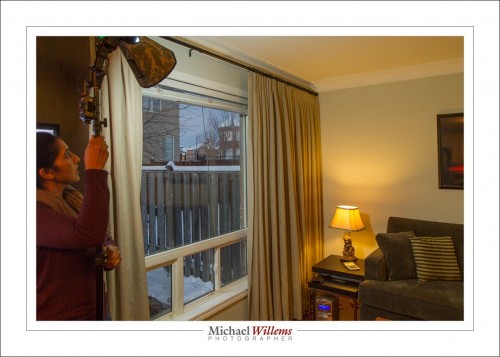
Because I want no light spill from the flash into the rest of the room, I do not use an umbrella. Instead, I use a small Honl photo Traveller 8 softbox, held close to the subject. Here’s student Arsheen setting it up:

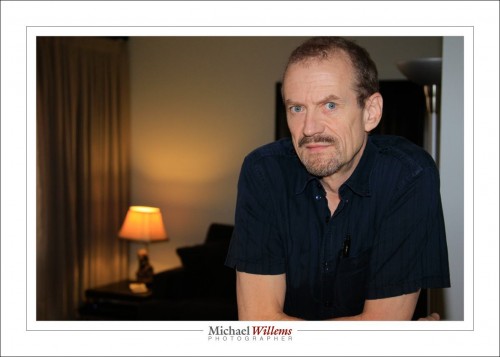
That gives me the final shots:

That mix of warm and flash light: beautiful. But that’s my taste: you can do your own, develop your own style. And that is what flash is all about.


Deterministic flash

Flash phenomena may seem stochastic, but they are deterministic. Look those words up if you like; what I mean is that whatever happens, it’s predictable, not random. When something goes wrong, look for, and find, the reason. If it seems weird, you just haven’t found the reason.

Yesterday, I ran into three curious flash phenomena in one day.  And just for fun, I’ll run them by you. So you’ll learn to solve these things by yourself.

*** 1. THE CASE OF THE MISSING TTL. You turn on your Canon 580EX flash, and instead of the MODE button toggling it between “ETTL” and “M”, it toggles between “e” and “M”. What gives?

Solution: you set something weird in the custom settings, and TTL has been disabled. Solution: set the custom settings back to default. Use a connected camera to do this, or read the manual for instructions for doing it manually.

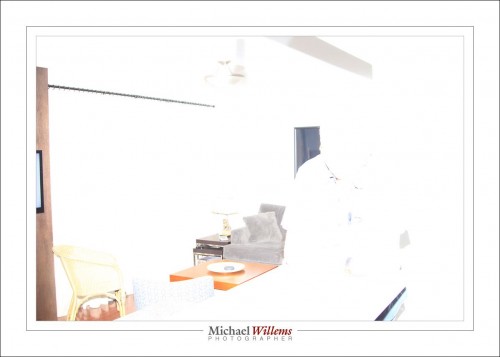
*** 2. THE MYSTERY OF THE FIVE EXTRA STOPS. This is a common one. We set up everything properly, but the photo looks like this, at least five stops overexposed:

Solution: this is due to the flash firing at full power, instead of at the correct  lower power as calculated by TTL. The reason for this is almost always the same: a bad contact. For the TTL mechanism to work properly, all five contacts need to be good. And millivolts are easily lost if a contact is dirty, say. So sure enough, after cleaning the contacts, all went well:

*** 3. THE CONUNDRUM OF THE “A” THAT SHOULD BE AN “E”. The flash toggles between M and TTL, but instead of the usual “ETTL”, I see “ATTL”. ATTL was an earlier iteration of Canon’s TTL mechanism, while ETTL is the most recent version. Mysterious!

Solution: Here too, the reason was a bad contact. The phenomena that can result from bad contacts are legion. Cleaning the contacts worked: now I got normal ETTL again.

In my years as a photographer, I have seen many things go wrong with speedlites. I have found that although many things can be the cause of the malfunction, it’s usually settings or contacts. Check those before you do much else.