Dragging the shutter

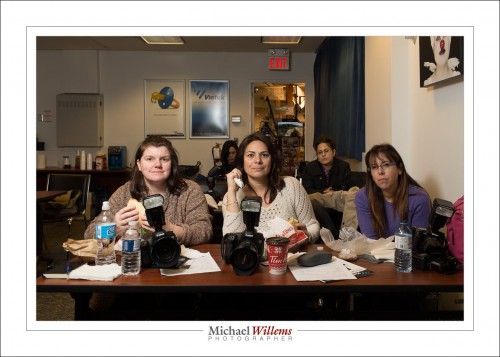
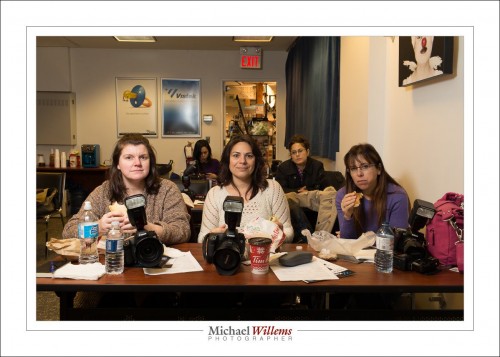
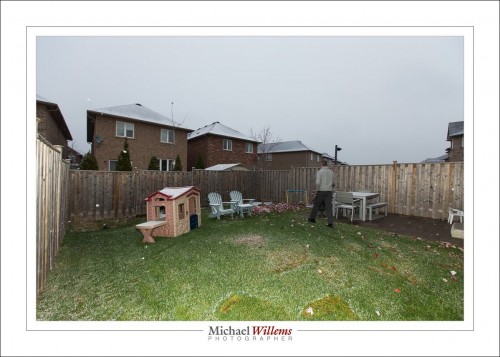
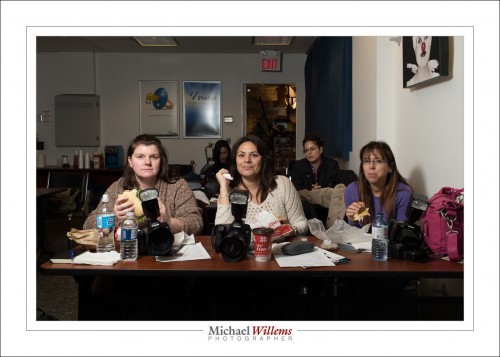
You have seen me talk about this many, many times. Flash pictures start with the background, And to get light into the background, often you will want to use slower shutter speeds. These affect ONLY the background, not the flash part of the photo. Look here; an example from the course I taught today at Vistek:

Like here. f/8, 200 ISO, 35mm prime lens, flash on manual on 1/4 power, fired through an umbrella. The only thing I will change is the shutter speed.

1/125 sec:

1/30 sec:

1/15 sec:

You see? The background gets brighter, the women in the front, who are lit primarily by the flash, do not change. Analyze that carefully.

  • The woman on the left: lit by flash, so does not change.
  • The store in the background: lit by ambient, so changes with every shutter speed change.

And that is how the cookie crumbles.

Why did I use manual flash power setting? Because it is consistent. The same for every shot. No variation. Once I have it right, it’s right for every shot.

___

See http://learning.photography/collections/books for my collection of e-books. These contain my collected knowledge, both of photography and of how to teach it. They are all 100-200 pages long and are simply PDFs, so you can put them on all your computers and tables and large-screen phones, for convenient reading and reference. Enjoy!

Aperture

Aperture (the “f-number”) controls several things in a photo. One is light (the lower the “f-number”, the more light), and the other is depth of field (“DOF”). Low f-numbers mean shallow DOF.

But DOF is also determined by proximity (the closer you are, the shallower); and lens focal length (the longer the lens, the shallower).

So this is f/1.4:

I was walking to my class last week at Sheridan College Oakville.

f/1.4 and sharp? Huh??

Well… read above. I am not close. I am using a 35mm lens. I am printing a small image, not a large image where every detail is visible. So while I have a low f-number, I am doing everything else to get enough DOF.

So yes, you can get enough DOF even at a large aperture (low f-number). Which I wanted to avoid high ISOs.  This was 1600 ISO at 1/60 sec. Handheld.


The difference is…

Question: What is the difference between two photos? Why?

Hint: I used a 16mm lens.

Answer:

Can you see that the flash is concentrated in a small circle in photo 1?

Well… you know that when you zoom, or change lenses, the flash changes its zoom, right?  But the widest zoom is 24mm, and I shot at 16mm. That is the top picture. The zoom circle is too small for the picture.

In the bottom picture, I pulled out the plastic “wide angle adapter”, the transparent plastic square you can pull out to cover the front (not the white sheet). This is not a softener; it is merely the 14mm adapter”. The zoom device for wider than 24mm. It makes the beam wider, see picture 2.

That’s all: when you zoom wider than 24mm, pull out the wide angle adapter.


Only if necessary

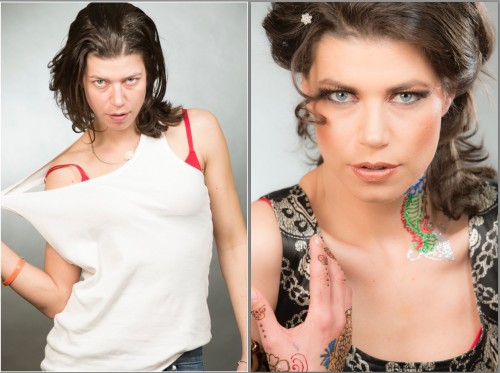
I generally recommend doing things only if they need to be done. And one of those things is a make-up artist (a “MUA”). You can be pretty sure that TV producers, for example, would not use make up artists if they were not necessary. But they are. Witness:

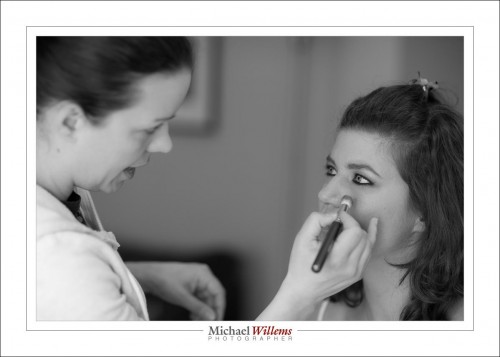
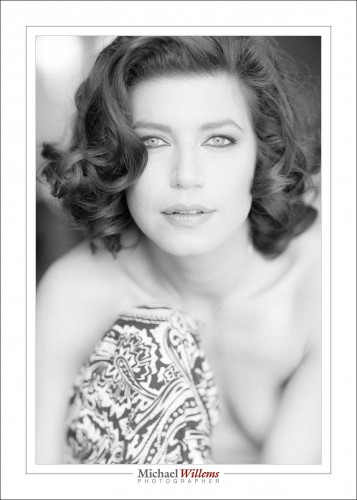
Make up artists do not just fix blemishes. They also shape the face so it is suitable for the shoot. Here’s MUA Melissa Telisman doing her thing:

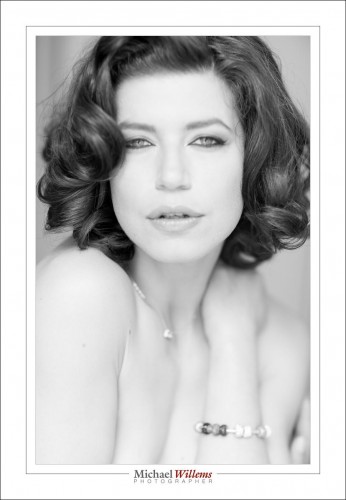
And here’s what that results in:

Glamour and perfection without “photoshopping”, which I am not a fan of. Vut make-up is not just for glamour; not at all. I recommend a MUA and a hair stylist for corporate shoots, too, especially—but not only—if women are involved. If TV shows do it, you can be sure it is necessary, and not a luxury.

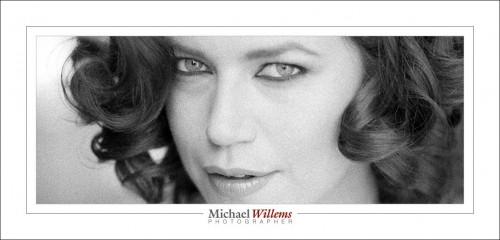
Incidentally: do we need the entire person in every shot?

No.

Decidedly no. You get a much more intimate feeling when you do an extreme close-up (an ECU, in movie terms). Try it; experiment in your next shoot and do some shots like the one above. You’ll love them.


Be analytical

When solving problems, it helps if you are analytical. As in:

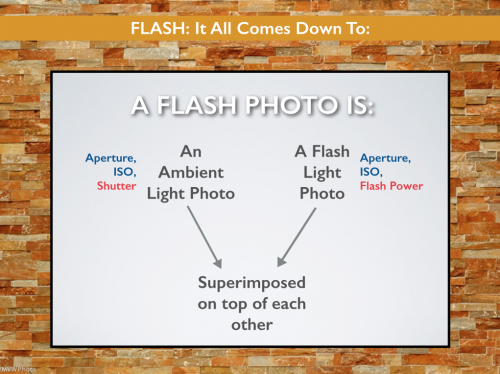
A f;lash photo is, at least in principle, always a combination of an ambient light photo (unless you are in a coal mine a kilometre underground), and a flash photo. They are both affected by aperture and ISO, and the ambient photo is affected by shutter speed also, while the flash photo is affected by flash power also.

Simple, but extremely powerful. With this knowledge, you can start by perfecting the ambient photo, then add the flash photo: and it works every time.

Now preparing for my evening Sheridan College class. Can you tell?


Fire!

I remember as a child I made drawings with red and yellow flames: red, surrounded by a yellow aura, and I was impressed by how much that looked like flames.

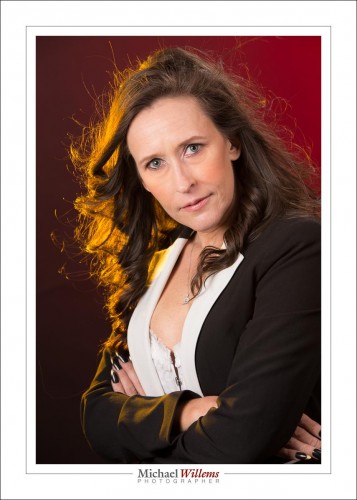
So tonight in the studio, remembering that, I decided to add yellow hair to a red background, like so:

…and I am happy to see that it works just as well as it did when I was a child.

A beauty dish lit the face; a softbox on the right provided a little fill; the background was lit with a speedlight with a red gel; and then the yellow was from a gridded speedlight with an egg yolk yellow gel. 100 ISO, 1/125 sec, f/8. I used Bowens studio strobes, and speedlights with Honl photo modifiers (gels, grids). I set off the lights with Pocketwizards (and the light cell, in the case of one of the studio flashes).

The moral of the story: you should play. Children know how to do that; adults forget. To get new ideas, to be creative, it is important that you play. Try new stuff. Try odd combinations of things. That helps you create: in big ways, but also in little ways like in today’s shoot.

Now, back to authoring my new e-book, “Powerful Portrait Photography”. ISBN 978-0-9918636-5-5. Almost done: watch this space and http://learning.photography.


Special: Learn Flash!

Learn flash—wherever you are in the world!

I now offer my three-hour flash course, “Mastering flash” ONLINE, one-on-one, using Google Hangouts. And for a limited period, this is only $249 instead of $299. So, before the December festive season, master flash now.

You need flash Indoors. Outdoors. On-camera or off-camera, like in an environmental portrait like this, which should take you under a minute to light:

Go to learning.photography/collections/training-300-advanced/products/flash and book right now. I promise, you will learn fl;ash, you need to learn flash, and you will be delighted you learned flash!


Today, a CEO/executive shoot

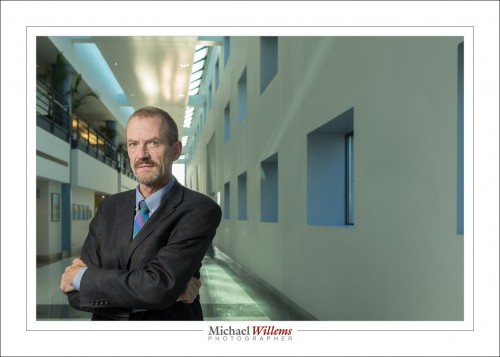
Today was one of those great days that everything comes together: a nice Annual Report shoot including a CEO portrait, two green screen executive portraits, and two environmental executive portraits; then some real estate on the way home.

I am standing in for the CEO here.

  • One flash off camera, shooting through an umbrella. On our left.
  • Converging lines converge on the subject from both left and right.
  • Shot at 1/125 sec, f/6.3, 800 ISO. This was the right combination of background and foreground.
  • Flash on manual.
  • Behind me: a very bright window: we positioned me so that that window was exactly covered.
  • The space on the right is for text: whenever you shoot for a magazine, ask whether there has to be empty space for text (and ask: horizontal or vertical?)

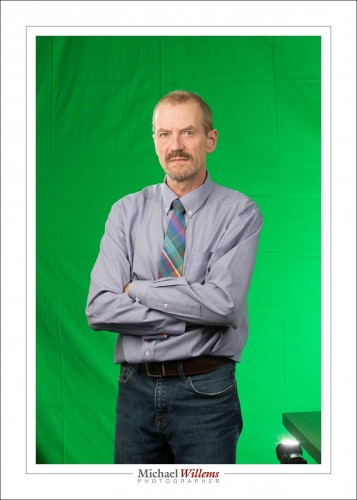
Then some green screen; Like this:

So that we can then make it like this (and mouse over the subject to see what I mean):

…and put the subject in front of the eiffel tower, or where ever we want.

For this we used five flashes: Two big studio strobes, and three speedlights (two for the green screen, one for the “shampooey goodness” hair light)

Finally, we did several more environmental portraits, in office spaces. For those, as for the CEO, we used just one off-camera flash shooting through an umbrella. Why not keep it simple, if you can?


Portraits

I taught two studio/portrait courses at Vistek Toronto today. Great students, lot of fun. The take-home message: it’s not as complicated as it seems; in fact, it’s easy. Especially with the right equipment, I used a mix of studio strobes (two Elinchrom monolights) and speedlights (my Canon 430 EXII and 600EX speedlights, set manually, i.e. used as studio lights).

Here’s a couple of “standard” four light portraits (key light, fill light, edge light, background light), slightly desaturated in post:

That’s the standard. But you can do with less. Like here:

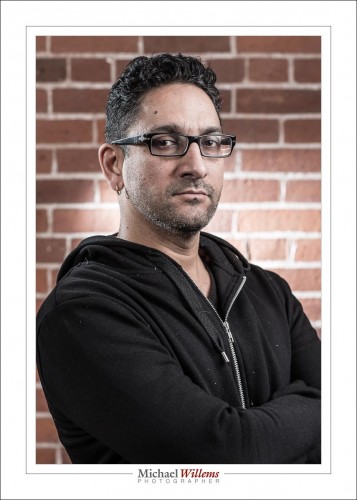
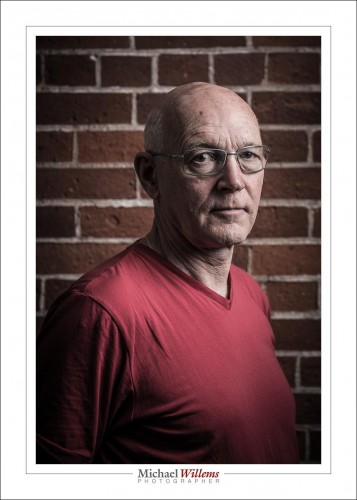
I happen to like that kind of drama in portraits a lot; it shows character and mood— and that’s just one studio light with an umbrella. Really? One light can do a character portrait? Yup. It can. F/5.6, 1/125 sec, 100 ISO)

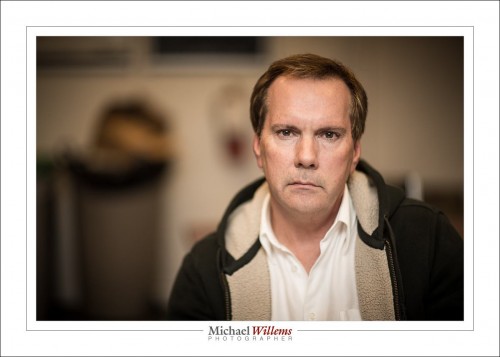
And here’s a one-flash bounced portrait, shot at f/1.2 to get a blurred background. Yes, f/1.2! and you can call me courageous or mad, whichever you prefer.

(f/1.2 at 1/160 sec at ISO 100)

Bounced off the ceiling behind me, and using TTL (i.e. automatic flash) with an on camera flash. Simpler isn’t possible, and yet you can do great portraits.

The message: make lots of portraits. Set yourself challenges, and one challenge should be: show mood and character. See how many flashes you need. Note the techniques that work best. Often, as one student today noted, “less is more”.

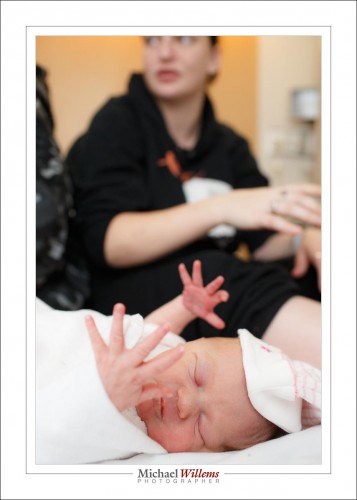
And on that subject, I finish this quick inspirational post with one more picture taken with jkust one flash; this time again of my granddaughter, just a few hours old:

(1/125, f/3.5 at ISO 1000).

That’s a storytelling photo. And a character photo, I suppose: Addison is showing character at only a few hours old.  Also one bounced-behind-me flash.


A new life

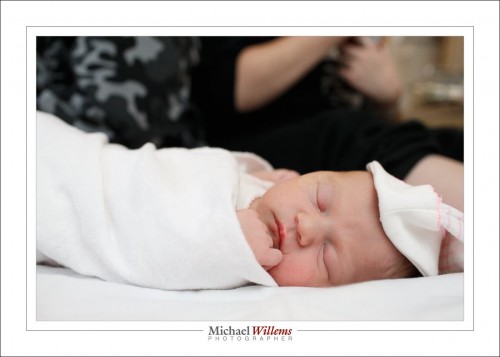
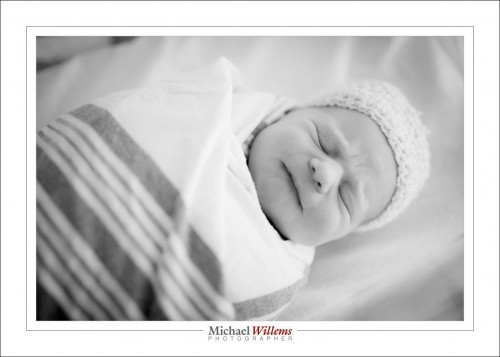
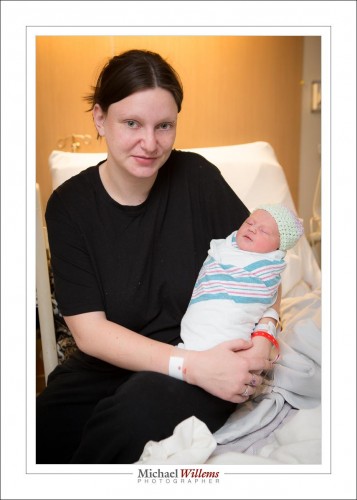
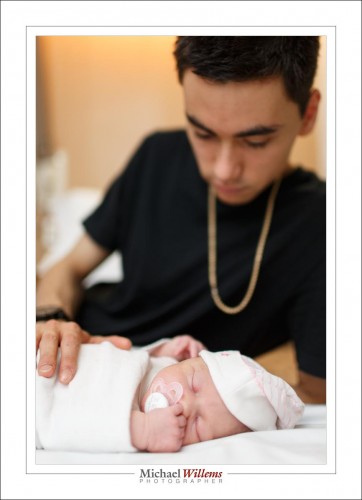
My first granddaughter was born today, at 03:22. Addison Margaret May Shepherd-Willems, weighing in at almost 7 lbs.

(1/125 sec, f/3.5, ISO1000, probably with flash assist)

I had to shoot these in a very dark hospital room. Today I used a combination of:

  • High ISO, large aperture, no flash (I had an f/1.4 lens and an f/1.2 lens, as well as an f/2.8 zoom)
  • Medium ISO, flash
  • High ISO, flash assist

(1/100, f/1.4, ISO3200, probably without flash)

The thing is: I am not sure which ones I used flash for. And that is a key lesson to take away from this: good flash photos can often look like no flash photos.

(1/125 sec, f/4, ISO 1600, with flash assist)

Another key lesson: exposing to the right makes for low noise. I call this Willems’s Dictum: “Bright Pixels Are Sharp Pixels”. Shooting at high ISO is fine as long as you expose brightly: exposing to the right is as important as ISO.

In other words, a dark shot at 1600 ISO looks grainier than a bright shot at 3200 ISO. Noise, like cockroaches and politicians, hides in the dark. Do NOT under-expose. Even worse, of course, is under-exposing and then pulling up (thus increasing the noise). Exposing to the right *(i.e brighly) is good; exposing to the right and then darking is even better, if you have that luxury.

(1/250 sec, f/1.4, ISO 1000, flash)

A final note: of course you realize that shooting at f/1.4 means that you have to focus accurately, and that you had better be sure what is important in your picture. But clouds have silver linings: I use the shallow depth of field as a benefit. It allows you to choose one subject to emphasize and to blur out the rest.

Toronto residents: Saturday I teach at Vistek. Studio lighting and portrait lighting. Join me there, a great opportunity to get small class help from me! https://www.vistek.ca/events/ and sign up now: limited space.