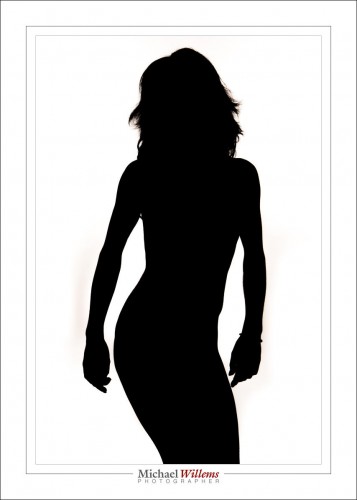
Silhouette

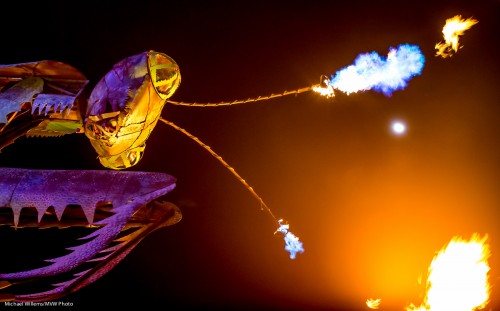
How do you do a silhouette this way?

The technique is quite simple.

First and foremost, ensure that the background is well lit. By flashes, continuous lights, or whatever. It needs to be bright. Then, ensure that none of that light falls on the subject.

Now, expose for a bright background. You could start by aiming at the background and setting your meter to +2 stops by adjusting ISO, aperture and shutter – or if you are in an automatic mode, by using exposure compensation, and then locking in that +2 exposure.

Finally, if some light did spill onto the subject, you may need to do a little post work: in Lightroom you go to the DEVELOP module, BASIC pane, and move blacks down, shadows down, and highlights up.

And that’s all. Very simple, so if you have never done silhouettes like this, go do one now.


Lines

Lines, in composing pictures, are important.

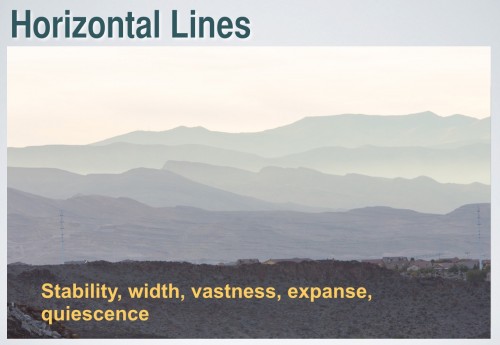
Horizontal lines are the main type of line we see – the horizon being the main horizontal line we encounter.

And here’s what they do (in a slide from my composition workshop):

Can you see how this looks silent, stable? I can imagine sighing, almost, when I see this. Layers of horizontals do that. Keep that in mind when composing pictures. Use horizontals when you want to emphasize vastness and quiescence, e.g. by taking pictures in landscape mode.

A tip: avoid having a main line in the very centre since this divides the image unnaturally; and keep the horizontals overall horizontal: a slight tilt is annoying.


Why?

Why do I decide on certain camera settings?

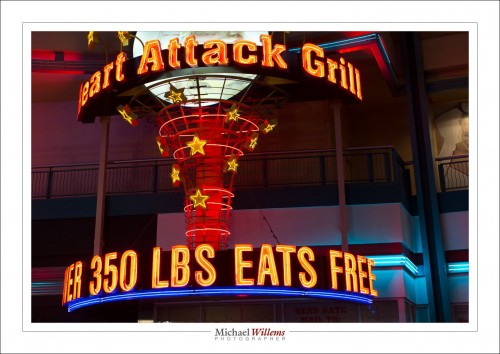
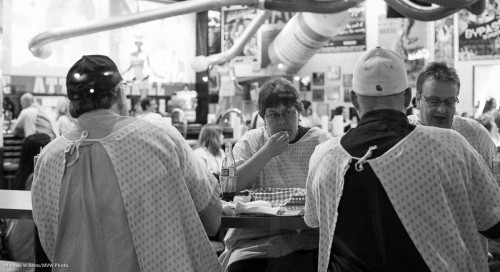
Look at an example shot (the Heart Attack Grill in Las Vegas, where if you weigh over 350lbs you eat for free).

I used my 50mm f/1.2 lens that night: I wanted small size, good quality, and the ability to open the aperture if needed.

That’s 1600 ISO, f/5.6, and 1/30th sec (in that order).

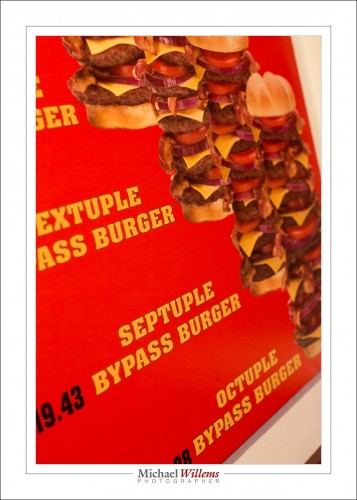
And here, the menu:

That’s 1600 ISO, 1/60th, f/4. Yum, a septuple bypass burger!

OK, so why those settings?

At night I decided 1600 ISO would be a good starting point. (experience told me this).

Next, I wanted f/5.6 to get depth of field with my 50mm lens (ditto, experience told me that also). I also wanted f/5.6 to be able to decrease that number quickly, all the way to f/1.2 if needed, in case of lower light.

That f/5.6 gave me 1/30th sec with this kind of lighting, which also I knew I could do handheld (I am quite steady). If it had given me a slower speed I would have increased the ISO to 3200, say.

If I had wanted more depth of field, ditto: this was f/8 at 3200 ISO (one stop smaller aperture = one stop higher ISO).

That’s the thinking process. Can you see how it works? With a bit of experience and application of the basic rules of aperture, shutter and ISO, you get there. That’s really all you need.

Note that all three pictures are similar in exposure value, since all three are artificially lit objects that are not far apart on brightness.

My 12-week course at Sheridan College started yesterday night – 20 students who will know all this within weeks. Do learn! And do consider my e-books to help in that. And come back with great pics.

Three Feet

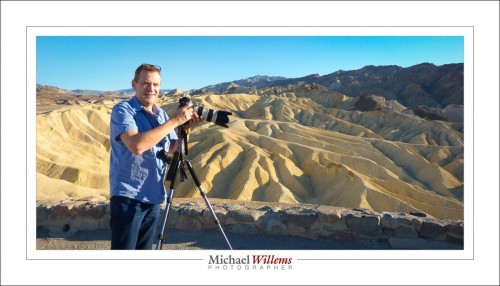
When exactly do I use a tripod, as I am doing here at Zabriskie Point, Death Valley, California?

As little as possible, because I have to carry the darn thing. Except, every time I do, it’s better.

  • I do not have to raise ISO values in order to get a fast enough shutter speed.
  • There is no motion blur (important, since even at faster shutter speeds, it CAN occur).
  • I can do panoramas.
  • I can do HDR images.
  • I can leave focus alone once it is set.
  • I can leave zoom and other compositional elements alone once set.

Here’s a panorama I made in Las Vegas the other day (view it at the original 3000-pixel wide size by clicking through):

You make a pano like that by:

  1. Using a tripod.
  2. Mounting the camera on the tripod so that it swings around its focal plane (i.e. mount the plate below the camera, not below the lens, as you otherwise might do with a long lens);
  3. Set manual exposure, white balance and focus (avoid days when the sun comes in and out);
  4. Avoid close by objects, except in they first and last pictures;
  5. Take pictures from left to right. Ensure that they overlap by, say, 30% (more is OK too). In this example, I took six pictures.
  6. Use software to put them together at the required size.
  7. Adjust and, where necessary, crop the final result.

What software? You could use Adobe Photoshop. Canon Photostitch, or a host of paid and free applications. I am not the best to advise on which one is best (anyone? Feel free to jump in with well-founded advice).


Let it be told…

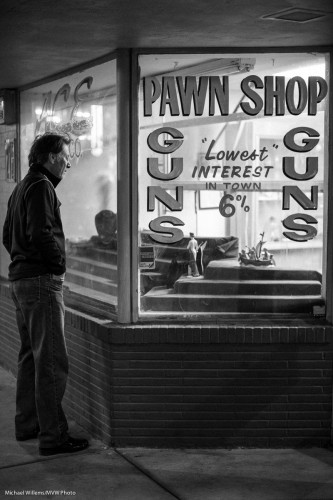
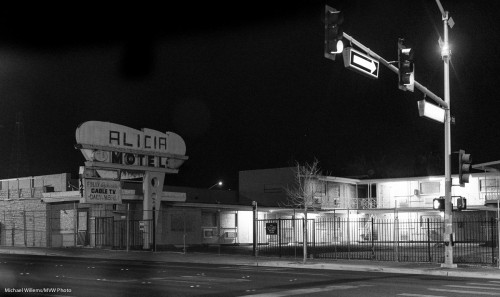
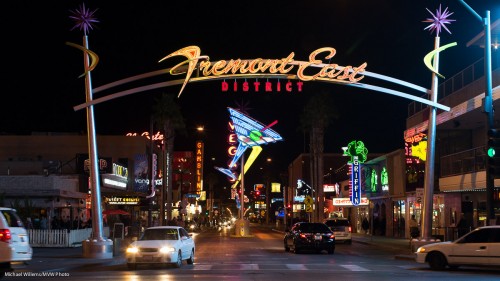
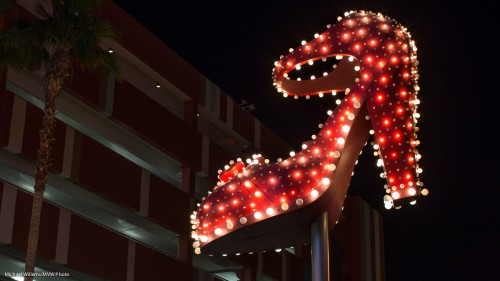
My last evening in Las Vegas; old Las Vegas, Fremont East, and I shall let these pictures tell the story. I like this part of Las Vegas more than the strip, for all its glitter.

The last image there is from the Heart Attack Grill (where you get the “octuple bypass burger”, and if you weigh more than 350lbs your food is free).

Want to do the same? You can. More storytelling techniques in the new Impactful Travel Photography book.


Leaving Las Vegas

Leaving to fly back to Buffalo; back after midnight. Lots of photos, and of course they are all stored in at least two places. Backup, backup, backup! Laptop, iPad and iPhone are charging prior to boarding. Life’s good, except TO Buffalo instead of FROM Buffalo is not quite as good.


Of colour and detail

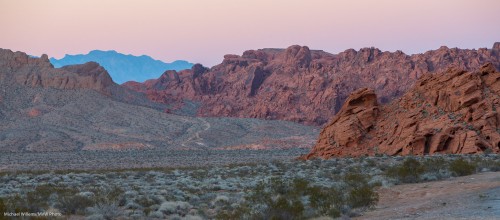
Look at this shot of the Valley of Fire, Nevada – and watch closely: click until you see it full size.

Taken with the 1Dx using a 70-200mm lens at 1/80th sec, f/6.3, 1000 ISO.

What I see there is more than just some rocks.

I see vastness, even though I am using the long lens. Usually, I would prefer wide, but in this landscape, long is good: compressing the vastness makes this look as huge as it is.

And as a result, I also see layers: foreground, middle ground, and background. Often a recipe for a good composition.

I see curves, elegance in a composition.

I see detail: sharpness, a good lens stopped down, is essential here; and if you are using a slow shutter speed, then a tripod is a must.

I see balance – the crop was needed both to increase the sense of size (horizontal lines emphasize size and quiescence and vastness) – and to balance the composition.

And finally, I see spectacular colour, even though this was taken just after sunset. The blue background is essential here, to offset the reds and greens. The pink sky matches the pink rocks, which contrast against the green vegetation.

And putting all that together, I see a good landscape photo that does justice to a spectacular Nevada view.  What do you think?


1Dx update

For fellow owners of a Canon 1Dx: there’s a firmware update that offers new functionality. Autofocus and exposure controls as well as customization settings have been enhanced.  Go here to download.

Details of the upgrade here. And the upgrade works: I did it this morning.

For others: always check that your camera’s firmware is up to date. At least a few times a year, check, and if necessary, upgrade. Else you lose out on bug fixes and new functionality.

Through a haze, clearly

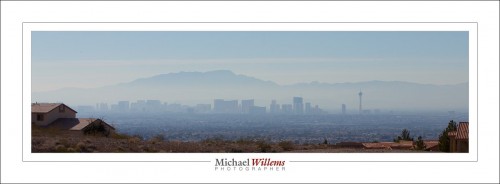
Here is the city I shall leave again when the airline has seats in a day or two:

You will notice some technique here:

Haze and foreground: I made the two houses in the foreground part of the picture. Anything hazy is OK is there is something sharp in the foreground. (I discuss this in the Impactful Travel Photography book, of course).

Panorama: I cut off the top and bottom to emphasize the strip, and to use the Rule of Thirds. (This too in the Travel book).
Enjoy your day. I am about to enjoy the last day of Nevada before I try to get on a plane, which is proving surprisingly difficult.