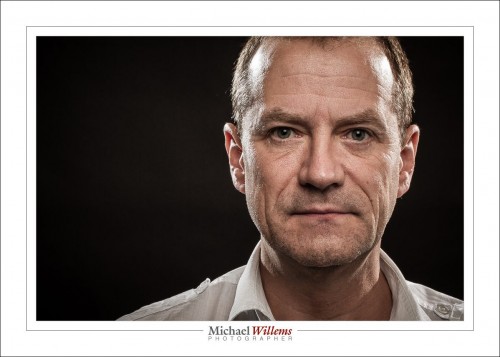
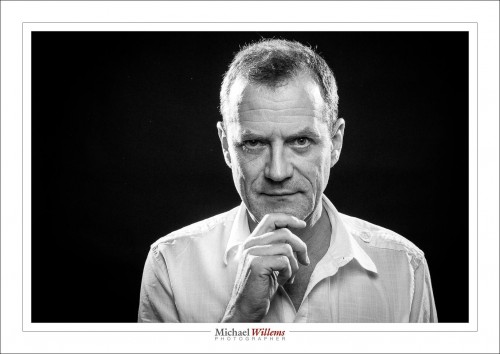
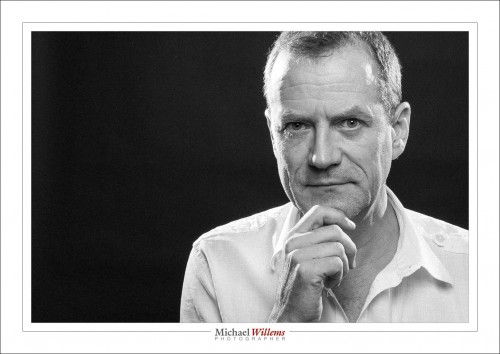
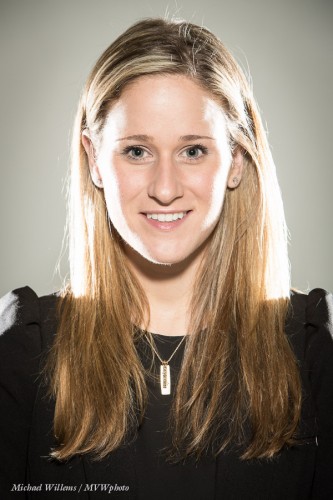
Expressions Rule

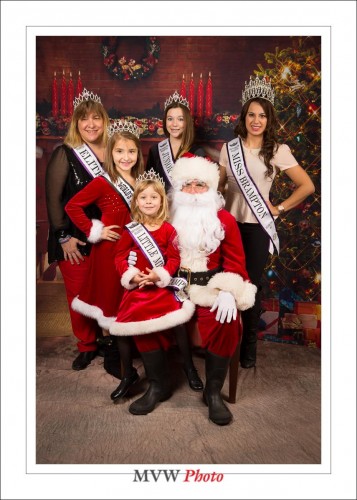
When I shoot Santa pictures and the like, I really want to get a child’s personality into the picture (assuming it’s a good personality). So crying on Santa’s lap is fine, if that is the way it happens. After all, babies cry for a living – do not make the mistake iof always having them look great.

And moments. I look for moments like this (Sunday):

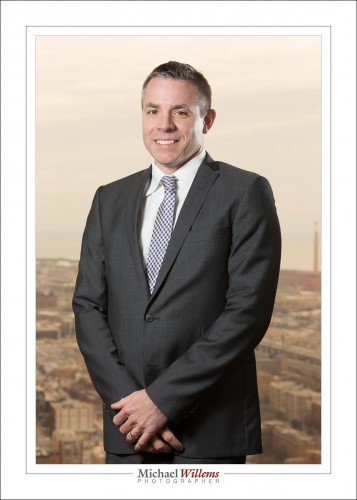
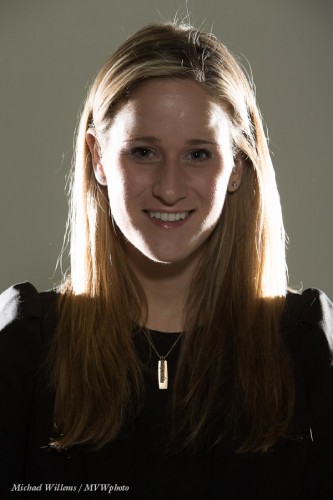
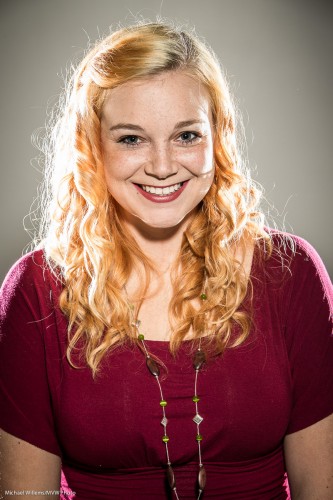
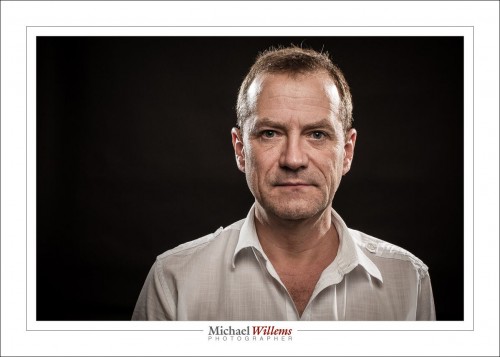
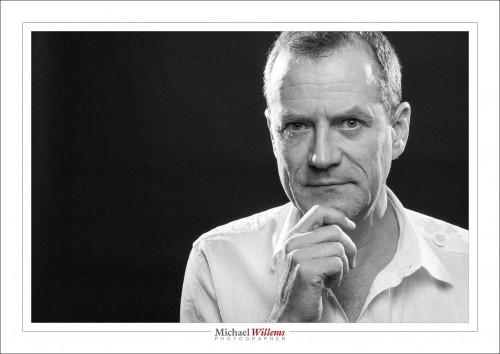
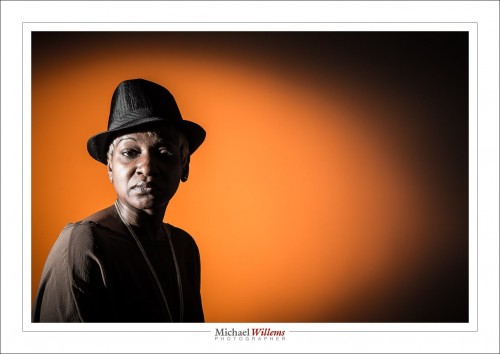
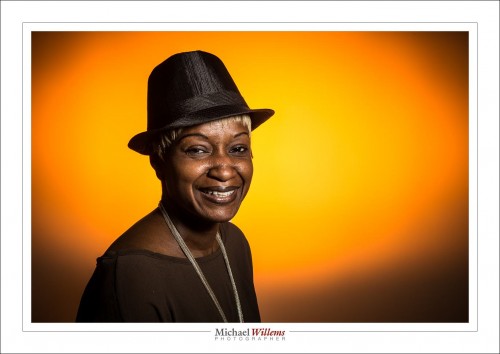
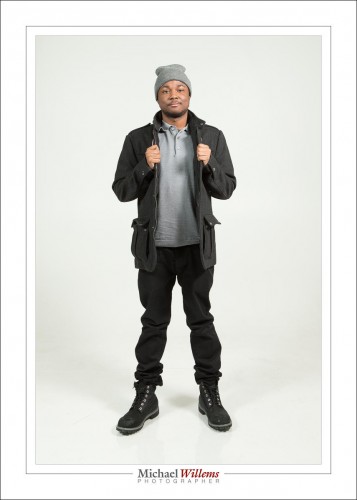
Isn’t that much better than forced, fake, smiles? Parents have been conditioned to expect the latter, but please, try to take the former. Moments and personality, not “necessary smiles”. Those are perfect for good business portraits (Friday):

So – think what the portrait’s message  should be. Real personality? A moment in the life? Then shoot those moments. Competence and trustworthiness? Then the latter picture is perfect.  Just try not to mix up the two.

And never tell a boy “SMILE”. You can say “Laugh”, or much better, make them laugh.

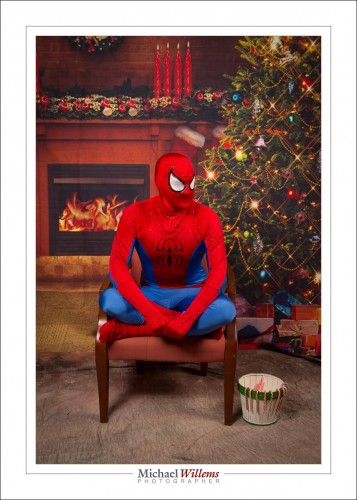
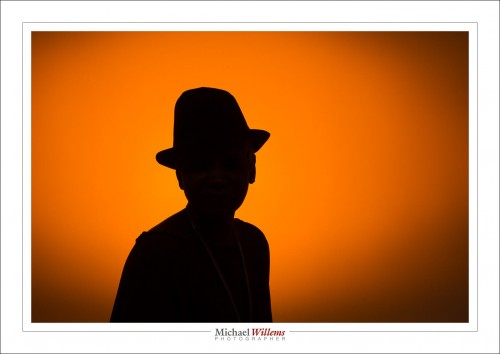
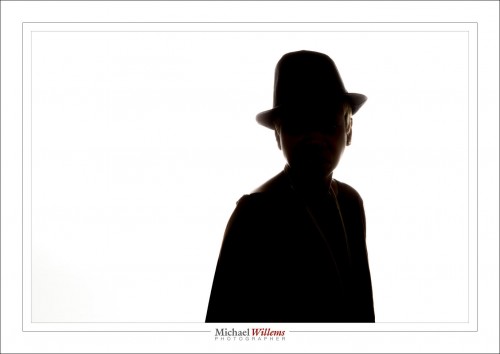
Sometimes, however, you just cannot get an expression.


Lightroom issue to watch

A small Lightroom issue to watch if you sometimes shoot tethered (i.e. with the camera connected to the computer in real time). Like me today. Connect with a cable, then File-Tethered Shooting-Start and you’re good.

But. Since LR 5.0, this sometimes stops working. At random intervals. Sometimes after 15 minutes, sometimes after many hours. Then you have to stop and start tethering.  So if you tether, make sure you check after every shot that that shot gets to the computer.

So far, Adobe has not acknowledges the issue, but that is nothing new. Pretending it ain’t so is nothing new to software companies – any software companies. Alas. Yes, it makes financial sense, but it is dishonourable.


Filters

As you know, I am not a fan of leaving UV filters on your camera all the time – they can increase flare.

And a polarizing filter (a dar-looking filter that can turn) should definitely not be left on, because it eats several stops of light. But it does have its uses. Main among these: make a blue sky more saturated blue.

Like this “blaah” sky of last May (oh how I wish it was May again):

Put on a polarizer (“c-pol”); turn it just right; and voila:

Note that this works best at angles perpendicular to the sun. If the sun is right in front of you, or right behind you, the polarizer will not do much. This also means that very wide lenses will give you an uneven sky.

But yes, carry a polarizer for your lenses (other than the widest, perhaps). For this and other uses, too, like removing reflections off non-metallic surfaces.


Portraits today

So today I did some portraits. Corporate portraits, like this, of a successful executive with Toronto in the background (shot from the 49th floor):
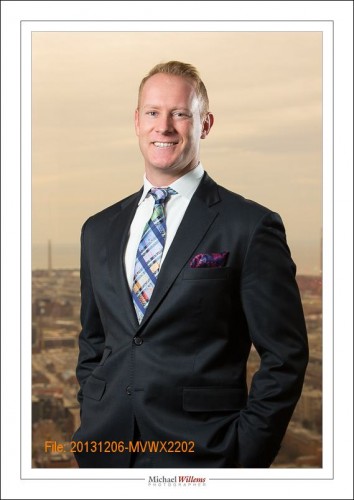
Yes, that is the city, not a backdrop.

If you need a business portrait, call me and we will set it up. It’s what I do.

But if you want to do your own, it occurs to me that it might be useful for me to talk through some of the work and some of the decision points that go into a shoot like this.

First, there’s the equipment and preparation. You will know enough about that if you have been reading this blog (if not: the e-books are still on a Cyber Week “both for the price of one” sale).  Decision one: what to bring. That’s simple: my flash bag (big roller bag) and my light stand bag (including a tripod); as well as two cameras. 24-70, 70-200, and just in case, 16-35 lenses.

Then the time. Some 90 minutes in traffic, and parking, and getting back. And setting up all sorts of lights and umbrellas, which took half an hour. And then waiting for the executives. And post work, and talking with clients about what to pick – altogether more work than you may at first have thought. It is not a “click and you are done” thing. And double that, since it involves me and an assistant (the talented and reliable Denise).

Then there’s setting up the flashes. After talking with the client, I decided to use the city below as background. As you will have seen in this post, that took some doing. It always does: you have to allow time for this. A tripod is quite essential, as is tape to “mark the spot”. As seen in that prior post, setting up the correct exposure, balancing my flash with ambient light outside, can be a lot of work.

Then positioning (not “posing”: people freeze). That too can take a while. Making a subject feel comfortable can take a while. One shot does not work; multiple shots to show good and less good sides, and to make really sure that you get a few with great expressions.

Then the same kind of decisions again for the group shot. A bigger group, so the hallway I used last time was going to be too narrow. So I used the wall “going off into infinity”. First, assistant Denise and I tried the geometry: “how will we fit it in”. Here, I am pretending to be four people:
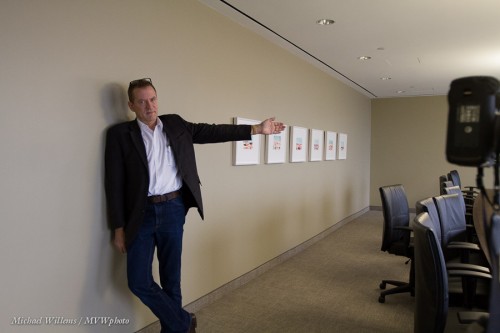
Then of course, moving furniture is also often needed.

The final group shot, lit with two speedlights in umbrellas and taken at 1/13th second, f/5.6, 400 ISO, and yes I was using the tripod, looks roughly like this:
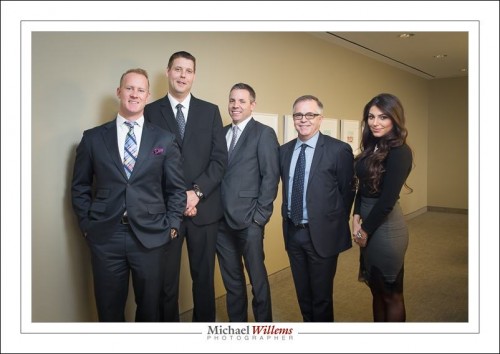
I say “roughly”, because (a) this is not the shot selected (that’s for the client); and (b) after being chosen, a shot then needs cropping, fine adjustment of exposure and colour, and removal of things like the ceiling artefacts (in the shot with me, they are still present).

I suppose in summary I would say that to do a good corporate portrait, you should first know your craft, and in particular know light; then you should consciously decide on the type of portrait – environmental or simple; what mood; who is the market for the photo. And then you should design the shot. And then execute it, re-tuning if things do not work the way you had intended.

Above all, allow yourself enough time, and make sure you think about the decisions. “Just doing stuff” seldom leads to good results. It also helps to have some “safe shots” that you know you can execute. Just in case your other plans do not work out.

Oh. And have fun. And if it’s a little much for you, ask me to come do it: I’ll teach you some tricks while we are at it.


 

Fill The Frame

One thing I see very often in students is a reluctance to fill the frame. Get close, exclude everything that is not your subject.

And yes, sometimes you should include lots of other stuff. But often, getting close is a great way of getting intimate with your subject. And yes, you can sut through heads.

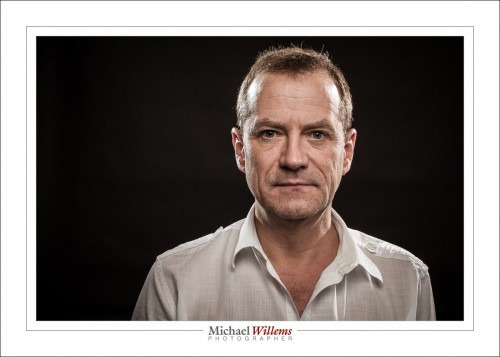
Consider these two self portraits:

The second is more powerful. Sure, sometimes you want “everything in the picture”; but often enough, getting really close makes for a better picture. Go try it now. Take a portrait photo like the one at the bottom and see how you like it. It may surprise you.

Here’s a couple more self portraits to finish on:

Enjoy your day!

___

Have you bought both my ebooks yet, at 50% off for Cyber Week only? If not, head on over to yesterday’s post: http://www.speedlighter.ca/2013/12/03/cyber-week-sale/

Rim lighting

Remember this shot from the other day?

To achieve that, I use two flashes behind the subject:

  • Each one is at 45 degrees behind the head (one left, one right).
  • Snooted or gridded, to avoid light “going everywhere”. You can also use Gobos but then you need two on each flash, or more light will fall on the background.
  • Aimed carefully to not hit too low. When using snoots, be very careful as a mere millimeter up or down will often be too much.
  • Metered normally, or brighter (I like +1 stop, to “just when the blinkies start to appear).

To make sure I get ot right, I start with just the rim lights.

Note that of course this can only work when there’s not too much hair covering the face. When the subject has hair going forward, you get something more like this:

Still nice but it is no longer rim lighting, and hair shadows will often get in the way.

Little hair works:

(You think I should shave before doing selfies?)


Cyber-Week Sale!

Have you always wanted to be able to create proper portraits? Like this self-portrait, which I made minutes ago (in minutes)?

Of course that is not the only “proper portrait”: there are almost as many portrait styles as there are photographers. But they do have one thing in common: the photographer knows light. And often, that means the photographer knows flash.

And that’s probably not the only thing you have always wanted to be able to photograph. But it has just eluded you except for some lucky hits.

Well, I am here to help. As you know, I am a full-time pro and educator, and I have two ebooks available: the Photography Cookbook, a book with 52 “photographic recipes”: quick start settings and tips that get you good pictures immediately in various situations, from “fireworks” to “graduation ceremonies”. And the Pro Flash Manual, a guide to using flash: from knowing nothing to producing creative pro work. Both books are PDFs without DRM, and they retail for $19.95 each.

If you do not yet own the two books, go get them now. Because I really want you to learn these things, I have a Cyber-Week Offer: this week, get both books for the price of one. That is 50% off, for one week only.

To take advantage of this offer, all you need to do is head on over to http://www.michaelwillems.ca/e-Books.html and order either one of the books. Do not order both – order just one, and for that price of $19.95 I will send you both. Go do it now; enjoy the holiday period with your camera; and astonish your family and friends with your sudden expertise!


Studio Tip

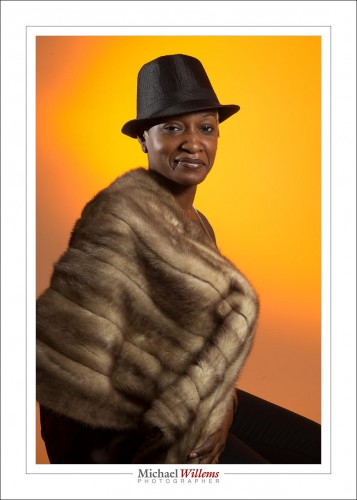
Look at these photos from yesterday’s studio lighting workshop to see how light makes a picture different.

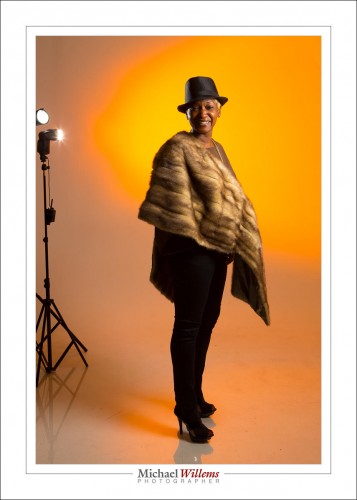
Here’s Roxy with one gridded flash on the left, giving us split lighting; and one gridded and rust-colour gelled flash aimed at the background. Both are speedlights driven by Pocketwizards and set to manual power. The image is a little desaturated; otherwise SOOC (“straight out of camera”).

Here. a softbox on our right (s small Honl photo softbox), and the same background light. Just two flashes!

Now let’s turn off the softbox flash:

Now kets’ light up the background more, to get wraparound lighting:

And back to normal, but now with an additional snooted flash for rim lighting on our left:

Here’s two of those flashes visible. Note also the reflection: a plexiglass sheet she is standing on. Note, I “Lightroomed” out the edges of that plexiglass, which took only seconds. Otherwise, like all, SOOC.

Can you see how each shot looks different depending just on light? It behooves you to learn about light, it really does, since with light you can translate a vision into reality. That’s what this is about!

___

Talking of learning: Season shopping? Get a personalized gift certificate for 3 hours private coaching with Michael for your loved one. Available now!


Light him up

That’s what cops say when they discuss stopping someone in traffic. But it is what I say when I am talking about studio lighting.

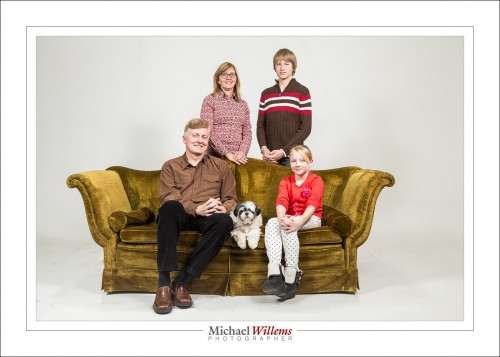
For a family, as in the course I taught Sunday for the Ajax camera club, I use simple lighting: two umbrellas (they throw great soft light everywhere), one on each side:

Not a lot of modelling (shaping with light), but very suitable for a group. Easy, foolproof, nice and crisp lighting.

Now, when I have one subject I can of course do the same:

And sure enough, that works. But can you see how much better it works when I turn one of those flashes up a stop, and the other down a stop? Here:

See that? We have now shaped (modelled) the face and made it into not a flat shape, but a round shape. That brings the person alive. There is a slight shadow behind him. That also brings depth into the image.

Altogether a better idea when you have one person – usually. In the next datys,more examples of studio lighting.

In these pictures, the camera was on manual, as were the flashes.  1/200th sec at f/8, 400 ISO.

Why those settings? I want to kill the bright studio ambient light (high f-number, low ISO, fast shutter). But I am also cognizant of the fact that I am using speedlights, which have limited power, especially once I fit them with modifiers (that means low f-number and high ISO). So I need to find a good middle point. And that was it, in this studio.

More on studio flash in the next days. Um, and if you enjoy these posts, don’t forget to tell all your friends to check speedlighter.ca daily.


Print.

I have talked about this before: make use of your work.

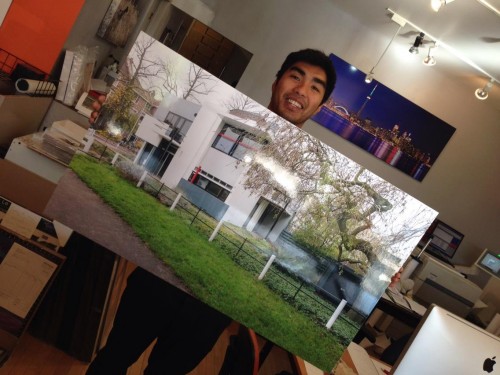
And prints are an excellent way of doing that. Here’s a print I just picked up that other day at the printer – a print I made for a friend and client:

It’s not terribly cheap, but it’s not terribly expensive either, for what it is. Now, I am having it framed. The same goes for framing: It’s not terribly cheap, but it’s not terribly expensive either, for what it is. It’s worth it to have art on your walls.

A print is, oh, 1,000 times better than a picture on your PC, Mac or iPad. A tactile, real, thing that will liven up one of your walls forever. That you will look at multiple times every day. That your guests will see without you making a point of showing them.

A print has more pixels than your screen, too, so it looks more real. You can study its detail. Plus, it is larger, which also makes that easy. For me, a 13×19″ print is a small print. For wall use I often recommend metallic paper, 40″ wide, such as the gentleman above is holding, Then, a simple frame around the edges – I use metallic prints often, because not only are they sharp, but also because they need no glass that distorts. If it gets dusty, you can wipe it.

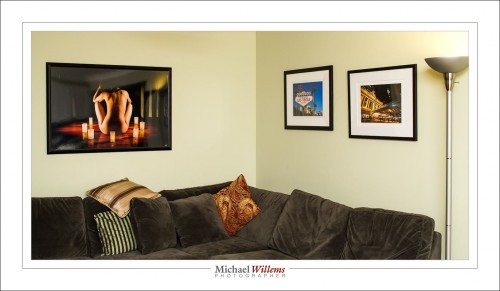
Here’s one 40″ on metallic, and two framed and matted 13×19″ prints:

I just bought a little Canon Selphy 4×6″ printer, too. 4×6 is small, but even at that small size, a print has something special.

My advice: Go back to that special, and use your photos to make prints. Or if you have had a photographer make photos, then order some prints, too. Enjoy photography!