Grey.

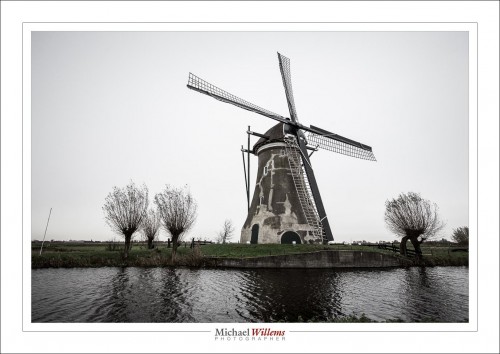
A windmill. The Netherlands. What more can I say? And sometimes you cannot get any definition in the sky. None, zero, nada, zip. A grey definition-less sky is just that. Don’t sweat it.

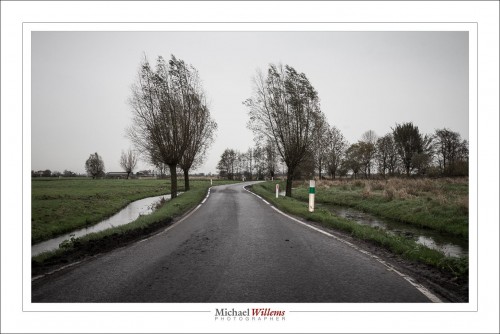
I am leaving the Netherlands tomorrow, and regular programming will resume after my return. Without windmills or rural small roads like these, also yesterday:


Trixie

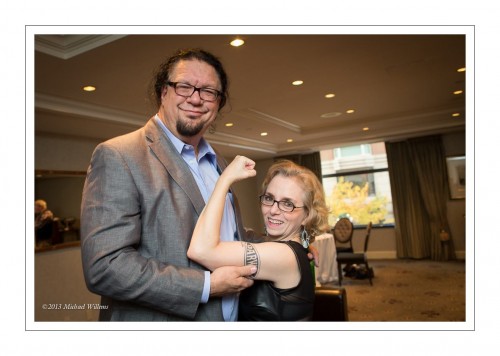
Look at this recent photo of Penn Jillette and a fan:

Now, you need top know that Mr Jillette is a big guy. Very big. Very tall, in particular. And his fan is not all that tall. So the height difference is enormous.

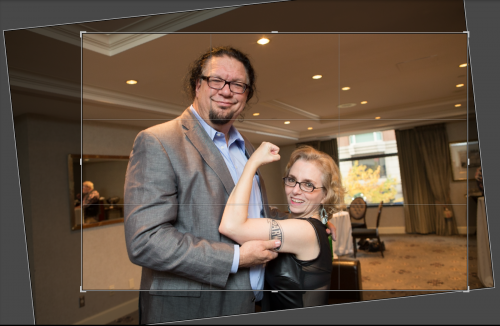
And hence, I did what I often do: I tilt a little. When I shot, but also in “post”:

As you can see, the difference is more pronounced in the original. Without making it ridiculous, you can manage to reduce such height differences by using this simple technique. While shooting or in “post”: tilt a little. Keep strong verticals out of the image if you can, tilt, and Bob’s your uncle.

History (2)

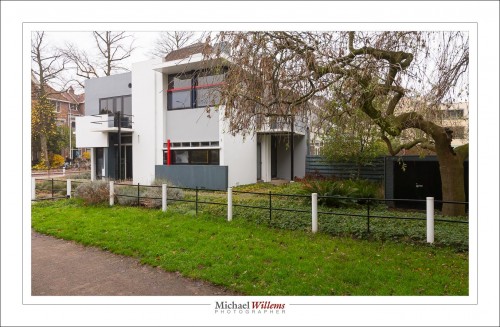
Regular programming will continue after my trip, but in the mean time, some more history. Utrecht’s Rietveld-Schröder house, a 1920s example of “De Stijl”, and  UN heritage site. This is a picture I am printing, on request, for a client:

200 ISO, f/5.6. I thought of going back if the weather improves, but why? This house was built for the Dutch environment and weather, so what better to show it there?

Architecture Tip: Walk all around the house or building you are photographing and shoot it from every angle. It’s often not until later when you see which angles really worked best.


History

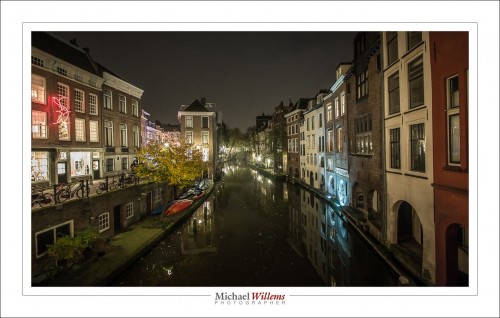
I am in the city of Utrecht, which is generally thought to have been founded around 50 AD. And tonight I walked around a little in the dark. And, as you would expect of me, I brought my camera.

To do this, I used a wide angle lens – the 16-35 (on a full frame camera, so it would be the 10-200 for you).

Why wide angle?

  • For the composition;
  • So that I can shoot at 1/15th second handheld (no tripod);
  • So that I can shoot at f/2.8 while still getting extended DOF.

I needed 3200 ISO or more to achieve that, but that is fine with a modern camera like my Canon 1Dx.

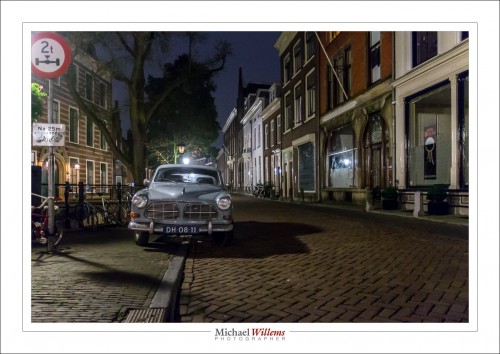
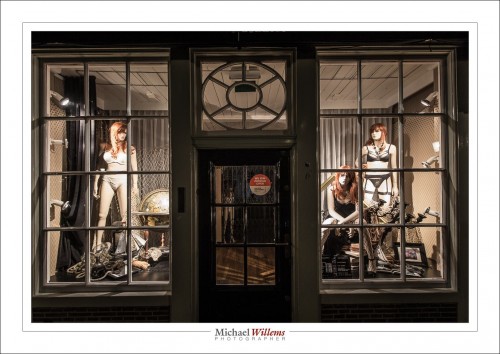
What do you look for? Local things. Typical local things. Like the car above, or this lingerie shop window:

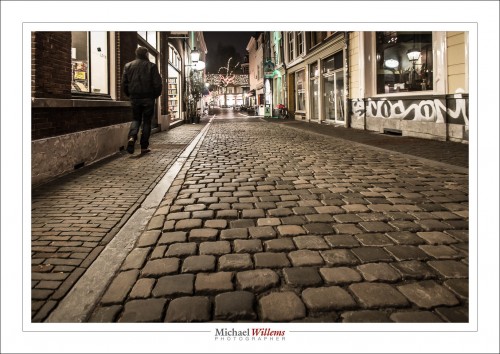
And things that show context and age, like the cobbled stones. With angles that emphasize your subject:

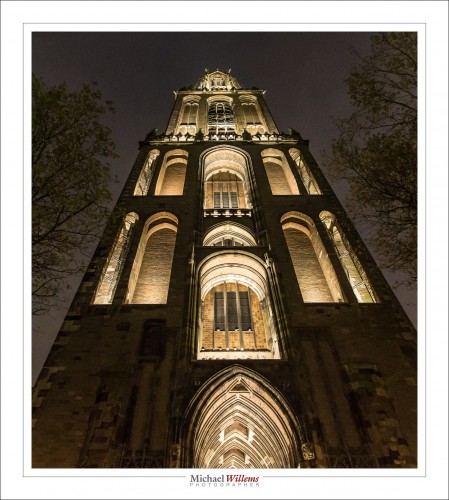
And light, like the lit Dom church tower (which since a tornade in the 1600s is separate from the main body of the church):

Even on a short walk through town you can come home with some nice pictures – provided that you bring a camera and use your knowledge of aperture, shutter, and ISO (and perhaps, unlike me, bring a tripod).

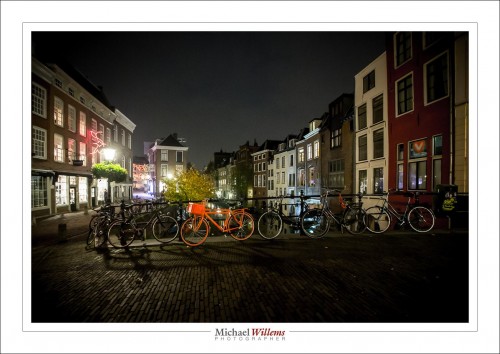
And do remember to, when in The Netherlands, shoot pink bicycles.


Flashes

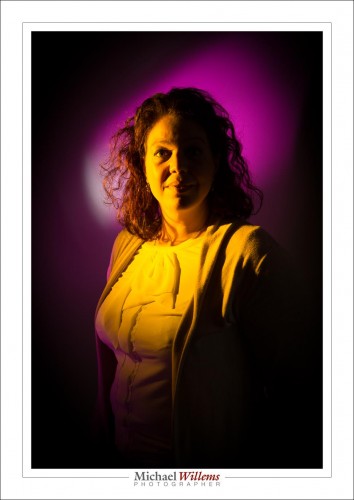
I am in The Netherlands, and in the past two days, I taught some workshops. Flash workshops. Reason to remind you of how much you can do with simple means: one or two flash units. As in… one: a low key “split lighting” shot.

A flash fitted with a grid on the left; with the camera on manual with “studio settings”: 1/125th sec, f/8, 200 ISO.

Or with two:

Similar setting on the camera; now one additional flash with a snoot and a gel. The colours are complementary.

And finally, a shot with three flashes: the first has a softbox, on our left; the second is a hair light, behind, aimed forward; and the third is a background light with a gel.

In that last picture, the ambient light is exposed properly (I.e. this does not use “studio settings”).

The key here is: keep it simple. All shots were set up in no time: minutes, with simple equipment. If you learn to use flash you can do this and much, much more.


Hide!

Hide the unwanted reflections, that is.

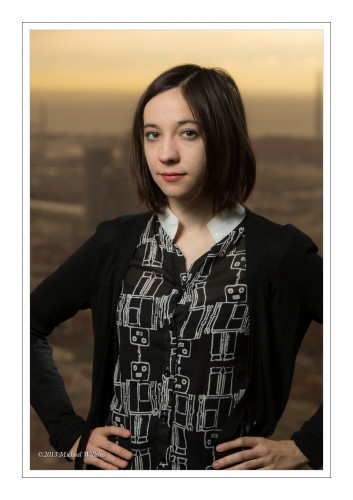
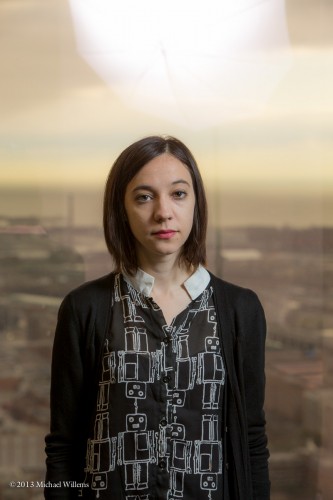
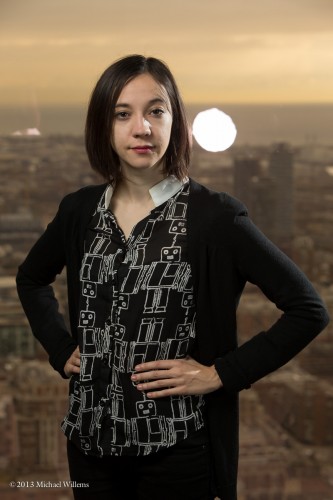
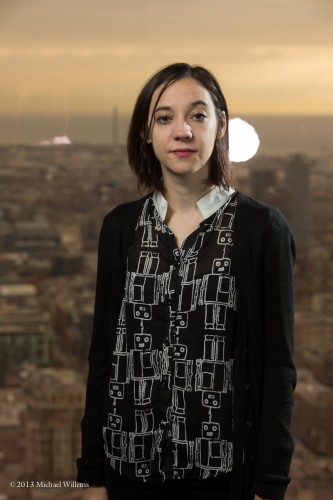
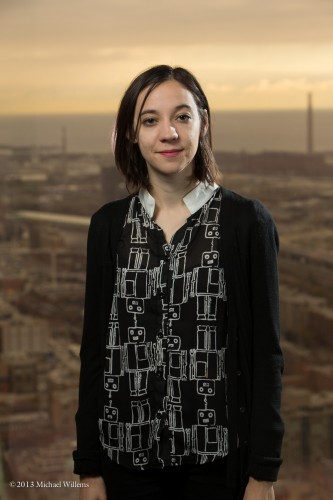
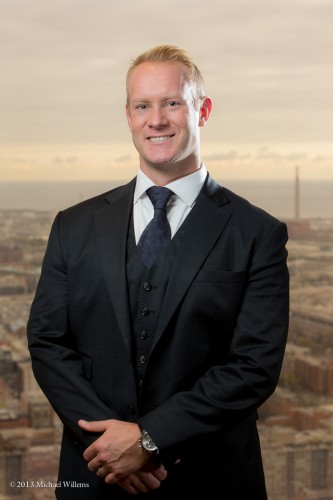
This photo was taken -by me- in front of a window, Wednesday morning (as set for a corporate shoot: Denise was my assistant).

I lit that with an umbrella on the left, a little Honl photo softbox on the right, and later a rim light right behind. So when we started, we had this, of course:

Moving the umbrella (to the left, where there was more space) and my tripod fixed that. But the fill light was more problematic:

Solution? move the subject a little…

A little more…

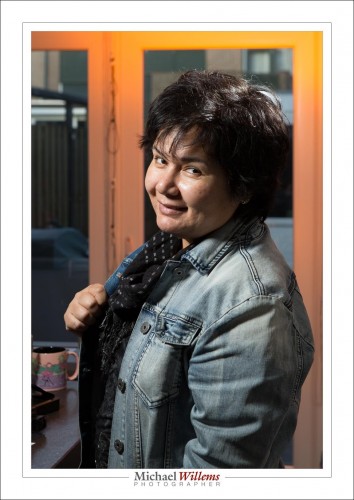
There we have it. Portraits resulted:

By the way, it has been pointed out to me that my assistant, here she is again…:

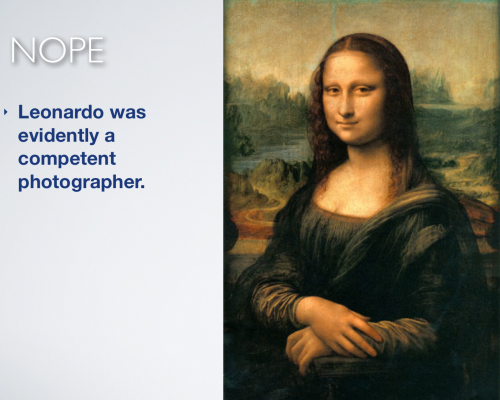
…looks like the portrait below. So, is all this light stuff new?

Nope, it isn’t. The similarity in colour and composition, and the enigmatic smile.. indeed, similar.  You recall my recent post about colour? (If not, scroll down a week). That’s the importance of colour. When you check images with Google, google uses colour and tone to find “similar images”.

ADMIN NOTE: I am on my way to Europe, and posts may be sporadic for the next week. But keep checking back. And press the “like” buttons above if you like my posts.


Real Estate Tip

Warning: do not look at http://terriblerealestateagentphotos.com/ because it is extremely dangerous to your health. Laughing so hard that your stomach muscles cramp up can cause lasting damage, even heart attacks. These images are hilarious.

So today, a quick tip or two about Real Estate photos.

Do not shoot snapshots. One way to avoid them is to not shoot from eye level.

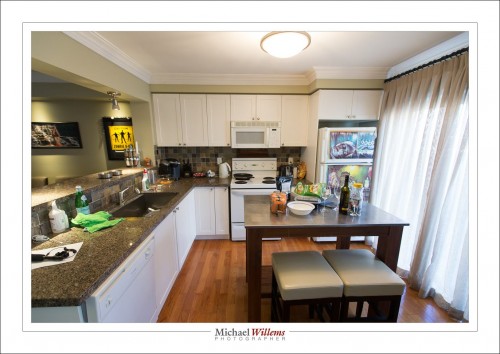
This was shot from eye level, using the wide lens you need for real estate photography:


As you see: diverging verticals and worse, a snapshot look.

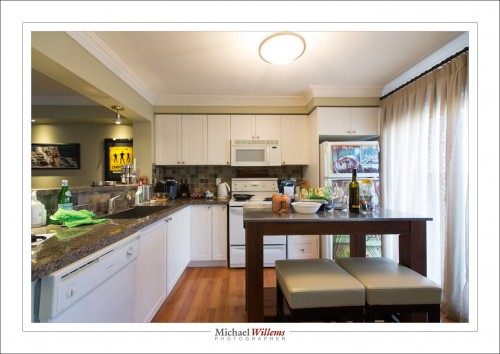
Now go down to 4-5 feet above the ground:

Much better. Be  careful that you do not look straight on to tables, and that you do not look at the bottom of kitchen cabinets, of course.

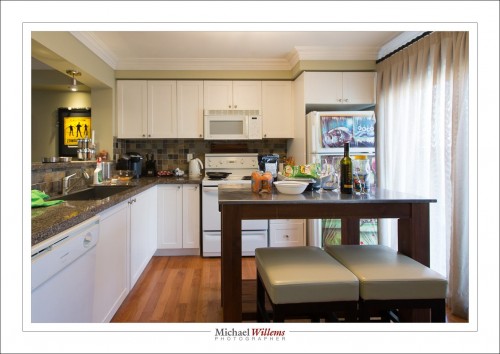
Can we go better? Sure thing. A lens needs to be wide, but not always wide all the way. The shot above is too wide. Look at that diswasher. Stretched beyond recognistion. So shoot a little less wide:

Is that perfect? No. The stools are still a little large, and the clutter is unforgivable. So this cannot be used as a real estate photo. But remove the silly yellow picture and the fridge pictures and get rid of all the clutter, and back off the chairs just a little, and it’s perfect.

And that’s just one tip for real estate photography. There’s a lot more, some other time. Or come to me for private training: it’s what I do.


Tuesday Mix

Miscellaneous notes, today.

First: a note on flash for my recent students. As you recall, flash gives you opportunity to do more. And to get the most out of the opportunities, the first question you always ask is “what should the ambient light do?”.

The answer can be: “nothing”. In other words, only the flash shows. This means “studio settings”, f/8, 1/125th sec, 100 ISO:
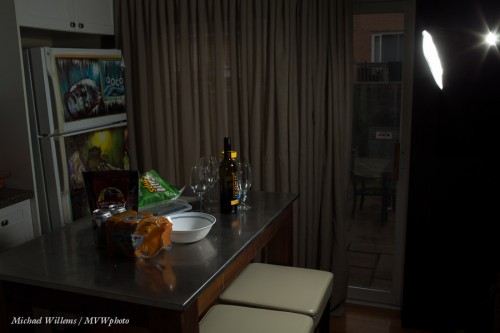
All the light is from the flash, since the settings make the ambient go away.

Or you can add some ambient light.

  • You can do that:by choosing lower f-number, or slower shutter, or higher ISO.
  • If we change the shutter speed, the flash can remain at the same power setting.
  • If however we change aperture or ISO, we also need to adjust the flash power (unless we use TTL metering, then the flash and camera take care of adjusting the flash power).

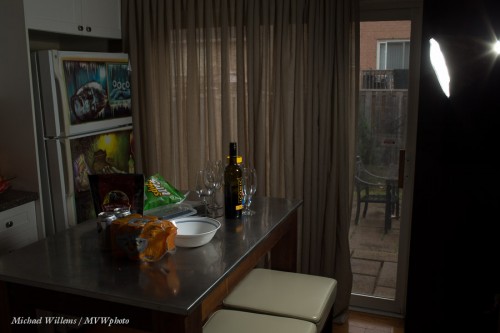
Here, a slightly slower shutter speed:
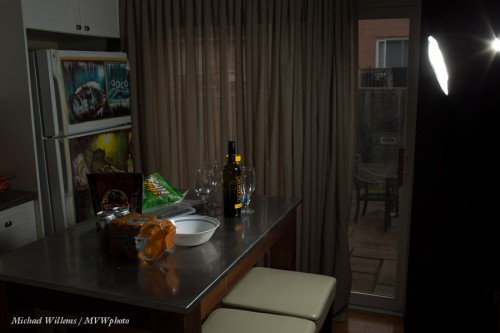
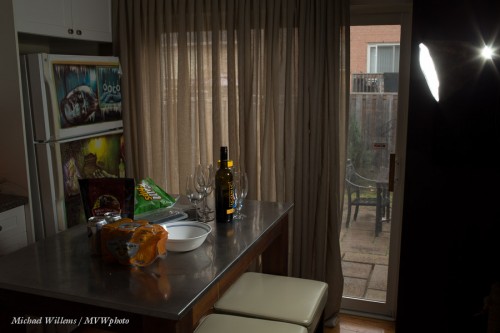
And more…
And slower still…
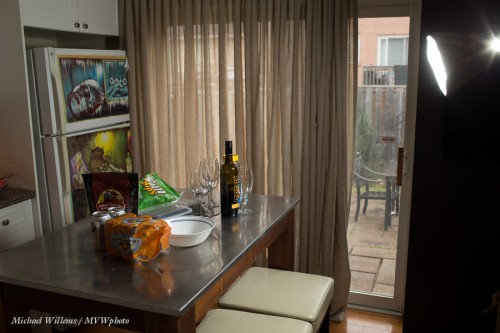
And even slower…
And finally:
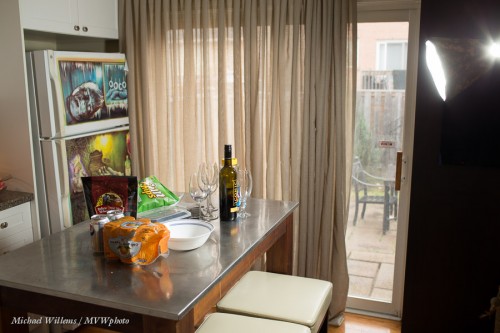
Now, the items on the table are lit at least as much by ambient as by the flash.

And this is your job, not the camera’s: to decide what the ambient light should do. Sometimes the answer is “a lot”, sometimes “a little”, or “nothing”, but it should be a conscious decision that is always your responsibility.

Second: I shall be travelling next week in Europe, so from tomorrow until Nov 23rd, posts may well be sporadic. Internet connectivity is not easy unless you want to unlock things, buy cards and hence disable your actual phone, or pay thousands (literally) to your ripoff provider. (Ripoff Rogers – yes, corporations are great, but when they charge thousands for something that should cost pennies, they are ripoff artists and deserve all the scorn we heap on them.)

Third: I am doing a very small Lightroom tutorial on December 9 in Oakville. Lightroom makes us more productive – far more productive. But you need to know how to set it up, how to organize your files, what to do and what not to do The secrets, the tips that make your life much, much easier. I will also ask you to bring some pictures, because we will do a practical picture critique and I will show you how to finish your images and in doing so, make them into images that clients, relatives, and you will love.

For this practical hands-on workshop you need a laptop, and I will take a maximum of only four students. The course takes 4-5 hours (it depends on your questions and experience: allow 5 hours just in case) and costs $195 plus HST. If you want to be part of this unique workshop, simply pay that  amount via http://www.michaelwillems.ca/Payments.html and in the comment field, indicate which course/day.

Fourth: have you checked out my Lightroom (etc) tips videos on YouTube yet? Here’s my video channel.

And finally: what are you doing here reading? Go make some photos!


Zoom zoom zoom…

Your lens can zoom, perhaps – if it is a zoom lens. But so can your flash.

How so?

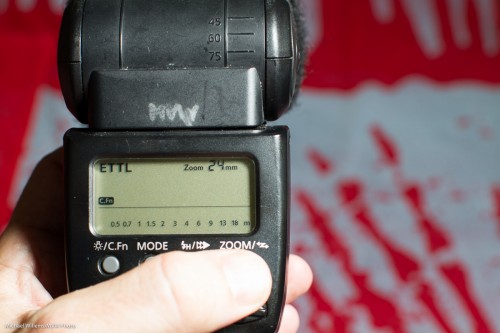
Normally, your flash zooms (an internal lens goes back and forth) to match the lens, in order to send the light to where the lens looks. Wide lens, wide beam; telephoto lens, narrow beam. On the back of your flash you see this:

“24 mm” means that a 24mm lens is connected to the camera. And the flash knows this, so it matches that.

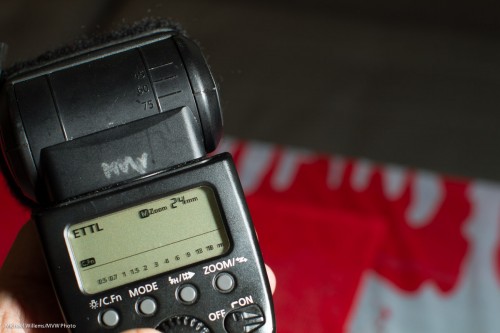
But when you press the “zoom” button at the bottom, you can manually zoom to a setting that you like. Like this:

“M zoom 24” means “manually set to a wide beam, corresponding to a 24mm lens”.

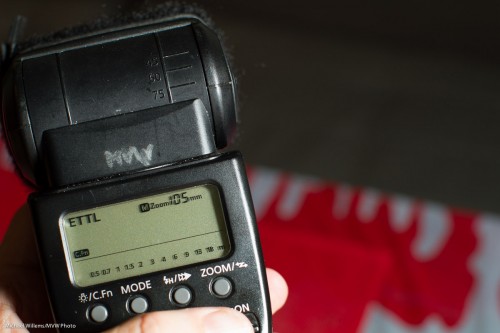
Or this:

M zoom 105 means “manually zoomed to a narrow beam, corresponding to a 105mm lens”.

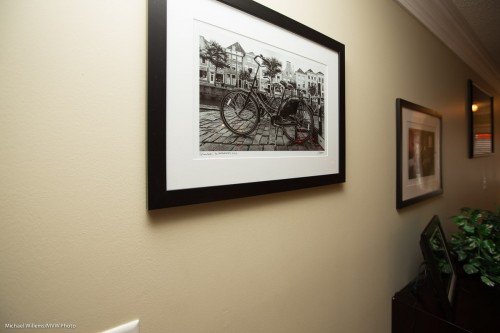
And when you zoom corresponding to the lens you may see something not unlike this:

But while you zoom “narrower than the lens”, you get a narrower beam:

So, the benefits?

One: you get vignetting, if you want it.

Two, you get a more powerful beam, so your flash will be able to reach farther.

Try it today – it’s yet one more technique you need to know to really know flash. This weekend, I taught flash courses all weekend, and this is the kind of technique I taught. Here’s part of today’s students:

More flash courses coming, including some in The Netherlands later this week. Fun!