Another example

…of outdoor flash here.

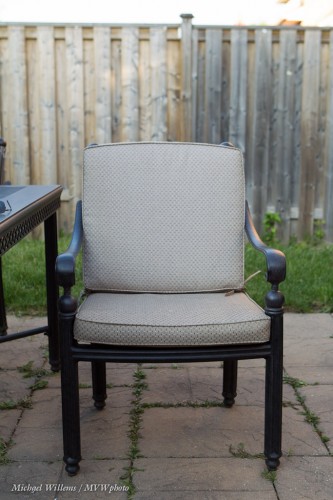
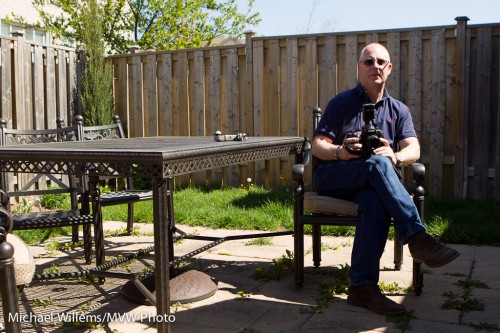
Take a typical back yard on a sunny day. Set your camera to “P”, or the green AUTO mode, or A/Av mode, and click.

Mmm. Why do we avoid just snapping? Because it can be a little boring and it gives you no control. Let’s take control, instead, and

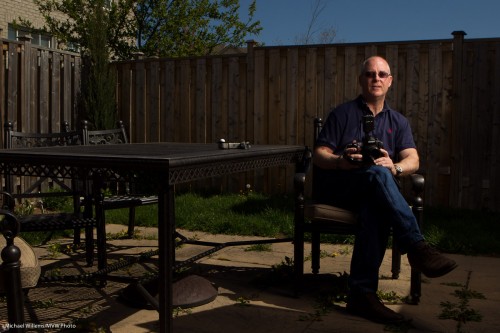
  1. Darken the background (I do it in manual mode, or you can do it by using “-” exposure compensation). Set shutter, aperture and ISO to give you a dark background (dark colour is saturated colour)
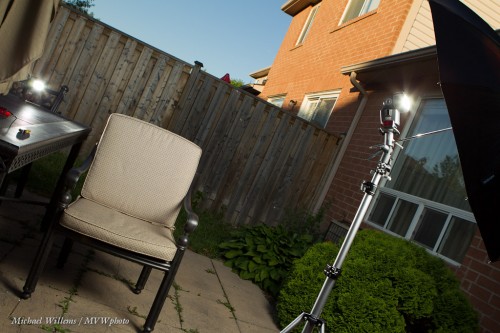
  2. Add a flash or two, using wireless TTL (wireless with manual flash power setting is better if you have the time and things don’t move position while you are shooting, but TTL is faster – I used TTL here):

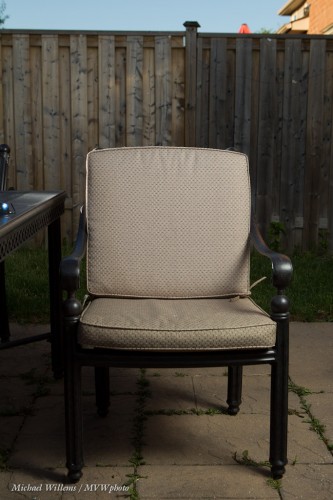
…which gives us a chair like this:

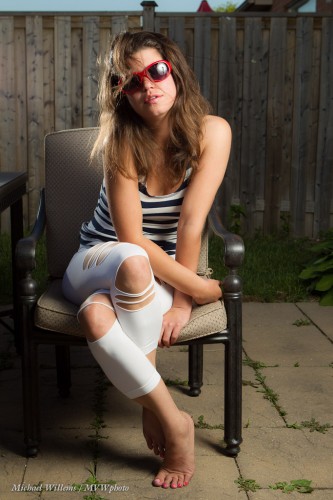
And a pic like this:

See how rich and blue the sky is (in the first picture it was featureless white)?

That’s a stock quality image and the point is, you can shoot it in seconds. Learn flash (from me in a private session, or wherever I teach) and your pictures will become immeasurably better.


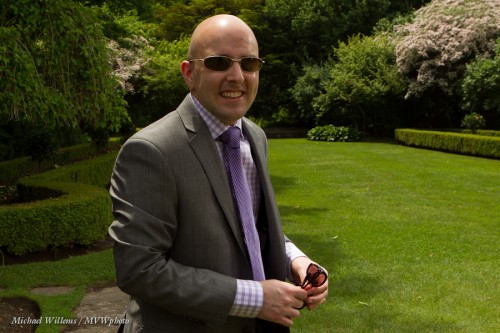
Here’s Matt, the groom at the wedding reception we shot recently:

That is the kind of picture you would get without flash. Matt is too dark, so I could of course add to the exposure (open the aperture, slow the shutter, or increase the ISO). That would make matt’s face well-lit, but it would also make the background brighter and hence less saturated.

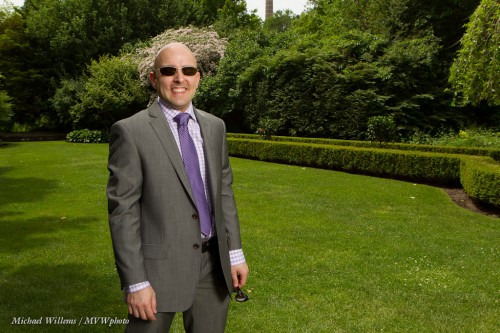
The solution is to use flash, of course, as all my regular readers know. A strobe into an umbrella and we get this instead:

Cool, no? And I do not just mean Matt, who is indeed very cool with the shades, but I mean the light as well. Try this, as the sunny days of summer approach.


Inverse Square: It’s The Law

The “inverse square law” regarding light dropoff says that light drops off with the square of the distance. I.e. an object 4 times farther away gets 16 times less light, and so on.

This law needs to be part of your DNA!

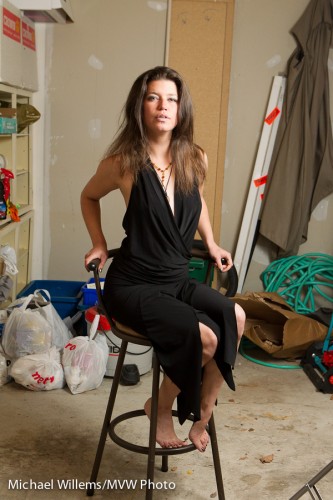
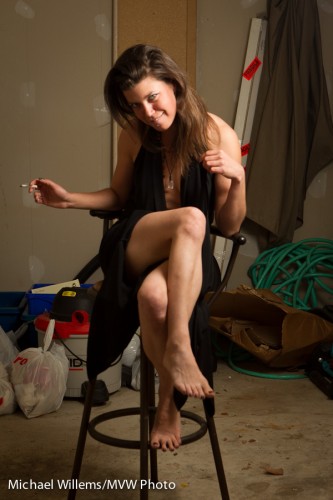
Why? Because it explains those dark flash backgrounds. And because it helps, too. Take this shot of my model Kim in a grungy garage, using an off-camera TTL speedlight through an umbrella on our right:

Fine. But what if we wanted a darker background? Remember Willems’s Dictum: “bright pixels are sharp pixels”.

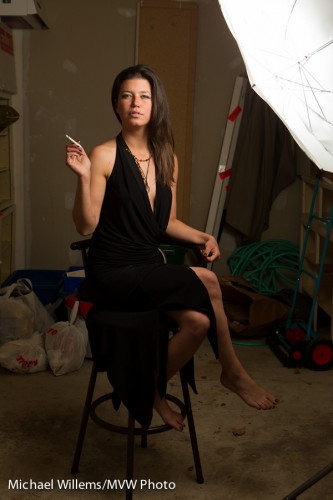
The solution is simple: move the umbrella closer to her. Then the background is farther away in relative terms, so it gets darker with the square of that ratio. So now we get:

And if we move ourselves to get the umbrella out of the picture, here is what we end up with:

Simple solution to a vexing problem if you like dark backgrounds!


Before and After: Why we use light

The following shots of yesterday’s student are a good example of why we use flash to create dramatic portraits outdoors, on a sunny day.

Say you take a snapshot, in automatic mode, of a person on a sunny day around noon. You get this:

A snapshot. Composition is fine, but the person is half overexposed, half underexposed; the sky is washed out. It’s why people say you cannot take photos at mid-day on a sunny day.

But flash comes to the rescue.

  1. Set your aperture, ISO and shutter speed to get a nice darker background. I like dramatic, so in my case this is a very dark background. Dark colour is saturated colour. Start by going to the fastest shutter speed you can use when using a flash (e.g. 1/250th second), then set aperture and ISO to get darkness. (I used manual mode, and set my camera to 200 ISO, f/13 in my case).
  2. Use a flash in a modifier – to “nuke the sun” (overpower sunlight). This needs to be a powerful strobe, or a speedlight very close to the subject. I used a Bowens strobe with a softbox, powered from a Travel Kit battery.
  3. Now meter the flash, using a flash meter (or trial and error). Adjust the strobe until you read the same aperture you just set.

Now you get this:

Isn’t that much better? The subject is now the “bright pixels”. And bright pixels, as you know, are sharp pixels!


Flash 101 reminder

There are two ways to use flash. Always keep that in mind, because you decide which one it is for any given shot.

2. Flash as the only light source. You would do this in a studio setting.

If you want this, select an aperture-shutter-ISO combination that makes the available light go dark. Like 1/125th second, f/8, 200 ISO:

2: Flash mixed with available light. You would do this at a party.

If you want this, select an aperture-shutter-ISO combination that makes the available light show up too – maybe two stops below normal. Like 400 ISO, 1/40th sec, f/4 (the“Willems 444 rule”):

Simple, once you realize this: the flash is separate from the ambient light. In TTL mode, flash is metered separately.


Outdoors light, or, Umbrella RIP

I shot some model shots outdoors today, in very difficult conditions. Outdoors in varying light: often, ouch, direct bright sunlight. And very windy – up to 95 km/h gusts – which means a light stand with an umbrella, which after all is like a sail, gets blown over constantly.

And outdoors on a bright day you need a flash, and preferably a modifier like an umbrella or a softbox.

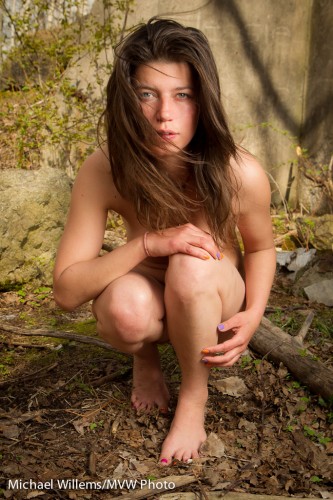
That gets you well-lit shots without horrible shadows. Shots like this one of today of my model Kim (from my Tumblr site):

What is the challenge outside?

  • You want to expose the background right – you want to make it dark to bring out saturated colours and to make your subject the “bright pixels”.
  • That means low ISO, fast shutter, and high F-number.
  • But you cannot exceed a low speed like 1/200th of a second (your maximum “flash sync speed”)…
  • And low ISO and high F-number reduce the effective power of the flash…
  • …so for flash you would ideally like high ISO and low F-number, since your flash needs to be powerful to “compete with the sun”!

That is why you need a large flash, like a battery powered studio strobe. So using a speedlight can be a challenge.

And yet, I managed, as you see. Partly by holding the umbrella close to the model. And by tuning all the variables just right. The umbrella did die, RIP; but it was worth it for the shoot. Yes, you can do it with a simple off-camera TTL speedlight!


A good on-camera flash portrait in simple steps!

As said here before, this is not rocket science, really. Just technique. Let me illustrate with a portrait of a student in my class an hour or so ago:

CAMERA – Set your camera to MANUAL mode. Select, say, 1/125th second at f/5.6 and 400 ISO. This will make the ambient light disappear so the only light is your flash.

FLASH – Use an on-camera flash. Make sure this flash is in TTL mode. Since you are shooting against a white wall, turn flash exposure compensation (“FEC”)  to +1 stop.

AIM: Start by aiming the flash straight at your subject. Baaad:

(Just look at the shadows, the deer-in-the-headlight look, the skin, the shadows: Ouch!)

To improve this, now aim the flash behind you, upward at 45 degrees:

Much better. Especially for women.

But for even better results., often used for men, now turn the flash to your right, and still 45 degrees upward. Now you get Rembrandt lighting:

Simple, innit?

Go try this right now!


Bouncing and long lenses

When shooting an event, you would usually use a somewhat wider lens (a 35mm, say, or a 24-70) and bounce the flash behind you, upward – you have read this here many times.

But when you take candid shots with a longer lens, behind you does not always work: to get the righ angle of attach of the light to your subject, you have to bounce forward. I have mentioned this here too, but let me illustrate with an example.

Straight on is not good: hard shadows and “deer in the headlight” eyes. Even when combined with lots of ambient light to minimize this effect, it’s still not great:

But sometimes, bouncing behind is just too far. When you are far away, 45 degrees up but forward is better – but the problem is that some of the light goes straight to the subject:

See the hard shadow under the chin, in the picture above? Especially if there is a wall behind the subject this will be unacceptable.

So then you block the direct path with a bit of a flag (your hand right in front, or a reflector with the black side used to eat up the forward light – so it sticks jus a little above the flash head. You now get this:

So.. when you take flash pictures, just as in yesterday’s lesson: remember where the light goes!


Portable Studio

Your on-camera flash is a portable light studio – provided you use it right. That means:

  1. Finding the right balance between that flash and ambient light. In many cases I want the ambient light to be the fill light, so I set it to -2 stops. My flash will be the key light.
  2. Bouncing the flash.
  3. While bouncing, aiming the flash to get the effect you need.

That third step is essential. To see why, look at the two examples below, of a kind volunteer in yesterday’s Sheridan College class.

Picture one – I am aiming the flash behind me. That’s just like having a large umbrella behind me: butterfly lighting:

And in picture two I swing my flash to the left, still behind me. Now that is like having an umbrella on my left, behind me. This results in broad lighting, which gives the face some modeling, some dimensions, some roundness: in other words it is now a three-dimensional face, not a flat face:

See what I mean? Beginners often fail to think about where they aim their flash, while this is one of the most important steps. Try!


Light direction

When you use a simple bounced flash, always ask this:

“Where should the light be coming from?”.

And then that is where you point your flash.

So if during a custom workshop at Seneca College I want to light up Seneca student and reader Danny Lee with lighting that compliments a man and provides some modeling, I want light from the side – so I aim my flash behind me to the right:

If, on the other hand, I wanted to light him evenly, which makes the face look flat and featureless (and women like featureless because “featureless” also means “wrinkle-less), I would aim the flash straight behind me:

So today’s lesson: always watch where your flash is aimed, and enusre that that is where you would like the light to be coming from.