Trick-repeat

I shall now repeat a flash trick I have mentioned here before several times, in 2011 and 2013. Time for another refresher.

You all know how important it is to avoid, at least when the flash is on your camera, direct flash light reaching your subject. Both in order to avoid “flat” light, and especially to avoid those nasty drop shadows, like this (don’t do this at home, kids):

But you have also heard me talk (and those who come to my upcoming flash courses will learn hands-on) that you should “look for the virtual umbrella”. For most lighting, this means 45 degrees above, and in front of, the subject.

So when you are close to that subject, you aim your flash behind you to get to that point. Good.

But what when you are far, as when using a telephoto lens? Then the “virtual umbrella” may be in front of you. And aiming your flash forward is a no-no, since the subject will be lit in part by direct light.

A-ha. Unless you block the direct part of that light!

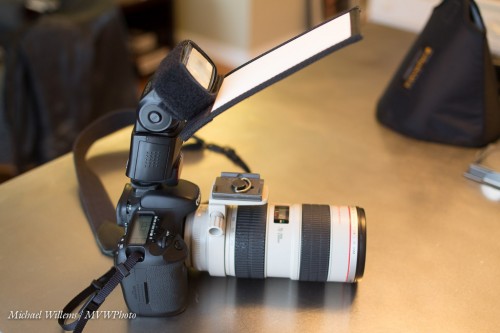
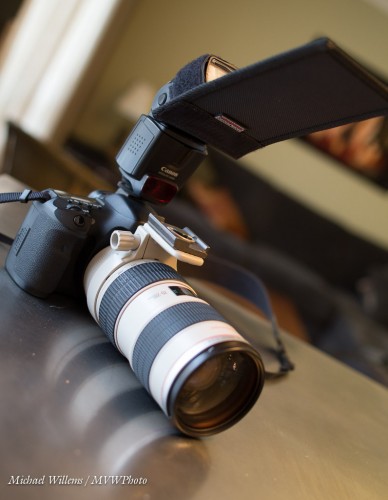
Like this:

As you see, I use a Honl Photo bounce card/gobo to block the direct light. Simple, affordable, and very effective. I use either the white bounce side, or the black flag side, depending on the ceiling and position.

Simple, effective – done!

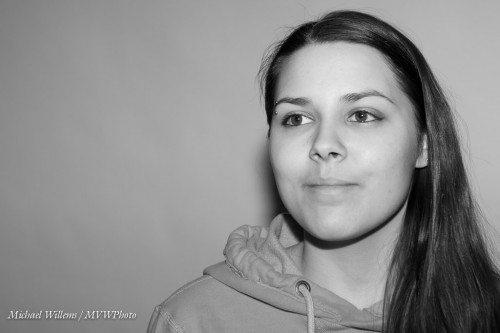
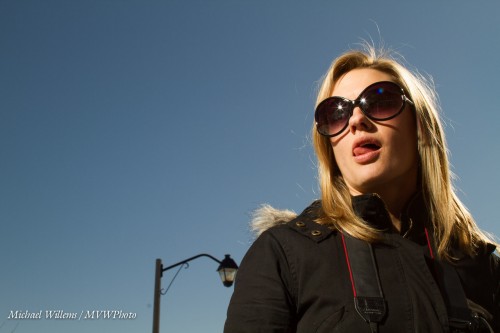
And one more thing. Direct flash is not bad per sé. Not at all. As long as it is not coming from where your lens is, it can be very effective, like in this “funny face” shot of a recent student (you know who you are):

Lit by a direct, unmodified flash. And the hairlight, the shampooy goodness? Yeah. The sun. Just saying.


Take direction.

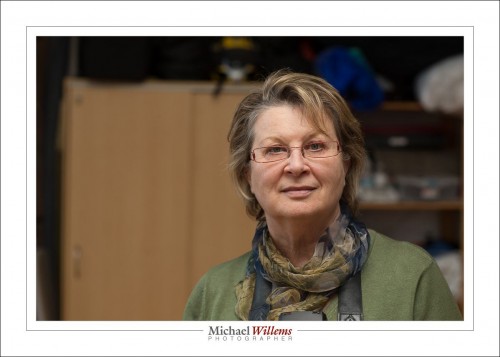
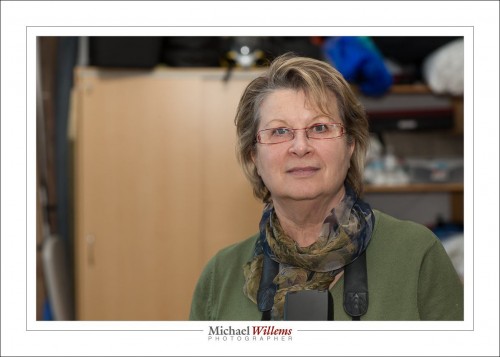
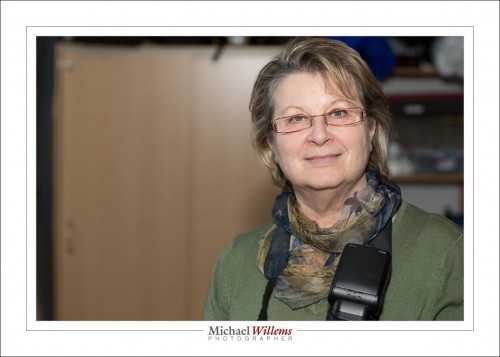
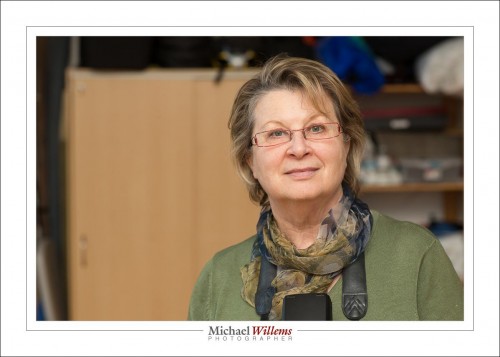
I took a few photos today of talented photographer Lisa Mininni, to demonstrate flash direction to her when bouncing; and I thought I would share them with you here.

I often see people, even pros, walk into parties bouncing their flash straight up, at 180 degrees. Here:

Not good: dark eyes. Because of the straight-up bounce, the light comes from straight above. So the eye sockets fill with, well, with darkness.

Next, I see people all the time with their flashes aimed 45 degrees up, forward.

What’s happening here is that the light lights up the subject’s forehead, and the ceiling above and behind them. As we go down, it progressively lights less.

Now, we use a reflector. I have seen those in use many times before. I get:

Not bad. But.. a little harsh. The light could be better.

And when I see “better”, I mean bouncing 45 degrees behind me. Provided there is a roof, cekling, wall, somwethign to bounce back light, you can do this. Even with high ceilings, as in the studio I made these in, where I would estimate they were at least 13 ft high:

Perfect. To really see the difference, view them large and download to your computer.

Now, keep in mind:

  • 45 degrees behind is merely a starting point. And a good one. But the real way to do it is to start with the subject’s face. From there, mentally draw a dotted line to “where the umbrella would be” if you were in a studio. Now continue that line, and where it hits a wall or ceiling, that’s where you aim.
  • What I am talking about here works—usually. But each situation is unique, so “never say never”. Sometimes, “straight up” or “forward” are the way to go.
  • I am mixing with ambient light. A good starting point for that, as regular readers know, is the “Willems 400-40-4 rule”: 400 ISO, 1/40 sec, f/4.
  • Watch your power. If the ceilings are too high, or if you need to use a small aperture like f/8, you may have to go to higher ISO values.

Using a flash is easy once you know how. Learn, and see how amazing the options are that are now open to you.


TIP: My courses and books will help: see http://learning.photography—special Christmas pricing applies. Joining the Facebook Speedlighters Forum on https://www.facebook.com/groups/SpeedlightersForum/ will also help: many people will help you learn.


Always look on the bright side

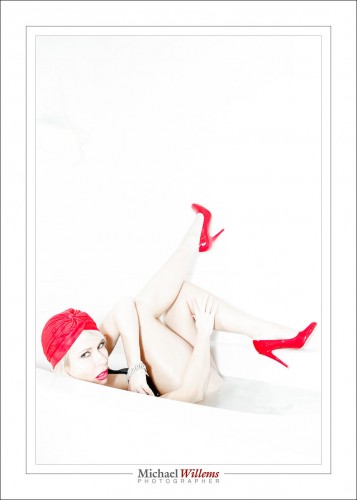
When lighting skin, there’s one rule I go by: I light it brightly.

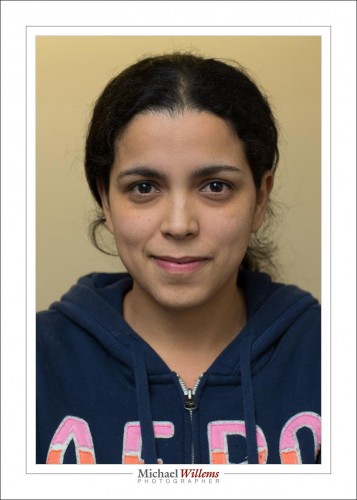
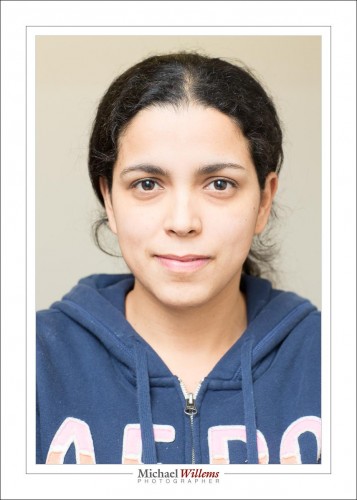
This student on my college course looks great and pretty:

But look what happens when I light her up 1.66 extra stops:

Her skin looks even better.

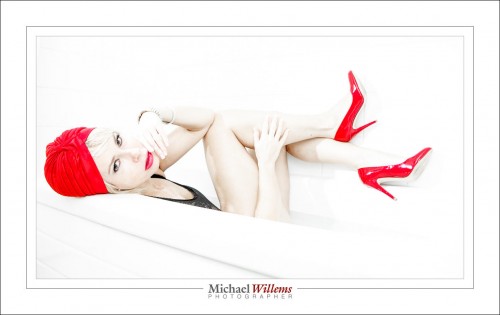
So when I use flash, I expose 1-2 stops over normal, by using flash exposure compensation when using TTL flash, or by increasing flash power, or by simply exposing more when using available light. You will see a lot of high-key images in my work:

Those are from a shoot I did today. One on camera flash, manual, 1/4 power, camera on 400 ISO, 1/125 sec, f/5. And one flash on my left, set at 1/32 power, aimed direct at the subject through a 1/4″ Honl photo grid.

Can you seen the effect of the individual flashes, and of exposing so brightly?


Evolution of a shot

How do we set up a shot with both ambient and flash light? Let’s look at one.

Let’s start like this:

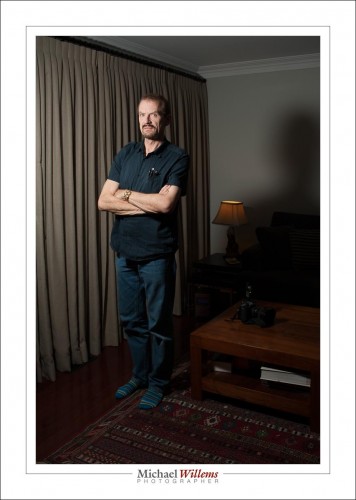
That’s the studio setting: 1/125 sec, f/8, 200 ISO. Ambient light plays no role. That is the definition of the studio settings.

Is that what we want here? I would say no. We want to see the lamp!

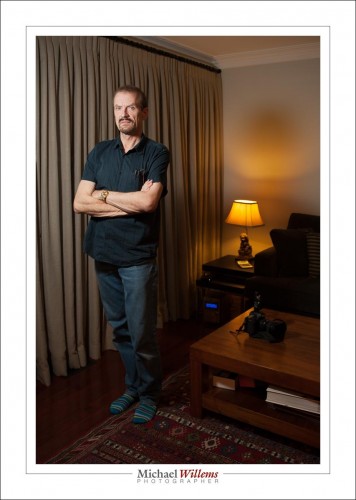
So now, let’s mix in ambient light, shall we? We aim for –2 stops on the light meter. Here’s 400-40-4, which gets me very close:

That’s 400-40-4 (i.e. 400 ISO, 1/40 sec, f/4): the “party setting”.

Much better, if we want that mix.

Now let’s open that curtain and take a look. Fortunately., the outside light and the lamp are in the same range, so I can set my camera for either of those. 400-40-4 will do it. If I had to choose, I would choose based on the lamp, the most important element.

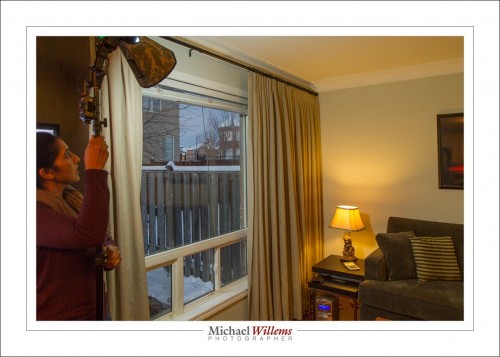
Because I want no light spill from the flash into the rest of the room, I do not use an umbrella. Instead, I use a small Honl photo Traveller 8 softbox, held close to the subject. Here’s student Arsheen setting it up:

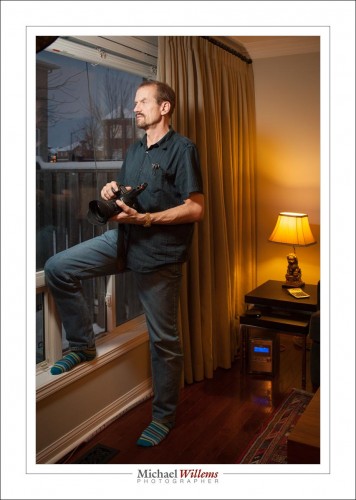
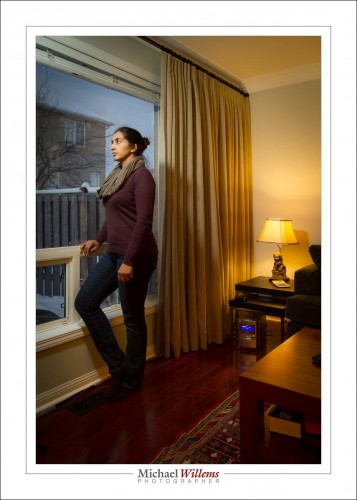
That gives me the final shots:

That mix of warm and flash light: beautiful. But that’s my taste: you can do your own, develop your own style. And that is what flash is all about.


Shoot

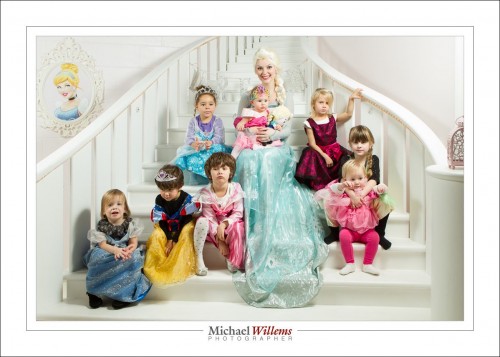
Last night I photographed a party. Let me take you through that: it is useful to see a real-life shoot as it unfolds.

This was a very quick, rushed shoot: hardly any time at all to set up.

I had two cameras:

  • 1Dx (full frame) with 16-35 lens;
  • 7D (crop camera)  with 24-70 lens.

That means effectively I had 16-35 and 35-105 mm available, i.e. 16-105 in one continuous range. So the lenses were taken care of.

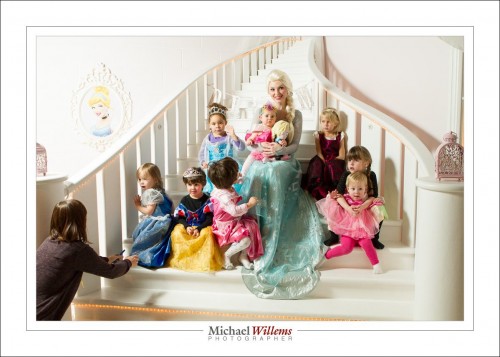
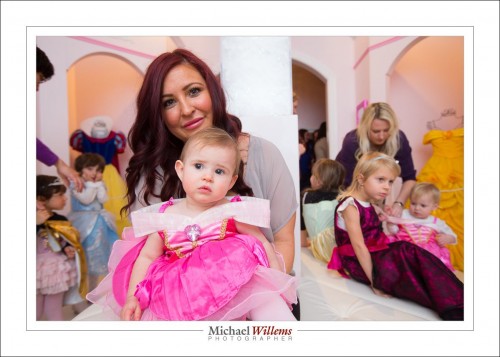
Now the lights. Seeing the need for speed, I quickly set up two speedlights in umbrellas, fired by Pocketwizards. In this example only the one on the left fired:

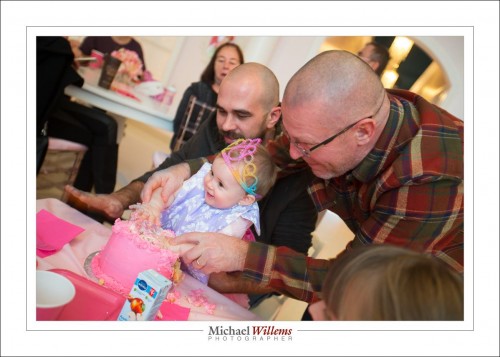
The final pics look like this:

That’s simple: One umbrella left, one umbrella right. We are looking for competent lighting here, not art. I did not use a meter; just set the lights to 1/4 power and adjusted ny camera settings (ISO, aperture) to that.

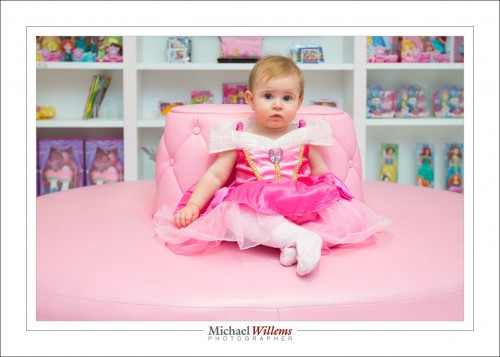
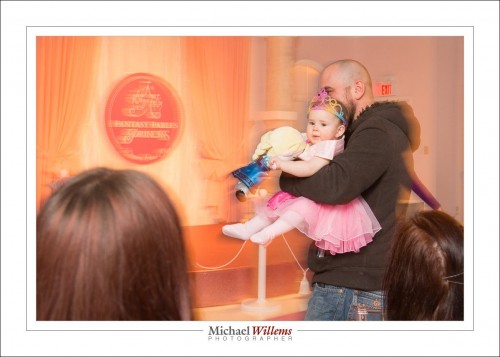
Note the mom in the first shot. My shoot was hindered big time by all the moms taking iPhone shots. A trend more than ever before.

Then the rest of the shoot: the 16-35 with one on camera flash bounced against what walls there were.

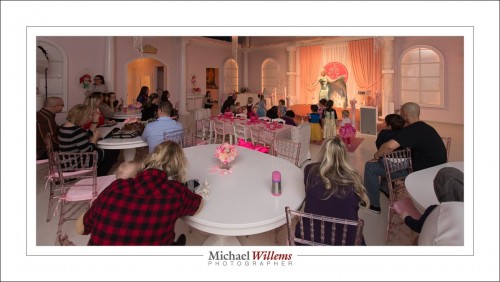
Easy in some rooms, harder in the ballroom since it had a high, black ceiling. So I started at 400-40-4 modified to 800-40-4: i.e. a camera setting of 800 ISO, 1/40 sec, f/4. That extra stop comes in handy when you are bouncing off high or dark ceilings. Like here, in the middle of the ballroom
Sometimes, I switched to mood lighting: simply increase the shutter speed to darken the ambient light, and the aperture smaller (or lower flash compensation, when on TTL) if you also want less flash:

All in all, a competent shoot.

With some fun too: A panning shot., 1/30 sec and I follow:

The ghosting lends it an interesting effect; and the subject is sharp first because I am panning; second because she is lit mainly by my flash, which is 1/1000 second or faster.

I had just enough time to produce prints for the parents, on my little Selphy printer. All good.

And then quick post work an on to the next assignment!

___

Want Michael to shoot your family event? He’ll quote a competitive price and deliver quality work quickly. See www.tolivetolove.com for details.


Aha Me A Riddle I Day

Not the Laura Love song, but a real riddle. What happened here?

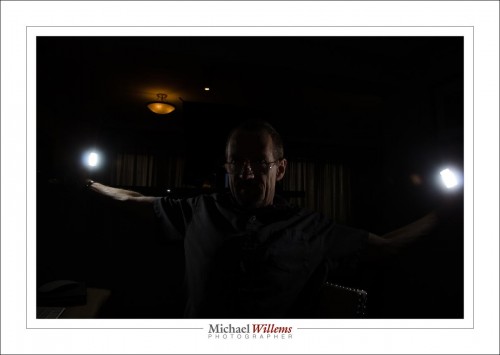
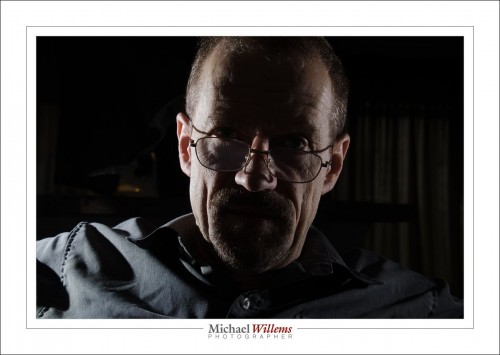
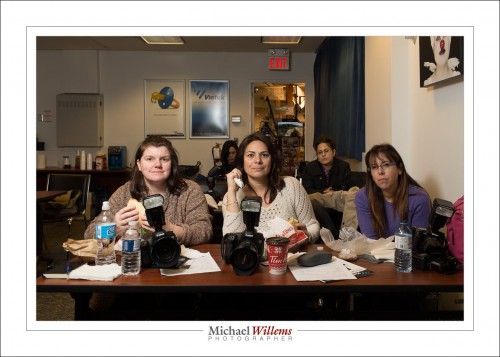
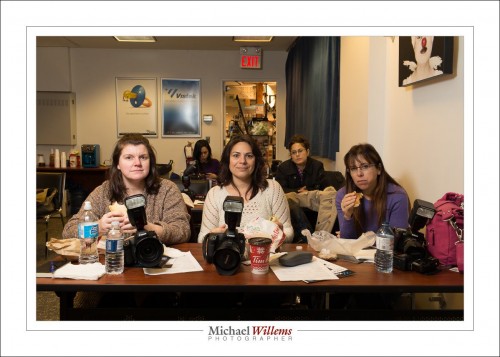
My face is underexposed totally compared to the rest of the shoot, which was like this:

So there the sides of my face are well exposed. But then the photographer zoomed out, and we got the shot at the top. What gives?

If you do not know, let me give you a hint: we were using TTL.

If you still do not know, allow me to explain:

TTL is like “auto for flash”.

  • Auto flash exposure normally uses evaluative (“Matrix”) metering.
  • I.e. the screen is divided into little squares, dozens or hundreds of them, and each one is metered individually.
  • As soon as any of these little squares are overexposed, even one of them, the camera tries to fix that.
  • It does that by lowering the exposure. But you obviously cannot change just one part of the photo, so the entire exposure is lowered.
  • That’s the reason the picture at the top is underexposed: the flashes are visible, meaning a hot spot or two, and the camera “fixes” that by lowering the entire exposure (by using a lower flash power setting).

The fix: You can go to average metering. Or you can avoid hotspots like reflections or flashes.
That’s one of the little facts you learn if you take my flash course.

Are you aware that virtually all my courses are offered online as well? Live, one-on-one courses, like the one I just did today with a long-time reader from Melbourne, Australia:

If you go to this page and check the pull-down menu, you will see that you can even save money by doing it online. So wherever you are in the world, I would be delighted to do a one-on-one with you.


My must-have. My preciousssss….

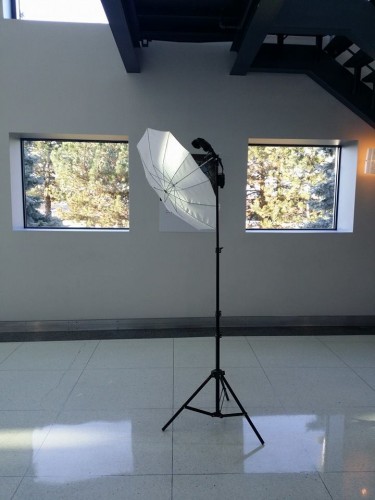
I actually have many “preciousssses”. But this one is among the most precious. My lightstand/bracket/umbrella combo. This here:

This kit, which is just about glued to me, consists of:

  • A light stand.
  • On it, a bracket for mounting flash and umbrella.
  • A pocketwizard. (Plus one on the camera).
  • Cable from pocketwizard to flash (from Pocketwizard or from flashzebra.com).
  • A small flash, e.g. a 430EX/SB710, or any other flash. Any brand will do if I use “manual”. As long as you cam disable the timeout and set the power level manually.
  • Umbrella. Shoot through as well as shoot into (i.e. removable cover).

It folds into a very small package, and often, it’s all I need. Since I know how to mix ambient and flash, that umbrella allows me to do so much. Including this:

Oh, and a student spotted me and took this photo, of the exact flash stand used for that shot:


___

Want to learn? I do remote training over the Internet, using Google Hangouts, so you can now do my courses wherever you are in the world. Better still, for a limited time, it’s cheaper than here, in person. See learning.photography to order now.


Dragging the shutter

You have seen me talk about this many, many times. Flash pictures start with the background, And to get light into the background, often you will want to use slower shutter speeds. These affect ONLY the background, not the flash part of the photo. Look here; an example from the course I taught today at Vistek:

Like here. f/8, 200 ISO, 35mm prime lens, flash on manual on 1/4 power, fired through an umbrella. The only thing I will change is the shutter speed.

1/125 sec:

1/30 sec:

1/15 sec:

You see? The background gets brighter, the women in the front, who are lit primarily by the flash, do not change. Analyze that carefully.

  • The woman on the left: lit by flash, so does not change.
  • The store in the background: lit by ambient, so changes with every shutter speed change.

And that is how the cookie crumbles.

Why did I use manual flash power setting? Because it is consistent. The same for every shot. No variation. Once I have it right, it’s right for every shot.

___

See http://learning.photography/collections/books for my collection of e-books. These contain my collected knowledge, both of photography and of how to teach it. They are all 100-200 pages long and are simply PDFs, so you can put them on all your computers and tables and large-screen phones, for convenient reading and reference. Enjoy!

The difference is…

Question: What is the difference between two photos? Why?

Hint: I used a 16mm lens.

Answer:

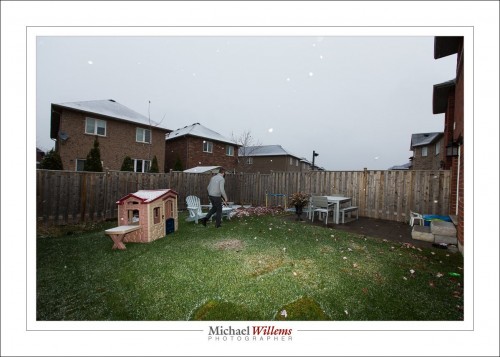
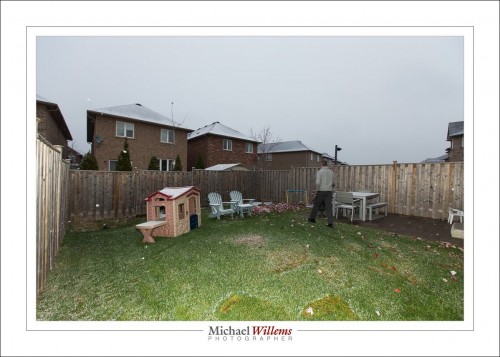
Can you see that the flash is concentrated in a small circle in photo 1?

Well… you know that when you zoom, or change lenses, the flash changes its zoom, right?  But the widest zoom is 24mm, and I shot at 16mm. That is the top picture. The zoom circle is too small for the picture.

In the bottom picture, I pulled out the plastic “wide angle adapter”, the transparent plastic square you can pull out to cover the front (not the white sheet). This is not a softener; it is merely the 14mm adapter”. The zoom device for wider than 24mm. It makes the beam wider, see picture 2.

That’s all: when you zoom wider than 24mm, pull out the wide angle adapter.


Be analytical

When solving problems, it helps if you are analytical. As in:

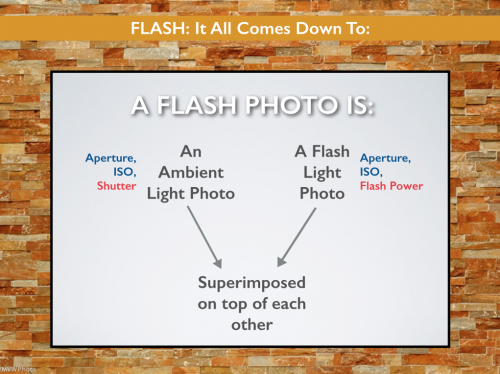
A f;lash photo is, at least in principle, always a combination of an ambient light photo (unless you are in a coal mine a kilometre underground), and a flash photo. They are both affected by aperture and ISO, and the ambient photo is affected by shutter speed also, while the flash photo is affected by flash power also.

Simple, but extremely powerful. With this knowledge, you can start by perfecting the ambient photo, then add the flash photo: and it works every time.

Now preparing for my evening Sheridan College class. Can you tell?