Watch Out

Someone recently asked me “how do I take good photos of my wristwatch?”

Good question. A lot of people have hobbies that they can practice while quarantined at home. And two of those are (a) nurturing a wristwatch collection, and (b) photography. So the combination of the two is a logical thing to engage in.

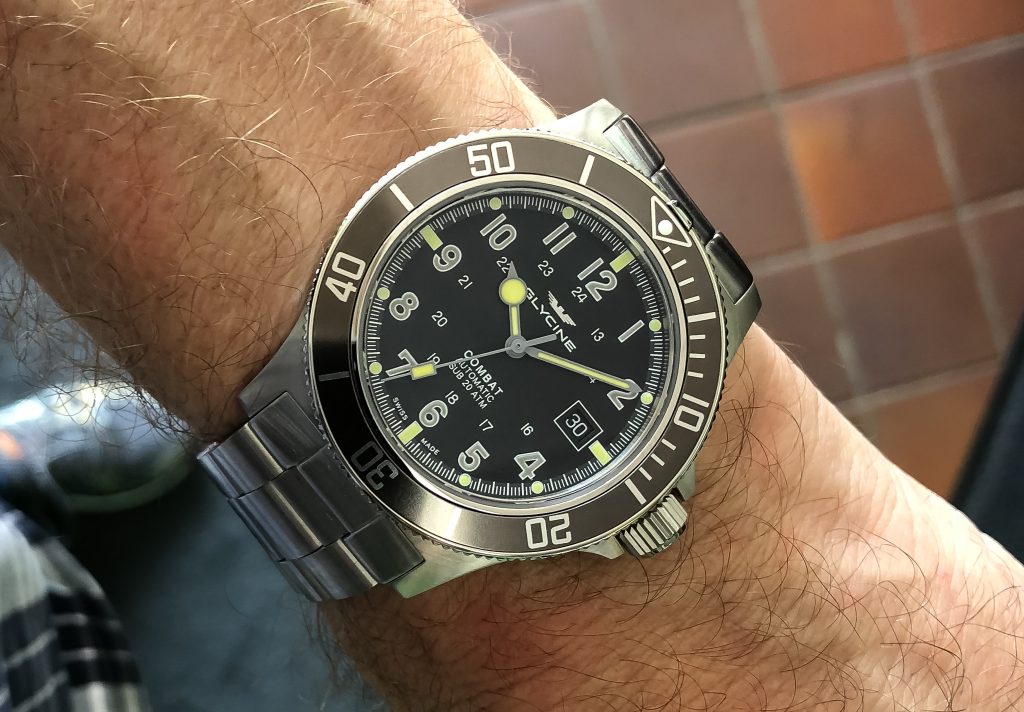
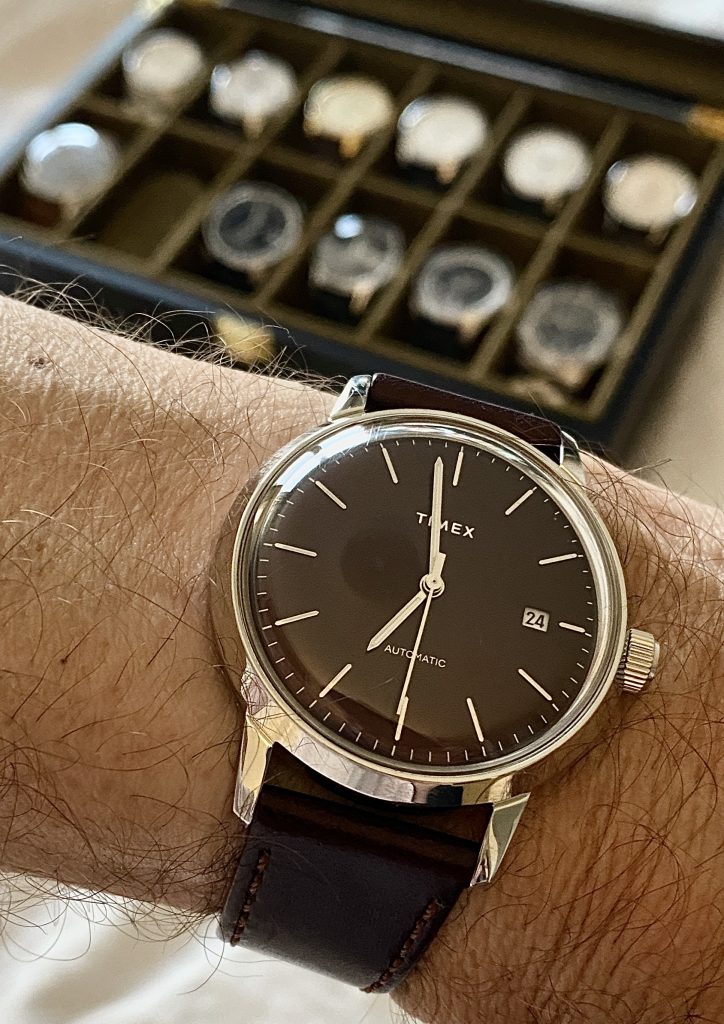
Here, for the record, is what I am wearing on my wrist today:
So how do you do it? As so often, there’s not one answer: there are a few. Here are some of my quick recommendations. I will give you technical tips for SLR as well as for cell phone cameras; a few composition tips; and a few words about post-production.

Technical: SLR

If you are using an SLR or other sophisticated camera, especially using flash, these are my technical recommendations.

  • Use a macro lens if you can, so you can get closer. But not too close, because that will give you limited depth of field and image distortion.
  • Use an aperture of at least f/8; when using a macro lens, start around f/16 if you can.
  • If you are not using flash, especially if using a macro lens, you must use a tripod.
  • Using available light? Make sure there is lots of good diffuse light, e.g. from a north-facing window (no direct sunlight).
  • Use an ISO value as high as you need: when using flash, 200-400 is fine; when not using flash, you may need to go up to as much as 1600 ISO or more if not using a tripod.
  • Using flashes: Use off-camera flash, modified by softboxes or umbrellas; or use an on-camera flash by bouncing it off a white ceiling/wall behind you. Use manual exposure mode. 1/125 sec.
  • if using a tripod, focus manually (using live view preview).

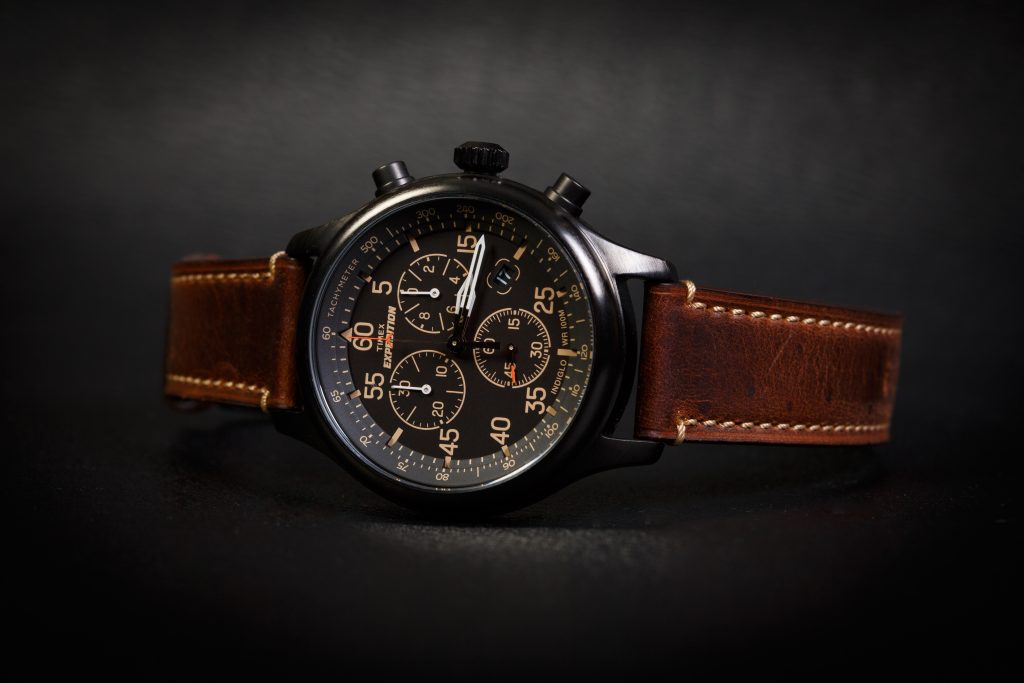
An example, lit with two flashes equipped with softboxes, both 45º above the watch:
Technical: Cell Phone

It is perfectly possible to use a hand-held cell phone, as long as you do the following:

  • Light, light, light! There’s no such thing as too much light. The brighter your room, the better your picture. Why? Because when it is bright, the resulting faster shutter speeds result in less motion blur, lower ISO results in higher quality, and smaller apertures result in more depth of field).
  • Avoid direct sunlight, though.
  • Shoot from a little distance away and crop later. This gives you easier focus with less error, and greater depth of field. If you are close, focus is unreliable and depth of field is usually too shallow.
  • But sometimes you will want to be close in order to get a blurred background; see the compositional tips below.
  • Focus on the watch, if necessary by tapping it on the phone screen to tell the phone “focus on this”
  • Hold the phone – and the watch! – very still while you do all this.

Compositional:

Composing a good picture is the most important thing you can do after the technical requirements are met. Some tips:

  • A good picture is a simple picture.
  • Did I mention: A good picture is a simple picture. “Simple” means everything in your photo is there to tell the story – or else it should not be in there. “Simplifying” is the most important difference between a snapshot and a “professional” photo. Crop off anything that should not be in the photo. You’ll see the difference!
  • Consider using the “rule of thirds” (look it up) – although watch photos can also have the subject in the centre. make it look good.
  • 10:09:31 is the prettiest time for a watch. All watch adverts have the watch set to this “aesthetically most pleasing” time. Just saying.
  • Turn the watch, turn yourself, reposition everything to minimize the refections in the crystal. Especially with watches without anti-reflective coating, this is important. Find a simple dark background, like a neutral dar wall, if the watch reflects it.
  • Have background objects help you “tell the story”. Your car, your suit, your hand.
  • Consider blurring out the background. You can do that without portrait mode, by being close to the watch, perhaps in slightly subdues light. (Yes, that flies in the face of the prior advice: yup, life is complicated and you have to decide what is more important for you!)

For example;
Post-processing

It is very important to post-process your image. This includes cropping and exposure, but also white balance (colour temperature), definition, and sharpness. Your phone can edit photos very nicely: especially recent iPhones do a truly excellent job.

but for a “pro” photo, dust removal is also needed. For this, use Adobe Lightroom or similar. See this post for more about this essential step: https://www.speedlighter.ca/2019/11/05/product-work/

Conclusion

It really is not difficult to make good photos of your watches, jewellery, or other small objects. Follow the tips below and go have some fun. I am looking forward to seeing your results!


Michael is an experienced photographer and educator, who teaches photography courses that are now available live, interactively, online. Check them out and learn more about Michael, his books, and his courses at www.michaelwillemsphoto.com

Math is useful…

Yes, math is useful sometimes. And when I say “math” I do not mean simple arithmetic. I mean math. Real math. Calculus, and things like that – such as Fourier transforms.

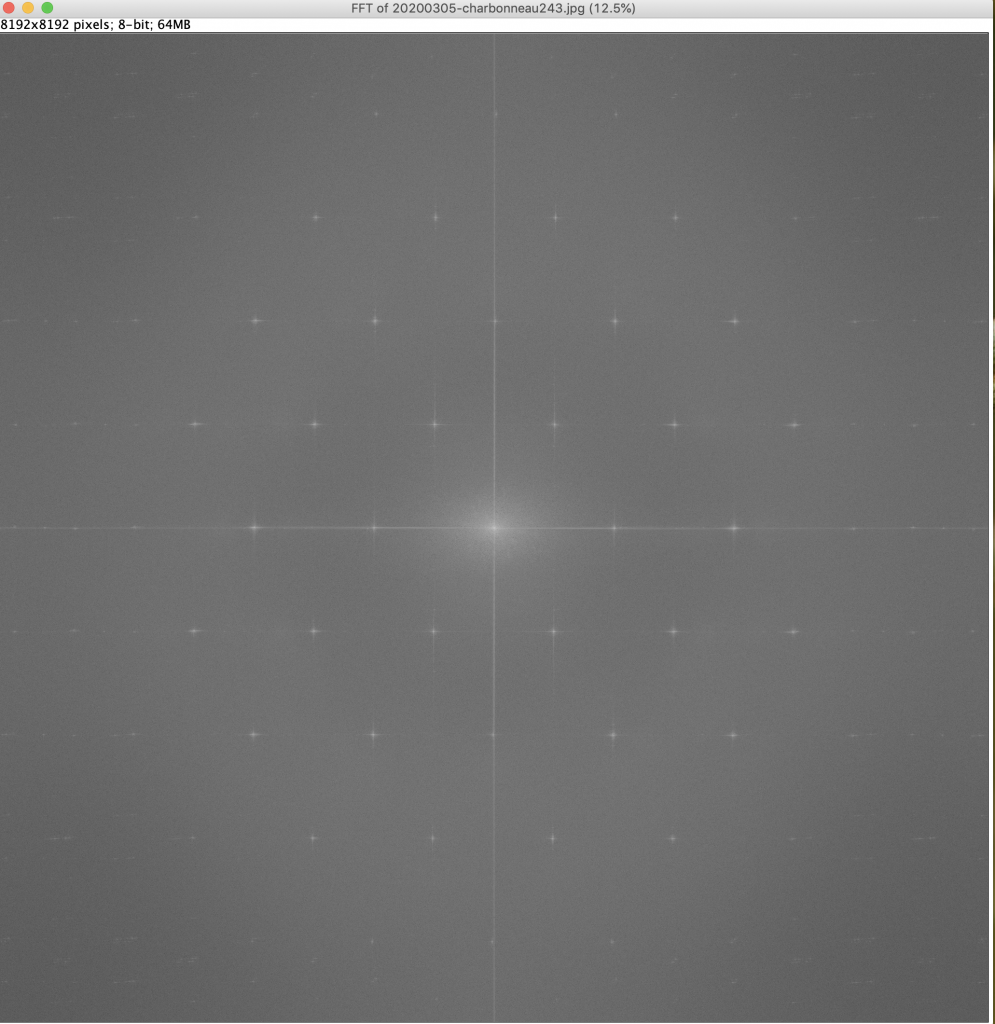
I learned about FFTs (Fast Fourier Transforms) as an undergrad in university. And today I discovered a use for them in my photography practice. Namely, to remove unwanted repeated patterns from scans of old photos, printed on textured paper.
But let’s start at the beginning. What is a Fourier transform? Well… think about transforming a time-domain picture to a frequency-domain picture. (or, as Wikipedia puts it, “The Fourier transform (FT) decomposes a function (often a function of the time, or a signal) into its constituent frequencies. “. A picture full of repeated lines thus become two dots, for example.
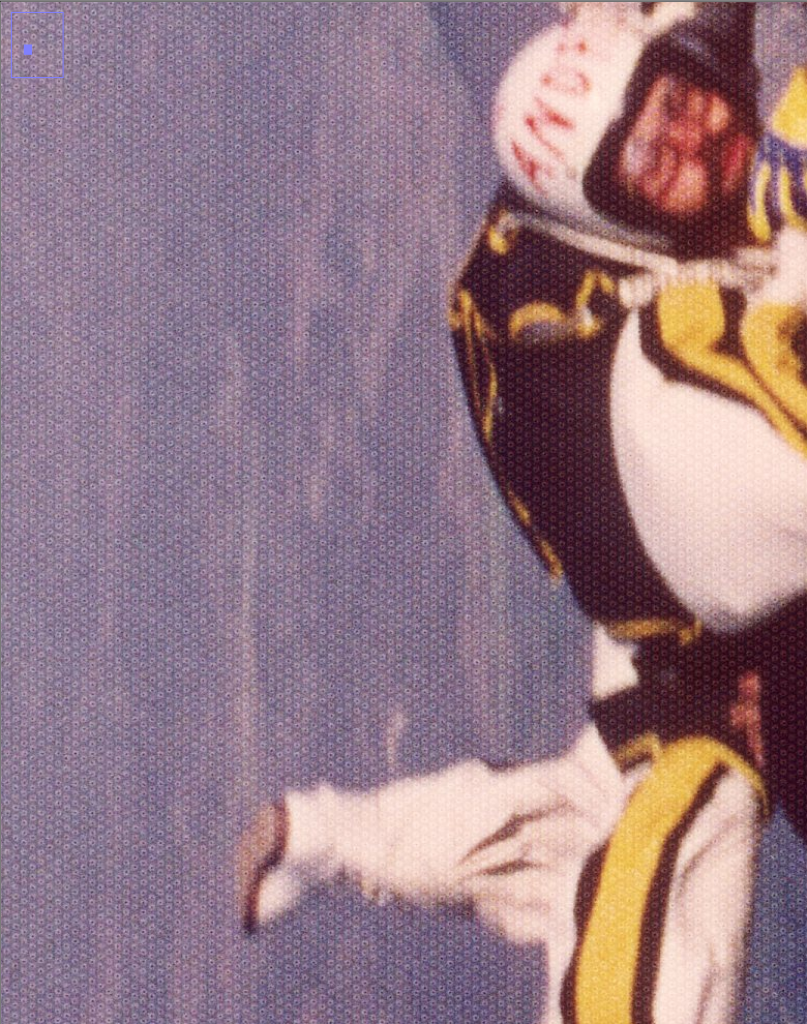
And this (detail from a) picture, full of a repeating pattern due to the original photo paper…:

Becomes this, when transformed through an FFT:

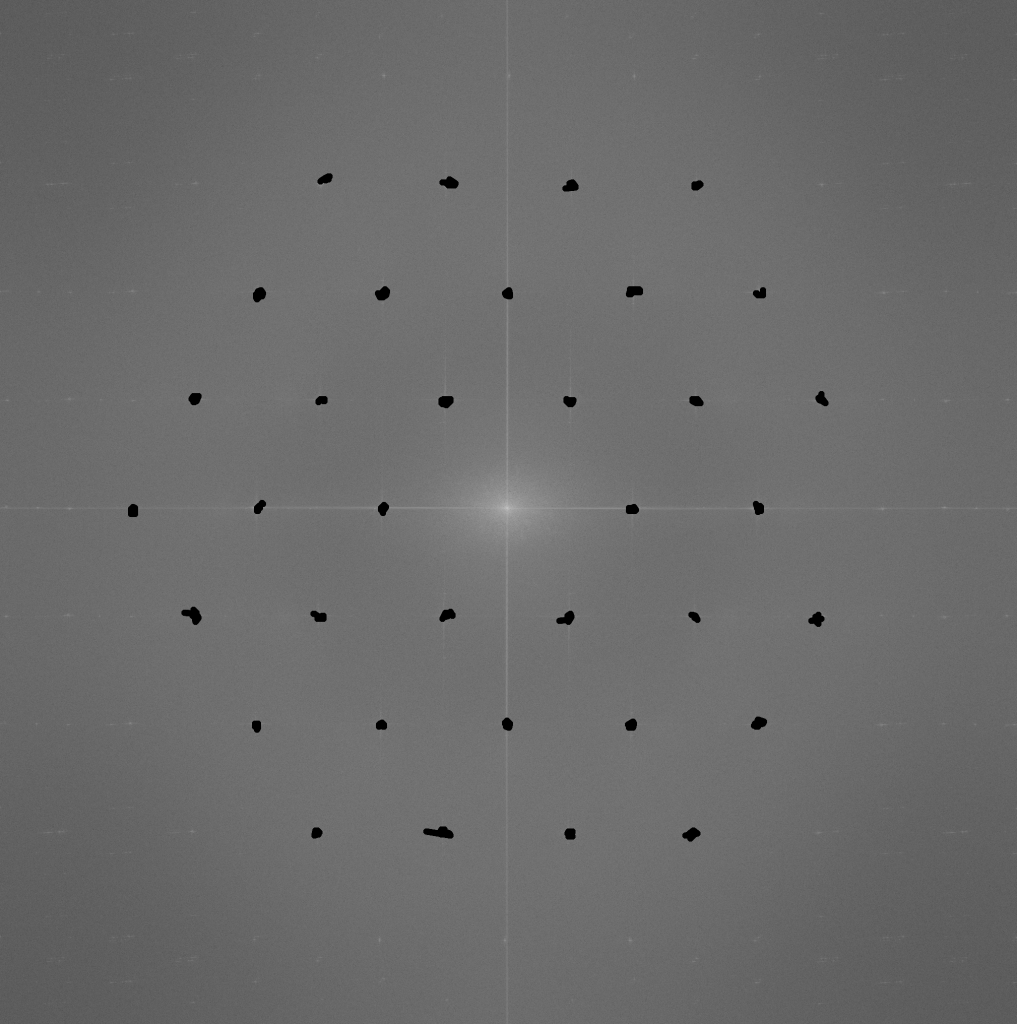
But now I can remove the dots:

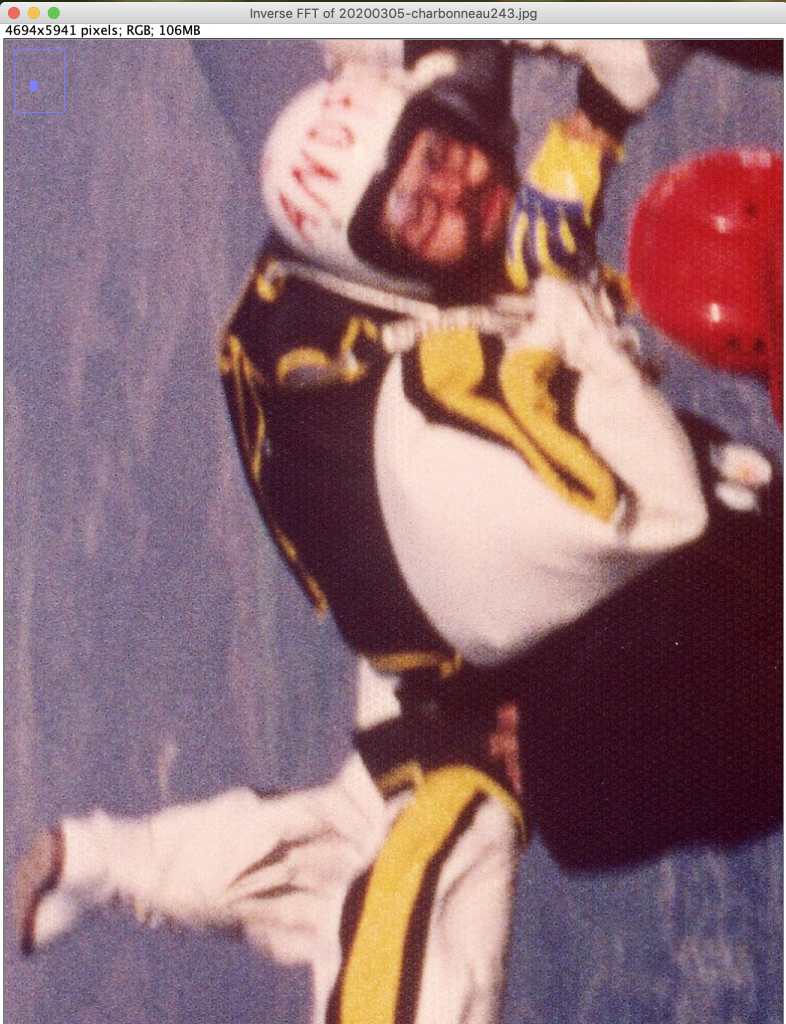
..and then I can do a inverse FFT, to end up with this:

And if that isn’t magic, I am not sure what is. There you have it: Magic through math.

Incidentally, the app I use is ImageJ, a free Java-based app from the US National Institutes of Health (NIH). Your tax dollars at work, here: https://imagej.nih.gov/ij/.

Get Cool

Today, I was reminded of how I should not let you all down – the many people who read this blog. Like one reader, Dr Jason Polak, who kindly dropped by in the studio today to have a chat.

(Hint: anyone near Ottawa, feel free to come say hi. The store is open 9:30AM–9pm weekdays, and slightly shorter hours at weekends). So anyway… I promise I’ll write more. Starting today.

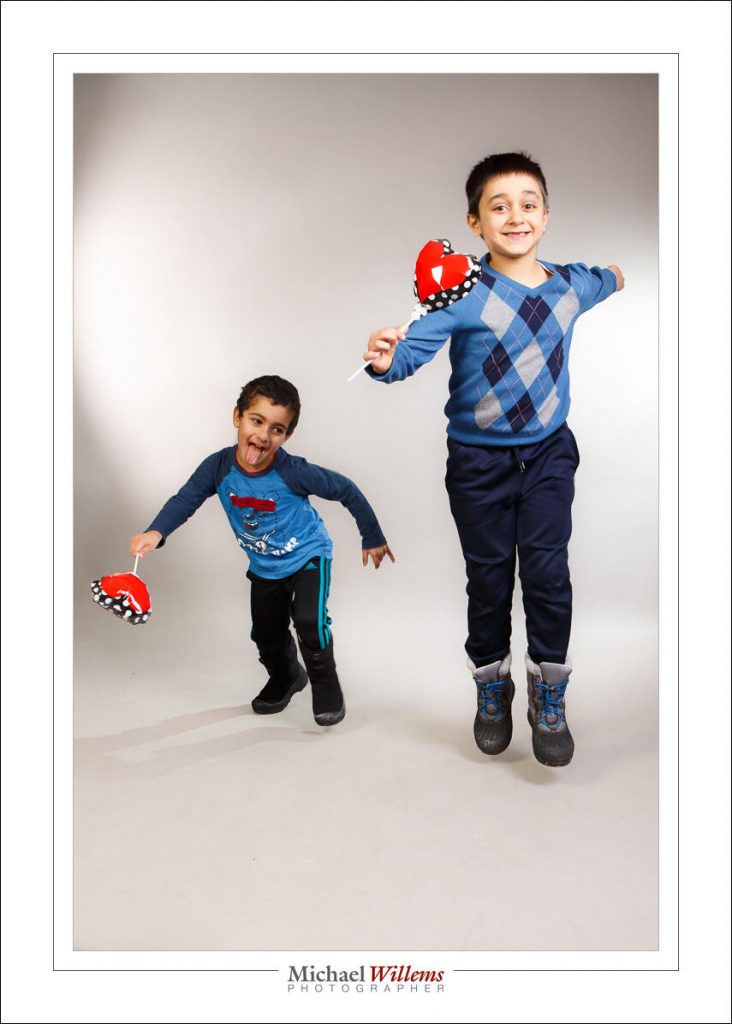
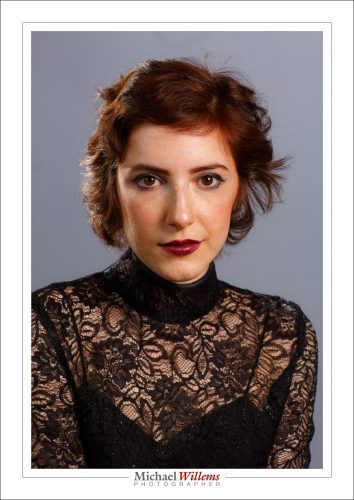
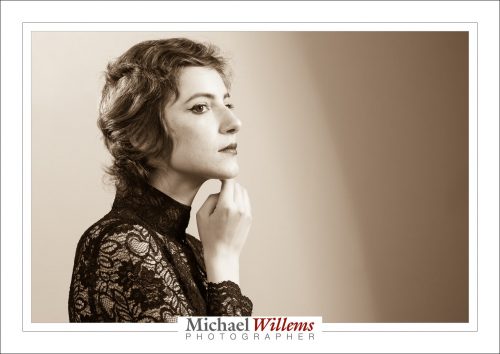
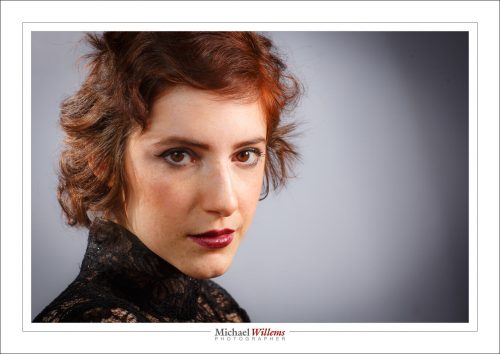
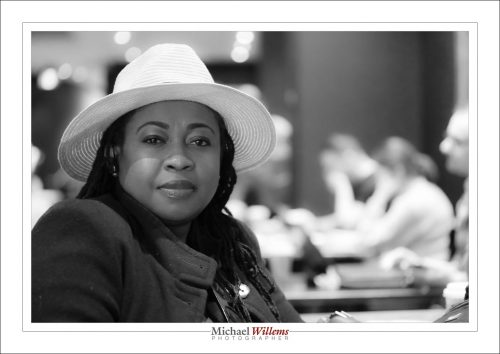
One thing to write about is portraits. And how I love doing them. And how I like doing not just the “stand there and smile” pictures, but also slightly more creative pictures. You do not need to look at the camera smiling, not in every picture!

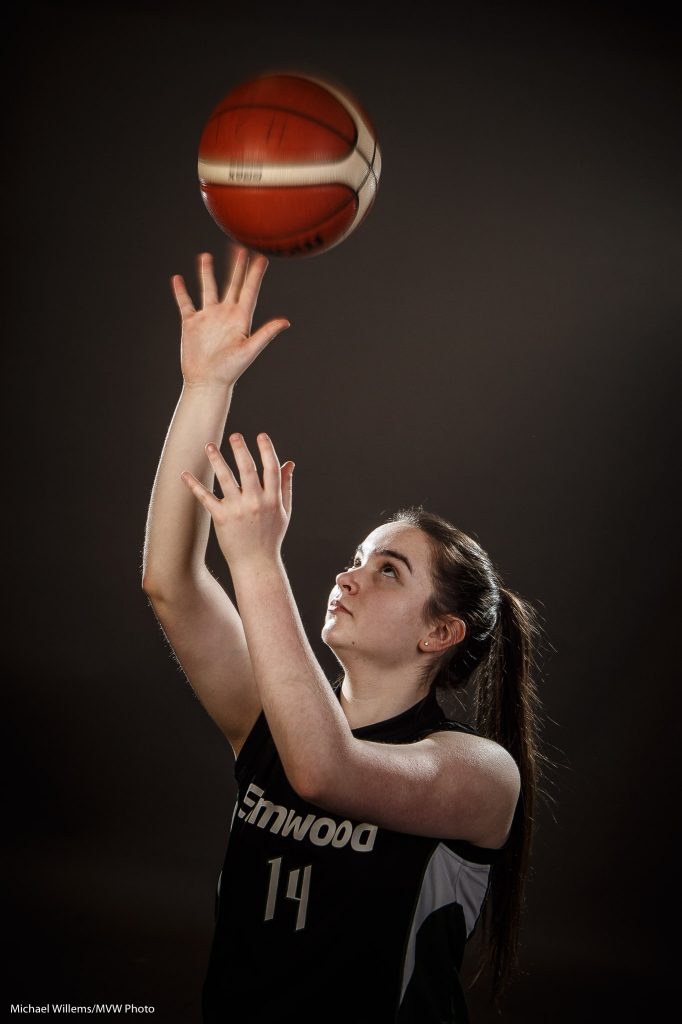
So here’s one I took this weekend—one of a series:

A simple shot; I used two speedlights with Honlphoto grids, driven by Pocketwizards; and one strobe in a softbox, also driven by a Pocketwizard. Took two minutes to set up.

If you need to learn how to do this, it is remarkably simple. You might buy my books or attend my courses, for example. It’s worth the effort!

Here, another one, again showing action:

And that same day, a photo of a dog who was nearing the end of its life: it was sick, and was about to see its suffering ended. A sad event, but good to create a lasting memory:

The message is simple: shoot some portraits that are not just “stare at the camera and ‘smile'”. Worth the effort and you will be happy with your results.

One more, then:

And finally: a new course for those of you near Ottawa: “Take Better Photos Of your Kids”. Sign up soon, because as usual, classes are limited to four people.

Ajax and Karsh

I just spoke as one of the keynote speakers at an Ajax Photography Club event called “Discovering Karsh”. All about Armenian Canadian photographer Yousuf Karsh, whom The Economist, after his death, described as “the best portrait photographer in the world for the past fifty years”. 

Karsh can teach photographers today a thing or two, and that was the subject of my presentation. He was a master at light, mainly in moody low key portraits (think of the grumpy Churchill portrait, where Karsh had respectfully pulled the cigar from Churchill’s mouth), for one. Google it—for copyright reasons I cannot reproduce it here.

He was also a real people person, and that was his super power. He studied his subjects before a shoot. He talked to them. At length, often, if given the opportunity. Instead of taking 100 pictures and choosing one, he took one or two when the moment was right. He was a master at choosing the moment. And his subjects trusted him and his ability to make them look good.

Google “Karsh” and see the iconic portraits that defined the 20th century. Sure, Karsh is not everyone’s taste—his portraits are low-key and often moody—but they are certainly masterful. And they defined the people that he photographed as well as reflected them. As a portrait photographer, if you can do that, you have made it.


Today’s workshop…

…was all about light.

Look how differences, some small, in light can make any picture very different from the others. Our lovely model Bryna, in a few snaps I snuck in while teaching:

And that’s why knowing flash is a skill that will serve you well. After all, with flash, you are in charge. Stand by for more, much more, in the way of workshops and other teaching and training.


Sunny? Sixteen!

You have heard me talk about the “Sunny Sixteen” rule before. This is a very useful rule of thumb that allows you to shoot without using your camera’s light meter. The rule is:

If your shutter speed is set to 1/ISO (e.g. 125 ISO at 1/125th sec, 200 ISO at 1/200 sec, or 400 ISO at 1/400 sec, etc), then on a fully sunny day at noon, f/16 will give you the right exposure.

Like this, at f/16:

And if it is not sunny?

f/16 Sunny Distinct
f/11 Slight Overcast Soft around edges
f/8 Overcast Barely visible
f/5.6 Heavy Overcast No shadows
f/4 Open Shade/Sunset No shadows

(Source: Wikipedia)

This rule is a rule of thumb, so feel free to vary – I often expose two thirds of a stop higher – but since the sun is always the same brightness, it holds well. And it is nice to be able to expose without light meters, if only in order to be able to check your camera.

Bonus question: how do you expose the moon?

Answer: f/16. The moon at noon (there, so any time here, including night) is as bright as the earth at noon- they are the same distance from the sun!


Yesterday’s workshop

It is minus 28 degrees Celsius. Yesterday, I taught a Creative Flash Photography workshop in Timmins, Ontario. Here’s a sample!

High key:

Some creative gel use:

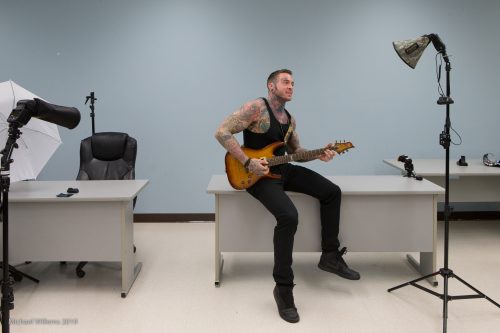
A snapshot showing the setup for the next shot:

And here’s the shot!

…which also works in B/W:

A simple one flash grid portrait:

And two together:

Fun was had. Flying me out to anywhere for a workshop like this is worth your time: hands-on learning so beats only reading a book or watching a video!


Portraits… plus ça change.

A repeat post from 2015, showing that things do not change much…


I very often hear people who are a little ahead of themselves. They do paid portrait shoots before learning how to focus, that sort of thing. They do not want to learn formally, for instance from a course, or books, or seminars; and yet they expect the knowledge to come to them for free, somehow.

Wishful thinking, and you know it. So let me grab a few of these things by the horns. Starting with portraits. You are doing a studio portrait; you have a backdrop; but the rest is mystery. So your images end up:

  • Badly lit.
  • Under- or overexposed.
  • With a background that is sharp instead of blurred.
  • With the subject not separated from that background.
  • Out of focus.
  • With the background white, not coloured even though you use gels.

That is because you never learned the basics. But there is good news: studio portraits are simple. All you need to learn is:

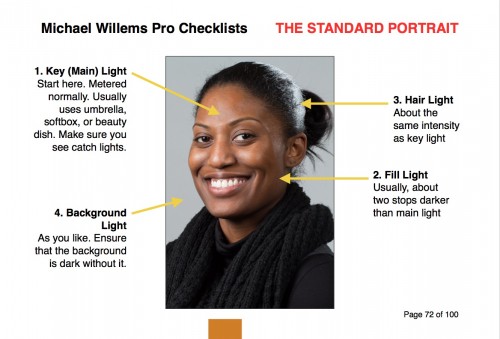
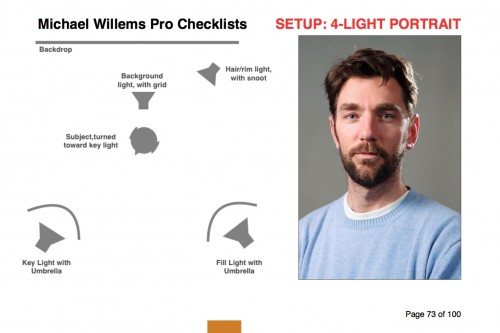
  • Lighting. A main light, 45 degrees away from subject. A fill light, same on other side. Hair light, opposite main light. See diagram, from my new book:

  • Exposure. Set your camera to manual mode, 1/125 sec, f/8, 100 ISO.
  • Turn the flashes to half way (obviously  the flashes are on MANUAL too).
  • Now meter the main flash. Adjust main light until it reads f/8.
  • Same for hair light.
  • Fill light: meter this to f/4 (i.e. adjust this light until meter reads f/4 when it flashes).
  • Background light: same as main light, again.
  • White balance to “Flash”.
  • Focus using one focus spot. Focus on the eye using that one spot.
  • Use a lens longer than 50mm. I prefer my 70-200 or my 85mm prime.
  • Move subject from background as much as you can. Then you can gel the background light. If, whoever, much of the normal light falls on the background, you cannot gel. Test this by turning OFF the background light: the background should be dark.
  • Turn subject toward main light, then head slightly to you.

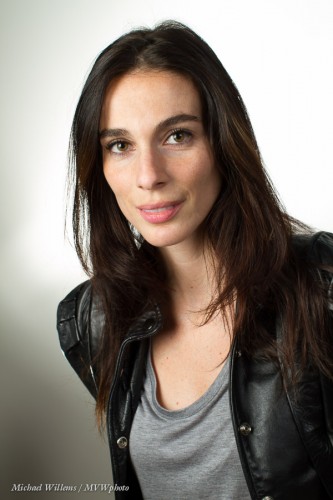
Like this:

That really is all. Click., You have a competent portrait.

What you must not do is pretend that no learning is necessary. Go find a course, go buy my e-books; read this free resource www.speedlighter.ca; take private training; sign up at Sheridan College; : whatever you can do, do it now.

It really is simple. But not as simple as “I just bought a camera and next week I am shooting a wedding”—and believe me, I have heard that very statement more than once.


Christmas. Balls.

I love teaching. And I feel generous—read this post until the end and see why, and see how you can benefit!

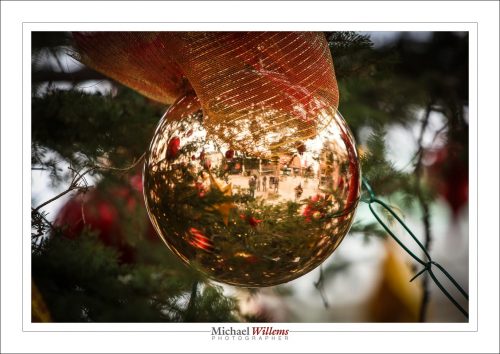
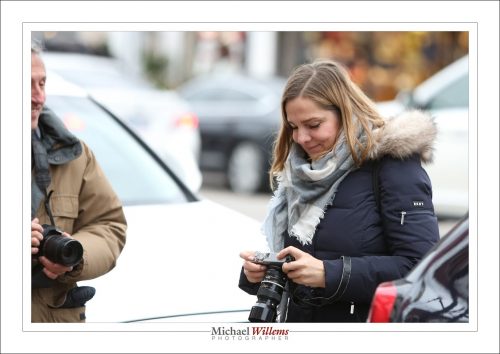
First, though, here’s a few snaps from Sunday’s Get Out And Shoot. Starting with a Christmas ball…:

This walk was in downtown Oakville:

So why am I happy?

One of my Sheridan College students just sent me an unsolicited student testimonial:

“Thank you for your wonderful teaching style. I have learned a lot from you as a photographer and have taught me many things and you have always responded to every question I had with knowledge. You make the class like Christmas day.”

I am honoured by this; it is exactly why I teach.

Incidentally, I also teach privately or in small groups. And for all my students, there’s now a 30% discount for any orders (for training or anything else) paid by Dec 31, 2018. To benefit from this, all you need to do is to use discount code Student2018 on http://learning.photography. Happy festive season!

Another family shoot

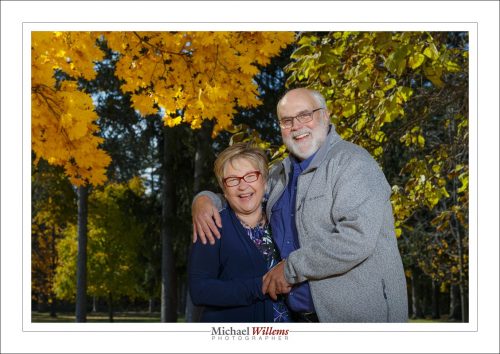
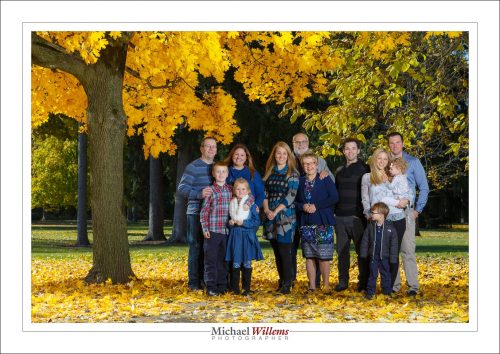
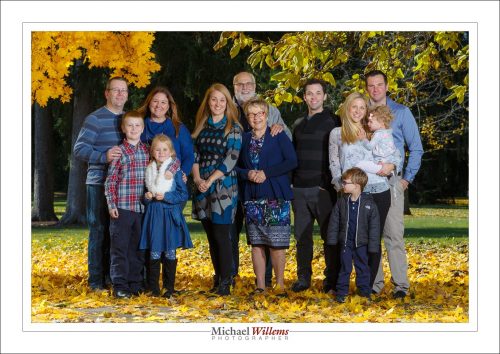
Here’s a few samples from another family shoot I just did, of a friend (an ex student) and his family:

Fall is a great time for these portraits—in spite of the cold.

A few notes on a shoot like this:

  • Lit by two Bowens studio flashes, powered by a big battery. No modifiers: it was windy and the umbrellas would have pulled the lights to the ground quickly.
  • I pointed the group away from the sun; else, they would have squinted.
  • I used the 85mm f/1.2 lens, set to f/8-11.
  • Avoid too much direct sunlioght on the subjects.
  • But do use that sunlight – as the “shampooey goodness” light (a.k.a. the hairlight).
  • You can do this without flash, of course. But I prefer the brighter subjects and the saturated colours. Matter of style!

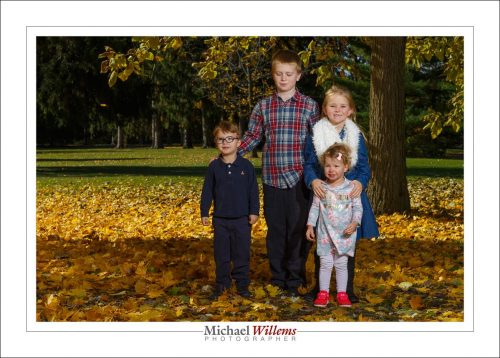
To see what I mean: this is with flash:

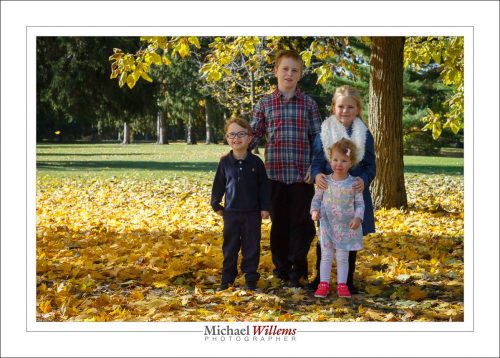
…and this is without:

I encourage you all to have family portraits done. Because they last, and it’s the only time travel we do. You’ll be delighted later to have them, and the extra few hundred dollars are a small price compared to that.