
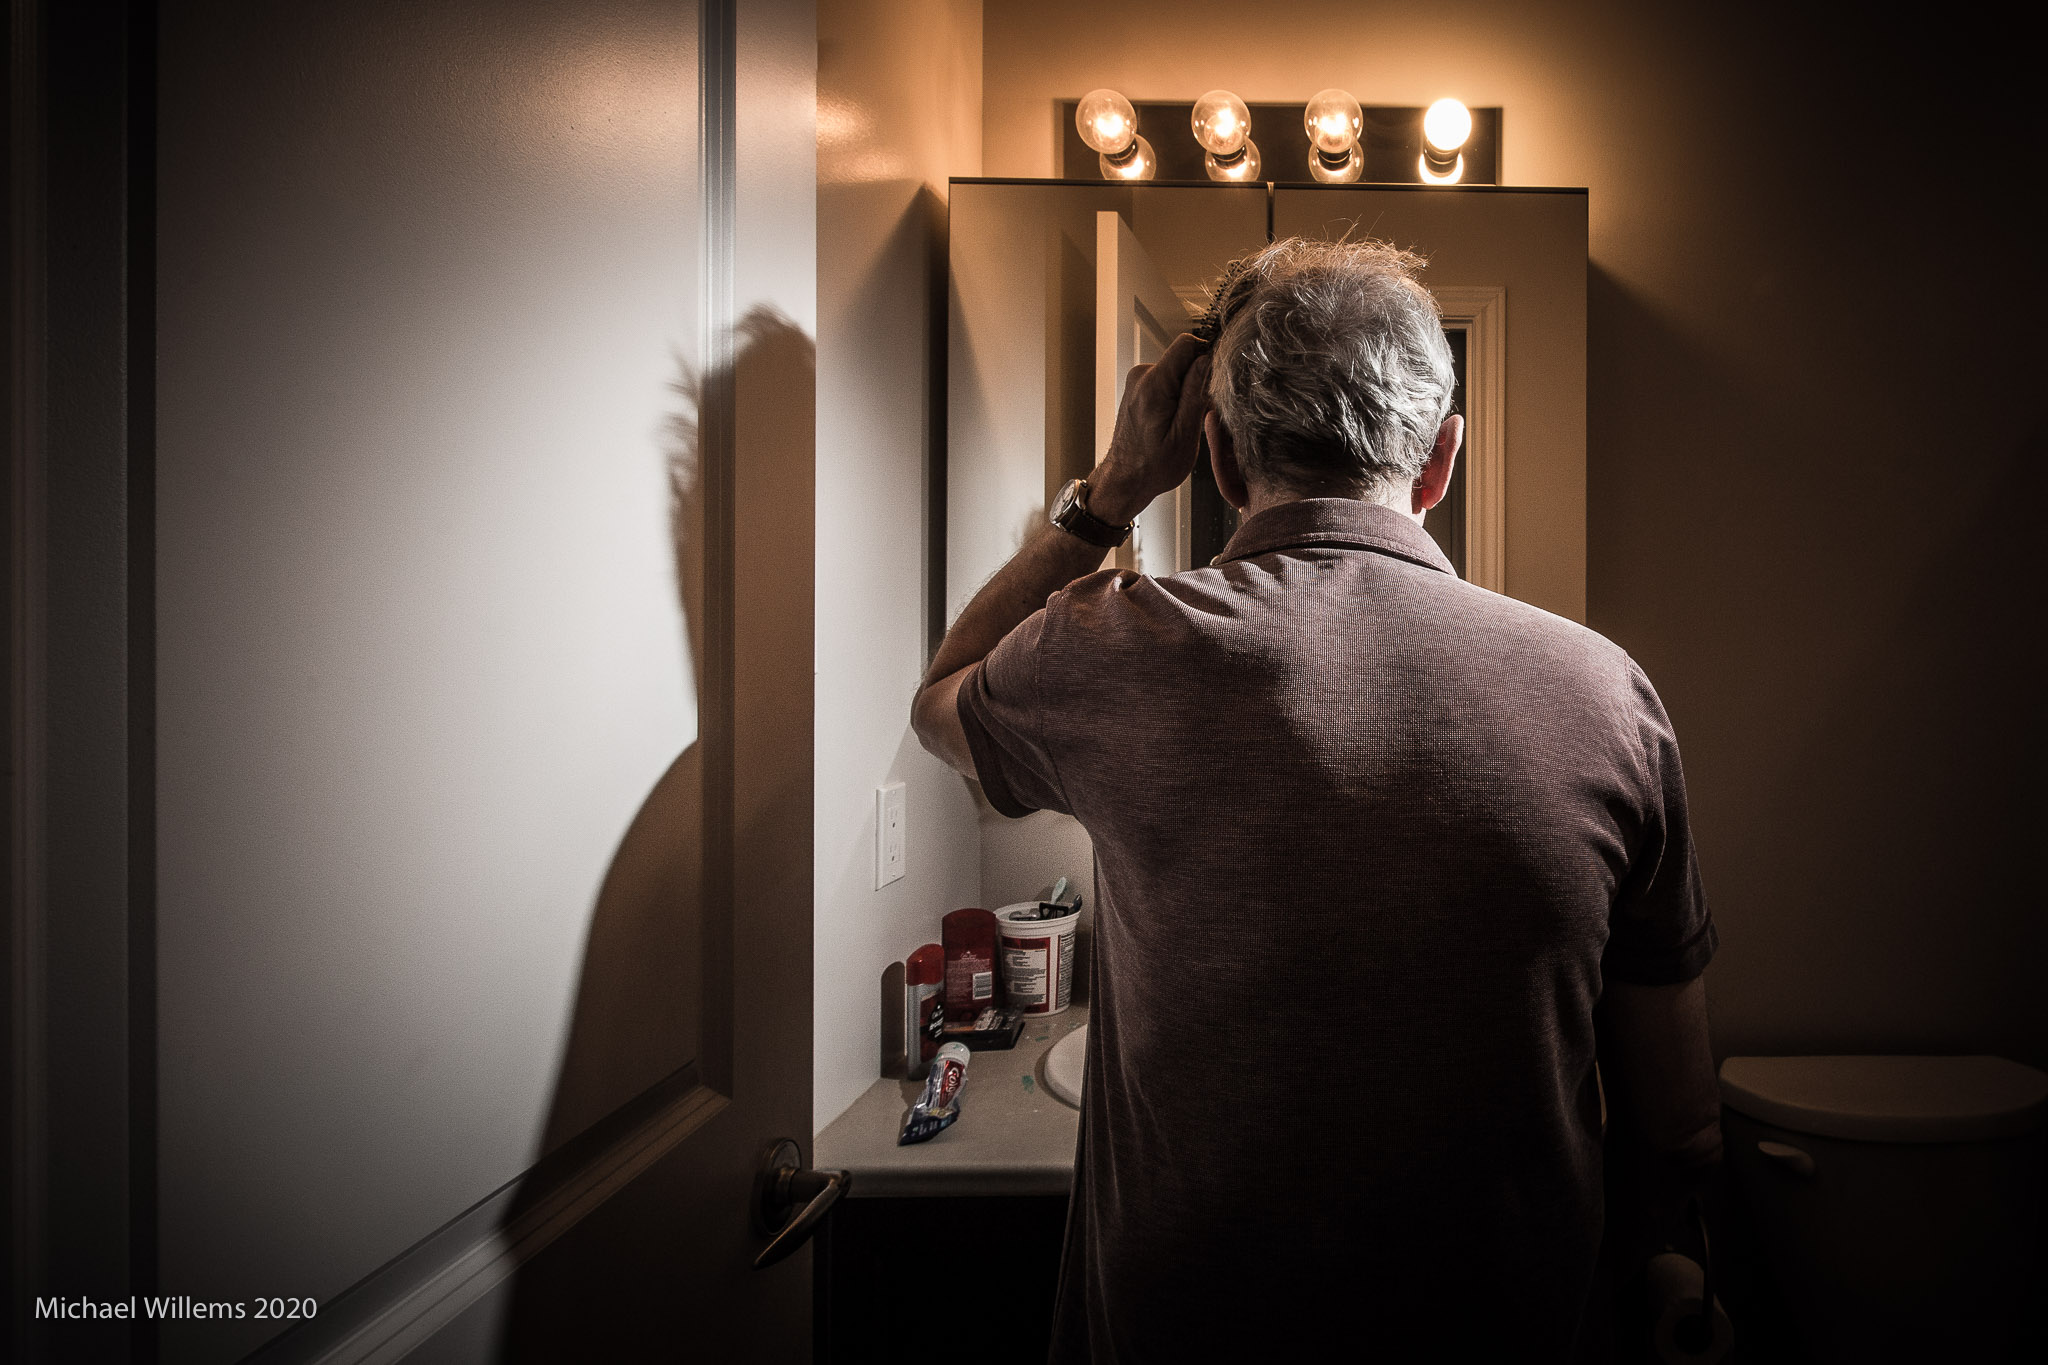
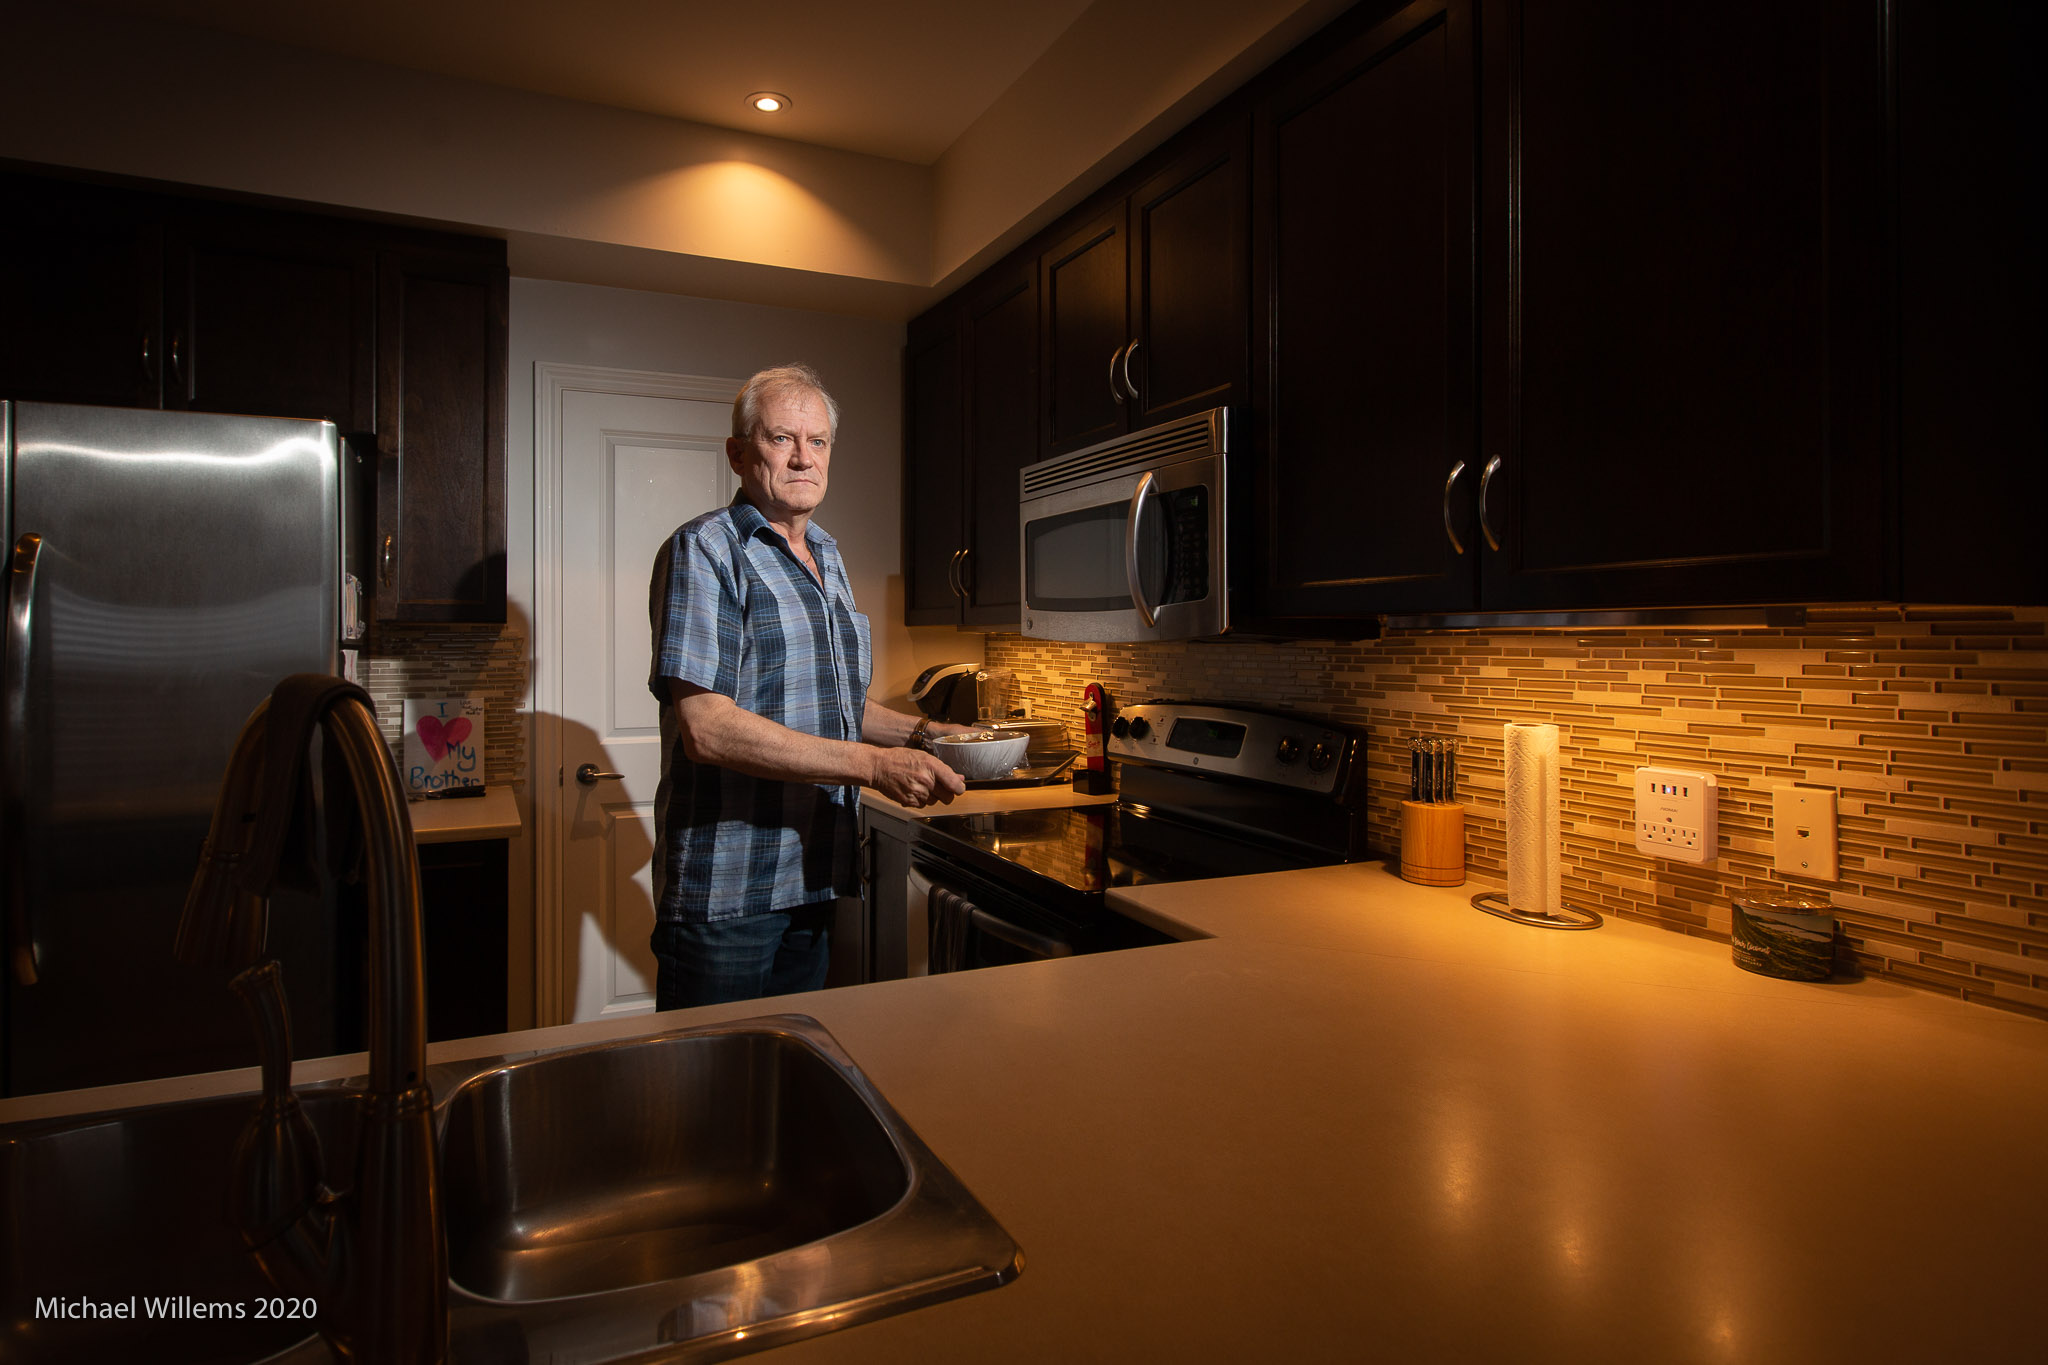
COVID self-portraits day 29: A Quick Inspection of the Abandoned Store
2

Here’s today’s portrait.
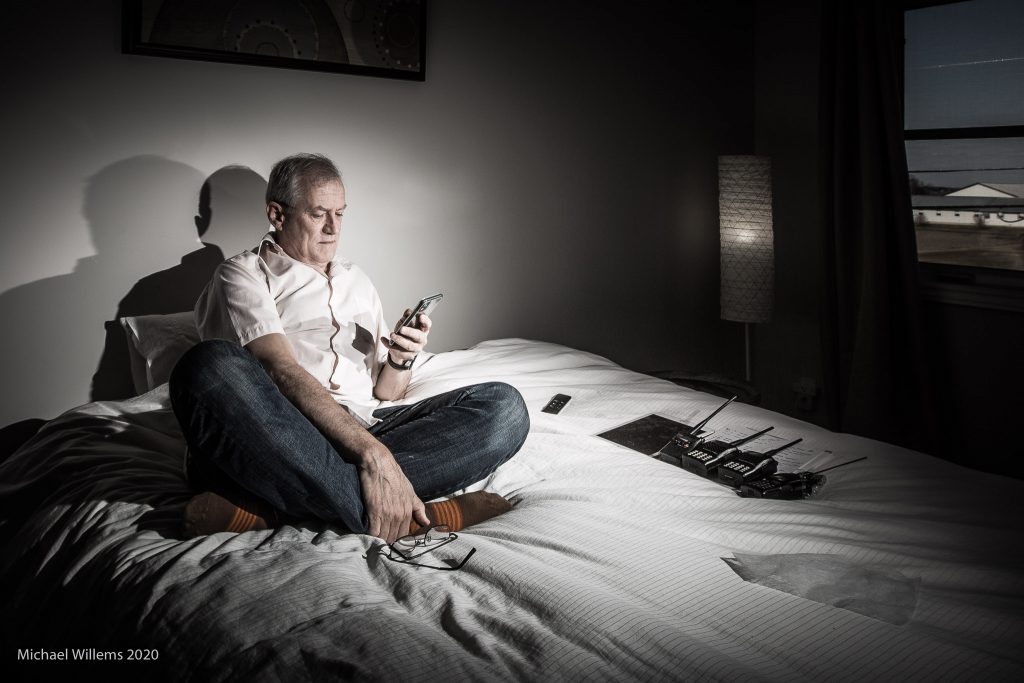
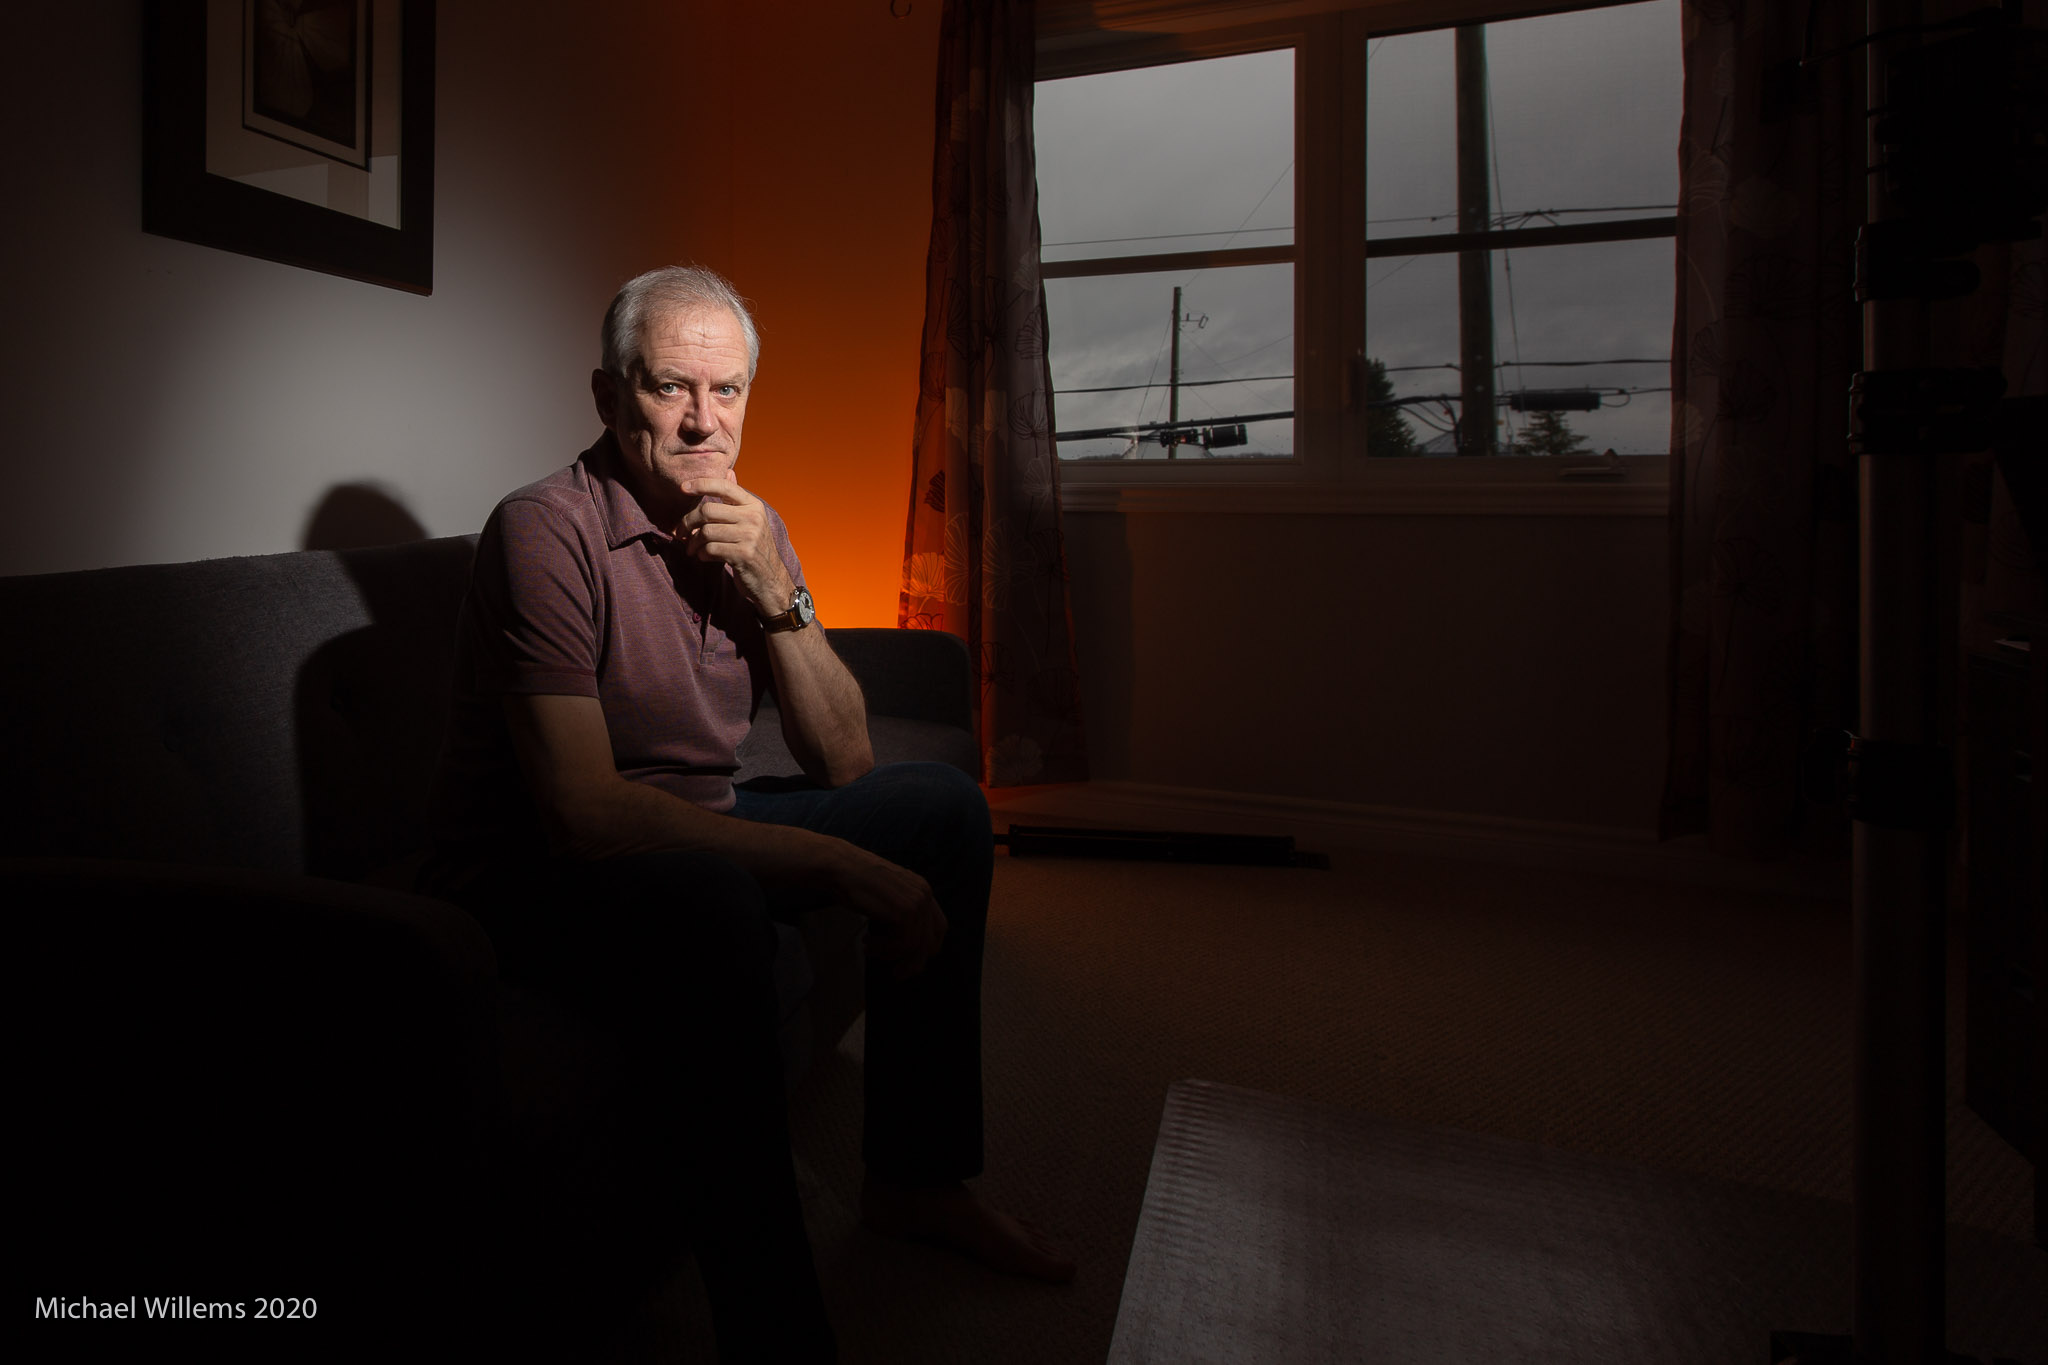
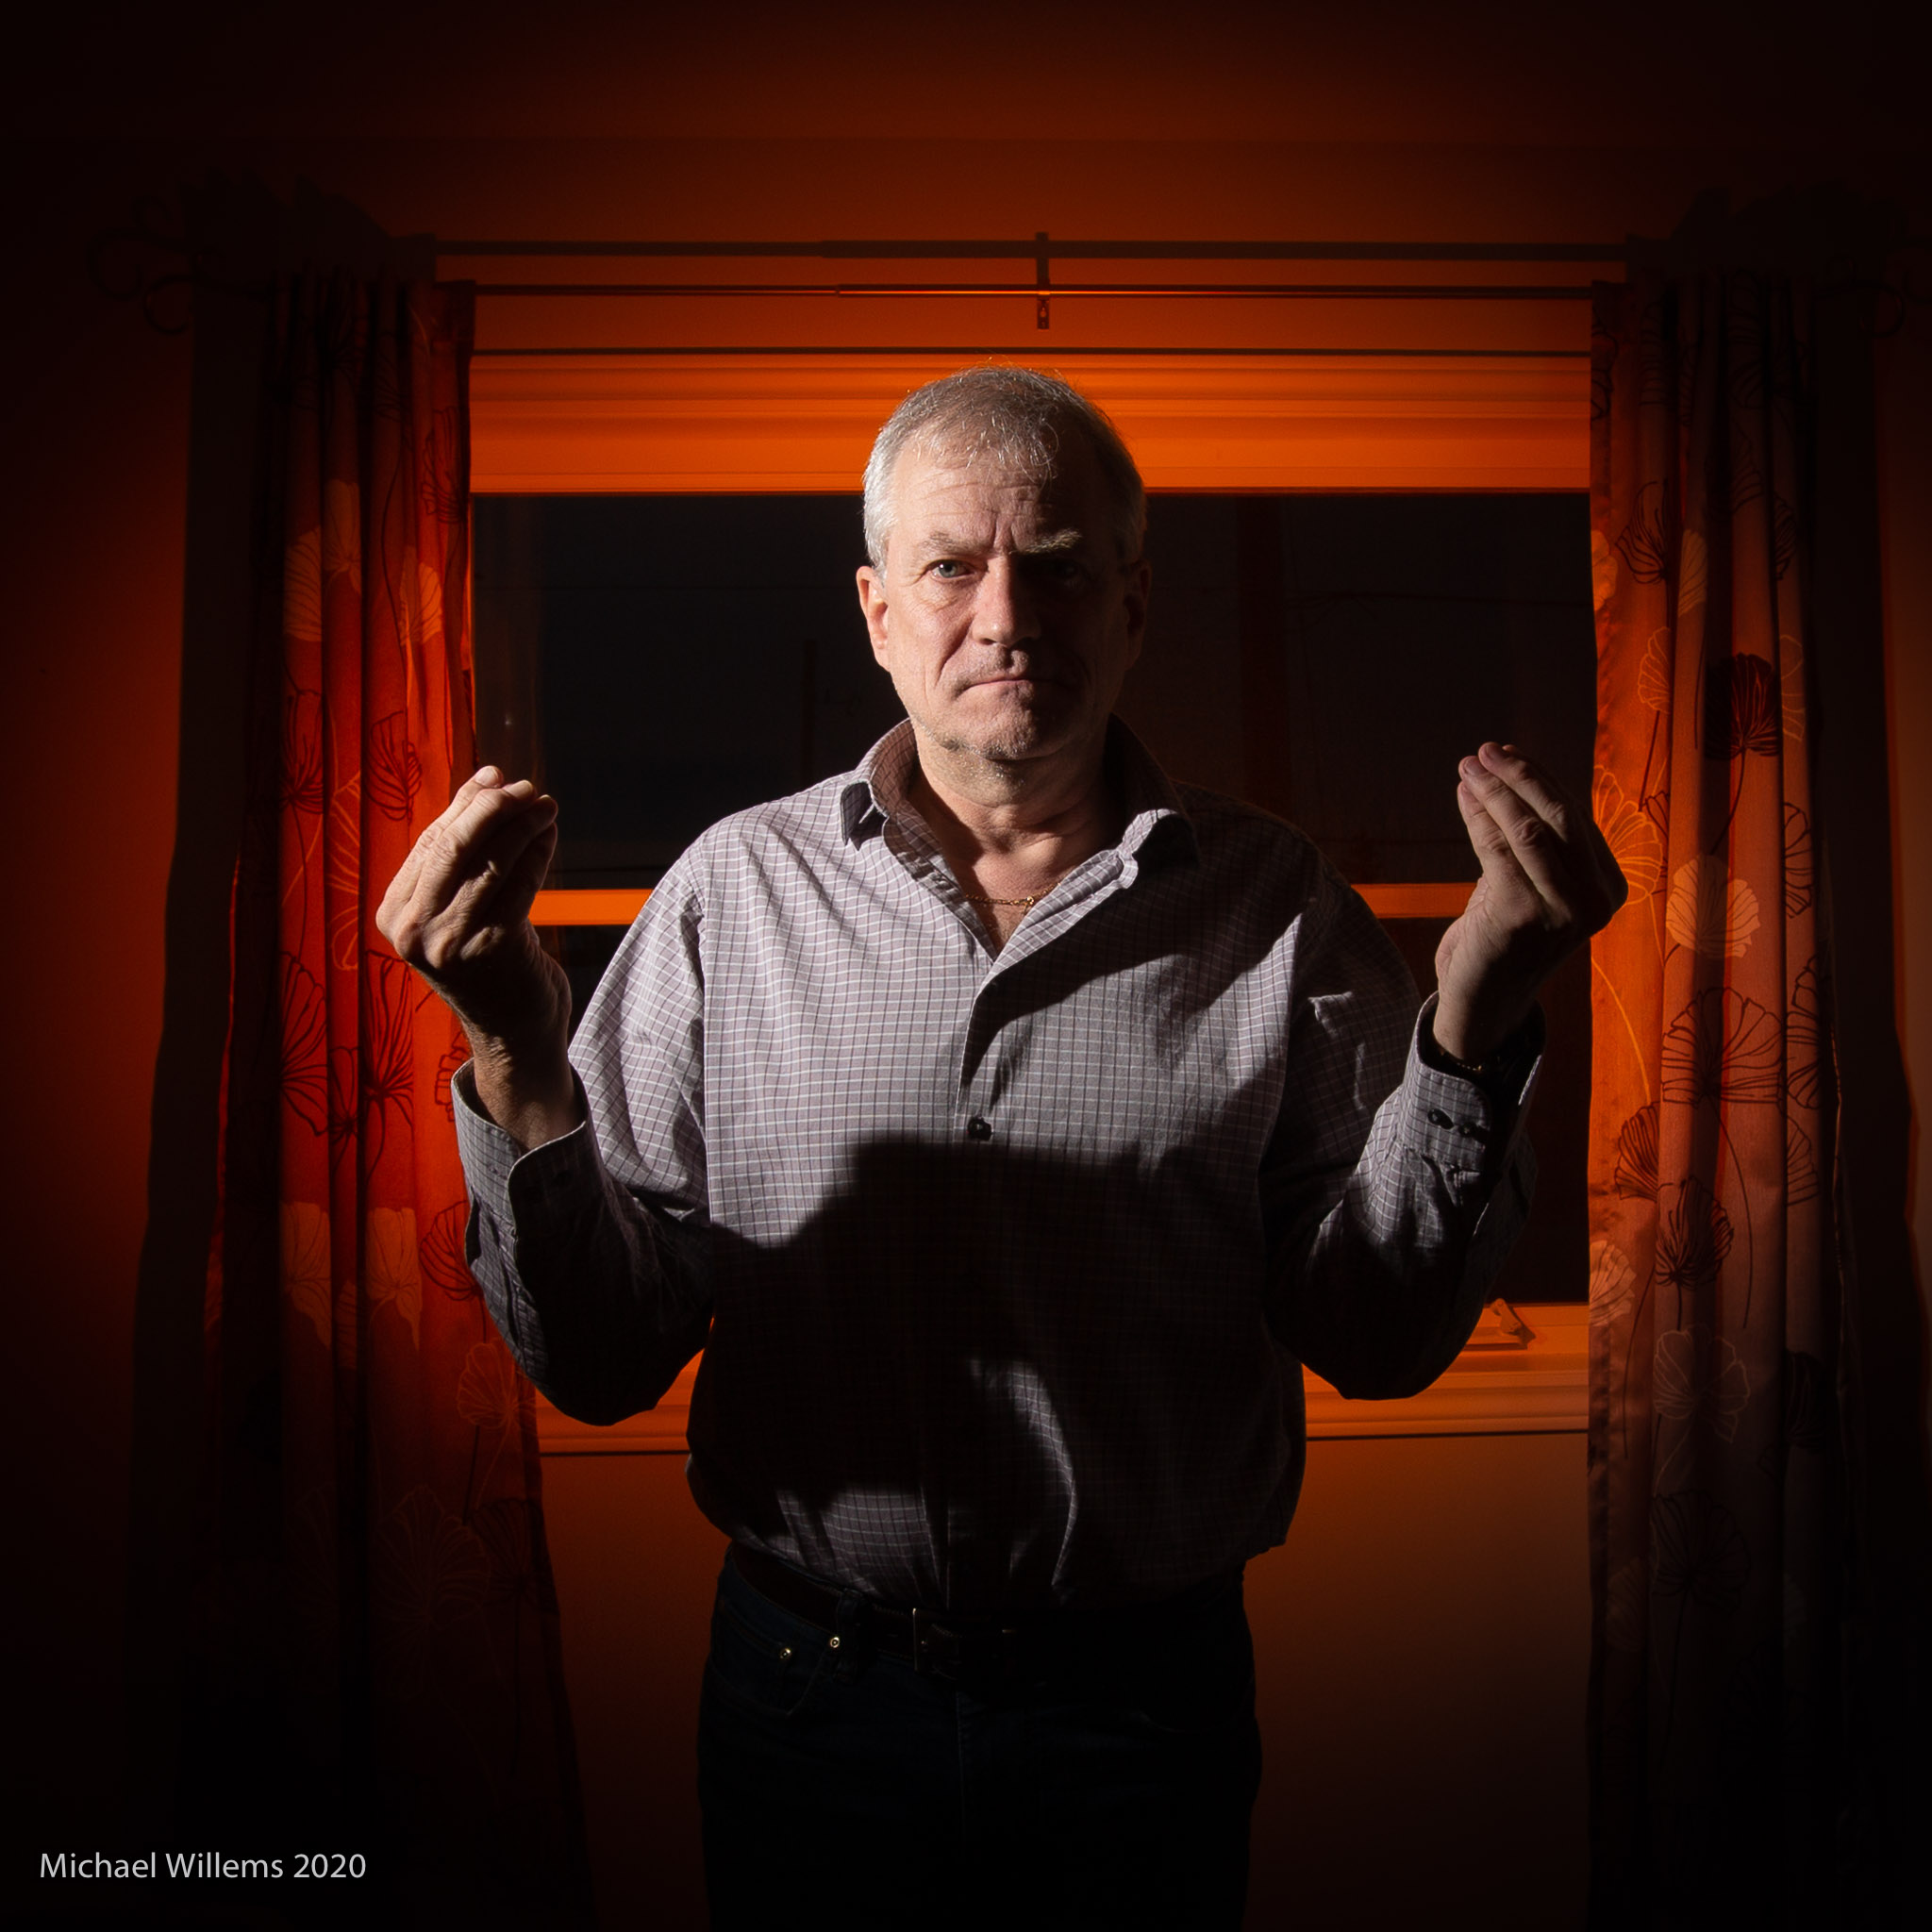
COVID Self-Portrait day 26: Now What? #covid #quarantine #quarantinelife #photography #photographer #flash #orleans #ottawa

In this days of social isolation, what do you do? Me, I get creative. With flash, of course. And apart from cropping and, in some cases, adjustment to vibrance and presence, it’s straight out of camera (“SOOC”) – it’s what you do once you know flash. Which, incidentally, I teach.
Here’s the most recent days:


I hope you, too, dear reader, are keeping busy with something creative. Regardless of what our governments regards as “essential”, we cannot live on bread alone.
And above all, stay well.
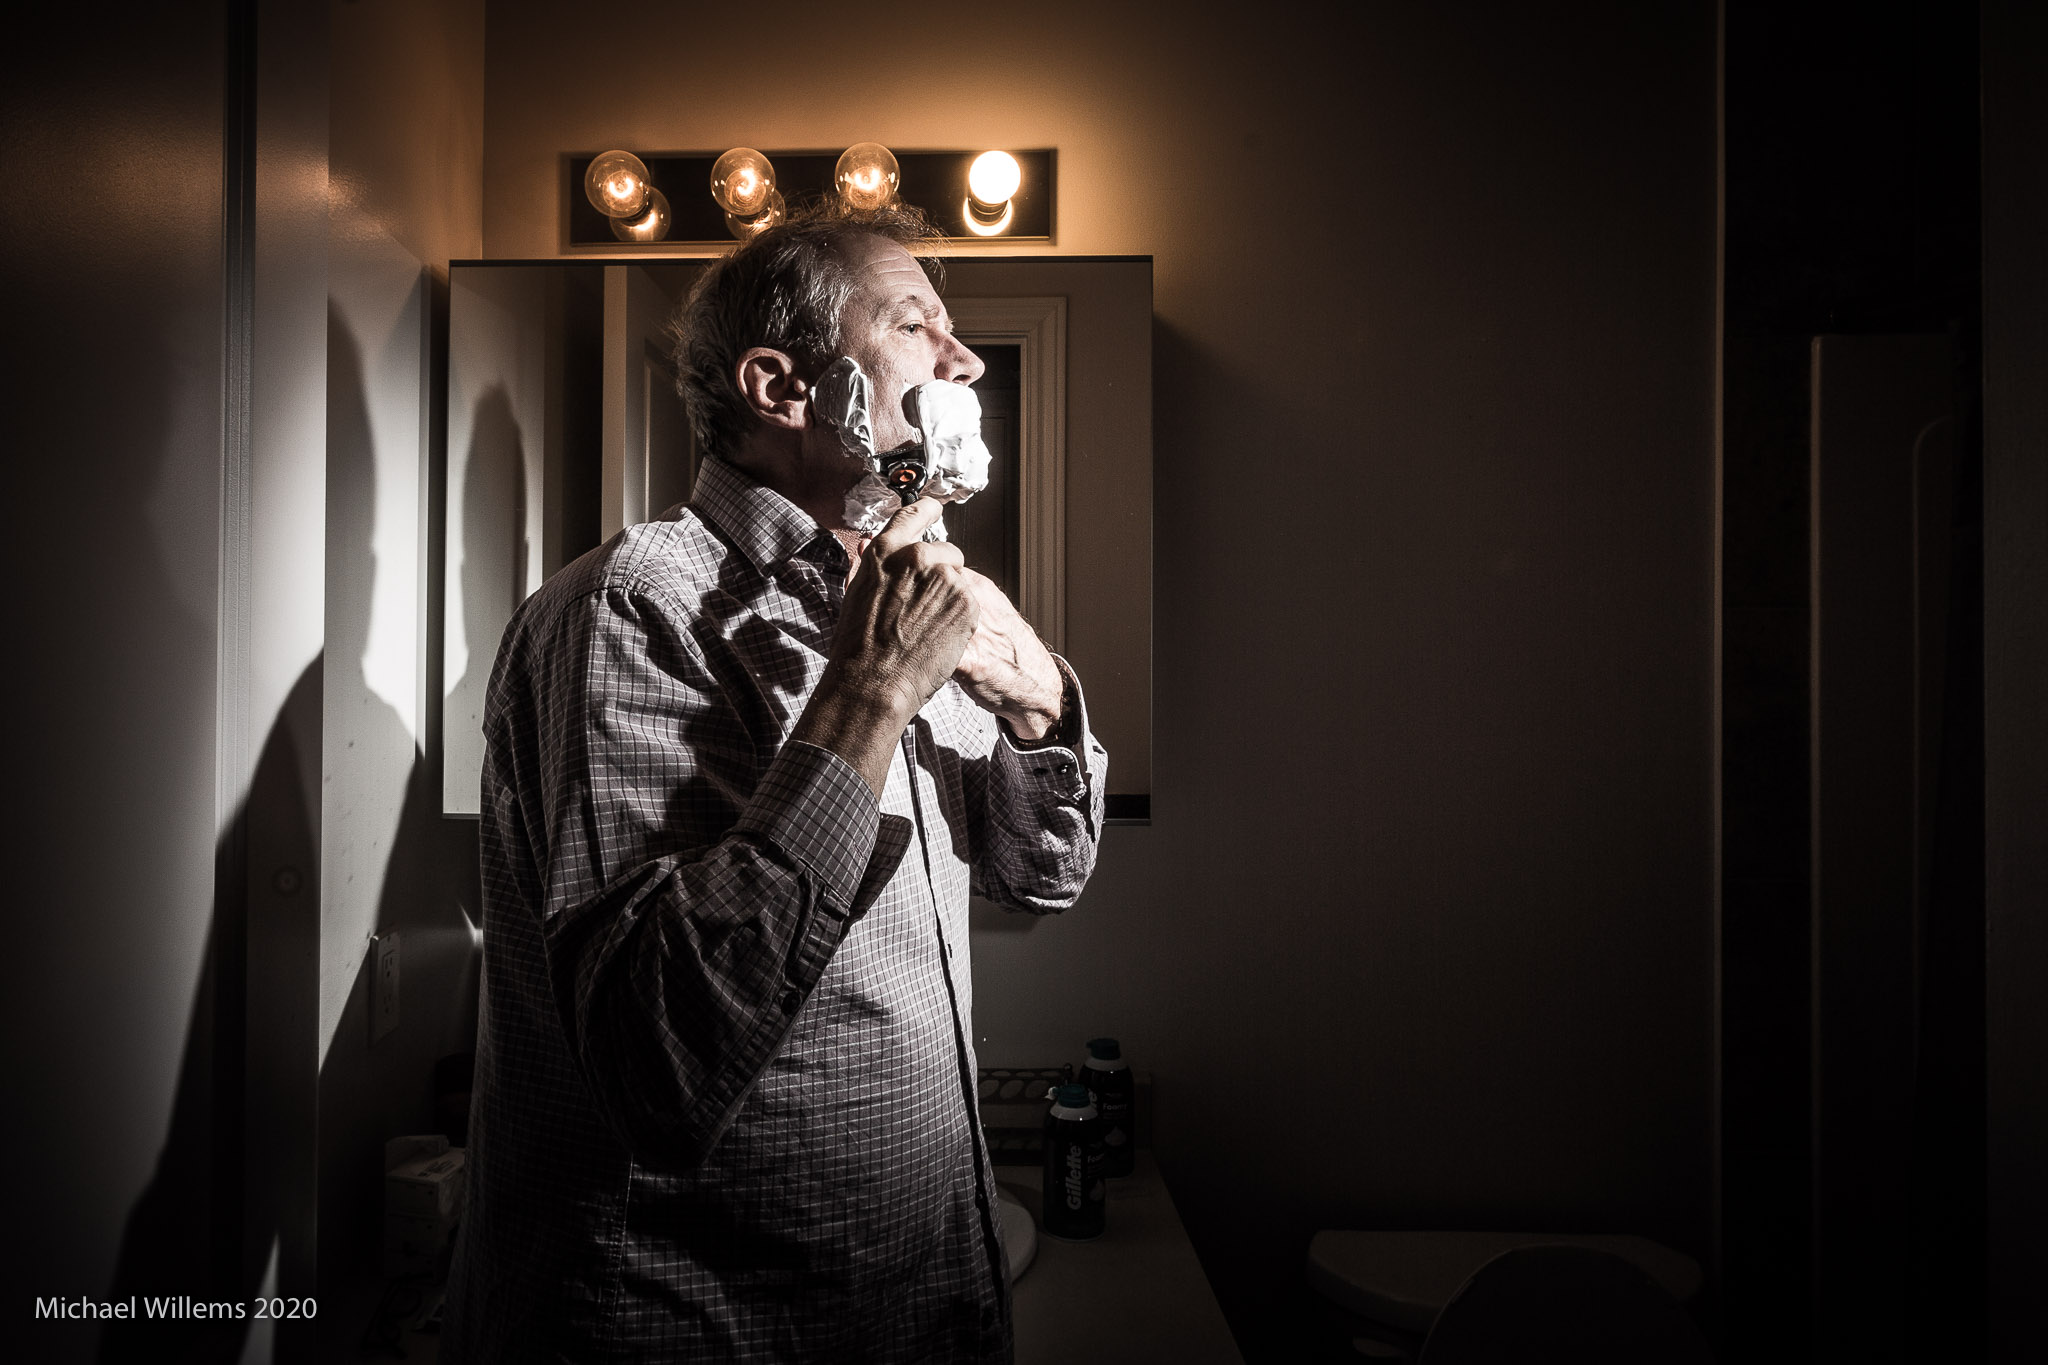
The rest of my self portraits are posted elsewhere, but here’s day 13. At some stage I will re-post all of them here. Day 13 is “making do”. Sleep, shower, shave, etc, TV, sleep, repeat. What else is there to do?
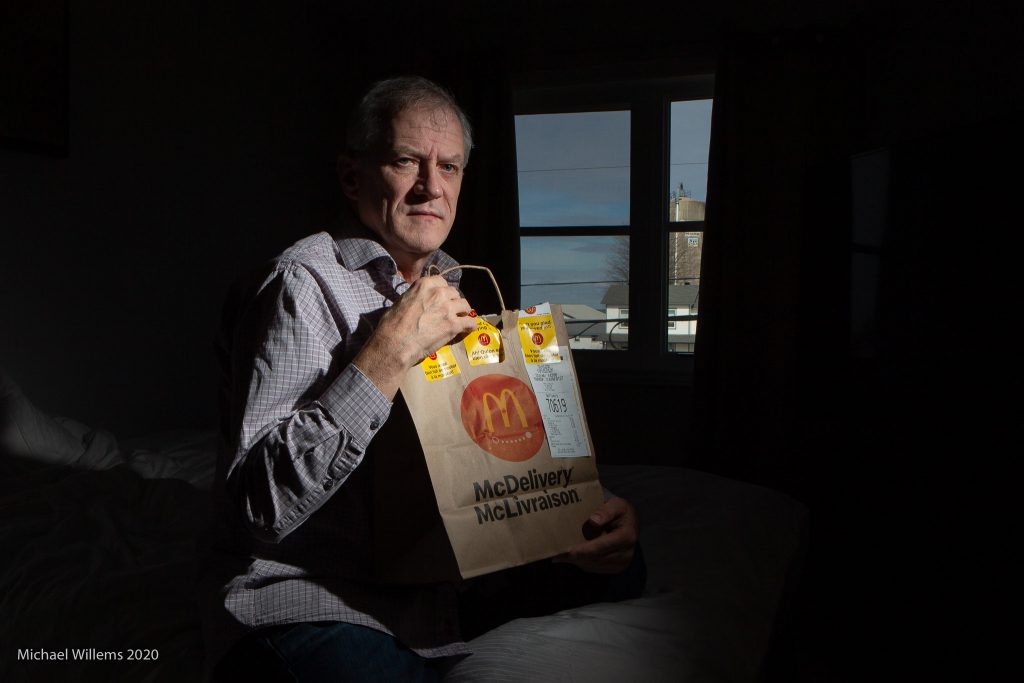
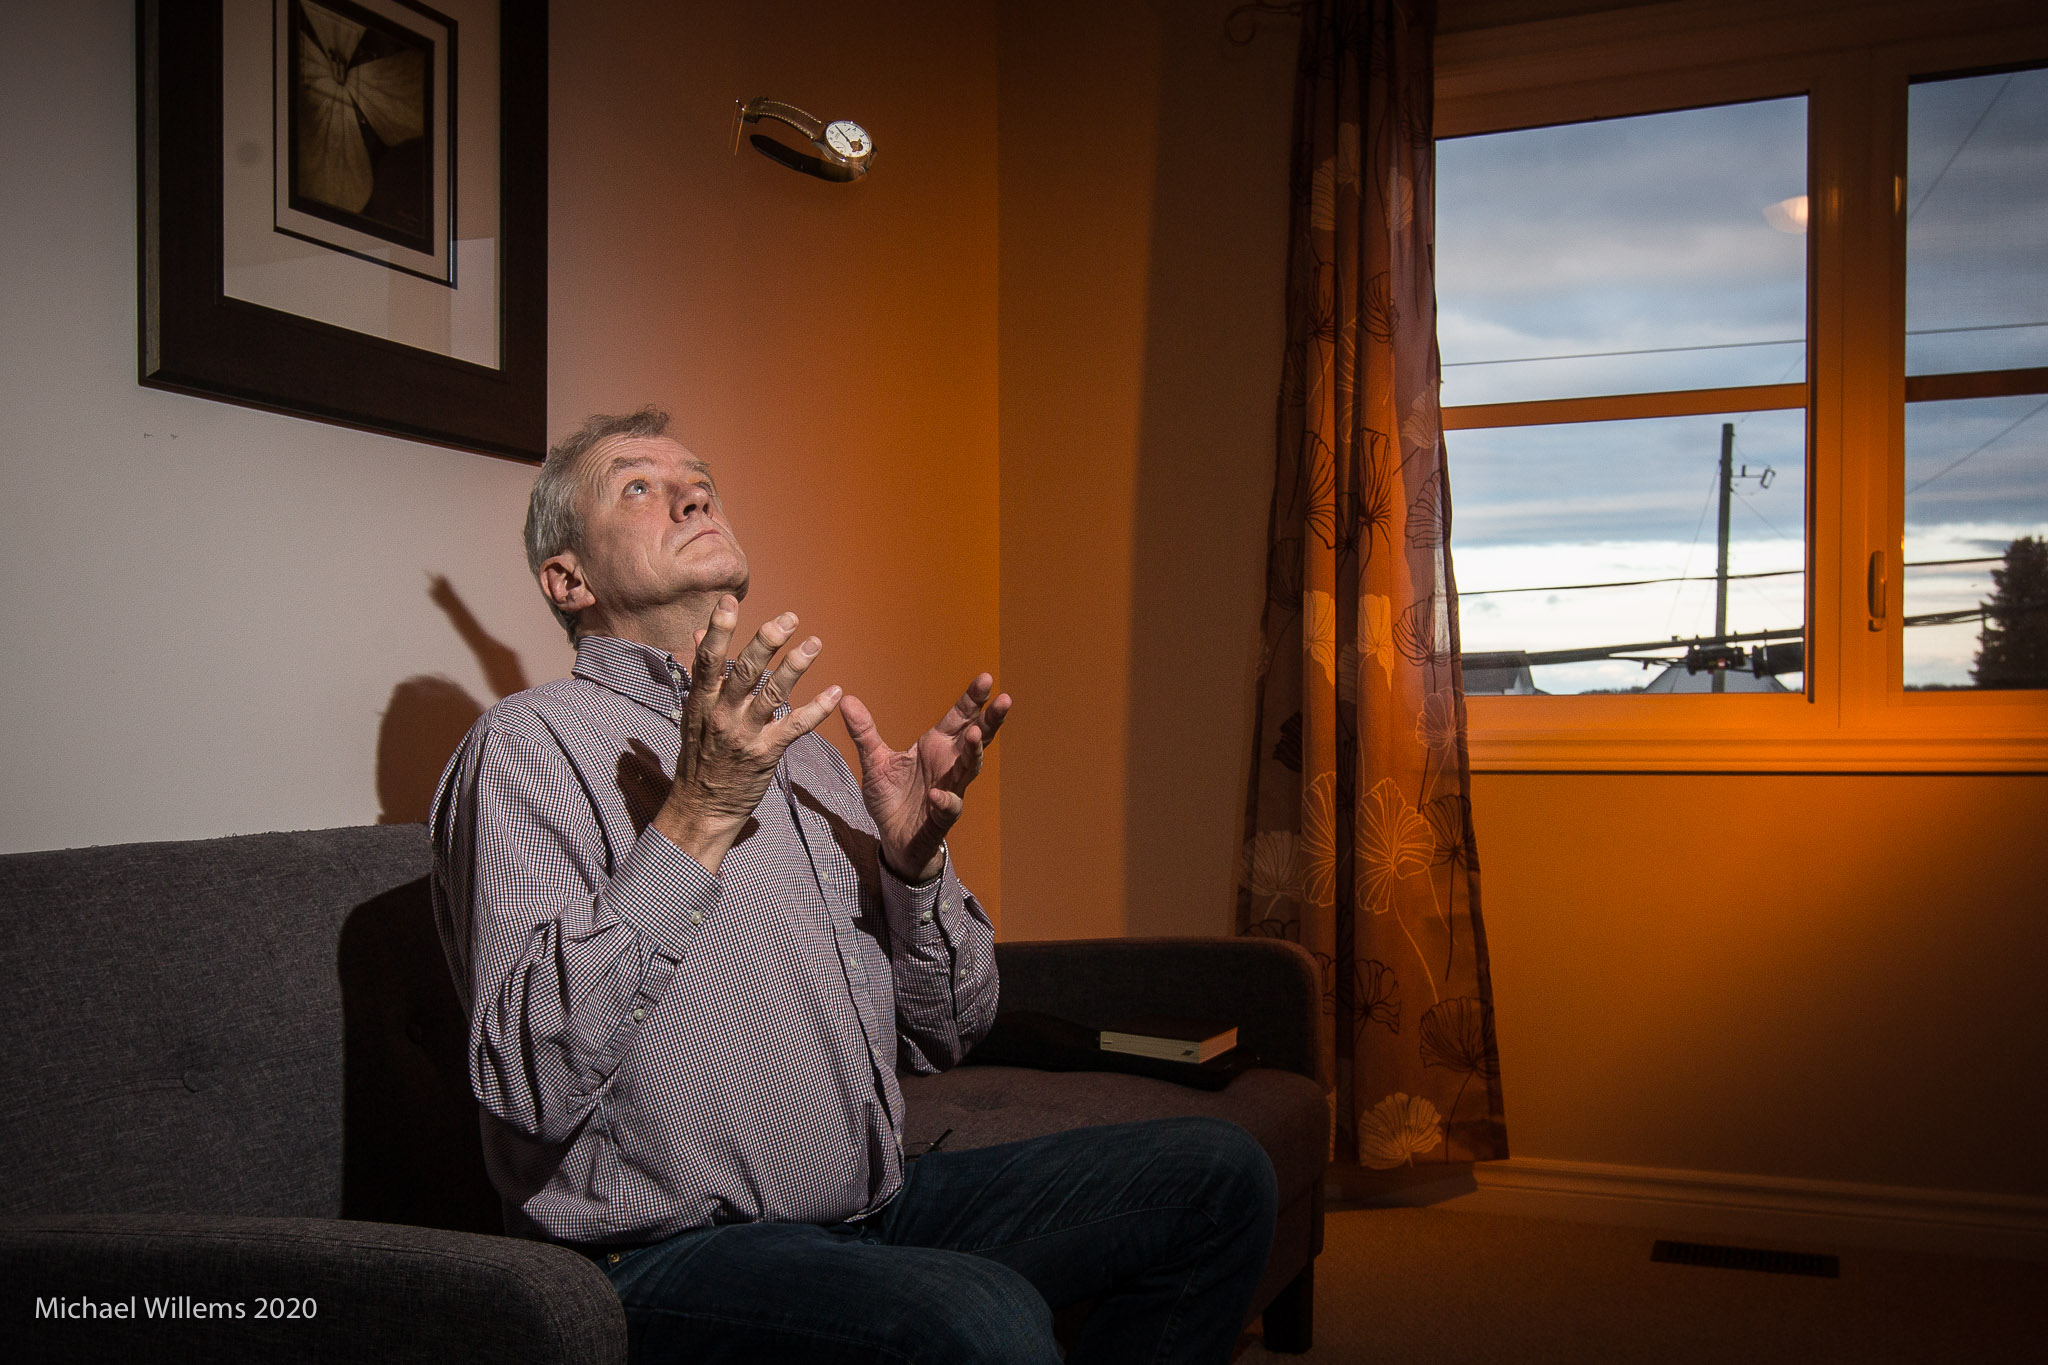
For today’s portrait I use a prop. And the camera is set to f/16, 100 IUSO, 1/250 sec. The light is a single speedlight fitted with a Honl Photo 1/4″ speed grid. Took about 30 seconds to do this portrait. Now the rest of the day…
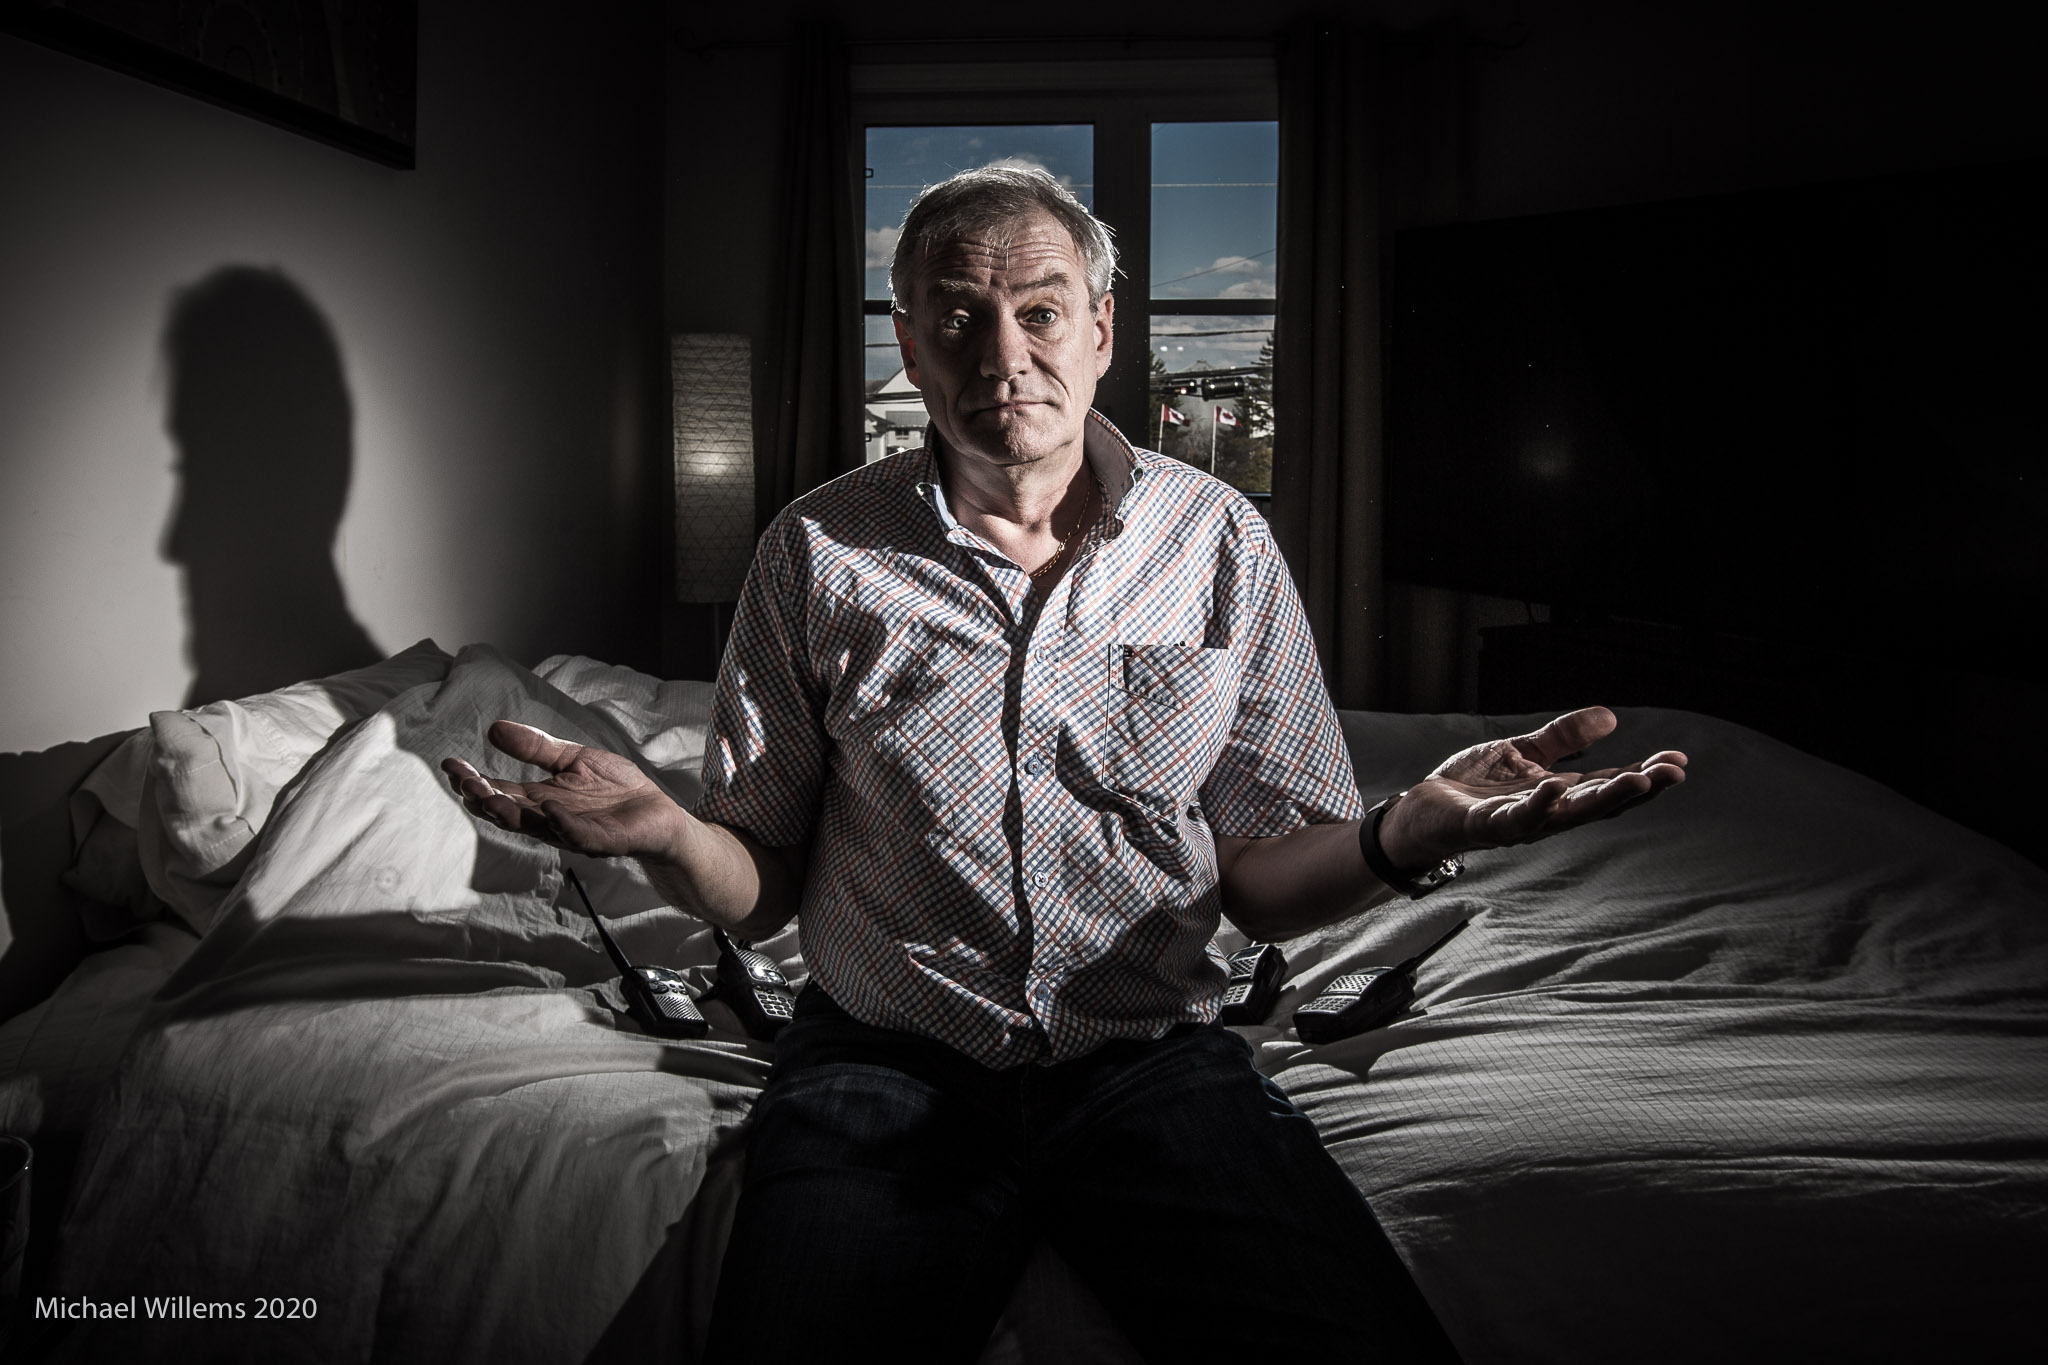
And I continue to do a COVID-19 period self portrait every day. Here, for example, is yesterday’s:
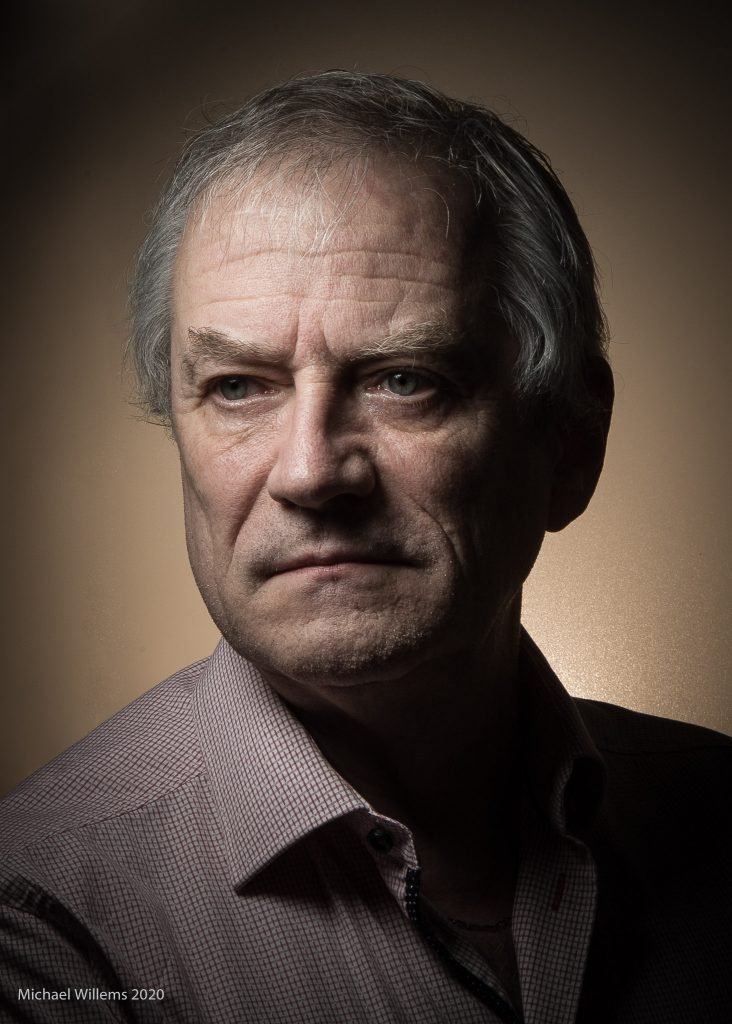
Rembrandt-type light, using two small flashes. One, in front of me, with a small 8″ Honl Photo Traveler8 softbox; the other right behind me, using a “chocolate” Honl photo gel. Both in manual mode at 1/4 power; both driven by simple (manual-only) pocketwizards.
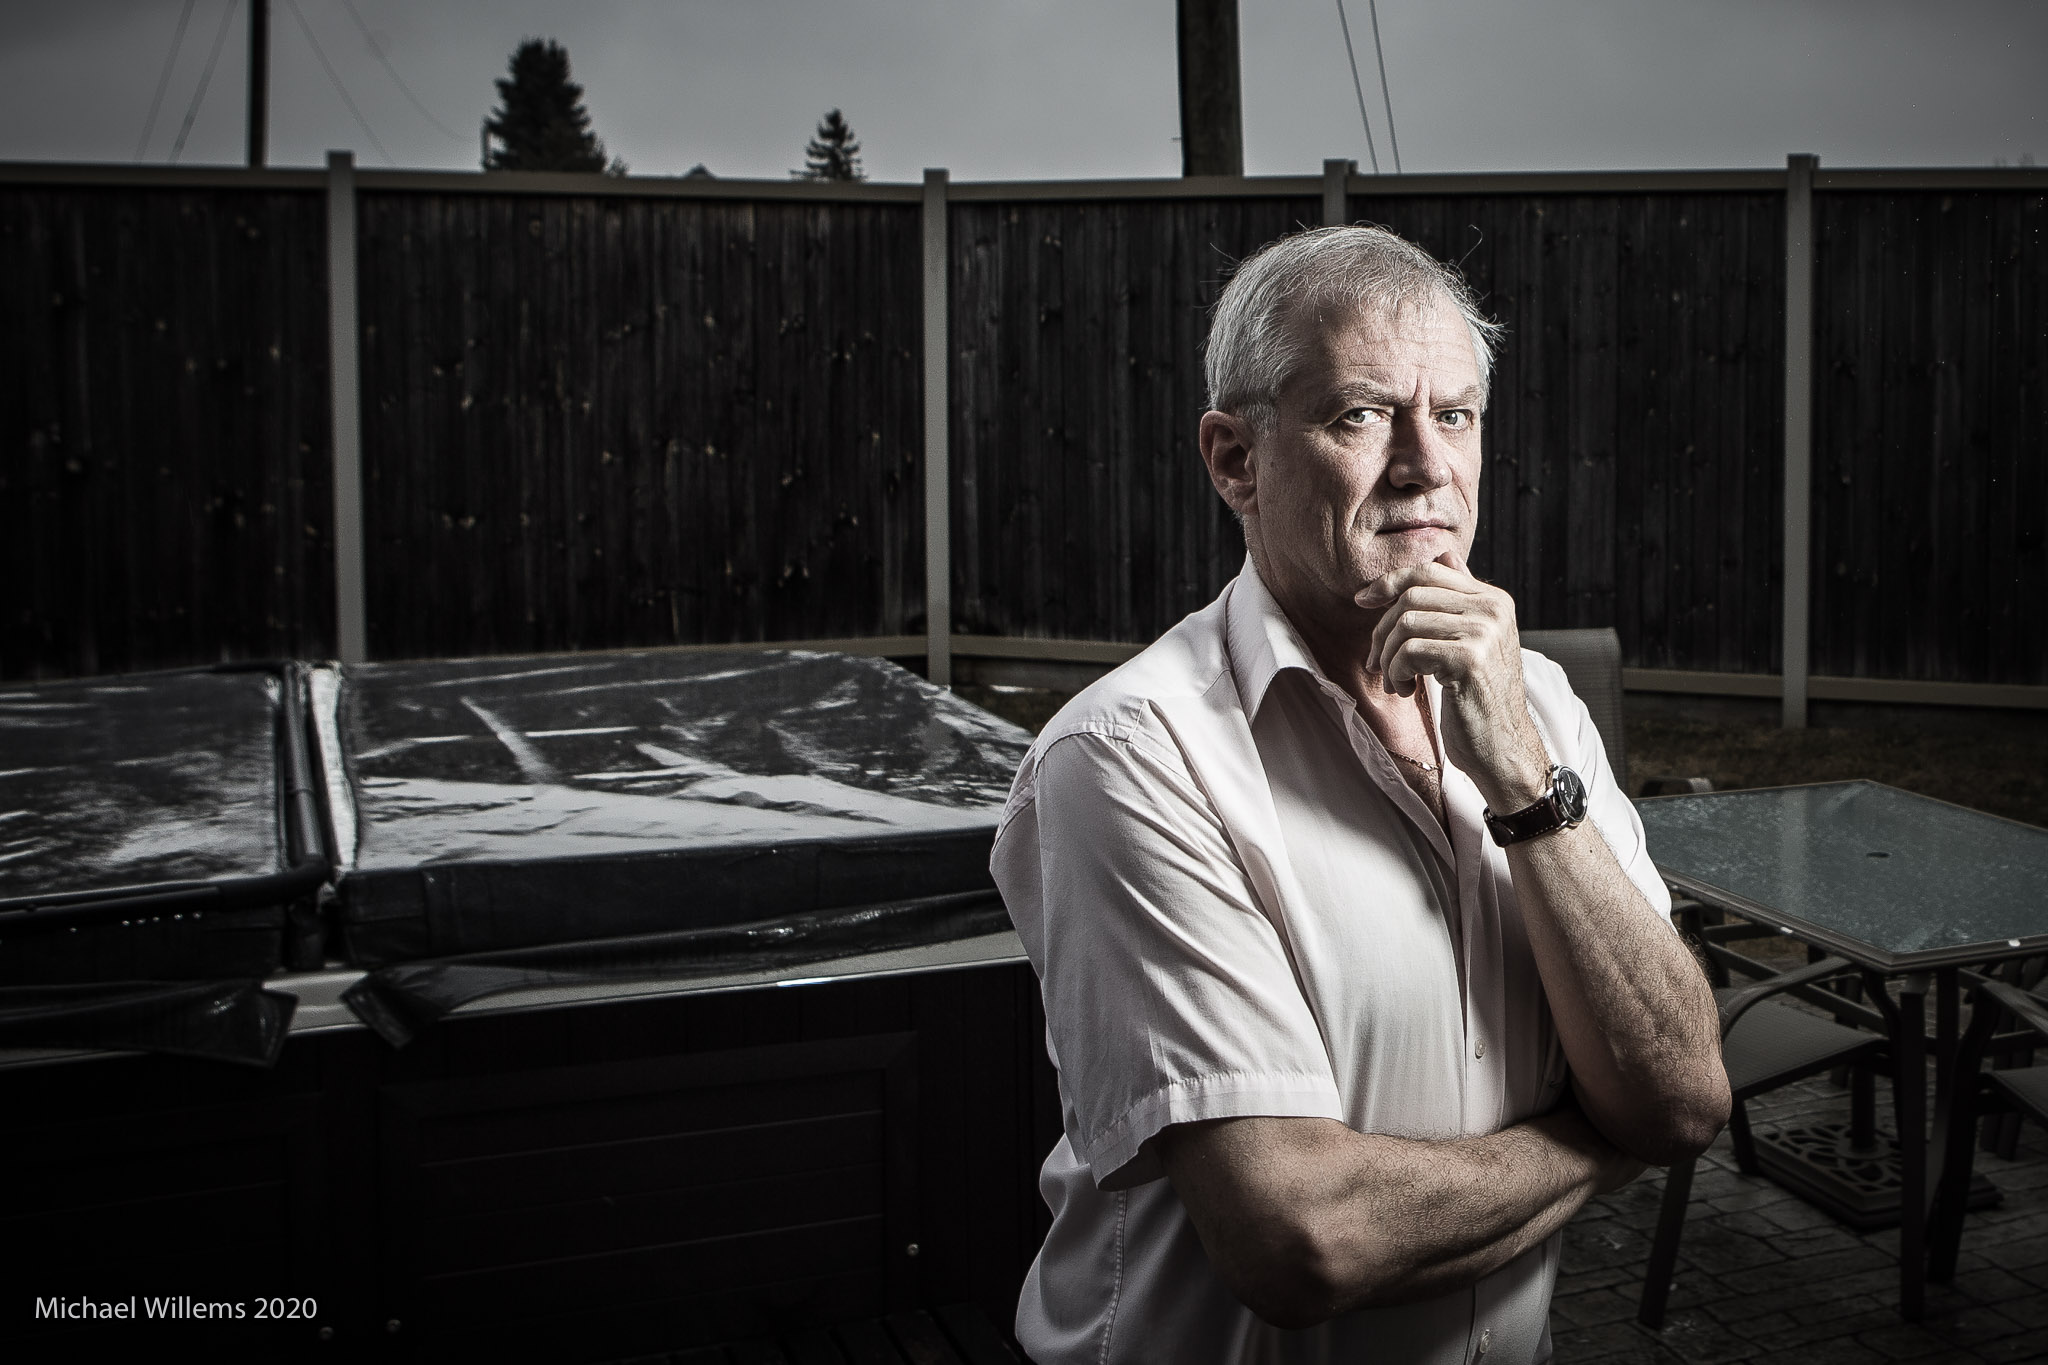
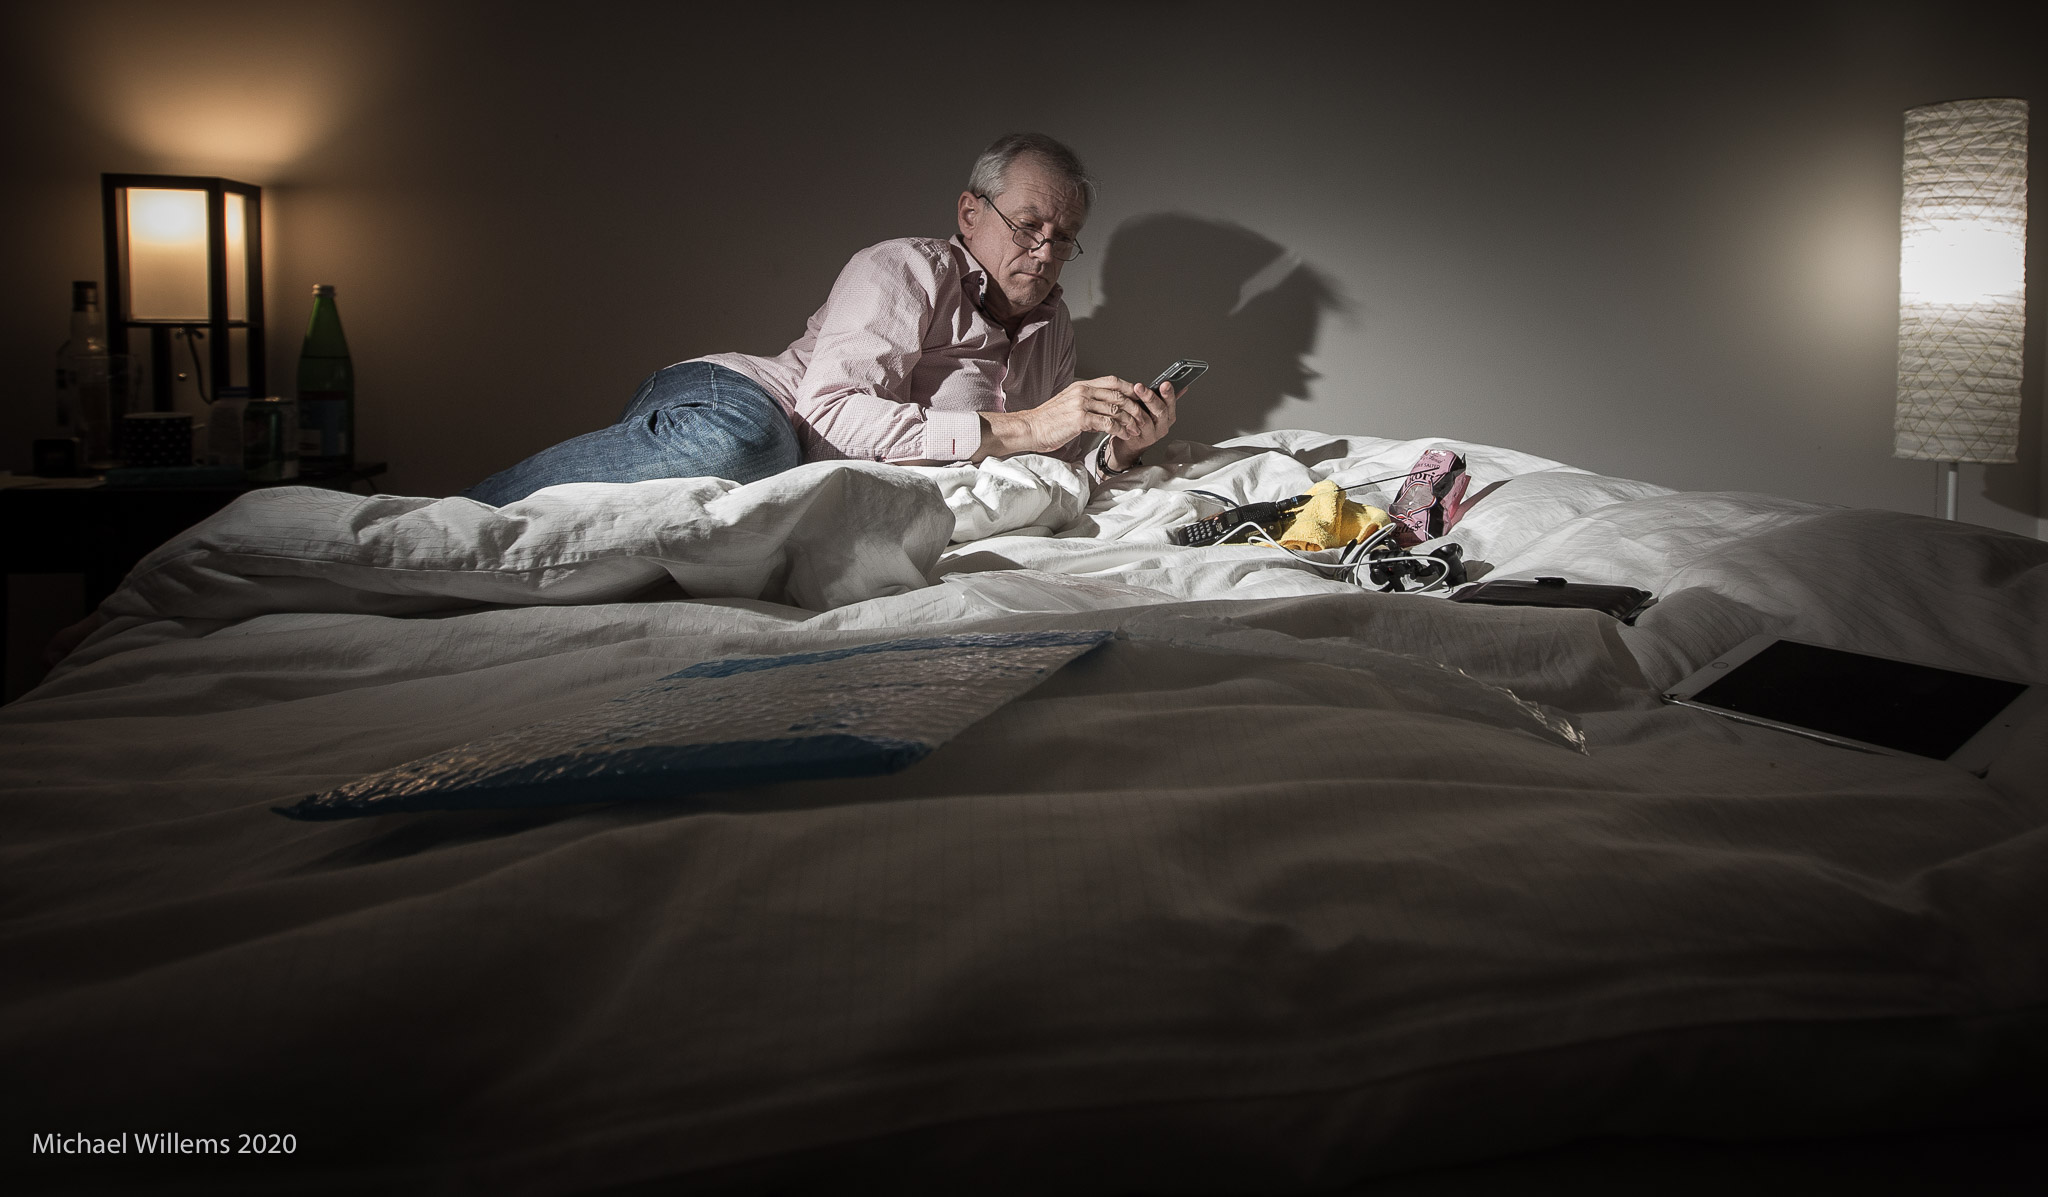
And today, another photo in my series of COVID-19 self portraits. Here it is, this morning:

So how did I make this photo? Here’s how.
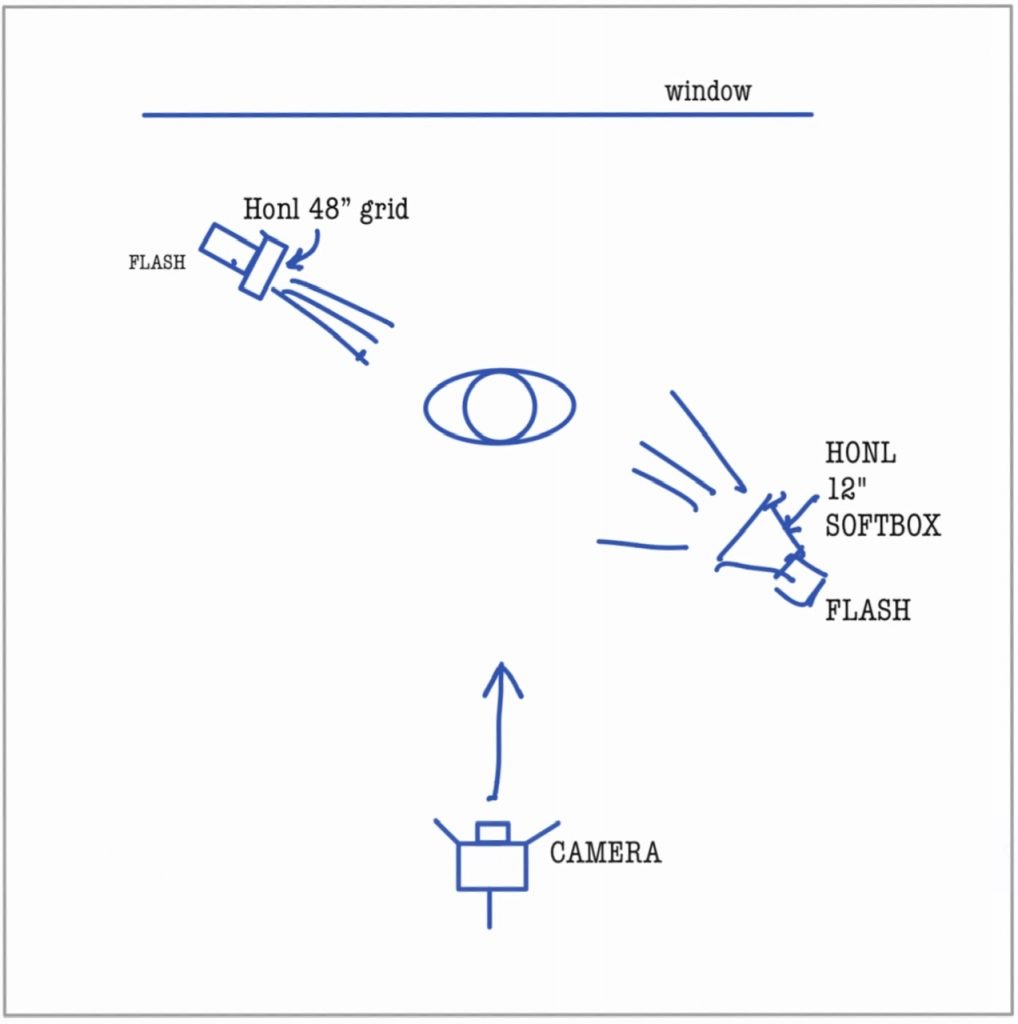
I used a camera on a tripod and two small flashes (speedlights) on light stands. One flash had a grid on it, one had a small Honlphoto softbox, like this:
Oops, that’s 1/8” grid.
Note that the camera focuses with “Back button focus”. That way, I can pre-focus at the right distance, and the camera won’t retry when it takes the picture.
Easy when you know how!
———
Learn flash photography! This is one of the favourite subject I teach, now live online. See http://www.michaelwillemsphoto.com/school/ for details.
Someone recently asked me “how do I take good photos of my wristwatch?”
Good question. A lot of people have hobbies that they can practice while quarantined at home. And two of those are (a) nurturing a wristwatch collection, and (b) photography. So the combination of the two is a logical thing to engage in.
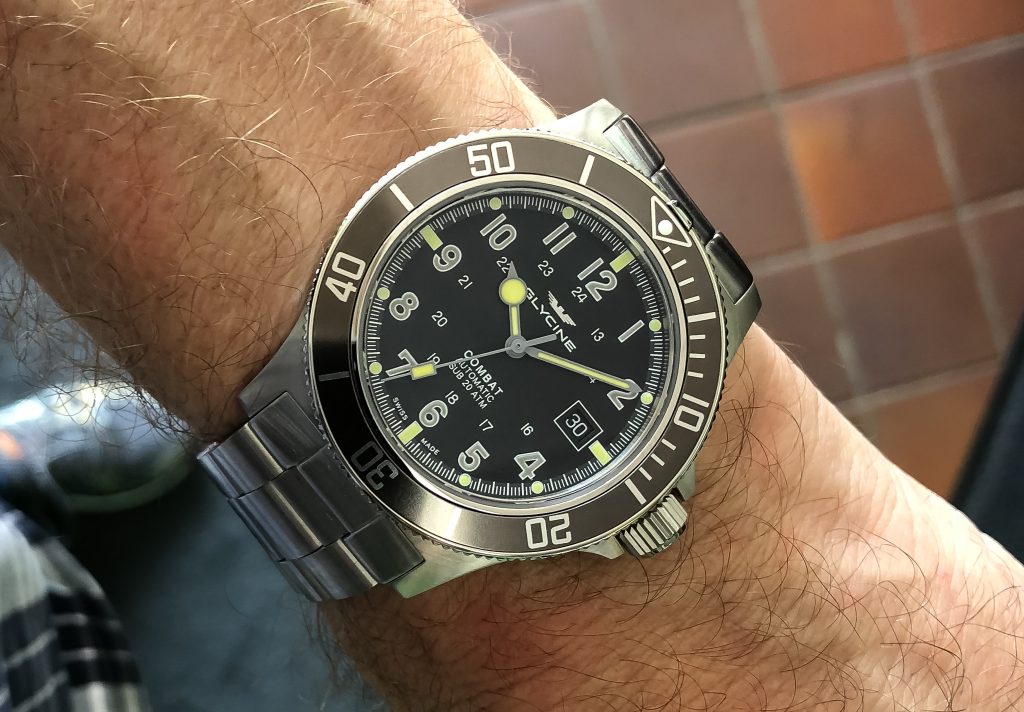
Here, for the record, is what I am wearing on my wrist today:
So how do you do it? As so often, there’s not one answer: there are a few. Here are some of my quick recommendations. I will give you technical tips for SLR as well as for cell phone cameras; a few composition tips; and a few words about post-production.
If you are using an SLR or other sophisticated camera, especially using flash, these are my technical recommendations.
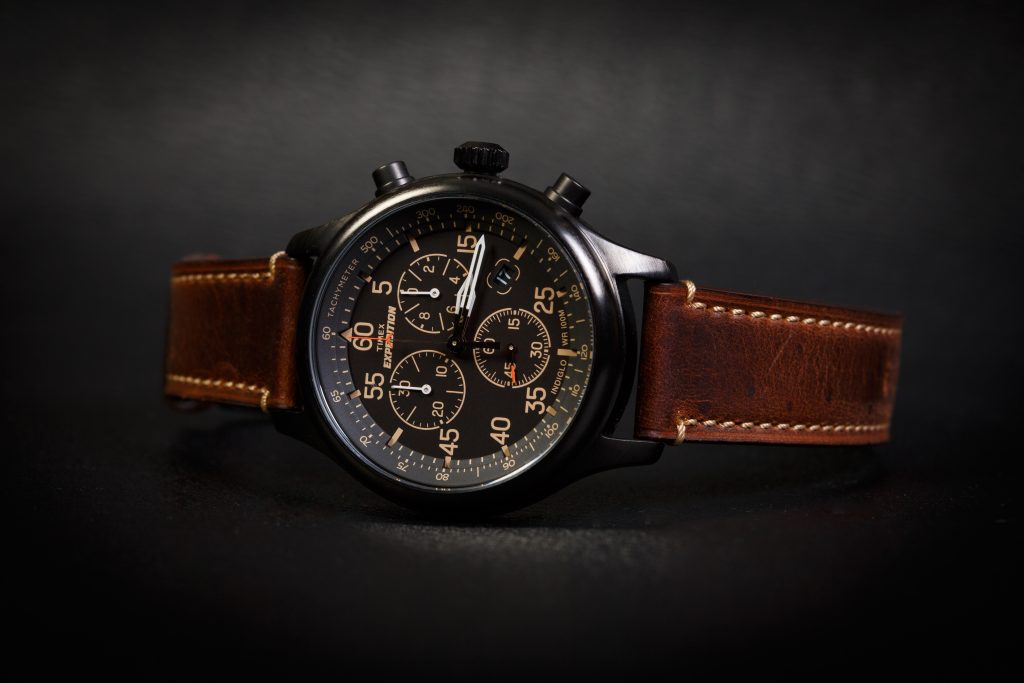
An example, lit with two flashes equipped with softboxes, both 45º above the watch:
It is perfectly possible to use a hand-held cell phone, as long as you do the following:
Composing a good picture is the most important thing you can do after the technical requirements are met. Some tips:
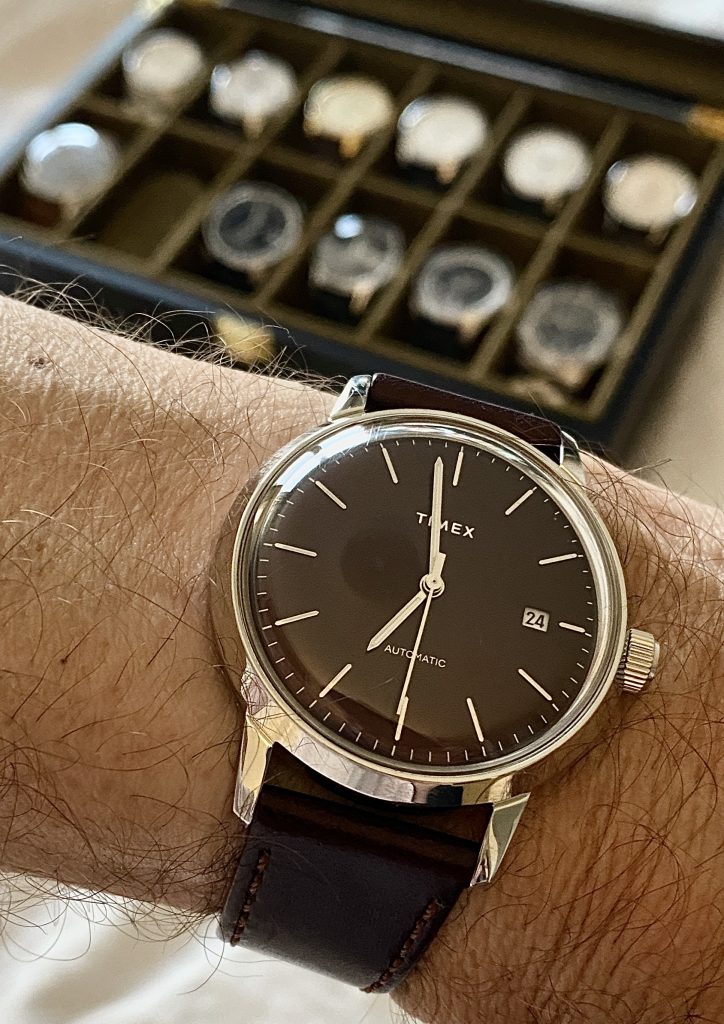
For example;
It is very important to post-process your image. This includes cropping and exposure, but also white balance (colour temperature), definition, and sharpness. Your phone can edit photos very nicely: especially recent iPhones do a truly excellent job.
but for a “pro” photo, dust removal is also needed. For this, use Adobe Lightroom or similar. See this post for more about this essential step: https://www.speedlighter.ca/2019/11/05/product-work/
It really is not difficult to make good photos of your watches, jewellery, or other small objects. Follow the tips below and go have some fun. I am looking forward to seeing your results!
Michael is an experienced photographer and educator, who teaches photography courses that are now available live, interactively, online. Check them out and learn more about Michael, his books, and his courses at www.michaelwillemsphoto.com