Post-processing B/W

Toay we have so much power. So much more than in the film days, where we had toi get it all done in camera.

Now, no more. We can shoot RAW and do any desired post processing later.

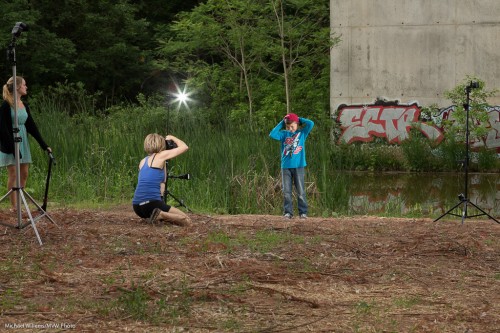
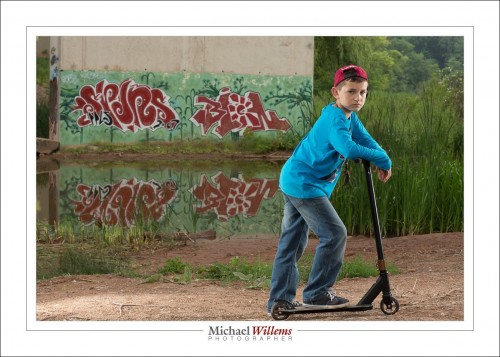
Take this image, one of the “tween and teen” shoot of the other day:

The kids’ mom and I shot that like this:

So I like the vivid colours. But what if I wanted B/W?

I would set my camera to RAW, but picture style to B/W. That way I see B/W on the back of the camera, to give me some idea.

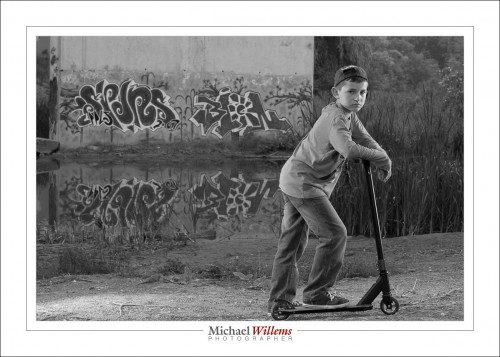
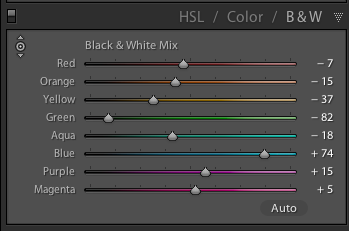
But the moment I get home, in Lightroom I see colour again. So I go to the DEVELOP module, in within that the “HSL/Color/B&W” pane. I select B&W:

Which gives me this:

That’s nice and all, but as regular readers know, I can now set the brightness of individual colours. Why? Well, for instance, to create contrast between subject and background, or to emphasize or de-emphasize certain areas.

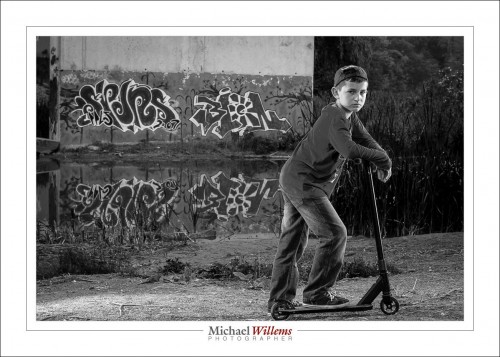
For example, I could make the shirt darker by sliding the “BLUE” slider to teh left. All blue areas (mainly the shirt) would get darker:

Be careful not to go too dark: you will see artefacts: look carefully at the edges of the shirt:

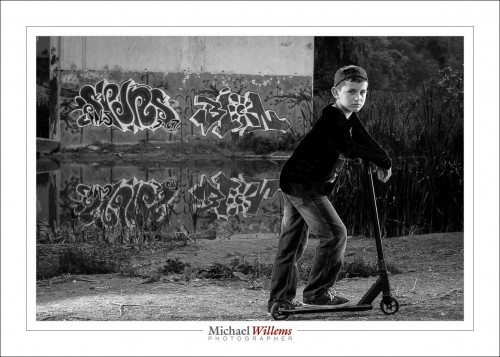
Anyway.. here, I want the shirt brighter. So I tune up blue, and then make various other small adjustments, like making green darker; all of which are aimed at making the boy stand out from the background:

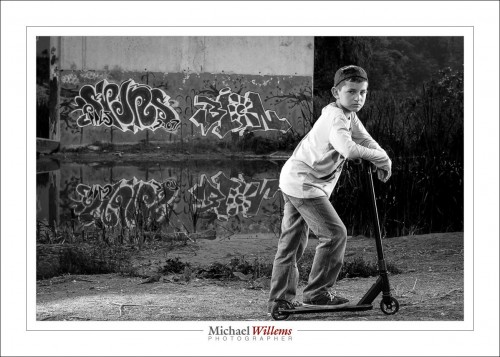
Which gives me my final picture, which looks like this:

Actually, that’s not bad, especially when you consider that in Lightroom, this takes merely a minute of your time.

In the past, we would have used actual filters in front of the lens (e.g. a yellow filter would make the blue areas go darker). The problem is that you cannot readily experiment. Here, you can go crazy (though please don’t). Fun!

___

Come to me for some personal training, if you want to master these techniques. See http://learning.photography. Bring a kid or two and you get two benefits: portraits of the kids and teaching. All you need is to bribe your child in to cooperating for three hours. Easy, right?

 

Polarizer

Happy summer (southern hemisphere friends, happy winter…)

Summer. Hence Sun. Right? So you need a polarizing filter for your lenses?

Yes, this is a good filter to have. A polarizer, as you know if you have been reading, actually does stuff:

  1. If you turn it to the correct angle, it makes the sky go darker (best at one angle, roughly perpendicular to the sun).
  2. It removes reflections (non-metallic reflections, like those on the surface of water).
  3. It can often help saturate colours (especially greens, like in vegetation).
  4. Fringe benefit: it darkens a little (usually, about a stop), so it acts like an ND filter. But just a little.

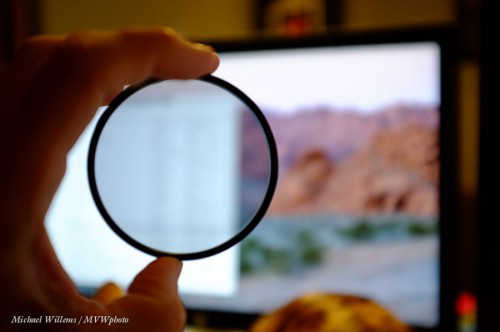
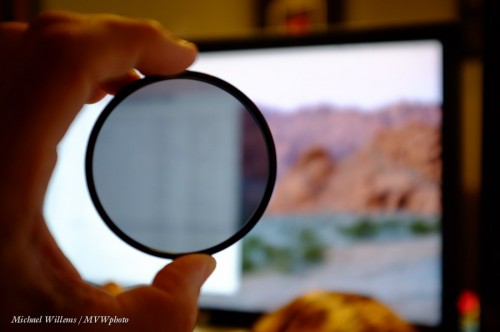
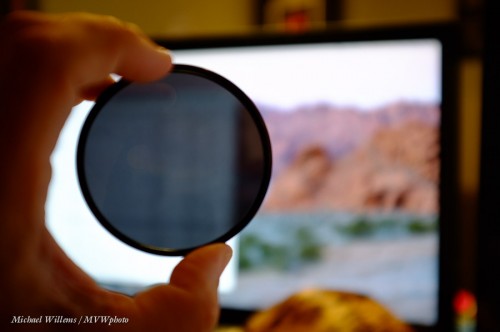
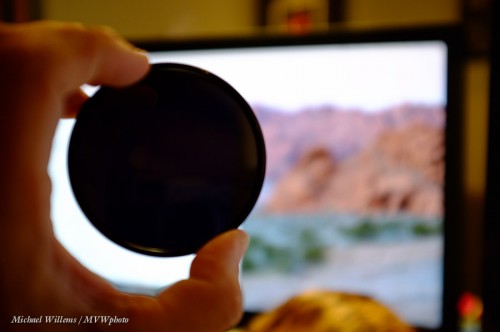
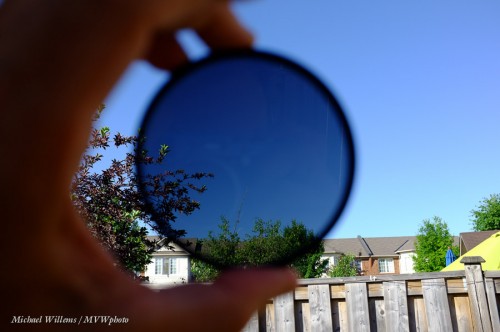
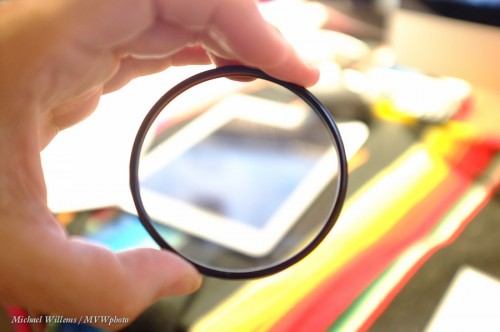
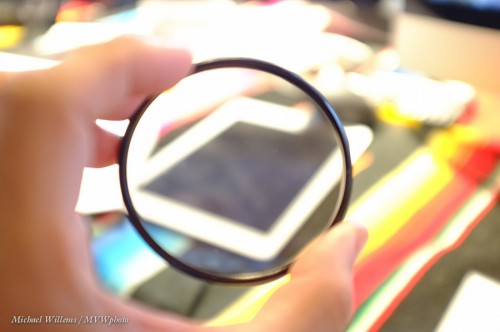
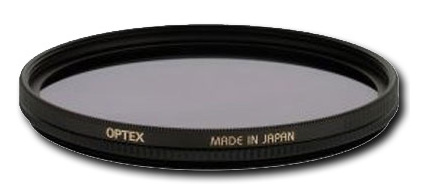
Here, a polarizer. In picture 1, it lets through polarized light (emitted by the LCD screen). In picture two, it is rotated to let through less. In picture three, it is rotated to allow even less polarized light to enter; and picture 4, none.

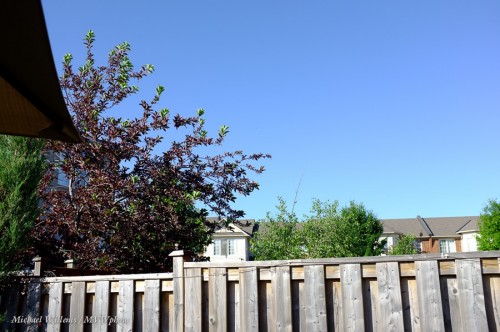
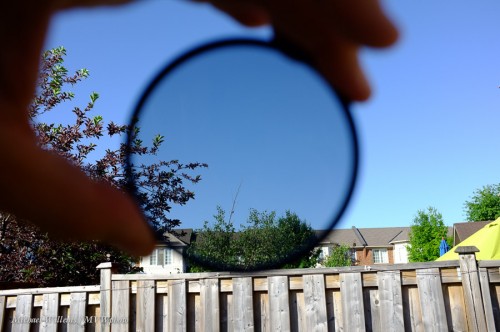
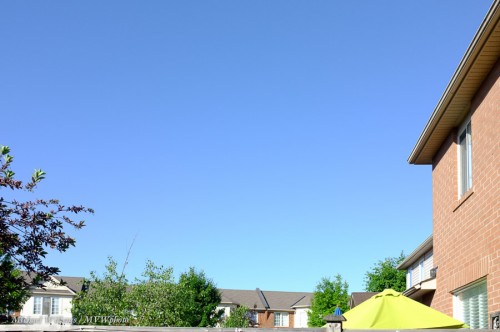
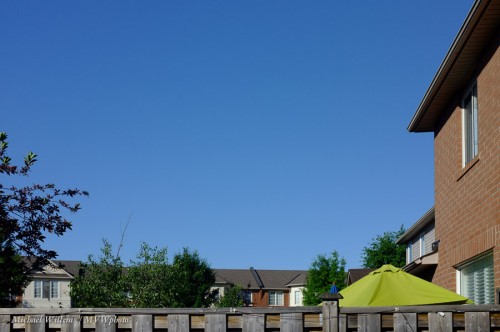
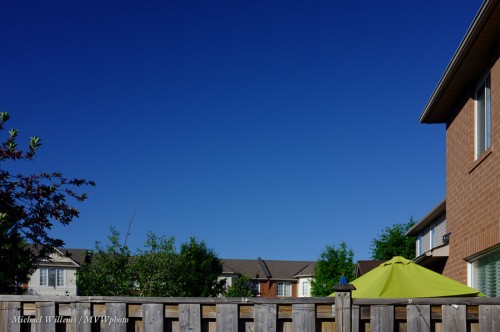
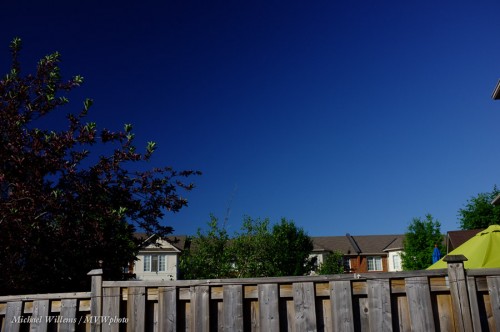
Below, the same while looking at the sky, which emits polarized light as well as unpolarized light: no polarizer; a polarizer rotated to allow in most polarized light; and one rotated to allow in almost no polarized light.

You will hear many people talk about “circular polarizers”, as opposed to “linear polarizers” You need a circular one for a digital camera. Let me explain.

A linear polarizer is just a polarizer. It lets through all, or none, or some amount of, polarizer light. But polarized light like this can confuse your camera’s AF and exposure sensors. So a circular polarizer is one that has two layers: the polarizer, followed by a filter that makes the light circularly polarized (basically, unpolarized). That way, no bad effect on the AF anmd exposure sensors.

This also allows you very easily to see whether your polarizer is circular: a circular polarizer only works one way. Turn it around (screw threat in front), and it does not work. Because the second filter makes the light basically unpolarized, so that the subsequent polarizer does not do anything.

So if your polarizer works the same whether you look through it one way or the other way, it is a linear polarizer, and will give you problems.

Here’s a polarizer taking away reflections (again, only off non-metallic surfaces):

Note that a polarizer can give you issues with mirrorless cameras. My Fuji x100, for instance, does not show the real effect when I use the electronic viewfinder. Beware!

Finally, a sequence with the polarizer turned to let progressively less polarized light in (using the Fuji x100):

You will note in the last images that part of the sky is darker than other parts of the sky. Yhis is becuse, as said earlier, teh angle matters. Parallel to the sun (i,.e.. the sun is behind you or in front of you) the polarizer does very little; at 90 degree angles it does a lot more. The only solution: use a longer lens.

And the last note: if you have only one polarizer, you can use only one lens? Nope. here, I used a large thread polarizer, a 77mm, simply held in front of the tiny x100 lens. Where there’s a will…

___

Have you had a look at my five e-books? All are over 100 pages long, well organized, illustrated, and a great source of information that gets you started immediately. Head over to learning.photography now!

Digital!!

Digital. Means “new”. “hi-tech”. And “need new stuff”, “short lifecycle”.

I have seen “digital” filters in stores. And I have seen digital lens cleaners, digital everything else.

Well, to this I have two notes.

First: “digital” is often used just to get you to buy things. Digital sounds new, and new, in Don Draper’s words, is an itch you desire to scratch. A way to get you to buy. The reality: if you use a protective filter on your camera, an “analog” filter will do just as well. There’s no difference. A filter is a filter.

The same goes for many other “digital” items: digital lens cloths? Really?? Caveat emptor: buyer beware; Careful what you pay for; or rather, careful that you really need it.

Second note… I do not use filters. As regular readers will have seen here, few pros put filters on their lenses in normal use. Yes, I do own the filters: when it is raining, snowing, I am in a sandstorm, at the beach: that is when I will put on a filter to protect my glass. Otherwise, it just adds flare and unsharpness (see my post in June).


Filters

Long-time reader Laura W. asks:

Can you expand a bit more on ND filters.  I have never used any type of filter, and I know you are not a big advocate of them.  But I have read so much mixed information on them, just wondering what your take is?  Ever in Studio?  I would think not but, I have heard some arguments for.

Sure, good question.

I avoid using filters unless necessary. But sometimes it is necessary. Here’s a few examples of when that might be:

  • A protection filter (“clear”, “UV”, “skylight”), when there’s rain, sand or snow flying about. Else, I leave them off – they can increase flare and reflections.
  • A polarizer (“C-pol”, “Circular Polarizer”) when you want to enhance contrast in blue skies, and reduce reflections, eg on water. Turn. Take it off when not using it. Buy good filters – thin, if you are using wide angle lenses.
  • An ND filter (Neutral Density Filter) to cut light. Imagine this – you want a 1/30th sec exposure for panning during the day at f/2.8. Even at 100 ISO, there is no way you will get this. Or a waterfall pic, 2 seconds. Or a daytime or early evening lightning shot – the shutter should be open for maybe 10 seconds. There is no way you can do these shots – even at 100 ISO there is too light. So an ND filter cuts that light – problem solved. Or in a studio if your lights are too powerful even at the lowest setting. All good reasons to own a few ND filters that cut, say, 2 or 4 or even more stops.

Does that help?

Michael


Just say NO.

What do professional photographers often say NO to? The very things amateurs say “Must Do” to. Like these:

  • Camera bags. You do not need your camera in a bag. When it is in a bag, you cannot use it. Your camera is for picture taking, not for storing. I carry a camera on one shoulder, and a bag with lenses, flashes, filters, and so on on the other shoulder.
  • Filters. A filter will sometimes do more harm than good. In particular, it can increase lens flare. What happens when you are shooting in the direction of a strong light source. So a filter can decrease your quality, while it can never increase it. But does it not protect? Yes – so when I am shooting in snow, rain or a sandstorm I may put on a filter. Otherwise, no. (But note, I always, always use lens hoods. They reduce flare and prevent damage).
  • Lens caps. A lens cap is a great picture preventer. Need I say more?

Sometimes, less really is more.

I am not saying you cannot use bags, lens caps and filters. What I am saying is that if like me you choose not to, you should not feel guilty. You may find the experience lliberating.

Filter tips

A quick tip, today. All about filters.

  • Yes you need them. When it starts raining, or in the snow, or in a sandstorm, you want your filter to be ruined, not your lens.
  • But they cause flare, so you do not need them on all the time. I never use my filters except in rain etc. That’s right –  normally, I use no filters.
  • And polarizing filter (“Circular Polarizers”) are great to darken the sky: so you need them. But do not leave them on. They cut the light by a couple of stops! Only put them on when using them, then remove. This is a very common error: I see it all the time.

Oh and do use your lens hoods all the time.

Here’s a polariser picture:

In other words, I slightly darkened the sky by using a polarizer. This brings back the scene to the impressive one that I felt I saw.

Have fun!