Accountants of the wild frontier

Today was a good example of n event shoot.

Colleague Joseph and I got to the Metro Toronto Convention centre to shoot a few hundred accountants pointing laser pointers at the ceiling. A very un-accountant-like event!

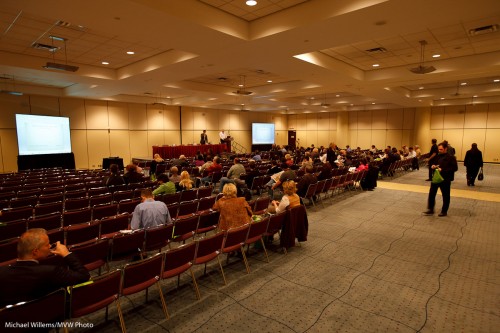
So we set up ladders and camera with the light just right. We use a combination of ambient and gobo’d flash. Test shots of the room looked like this:

Convention hall

Convention hall

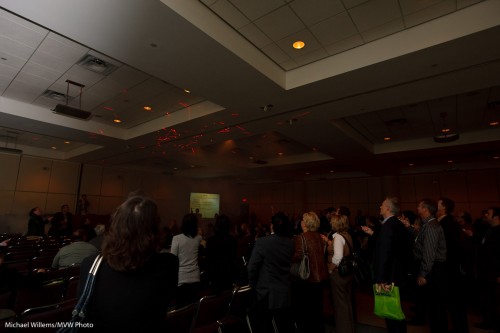
The event starts. And as the fog machine we had arranged starts and on command, the accountants’ laser pointers aim… unexpectedly, someone dims the lights to just about zero.

So we get this:

Convention hall

Convention hall, lights dimmed

No time to say anything: we only have moments to shoot.

So I quickly had to:

  • open up the lens to f/2.8,
  • shoot at 1/15th second,
  • at 800 ISO,
  • I quickly set the flash to 1/16th power manual and bounced behind me (if I had had more time I would have gone up to 1/8th power),
  • ….and then at home, push the exposure another stop!

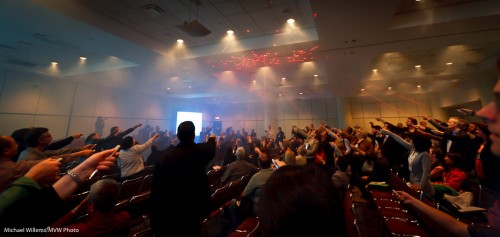
In the end, this gives this:

Convention hall with lasering accountants

Convention hall with lasering accountants

Not too shabby eh? Ever seen such a fun group of accountants?

The moral of this post: you have to be quick on your feet and problem-solved instantly when someone is hiring you for a shoot. You cannot come home with excuses: need photos instead.

And it never hurts to shoot RAW.

Side lighting

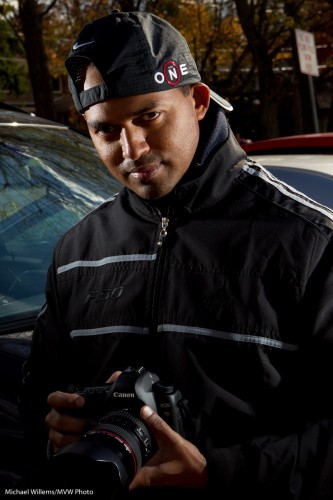
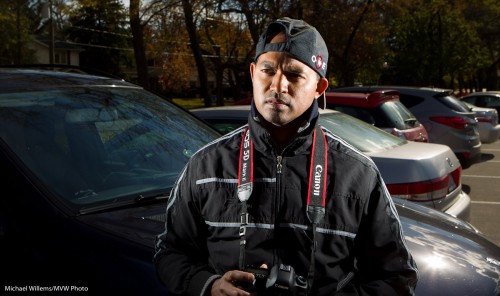
Look at this picture, of a photographer student I shall call “Rapper MA” (although he is not a rapper of course – it is just the look and the light and the hat!):

Edge-lit Photographer (Photo: Michael Willems)

Edge-lit Photographer

This was made in bright sunny daylight.

How did I light it?

  • Camera on manual
  • 100 ISO, 1/160th second.
  • Now set aperture to expose for the background. In this case f/13.
  • Use two flashes, left and right, slightly behind the subject.
  • Flashes on stands, aimed at subject.
  • Connected to Pocketwizards via Flashzebra cables.
  • Pocketwizard on the camera.
  • Set power to that aperture (using the light meter). Adjust shutter/aperture as needed.

That’s how.

Here’s one more illustration with a bit more background:

Edge-lit Photographer (Photo: Michael Willems)

Edge-lit Photographer

Small speedlites can overpower the sun. That is why this site is called “speedlighter”. Have fun with your speedlights!

I was having a coffee…

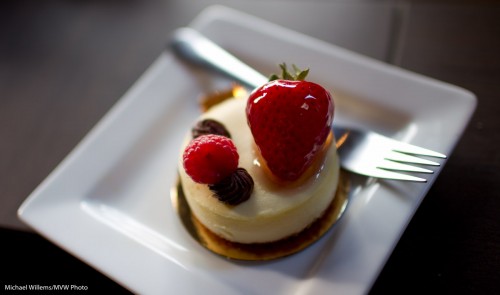
…when I decided a cheesecake would be good. So I bought a piece.  And shot it.

Cheesecake (Photo: Michael Willems)

Cheesecake

35 mm lens, f/1.4, 1/60th second at 100 ISO. You see what those nice fast lenses can do? I cropped a tiny bit of light from the top – no other adjustments.

The moral of this post:

  • Be ready to shoot your food.
  • Fast prime lenses are good: available light works.
  • You do not always need flash.
  • Low ISO is good.
  • Wide open is good: selective focus is great.
  • A wide angle lens can be used to shoot a macro food shot!

Exhaustion prevents me from working more tonight – but more soon.

Meter the light

You know how in 1970 photographers always used to use light meters?

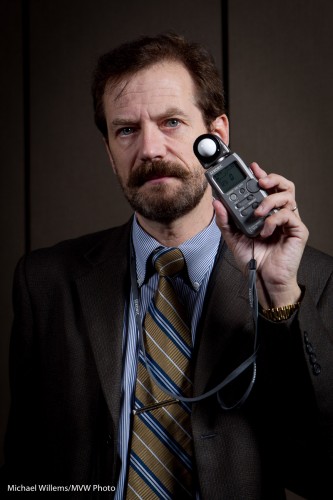
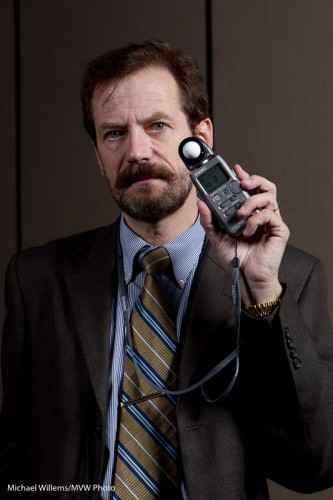
Like this one, in a pic from the recent photo show:

Michael Willems holding a light meter

Michael Willems holding a light meter

Yes that is right: I am using a light meter. In 2010. And like most working photographers, I use one often.

Why?

Here’s why.

1. Type of meter. The light meter built into your camera is a reflective meter. It meters light that is reflected off the subject.  So if the subject is dark you might get a long exposure time (little light is reflected off it, so your camera sees little light), while if the subject is bright, you might get a short exposure time (a lot of light is reflected, so your camera sees a lot of light).

This means that the subject affects the metering. This is wrong. Think of a bride or a groom in a room. The bride would cause a fast shutter speed (see above), causing the room to be too dark, while conversely the groom would cause the room too bright. Clearly the subject’s brightness is absolute and should not cause the exposure to vary.

An incident light meter, and that is what hand held light meters are, measures the light falling onto the scene. The subject’s brightness has no effect at all. Problem solved!

2. Flash. The only way to meter a flash of light is by using  flash meter. You can use the histogram and a lot of trial and error, but that is just that: trial and error. A light meter gives you the right result.

So in a studio setting, or when using manual flash, you use a light meter. Now you turn it to “flash meter”. And again, guaranteed results.

And that is why we use them still. Like in this shot from this weekend’s show:

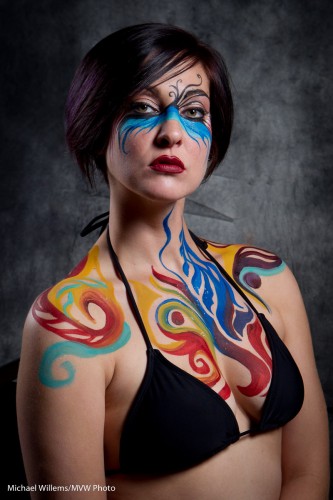
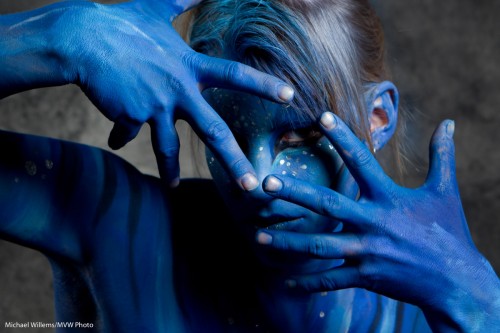
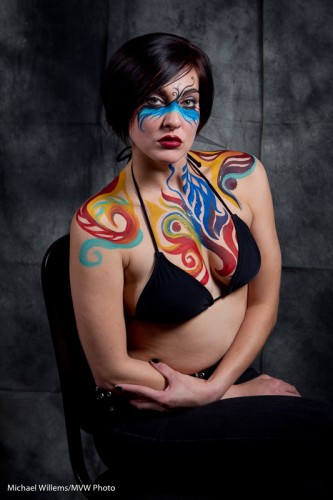
Bodypaint Model

Bodypaint Model

Portraits at the show

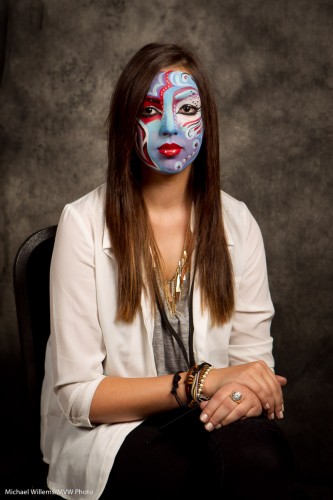
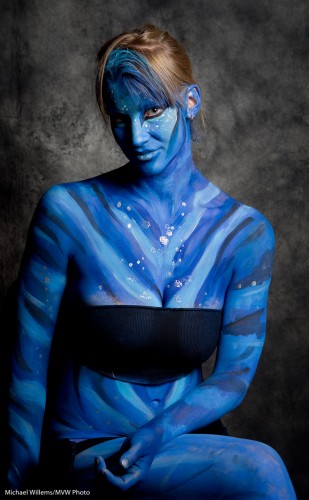
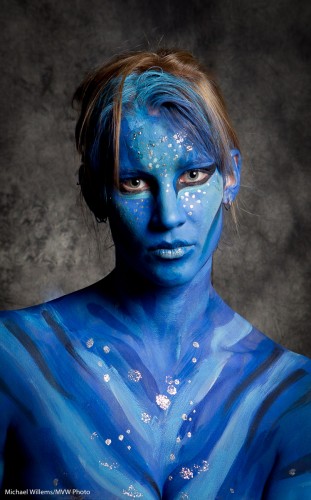
I shot a few portraits at the Imaging Show yesterday. Simple portraits with just two lights.

Like this:

Bodypaint Model at the Imaging Show

Bodypaint Model at the Imaging Show

You can do that too. All you need is:

  1. a few lights (in this case two umbrella-fired Bowens 500 Ws strobes),
  2. a light meter,
  3. a cable or pocketwizard,
  4. and a camera.

I used the 24-70 lens but would have preferred my 70-200mm lens.

Bodypaint Model at the Imaging Show

Bodypaint Model at the Imaging Show

As you can see there, it is all about what you do NOT light. That was lit with just one light through an umbrella, with no reflectors.

Another:

Bodypaint Model at the Imaging Show

Bodypaint Model at the Imaging Show

And one more, showing the importance of body language:

Bodypaint Model at the Imaging Show

Bodypaint Model at the Imaging Show

Other settings:

  • The camera was of course on manual, at f/5.6 at 1/125th second and 100 ISO.
  • Make sure Auto ISO is disabled.
  • Make sure you get catch lights in the eyes.
  • Move the model away from the backdrop if you can.

Portraiture is fun, and simple portraits like this are in everyone’s reach. Even if perhaps the “Avatar meets Cirque Du Soleil”-models are not (thanks Melony for that apt description).

Henrys yesterday

My friend and student Ray made this picture of me at the International Centre, at the Photo Show, setting up a shot:

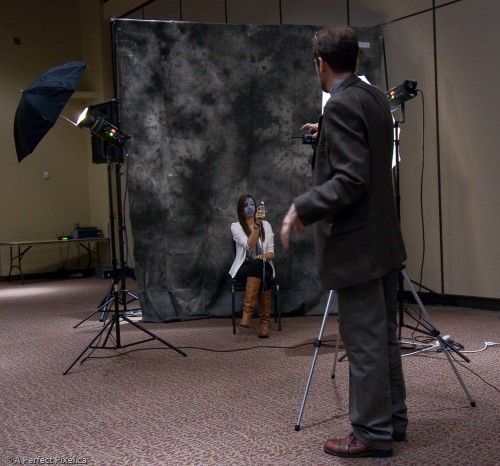
Imaging show, Michael Willems and model

Imaging show, Michael Willems and model

She is, as you see, holding the light meter.

No that is not heavy make-up. It is body paint.

I was in front of a crown of hundreds and am now setting off for day three of the same. Flash, portrait lighting, and Travel Photography. Fun!

Photo Show

So I am talking at the Photo Show on Sunday again, after two days doing the same. Inspiring to see how many people like photography.

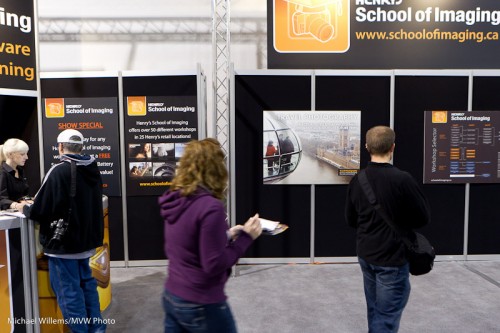
Photo Show Fall 2010

Photo Show Fall 2010

That image from the London Eye in the background is mine. And here, me, holding a light meter:

Michael Willems

Michael Willems

A key lights, set to f/6.3, and a fill light set to f3.5, two stops below.

And the same with a more decorative model and a backdrop:

Bodypaint model

Bodypaint model

And finally a note: if you have questions, please ask. I am happy to help.

Darkness

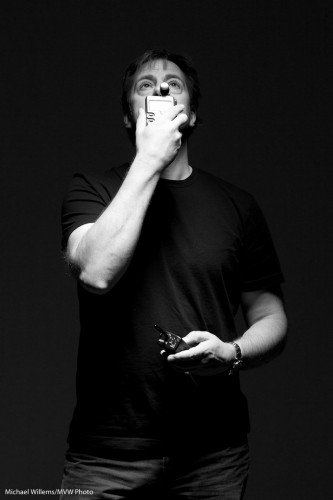
Can be good. As in this recent low key portrait of my friend and colleague photographer Joseph Marranca:

Joseph Marranca

Photographer Joseph Marranca

A low key portrait is a portrait where background and clothing are dark, and only a small part of the image is lit.

We used one small beauty dish. Straight above Joseph. And the white studio walls, because they got no light, turned dark. This is key: umbrellas would have spilled light onto the background. This small directional light allowed the background to remain dark.

(The dish failed to perform: it did not make Joseph beautiful).

Softly softly.

Much of what we do as photographers is to soften light. Meaning make the shadow less harsh.

You do that by making the area that emits the light larger with respect to the subject.

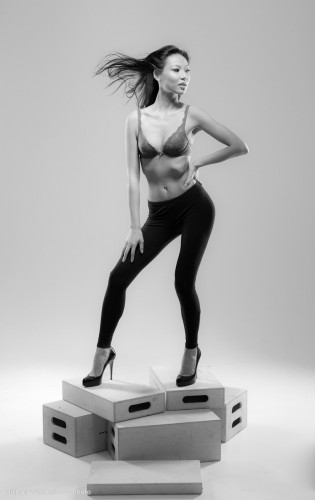
Look at this recent studio image:

Model on apple crates

Model on apple crates

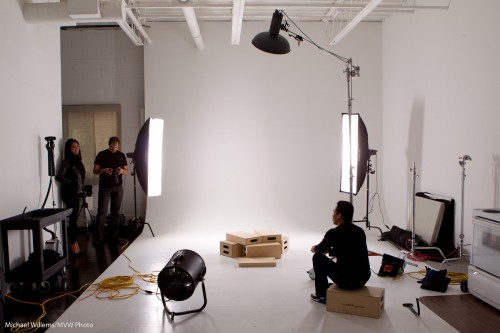
For a picture like this, straight out of the camera, you would (and we did) use studio lights like this:

Studio with lights

Studio with lights

A beauty disk and two strips. All designed to direct light, but especially to make the light source larger.

(Do you see how the two strip lights also throw a wonderful lit vignette onto the background?)

Joseph and I teach this kind of lighting (see www.cameratraining.ca).

I am also teaching for the next three days: pretty much all day Friday, Saturday and Sunday at the Henry’s Digital Imaging Show at the International Centre. Come see the show: worth every minute!