RAW or DNG?

A student asked a question (you know who you are, Alan), that I thought I would answer here.

But there is not much to answer, since Alan has masterly answered most of his question himself. Here is his question in its entirety (except I removed the name of a book):

I’m learning Lightroom – what a fascinating system. It’s going to take some time to get used to having it manage my photos, instead of doing it myself. But I can see the benefits. Thank you again for recommending it.

Now — what about the whole RAW vs. DNG thing? The book I purchased, “[Book Title]”, strongly and repeatedly recommends converting the CR2 files to DNG, and then discarding the CR2.

I understand that DNG is just another type of RAW file, but it makes me nervous:

1. CR2 is, well, really RAW. It’s the original file.

2. A “benefit” of DNG is that it doesn’t have the separate XMP sidecar files, but instead writes the sidecar-type metadata into the DNG file. That means that every time I edit a picture, I’m editing the DNG file. What if that leads to corruption? The constant modification of the DNG seems contrary to the philosophy of never altering the digital negative.

3. Since the DNG keeps changing, that means that my Time Machine backups will have to keep backing large DNG files. By contrast, the CR2 file is backed up once, and never touched again. The only thing that Time Machine has to backup is the very small XMP.

I have hundreds of CR2 raw files (I only keep the good ones, maybe 10-20 per shoot), and am really unsure what to do here. (I searched your blog, didn’t find this issue addressed.) Do you stick with the CR2 files, or convert to DNG?

I removed the name of the book because this way I feel free criticising its advice.

Alan is right. All his arguments are spot on.

And let’s expand the first one: a RAW file is the original negative, and a DNG file is an interpretation of that file. It is not a straighforward process. You have to interpret the CR2 file and make it into a DNG using your interpretation of what the bits mean.

Because of that and the other reasons Alan has worked out, my advice is to keep your original RAW files and not to convert them to DNG.

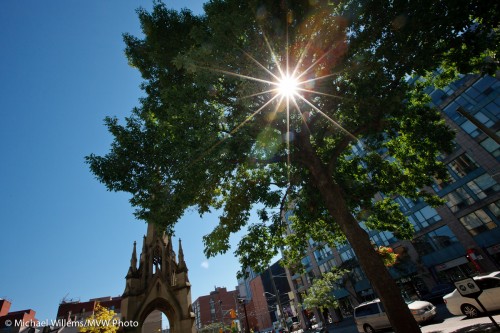
Sunburst

Look at this recent sunburst picture:

Sunburst

Sunburst, Toronto

For a picture like this, a few things may help:

  • You need a small(-ish) aperture to get the effect
  • Feeding the light through an object (like the tree) is essential for several reasons. One, to enhance the effect. Two, to protect your eyes, Three, to protect your camera.
  • Do it quickly. No sense burning the camera.
  • Remove filters. They can cause more flare.

Oh…. and can you see that I used a speedlight to light up the tree?

Repeat picture

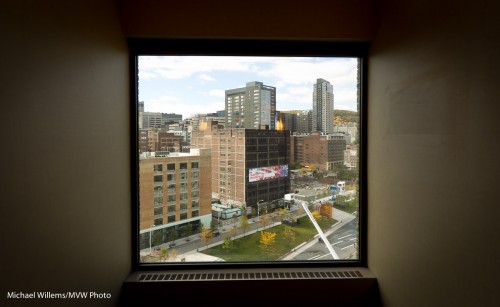
A repeat from a previous post – not the same post but I shot the same picture of the Quartier Des Spectacles again in the Montreal Hyatt Regency hotel the other day:

Montreal-Framed

Montreal-Framed

The framing did it for me, and the shadows.

We talk about framing as a useful device to draw attention to our subject. We frame pictures with whatever we can frame them with. Walls. Branches of a tree. Or a window frame, like in this picture.

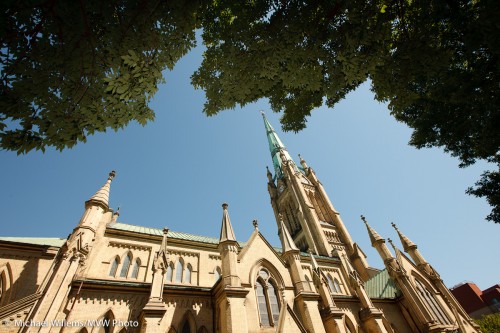
Or indeed by branches:

St James Cathedral

St James Cathedral, Toronto

Can you see how I used a very wide angle lens, and I used my flash to light up the tree? I am known as the speedlighter for a reason!

Signs of the times

Today, another tip for urban photography.

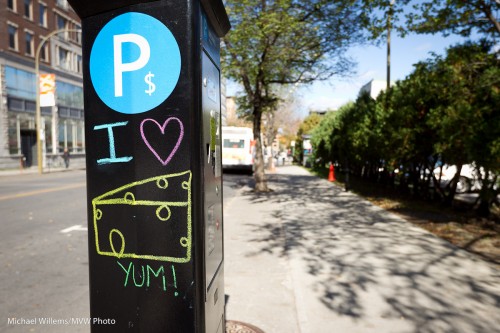
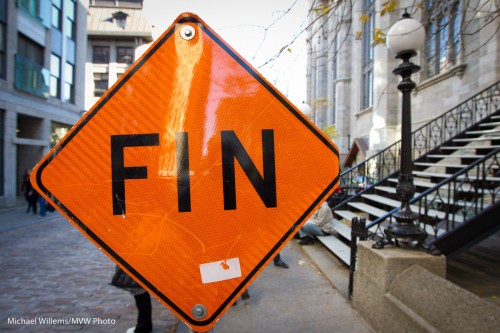
Shoot signs. Anything that has writing on it. Because it can provide context. It can tell stories. It can provide interest. It can provide amusing juxtapositions.

Two snaps from a short walk through Montréal a couple of days ago:

ilovecheese

ilovecheese

fin

Fin

Don’t you love how that last one helps end the story, as the last one in a series?

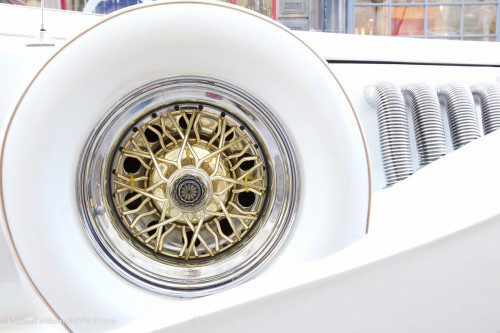
KISS

As in, “Keep It Simple, Stupid!”

One of the most important things about an image is to keep it simple. Simple means “everything in a photo is meant to be in it, or it’s not there”.

You can do this while shooting or afterward, by cropping.

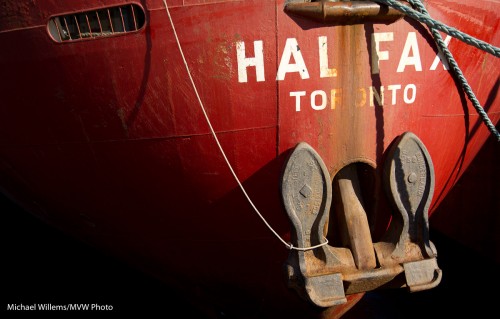
A few shots from Montréal, yesterday:

Wheel

Wheel

Ship, Montreal

Ship, Montreal

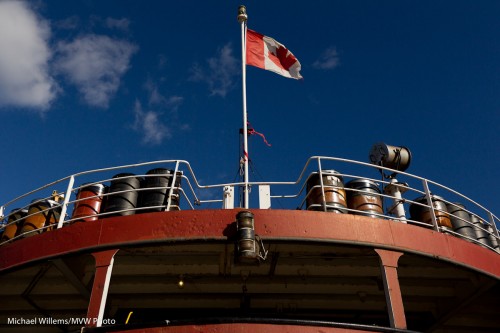
And one more:

Ship, Montreal

Ship, Montreal

What do you think? Simple good?

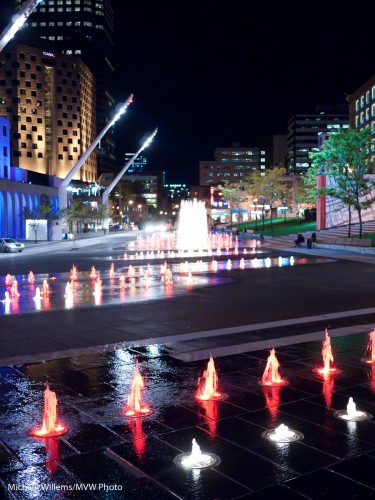
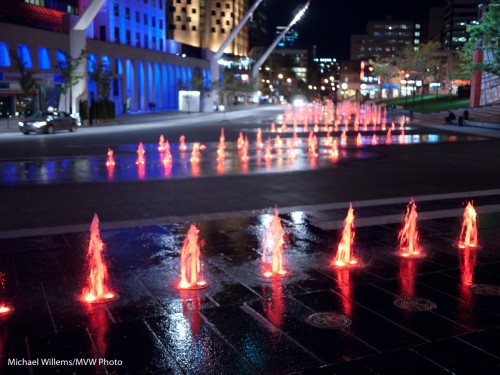
Night.

In Montréal. Last night!

Montreal, 9 Oct 2010

Montreal, 8 Oct 2010

Taken at 800 ISO, 1/30th sec, f/1.7.

Because of the fast (f/1.7) 20mm lens on the Lunix camera I was able to shoot at 800 ISO. Had I had a regular point and shoot, I would have had to shoot at a higher ISO speed, much higher.

Here’s another one:

Montreal at night, 8 Oct 2010

Montreal at night, 8 Oct 2010

So the tips for today are:

  • Use a tripod if possible.
  • If not, then open your aperture as wide as you can.
  • And go to a wide angle if you can.
  • Use exposure compensation if needed, usually -1 to -2 stop. Ensure the black sky is black.
  • Go to a high enough ISO so you get a reasonable shutter speed.
  • Hold still.
  • Shoot multiple times.
  • Select the best shots!

And above all: bring the camera. And have fun.

Wide and close

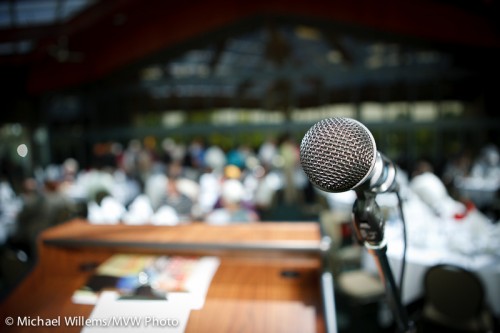
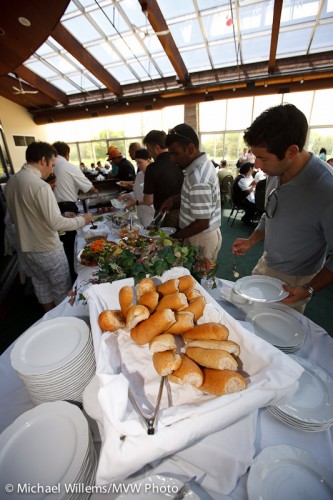
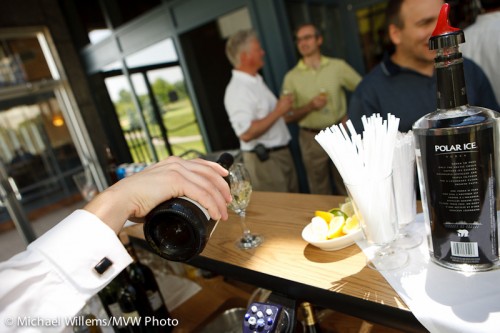
You have heard me say it before: go wide, get close, open up.

24mm f/2.8:

Microphone

Microphone

16mm (on a full frame camera, meaning 10mm for most SLRs):

Buffet

Buffet

24mm:

Bartender

Bartender

None of these pictures are to be seen by them selves: they support the story. And they do it by showing detail and by maing the viewwer think.

So: Wide angle, Lens open to maximum aperture. Get close.

Yellow balance

Just a quick note today, since I am travelling to Montreal and Quebec City.

White balance is the process your camera uses to make white white.

But you can also use it to distort an image’s colours to your liking.

To turn white yellow, for instance. This shot is Tungsten light, but shot with the camera’s white balance set to flash:

White or orange?

White or orange?

You can, and should, experiment with white balance! Turn images blue or orange. Play a little!

Of course if you are only using one light source and you shoot RAW, this makes no actual difference, but it is still worth setting, if only (as I have pointed out here before) because you save timelater – and becasue you get to see an idea of what the image will look like in the end.

Light creatively

After last Sunday’s Creative Lighting workshop, and working up to next week’s Henry’s Digital Imaging show, at which I will be presenting for three days, I am thinking about light. As I always do.

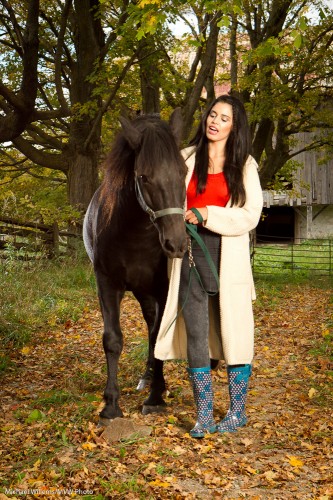
Look at this shot from last weekend: model and friend:

Model and horse

Model and horse

Lit by natural light?

Not on your life.

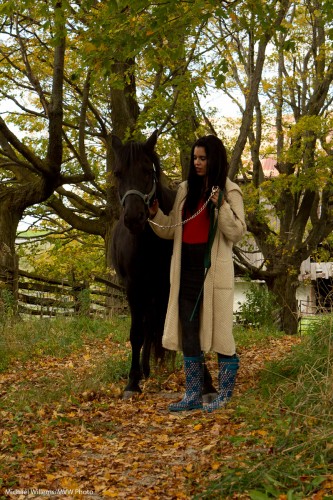
Here is what they look like in available light:

Horse and model - available light

Horse and model - available light

Now you see why we use softboxes, kicker lights, and so on.

Used in the first shot:

  • Softbox with a monolight, to our right.
  • Small speedlite with Honl grid, to our left – see the sheen on the horse’s coat?
  • Pocketwizards (2x) and Flashzebra cable (1x)

Simple, innit?

Well, maybe not that simple, until you are shown. Come take a full-day lighting workshop and I will teach you this, and come see me at the upcoming Henry’s show also, where I will do tethered portrait shooting to demonstrate all this.

Portrait note

One more from Sunday’s course.

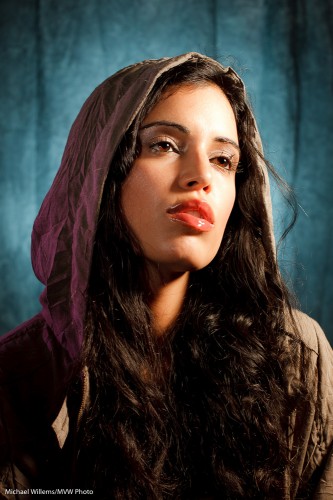
This time, a portrait of model Tara that I made to help explain multiple flash TTL. Straight out of the camera it is:

Multiple-flash TTL lighting

Multiple-flash TTL lighting

How was this made?

With a small Traveller 8 softbox on the main light, a gridded gelled flash for the background, a snooted flash for the fill light, and a gridded gelled flash for the edge light.

Four speedlights, and all using TTL.

A few things to remember in such portraits:

  • You need a catch light in the eyes.
  • Set your white balance to “flash”.
  • If you have space, longer lenses are good (in this case, though, I use a 50mm prime lens).
  • Avoid the ambient light doing any work: choose 1/125th second at f/5.6 or f/8, say; and be sure to disable “Auto ISO”.
  • Lighting is all about what you do not light: avoid bathing the room in photons. Think about what you light, and how.
  • With Canon’s e-TTL or Nikon’s CLS/iTTL, you only get two or three groups of light. So if you have four lights, some of them will have to be in the same group. My fill and edge light are thus both in group “B”.

Keep those in mind and your portraits will be well lit.