Building the shot

…and the excitement, takes time.

So let me talk you to a shot I took today while explaining flash techniques. Talking you through my process will help you come up with a process of your own.

First, I decide what to use. Okay, small speedlights, but on manual, and used like studio lights.

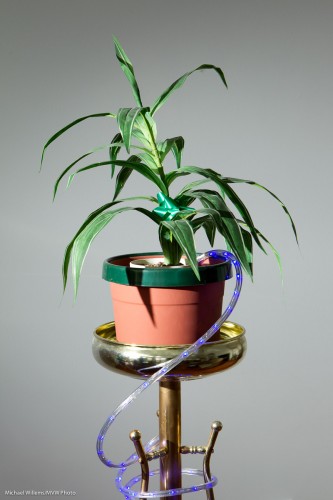
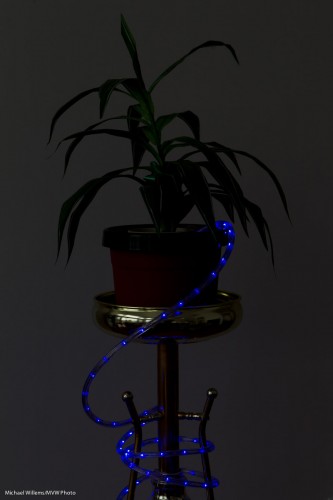
Studio light means the available light does not work. So I set my camera to settings that ensure that – 200 ISO, f/8, 1/200th second. And before Ido anything else, I ensure that those settings give me a dark picture:

Then I add a flash. One bare flash on our left, once I set it to the right power level (half power, a power level that my light meter told me would result in f/8 at 200 ISO on the camera) gives me this:

Yeah, fine, but too much light on the background.

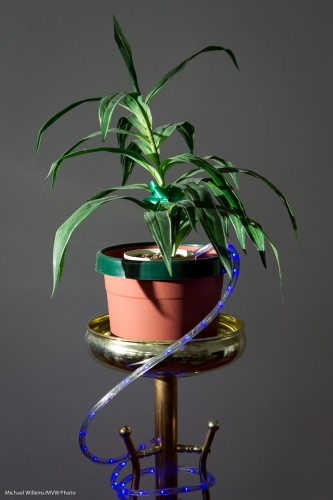
So now I add a Honl Photo snoot to the flash (a 430EX in manual mode, fired by a Pocket Wizard and fitted with a Speedstrap to attach snoots etc). That avoids spilling as much light on the background.

Now I get:

Niice. But now I think… Okay, can I add some excitement? Maybe some colour in a Hollywood spotlight.

So I think – what goes with green? Purple. Purple and green is a great combination which you will find in nature all over.

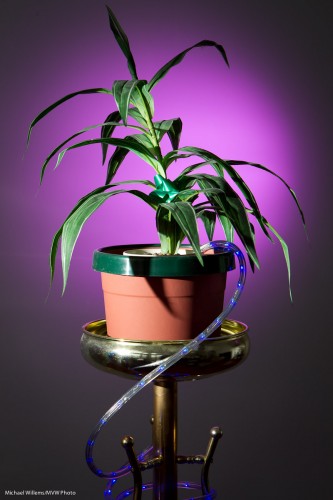
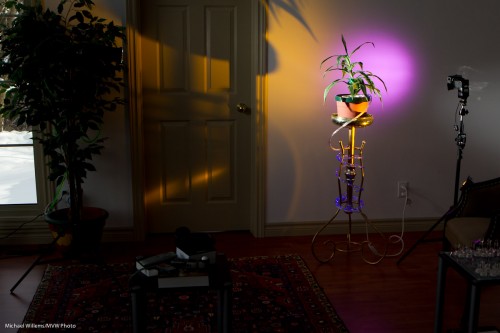
So I equip another flash (anotyher 430EX) with a Honl 1/4″ grid and on that grid, a purple gel. That gives me:

Nice, no? But now I am all into excitement, so I want to add more. And I also think the right side is a little dark. Okay.. “Excitement ‘R” Us”, I think: Honl’s Egg Yolk Yellow gel is my favourite since it gives a great saturated light.

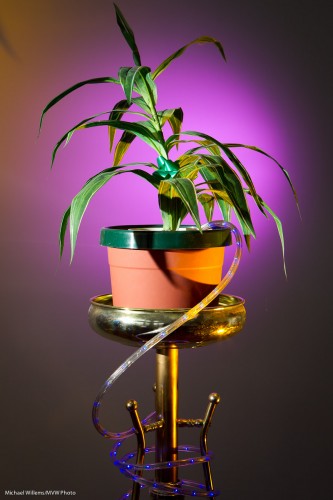
So I add a third flash (also a 430EX and also with a Honl grid and the yellow gel) – like this:

So now I have this:

I could go on from there – you see how this works?

Important Note: David Honl is joining me in a special workshop in Toronto on Saturday March 19 – keep that date open, it’ll be fun. Dave and I have taught workshops together in Phoenix and Las Vegas, and the Toronto one will once again be fun. “Shooting Events” and “Creative Light” will be the themes. See you there!

RGB, and the moment

Often, in a shoot you have just a few minutes to get the shots you want. Like in events, the money shot is often the kiss, the handshake, the moment the document is signed or the ribbon is cut, and so on.

And often, it is the light. Light that spends a few minutes between uselessly dark and uninterestingly bright. Those are your minutes, so be ready!

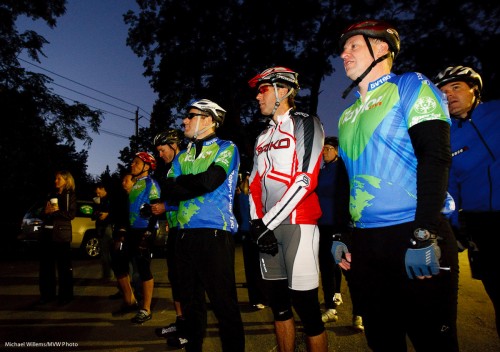
Like here, in a shoot of a bike race that started at dawn:

Riders Ready to Roll

Dawn (and later, dusk) means a few minutes between dark and light. And those minutes are great since they have blue skies with enough colour, and all the other colours are saturated too.

Saturated means “not mixed with white”, after all.

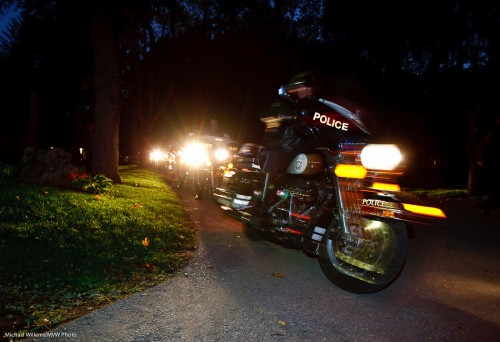
OPP Bikes Set Off

The combination of the primary colours red, green and blue makes these images visually interesting. So when shooting an event:

  • Set up your camera early
  • Find the right viewpoint early, too
  • See if you can find red and green elements to your image
  • Then, be ready to pounce during those few valuable minutes.

And your results will be cool.

“Yes but I want to shoot like that all day”. Well, then learn how to use flash and modifiers. But you will have a much easier time when you use – and often have no alternative but to use – those few valuable golden minutes between light and dark.

Endnote: There is still space on our all-day The Art of Nude Photography Workshop on Sunday, but be quick.

Power!

Power. To the Speedlighters.

When you are using  a flash outdoors, power is the greatest need, and potentially the greatest problem. If your flash is to be comparable to outside light, or even brighter than it (“nuking the sun”), you need lots.

So I have two tips for those of you using speedlights (small flashes) outdoors.

  1. Do you have enough power? To find out, Set your flash to MANUAL mode (on the back of the flash). Now set it to full power (100%, or 1/1). Now Fire! If you get overexposed parts, you have enough power, so any dark pictures are due to your settings or metering. Carry on and find the problem. If not, you simply do not have enough power, so forget it or move the flash closer.
  2. Need more power? Then zoom in your flash manually. Eg when using 50mm lens, zoom the flash to 105mm. Again, using buttons on the back of the flash (you may need to, dare I say it, read the manual!). This zooming in gives you a centralized, concentrated beam of power. The outsides will be darker but wherever you aim your flash wil be lighter.

Those two tips have saved me many times. I bet they will do the same for you.

The party of the first part….

…shall be known as the “Party of the First Part”. The party of the second part shall be known as the “Party of the Second Part”. The party of the third part shall be known as the “Party of the Third Part”. The party of the fourth part shall be known as the “Party of the Fourth Part”.

Recognize that from “A Day at the Races” by the Marx Brothers? Kudos. And  I bring this up because it’s all about signing contracts.

Why am I talking about the need to sign contracts?

Because as a photographer, even if you are a committed amateur, you will be asked to shoot something for someone sometimes. Something that is important enough to them to ask you to do it.

And unless you create some form of formal written agreement, that’s where the confusion and misunderstandings can come in.

Huh? How so? I shoot some pics, they are happy. Right? I deliver pics. Couldn’t be easier.

Wrong. You shoot some pics, you say? Well, then:

  • How many photos?
  • Do you get to choose which ones to share?
  • When will you be there?
  • Who has copyright?
  • When will you deliver?
  • Candid or formal?
  • Can you use the images?
  • Can they be resold by you?
  • Can they be resold by your client?
  • Do prints cost money?
  • Are files print-sized?
  • How much post work will you do?
  • How long are the files available for?
  • Do you have backup?
  • What if the client does not pay?
  • What if the pics are destroyed accidentally?
  • What if you get sick?

So those are just a few of the things you need to make contractually sure are agreed between you and your client, relative or friend.

So I recommend you have a standard agreement, i.e. some form of contract, that you use as a way to agree these things explicitly. So that nothing is left to confusion.

Signing this is a good idea.

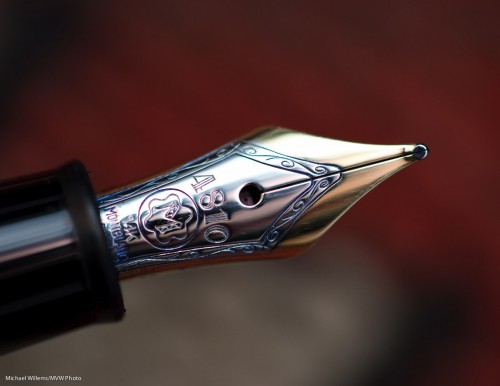
(And you do not, like Hammurabi, need to use cuneiform. A fountain pen will work. And who was Hammurabi? Google is your friend!)

Event Fave Lenses

Another word today about lenses, many of which I have mentioned before: here are my  four favourite for lenses for shooting events.

  1. 35mm f/1.4 prime – for low-light “people, camera aware” events. Its large aperture makes it ideal for clubs.
  2. 16-35 f/2.8 zoom – for events with groups of people, or events in small rooms. Its wide angle makes it idea for cramped rooms and dramatic leading lines.
  3. 24-70 f/2.8 zoom – for general purpose events, where you do not know what you will encounter. Its wide range makes it ideal as an all-round lens for events,
  4. 70-200 f/2.8 zoom – for candid shots. Its long focal length makes it great to catch those unexpected portraits-from-a-distance, camera-unaware.

So those are the four lenses I use most. I also use 50mm prime lenses, 100mm macro lenses, and others, but for most events I can grab one or two of the above and be well equipped.

Do you need all four? No. But yo uight want to start saving for the one or two that are most useful for the type of events you shoot.

I’m Gellin’

A very short article today about gels.

And by the way, I apologize for the recent short posts, but having 100 things to do, and being the proud owner of a to-do list that extends more every day, I must prioritize. Finishing “Event Photography” (stay tuned here, and keep checking the Henry’s School of Imaging as well) and “the art of photographing nudes” (see www.cameratraining.ca – one week to go!) come first. Filing my taxes comes down the list somewhere.

Gels are little coloured pieces of plastic. They used to be made out of gelatine, hence “gel”. You put then in front of the flash to colour the light. As in this shot, where I used a quarter CTO (“colour temperature orange”) Honl Photo gel on my speedlite:

Event, lit with CTO-gelled flash

And as in this one, where I used a full CTO:

Event, lit with CTO-gelled flash

The CTO gel, in these cases,makes the flash-lit subject look like it/he/she is lit by beautiful setting-sun “golden light”. A quick and easy way to lend your images a bit of pizzazz.

The horror.. the horror…

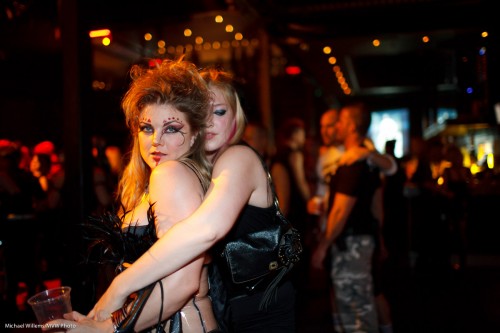
…of walking into a venue where you have to shoot, only to discover that the ceiling is about 1,000 ft high and the walls are black, and there is zero light.

1600 ISO, 1/30th second, f/1.4

My strategy?

In this order, I:

  1. Reduce Shutter to what I am comfortable with.
  2. Open Aperture to what I am comfortable with.
  3. Increase ISO as much as needed.

That is how I got to those values above. Using, of course, my prime 35mm f/1.4 lens. I reduced the shutter to 1/30th, which is as low as I want to go with a 35mm lens if I can help it. Then I went to f/1.4: wide open (focus carefully!). Then I raised ISO until I got light into the background. Phew!

Learning opportunity! Stay tuned for an exciting new “Events Photography” course – details soon. And there are also still spots on “The Art of Nude Photography”, Sunday January 16, 2011 (See yesterday’s post).

Course for past students only

Joseph Marranca and I are planning a number of new workshops. One is an all-day workshop in Mono, Ont. on January 16.

This is a course for past students only. It is about a slightly more advanced subject than the technical courses. About a subject that has kept artists busy for centuries. Namely, “The Art of Nude Photography”.

Throughout history, artists have pictured the human form. Nudes are always timeless when tastefully done, especially in black and white, using natural light or simulated natural light.

It is easy to photograph a nude model but it is difficult to do it with taste and meaning. Using a professional model, Joseph and I will teach you how to light, how to interact with your model, and how to produce art that takes a fresh look at a subject that will always remain interesting.

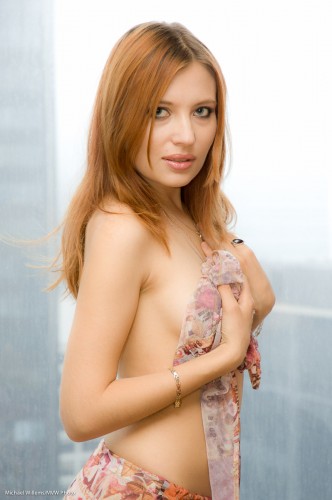
Model Katrina modest

Let me give you a few tips for nudes – a teenie tiny excerpt from the course:

  • You will often want to shoot implied rather than explicit.
  • Use soft light for females – back light is great for round shapes.
  • Hard light is better for males.
  • Keep it simple. Props if appropriate, but as a general rule, nudes are about the nudes, not about the rest!
  • Consider using available light.
  • High-key lighting is more flattering than low-key lighting, especially for females.

A slightly more revealing photo after the click:

Continue reading

Turn baby turn

Why do I tilt my pictures? I get asked this rather often.

Indeed I do this with quite a few of my photos. It often gives a dynamic, artistic feel.

Big Bird at Christmas

But that is not the only reason I tilt my camera when I take images.

Here’s why I tilt:

  1. To get more in. This is the most basic: a diagonal is longer. Often it is as simple as that.
  2. To achieve the rule of thirds. Good composition is essential.
  3. To simplify (“de-clutter”). Also very important.
  4. To enable use of primes. In a zoom lens you can zoom – with a prime you can only turn or move back and forth.
  5. To equalize people: if one person is taller, you tilt to make that person appear the same height as the other person in the picture.
  6. To be dynamic: diagonals mean dynamic energy!
  7. To be artistic. Sometimes, I do do it for that reason!

So as you see, there are many reasons, and the art reason is only one of them – and not the most common!

Establish

(EDIT): When shooting an event, always shoot a “B-roll” of images, as movie people would call it. In your case, as a still photographer you use your B-roll to help establish “where, why, who, what, and maybe even “when”.

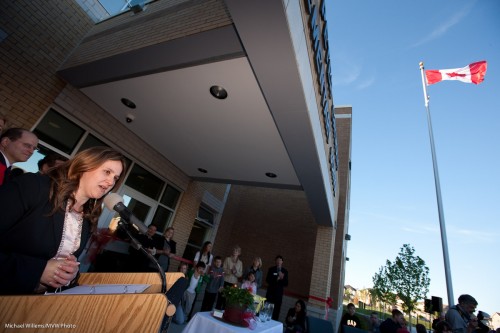
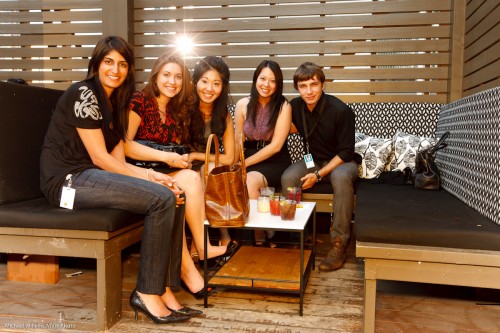
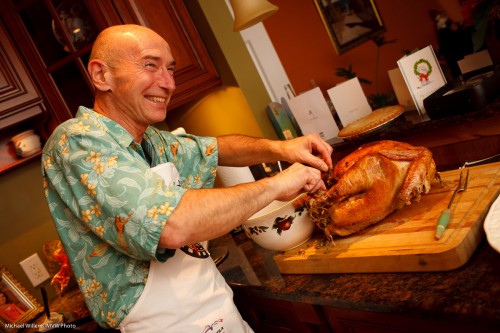
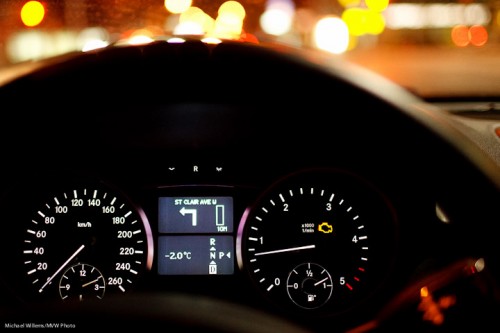
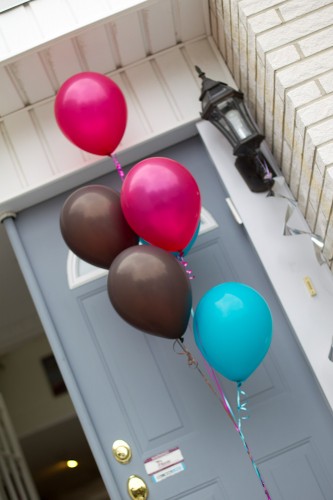
So recent shoots I have done have included the following as shots in the first dozen or so:

Where

What

Why

Who

This kind of storytelling is essential for a successful shoot.

Tip: To arrange your images, use Lightroom collections, where you can order things the way you like, rather than folders.