Do try this at home

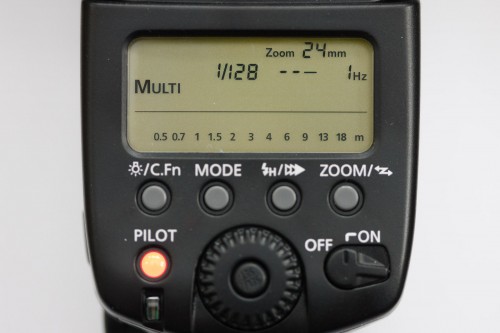
Did you know that if you have a modern sophisticated flash like a Canon 580 EX, you can set it to strobe/repeated flash mode (“Multi”)?

This makes the flash fire a number of subsequent pulses, at a certain frequency, at a certain power level.

To activate this mode on a 580EX, Press the MODE button until MULTI appears; then set power level, number of pulses, and frequency in pulses per second.

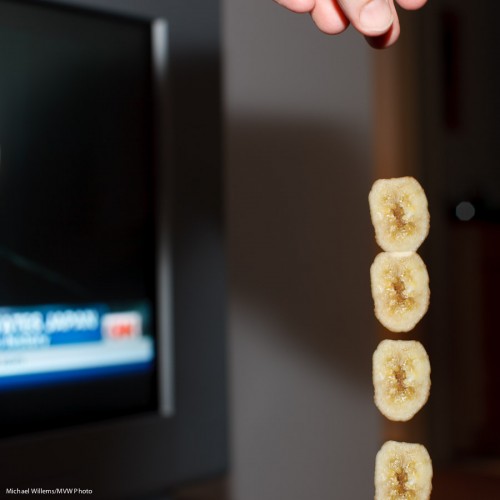
Which then gives you pictures like this, of my hand dropping a slice of dried banana:

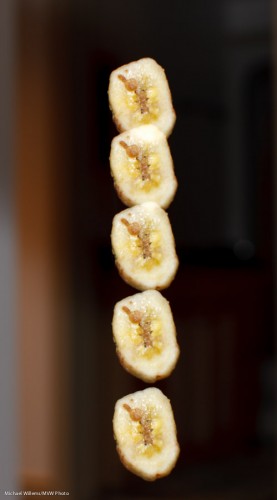
And another version:

Those were taken with the flash set to fire 10 pulses at 50 Hz, each at 1/32nd of full power. The camera was in manual mode.

(You do not even have to meter: look at the back: the flash indicates how far away the subject should be with your chosen flash/aperture and ISO settings!)

Challenge to physics students out there: use this image to estimate the acceleration of gravity, in meters per second squared. Or, if you already know that it is 9.81 meters per second squared, use this to work out the size of the banana)?

This (the flash part, not the physics part!) is among the many subjects I teach at my Advanced workshops, like the David Honl special on Saturday in Toronto., for which I believe there are just a couple of spots left.

Metering Gotcha

A photographer I know well (who shall remain nameless) called me in despair a few days ago.

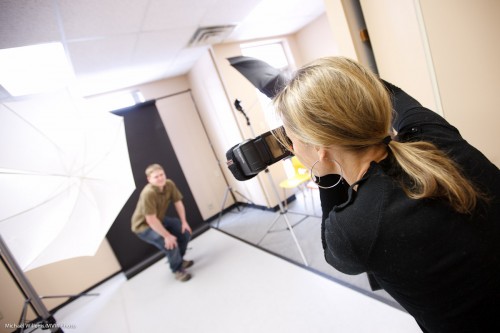
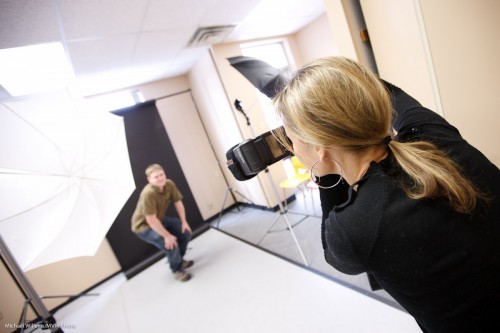
She was doing some creative flash shots and had set her Nikon remote flash to manual. She was driving it with her pop-up flash. And because the remote flash was on manual, she had to meter. No problem. (Yes, you can set the remote flashes on “manual” while still using wireless flash to drive them!)

A Photographer using remote flashes

A Photographer using remote flashes

Oh. But however she set the flash, using the menus on the LCD control panel on the camera, the Sekonic light meter always indicated the same!

Huh? Was the flash not in fact varying its power in response to her settings?

Looking at the images, it seemed to be – but the meter kept indicating the same. She checked: the on-camera flash was disabled, meaning its light would not contribute to the shot.  So that wasn’t it. Now what?

After trying for an hour and a half, she called me in desperation. What was going on?

Do you know?

Okay, read on. It’s simple – as all these things are, once you know.

  • When you are using wireless flash, the on-camera flash tells the remote flashes what to do.
  • It tells them this using special flashes – binary signals in the form of short light pulses sent out before the mirror is lifted and the shutter opens. A sort of “Morse code instructions to the other flashes”.
  • But this “Morse code” is generated using short pulses of light!
  • The light meter sees these pulses of light, these instructions, and thinks they are the actual flash. So it reads them!
  • And since these pulses are always the same brightness, the meter always indicates the same.

D’oh!

So the solution is equally “simple once you know”:

  1. For a minute, set the remote flashes to manual (rather than “remote” or “slave” mode) using the switch at the back, and fire them using the test button at the back. Vary their power as needed.
  2. When you are happy with the thus achieved light, note down the power value (e.g. “1/16th of full power”).
  3. Then set that power on your camera’s remote menu
  4. ..and now finally, set the flash back to wireless slave mode.

Now you can go ahead and shoot, and every shot is well exposed.

As I said – when you know, it seems simple. But if you did not know the workings of TTL, it would take you forever.

You see, there is method behind the madness: this is exactly why I teach “TTL insides” in my one-time “Advanced Flash” workshop with Special Guest Star David Honl from L.A.- Toronto, 19 March, as you all know by now – a few places left only.

Aperture effect

Here’s an effect we forget sometimes. When a lens is wide open, it vignettes.

My 50mm lens at f/1.2:

And here is that same lens a stop and a third closed down, at f/2.0:

Can you see the difference? The first picture, wide open, shows significantly more vignetting.

Now I like vignetting – a lot, in portraits. But shooting portraits with a lens wide open is rather dangerous, since depth of field is very shallow and may not be sufficient. So I add vignetting in Lightroom – Post Crop Vignetting is one of the best controls in Lightroom for when you are shooting portraits.

And when you are not shooting portraits, avoid vignetting like this – so in those cases, avoid shooting with your fast lens wide open.

Groups: making them work.

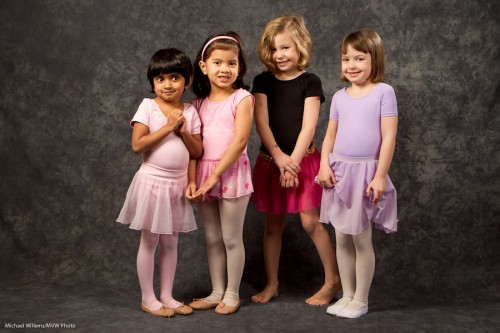
I shot a music school this past weekend. Wonderful work, great people: fun.

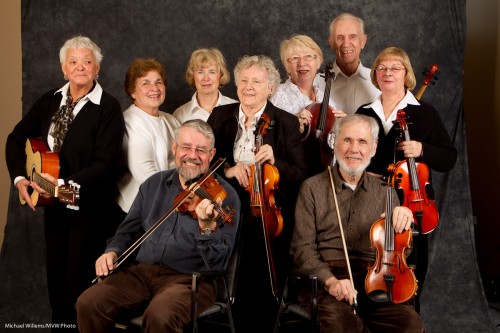
One shot I particularly relished setting up is a portrait group of nine musicians. This is a challenge because:

  • You need to get nine people lined up in a space that is always too narrow.
  • You want to avoid making them look leaden by lining them up straight.
  • You have to light them all well.
  • You need to light evenly, too, so umbrellas and so on need to be moved back. The room is never wide enough either, of course.

First tip: always be confident when doing this. Take your time, but never hesitate. The captain is in command, just like in the USS Enterprise.

I start by deciding who sits, who stands, and who leans. Not “the older people sit”. More like “the taller people sit”. Then the older people can lean against chairs. The rest depend on height and other properties.Sometimes you just have to do what you can.

Then I look to see how people stand. What is their body language. I turn everyone. I make small groups. Back to back or facing one another.

The biggest challenge is to get everyone in front of the backdrop, which as said is always too narrow. And when people are having fun, they will not necessarily obey your orders accurately – which is fine: they are there to have fun, not to obey.

Then you shoot. Lots. Make sure everyone’s face is clearly visible in every image. Tell your subjects that when you ask for adjustments, you want “baby steps”.

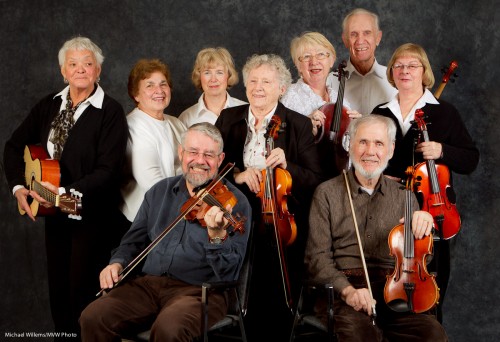
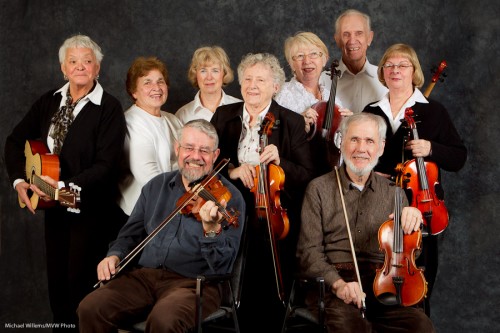
In the end I decided this shot had merit and was suitable for finishing:

A group of fiddlers (Photo: Michael Willems)

A group of fiddlers (Photo: Michael Willems)

The finishing now consisted of:

  • Adjusting white balance, exposure, and other basics.
  • Cropping and rotating.
  • Lightening a few darker areas using Lightroom’s selective brush tool.
  • Darkening bits that need darkening. Possibly even a little vignetting.
  • Now popping briefly into Photoshop CS5 and using the “content aware fill” tool to fill in the backdrop.
  • Then, one last look and  final adjustments.

And I am done. Here is the image almost finished:

A group of fiddlers (Photo: Michael Willems)

A group of fiddlers (Photo: Michael Willems)

See it larger by clicking. Not a boring shot – a little more like Rembrandt’s Night Watch.

Yes, OK, that is a stretch – but you get my meaning.

And that, as they say, is a wrap!

Tip: If you are near Toronto and want to learn technical flash techniques using small flashes and modifiers, there are still a few spots left on the March 19 one-time special featuring special Guest Star David Honl. If you are interested, act quickly, since they are filling up rapidly.

Enough already!

The winter, I mean.

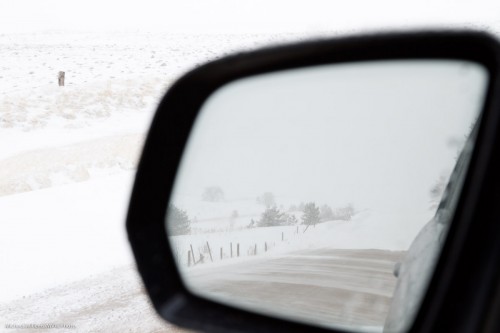
An image like this is:

  • Low contrast because it was low contrast.
  • Well exposed as long as you expose it well – use +1 exposure compensation or do it manually and have the meter point at +1, say.
  • White balanced if necessary, to make sure the white looks white.

This was on my way home today.

Bodies.

A couple of learning opportunities for you today.

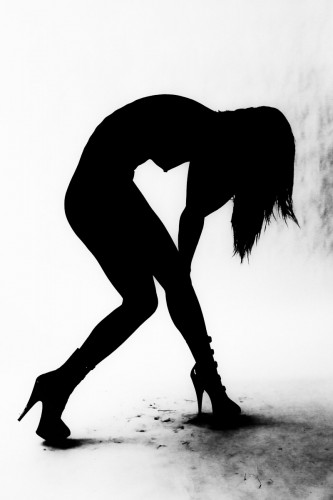
First, on April 2, Joseph Marranca and I are leading another “The Art of Photographing Nudes” all-day workshop in Mono, Ontario.

This is an intensive all-day workshop which starts with technical training, then goes on to subjects such as composition, model interaction, light, studio equipment, and much more. Then we shoot. Most of this workshop is shooting, not listening.

Space is limited, so sign up soon if you are interested in this. Small group, great location, two pro shooters/teachers, and the same great model as last time; you will see her when you click on the link with information and signup, which is here (there is nudity, so if you do not like nudity, do not click): http://www.cameratraining.ca/Nudes.html

Second: There is also still a little space left on March 19 in Toronto, where I present the all-updated “Advanced Flash” with special Guest Star David Honl. A four-hour course with lunch break, so 4.5 hours, and also with a lot of real shooting. Downtown Toronto, plenty of (paid, but cheap at the weekend) parking right in front, my new updated small flash workshop where you will learn stuff you did not even know you did not know, and the Dave Honl all the way from LA. Not to be missed. I’d sign up for it, if I wasn’t already teaching it.

Cockroaches…

…and noise. They have something in common.

Namely, that they both hide in the dark. (As do politicians: Almost three thousand years ago, Greek comic writer Aristophanes wrote “under every stone there lurks a politician”).

Noise hides in the dark – or more accurately, it comes out in the dark – because of what we call the “signal to noise ratio”. Engineers know what this means-  it rules their lives. In practical terms, basically it means “if the signal, the thing that carries the information, like a radio signal, or like the light in a photo, is strong compared to the noise in that system, then you won’t hear much noise. If the signal is comparable to the noise, however, then you’ll see or hear a lot of that noise”.

The noise (electronic noise, in a sensor image) is pretty constant, and at a low level. So when the picture is bright, the low level noise is not noticeable because it is so much weaker than the bright bits. But in a dark image, it is very noticeable. This is one reason flash pictures are so good: nice bright light makes the noise hard to see.

This brings me to today’s reader question. Reader Deborah (who I know understands ratios and math) writes:

Saturday’s workshop was a real step forward for me… I won’t bore you with the long list of things that clicked into place for me. Suffice it to say that it was a really happy moment early Sunday morning when I took 10 shots of my cat in my kitchen and got about 8 decent if not good images. And he wasn’t blinking in one of them.  …now if you’d only run a model training workshop for pets, all of my cat images would be great 😉

One question is bugging me if you have time to explain it:  Flash is often used in combination with high ISO. I usually avoid high ISO because of the noise, but I’m wondering if horrible amounts of noise come not so much from increasing the sensitivity of the sensor but just in general because I only use extreme ISO in very low light conditions where noise/signal ratio is already impossibly bad. So does it make sense that if flash adds a significant amount of light, the poor quality of high ISO won’t be nearly so bad as it might be without flash? In other words, does flash allow us to push the ISO up without sacrificing quality (as much)?

Indeed it does.

First – flash is used in combination with higher ISO -not necessarily high. 400 ISO is not high, and that is a good starting point. Remember, the starting point for indoors flash would be:

  • 400 ISO
  • f/4.0
  • 1/30th second

And in studio flash, it is as low as you can go – 100 ISO, say. So I would not say necessarily very high, But yes, flash does tend to be bright and that means a high signal to noise ratio where you aim the flash. It is also brief, and that means no motion blur. If you like your pictures to be great quality, use flash.

Indeed, turning up ISO in low light causes exactly what you would expect: even more visibility of the already present noise. That is why in night photography, for instance, turning up the ISO is not necessarily the thing to do.

So yes Deborah, your conclusion is correct.

Oh, and that cat? Catnip. One of the great secrets of cat photography.

Lightroom Rules

Prompted by the work I did today for this past weekend’s Music and Dance School shoot, I think today I might once again point out how great Adobe Lightroom is for a photographer’s workflow. It is no exaggeration to say that Lightroom has enabled my business to exist. I can now organise and edit, as well as produce output, in batch mode; quickly and efficiently.

One thing I do in Lightroom is organize. Here is my workflow:

  1. Import the images and have Lightroom copy them to a location of my choice.
  2. Select the images I think are good enough to use (e.g. I exclude blurred images or images where people blink).
  3. Make those into a collection.
  4. Edit them in that collection.
  5. Sort the collection.
  6. Make outputs (eg large JPG files for printing, or direct prints).

And a few tips for you:

  • One thing I always do is pick winners. To do that I use the compare view (the X/Y “candidate” view in the Library module) as well as the “Survey” view, in the same menu.  If you are not used to using those, please start. They are fabulous.
  • If you use more than one camera, to facilitate sorting, ensure they are set to the same time.
  • If, however, they are not, no problem. Activate the filter bar (“\”) and by selecting one camera, filter to see just the images from the camera that has the wrong time. Select them all (Command-A). Now from the menu select Metadata and Edit Capture Time. You can now select “Shift by set number of hours” and select +1 or -1, say, if you have forgotten to adjust your camera.
  • Learn the shortcuts. Like “G” for “switch to the Grid view in the Library”, and “D” for “Switch to Develop”.

If you ever come home with a few hundred pictures at the same time, then every hour you invest in learning Lightroom will pay back manifold.

Finally, a couple of images from this weekend’s shoot.

Portrait weekend

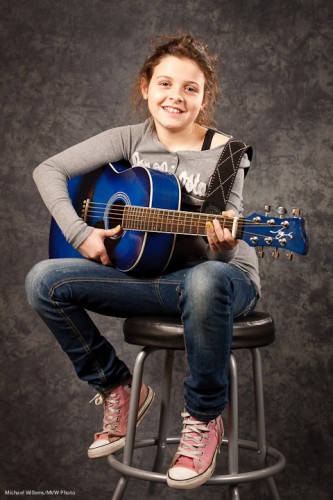
One setup at yesterday’s music school shoot was this one:

We did four setups:

  • One traditional “three strobes” setup.
  • One setup with one strobe and a reflector, in a small piano room.
  • One drum room with just an on-camera bounced flash.
  • The above “overflow” three speedlight setup: main light through an umbrella, fill into an umbrella, and a background light.

The first three setups are pretty straightforward. For the last, the question was: TTL or manual?

Yes, you can use the flashes on manual and still use wireless “commander mode” to drive them.

But when you are only going to use a setup for a few shots, it is often just as easy to leave the flashes in TTL mode. Works fine.

But there is one very important thing to keep in mind. TTL measures reflected light. And with a black background, keep in mind that the more background you get onto the image, or the darker your subject is, the higher the exposure will be (the camera’s metering system is dumb: it does not know what your subject is: it sees a darker picture). And vice versa. So you need to compensate for this with flash compensation. When using TTL, be ready to use flash compensation for many shots. If I had set the flashes to manual, and metered, each shot would then have been perfect, independent of the subject or composition.

So why did I use TTL instead of metering? Ease of use. Only a few shots at this setup, so why make it difficult? Sometimes the easy way out is the best way out.

The SUV of lenses

I like to shoot with many lenses. Wide (16-35 on full frame), long (70-200 on crop), and fast primes.

But the one “general purpose” lens I keep going back to is the 24-70 f/2.8L. First of all, this lens is sharp:

Michael Willems - self portrait, detail

Self portrait, detail (view at full size)

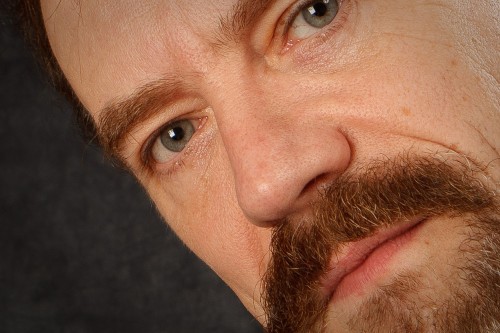
You like crazy sharp? This lens is crazy sharp.

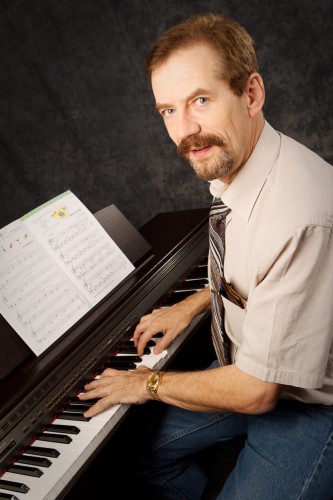
The main thing about this lens, however, is that it can be used for almost any shoot. For instance, for music school portraits like today’s:

Michael Willems - demo portrait

Michael Willems - demo portrait

But also for headshots, environmental portraits, events, travel, low-ish light shots, and much more. Its fast speed (i.e. the low f-number, a constant 2.8 throughout its zoom range) allows you to blur backgrounds well, and allows its use in low light. This is why photojournalists keep that lens in the bag and on the camera.

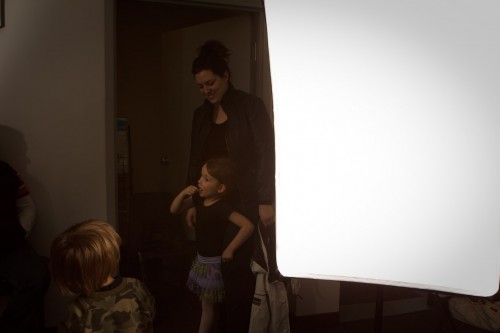
Today’s shoot was a music school and tomorrow’s is the same – all day. If you wonder how the shots above were lit: three Bowens studio lights; an umbrella, a softbox and a snoot. Here’s the softbox:

Softbox during music school shoot

Softbox during music school shoot

A softbox gives you a large area and hence soft light. For studio I use a large softbox; for on-the go shoots I use the Honl Traveller 8 softbox on a speedlight. (As you know, Dave Honl will be helping me teach a course in Toronto on March 19; he is in London today, where yesterday he taught a course to Matteo, a young friend and student who has taken a number of my courses. Small world!)