A few more aquarium shots

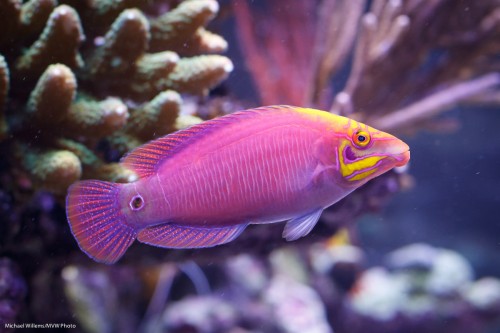
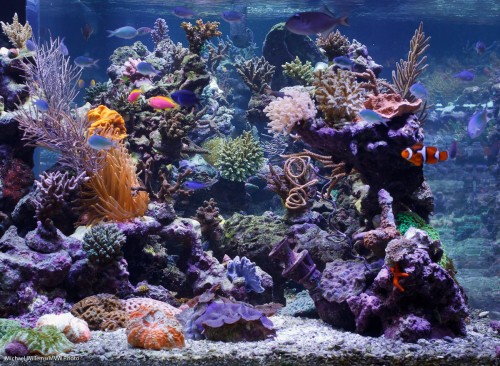
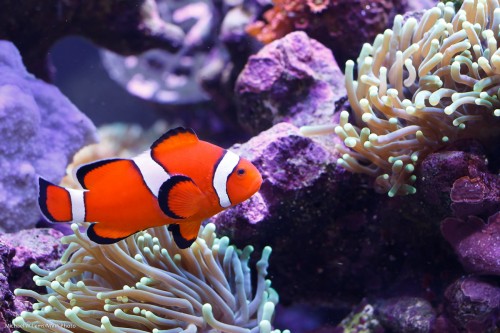
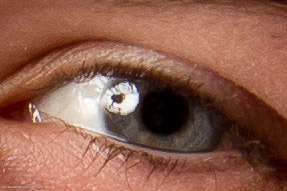
A few more shots from my student Peter’s fabulous aquarium:

(As always, click through to view original size to see the shots properly).

For these snaps, I used the standard lens and 1/160th second at f/5.6, ISO 800 for the faster fish; 1/125th sec at f/8.0, ISO 800 for the more depth-of-field shots of the slower fish.

And I make it easy on myself:

  • I shoot perpendicular to the glass
  • I look for contrasty situations and good light.
  • I shoot multiple shots. It is OK to shoot 6-12 shots to get one razor-sharp one!

This way, you can get good shots without pain.


Direct flash

You cannot use direct, unmodified flash.

Oh wait.

Yes you can. and sometimes you have to.

Like when you are outdoors and you want to reduce the ambient light, and light your subject with flash. This gives you control over the light. But it is not simple, at first.

  1. You want to reduce ambient exposure.
  2. You do this by setting your aperture , ISO and shutter to give you a darker background.
  3. You start with choosing a low ISO and fast shutter speed. But your ISO cannot go below 100, and if you wish to add flash, your shutter cannot go beyond 1/200th second, if that is your “flash sync speed”. So you set those values. 100 ISO, 1/200th second.
  4. But… too much light still, on a sunny day.  So now you must reduce your aperture to what you are happy with – say, f/5.6.

When you do this you will find that you get darker backgrounds. All right. Not as dark as you would like but not bad.

Now the challenge will be: at 100 ISO and f/5.6, how far will your speedlight reach? The answer: not far. Not if you add softboxes, umbrellas, reflectors or other modifiers, anyway.

So now we are where I thought we would get: you need to use a bare flash.

And that is fine. But take it off camera.

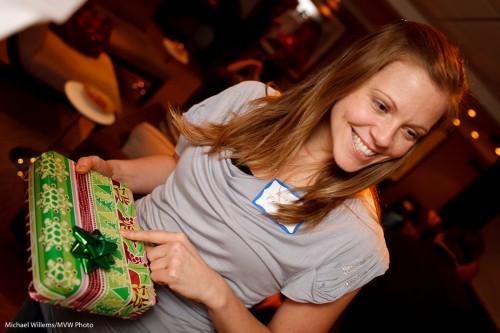
Direct flash is just “OK” if the flash is near the lens. Like in this image of volunteer model Vanessa in today’s class:

Not bad, and well eexxecuted. But there could be more shape to the face, no?

That is why it is often nicer when the light source is off to the side. The face now gets shape, like in this example:

Now, to be clear: light straight into the face is OK – just as long as that is not also where the camera is!

Like this example – this is just fine:

And that is direct flash, unmodified.

So yes – you can do this, whatever anyone else says. Just as long as the light is not in line with the lens.


Set it yourself

Each light type has its own colour temperature (the redness or blueness of the light, where redder is “warmer”, and more blue is “colder”, in photographers’ terms). This colour is expressed as a temperature, which is measured in degrees Kelvin (after Lord Kelvin). Physicists and engineers know this.

Our cameras need to adjust to the light’s colour temperature. In the film days we used to do this by selecting the right film, which is sensitive to match the colour temperature of the light used (Tungsten film for incandecsent light bulbs, daylight film for daylight).

On digital cameras we use the White Balance setting. Set it to “Tungsten”, “Fluorescent”, and so on. Or we can set it ourselves, and that is today’s tip of the day.

On many cameras you have a “K” setting. You can now adjust the white balance by setting it to the colour temperature of the light used:

  • Blue sky: 10,000K
  • Shade from blue sky: 7,500K
  • Daylight shade: 6,600K
  • Summer daylight: 5,500K
  • Flash: 5,500K
  • Mid afternoon daylight: 4,500
  • Evening sunlight: 3,500K
  • Tungsten light: 3,200K
  • Sunset 2,500K
  • Candle light: 1,600K

So setting those white balances makes light look white. Is that what you want? Then set that white balance to match the light. That is the simple method: to get white to look white, select the colour temperature of the light illuminating your subject. And by using the Kelvin scale, you can make this pretty exact. So if a light is too red for you, adjust K until you are happy.

But there is another method: If you do not want white, then set the white balance to a different value from the value of the light hitting your subject. I.e. you can shift white balance. So if I set my white balance to 5,500 on a sunset evening, I get not white, but red  – which presumably is exactly what I want for a sunset.

Yes, you can do this on your computer if you shoot RAW, but I still recommend getting it right in camera.

And that was today’s tip!


Shake it up.

In photography, like in many endeavours, it is easy to get caught up into a routine. “Always the same lens”. Or “always the same mode”. Or “always the same creative shots”. Or “always the same composition”.

So let’s shake it up. Starting with composition. Next time you shoot, use unusual viewpoints or angles:

One way to do this is to tilt your camera. As I have mentioned here before, you do this to get things in, or to introduce a sense of dynamic energy, motion:

Another way is to shoot from unusual viewpoints. When I shoot for a newspaper, I will try to get up or down.

Here, my friend, international fashion photographer Kristof is doing it:

Ever noticed photographers always carry ladders? That’s why.

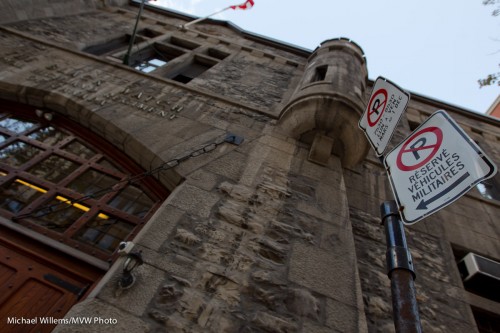
And an army building looks interesting when tilted:

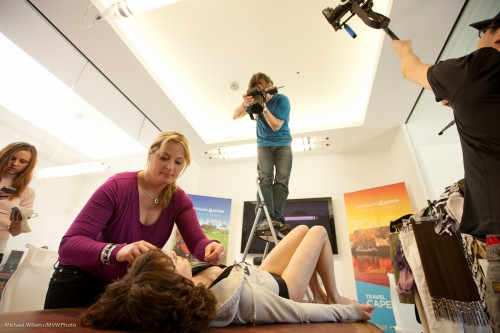
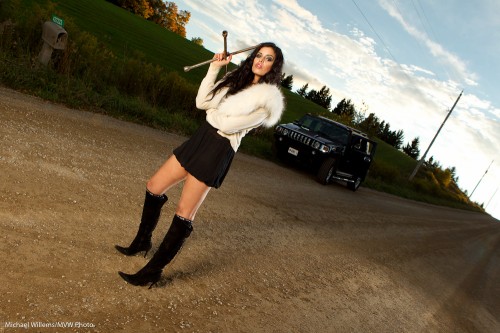
As does a model in a provocative pose:

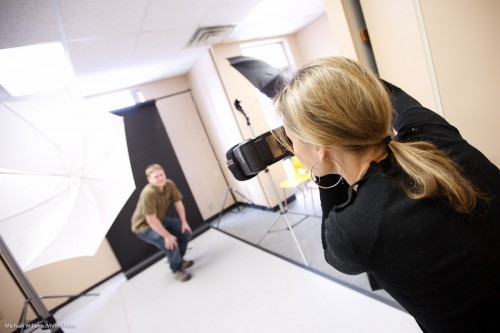
And a photographer shooting:

So next week, turn and tilt your camera, get on the floor, or get on a ladder.


B&W tip

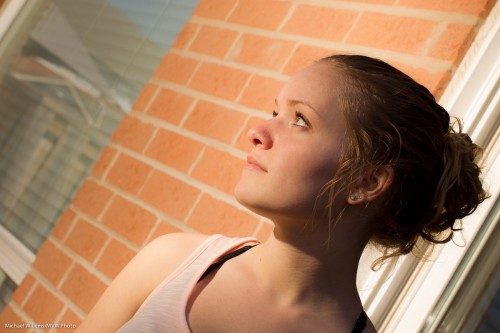
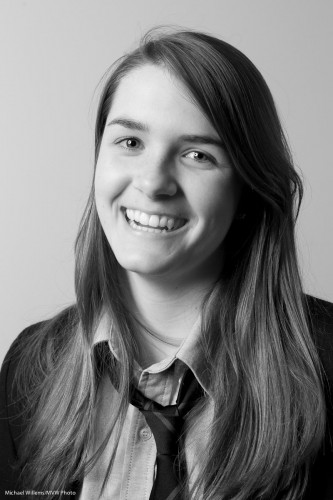
Have you ever thought that a nice black and white photo was very worth looking at?

That is because in B&W we do not get distracted by colour: we see the pure image. A photo is composition + moment + light, and in some cases colour just distracts from that.

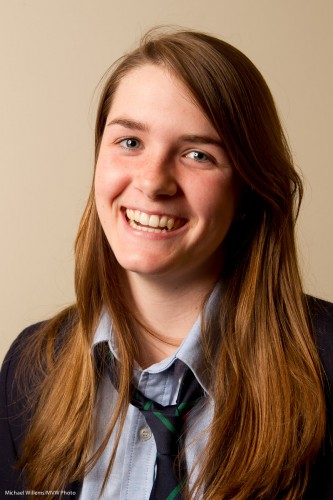
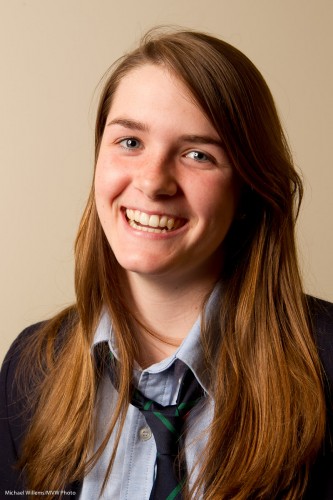
So this one-light image, from the other day, is fine:

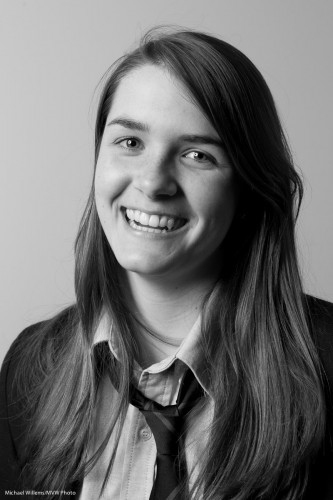
But this image is simpler, and, I think, more powerful:

Plus… there are fringe benefits. Doing a B&W conversion I can selectively increase or decrease colour channels. And by slightly, every so slightly increasing red, orange and yellow, I can:

  • Fill in shadows;
  • Make skin even smoother;
  • Increase the brightness of teeth.

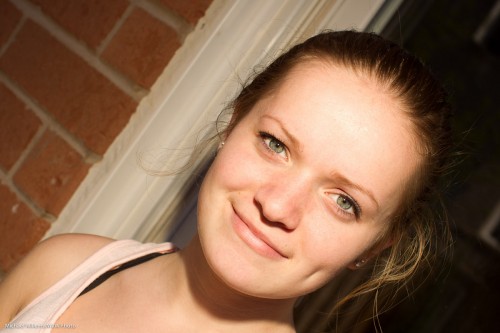
Now of course a teenager needs none of these, but you can nevertheless see this is a better image:

And this only took a few seconds in Lightroom, which has en excellent B&W conversion tool.

And we do this in Lightroom, not in the camera, because  that way:

  1. It saves time;
  2. We can change our minds;
  3. We can do a selective per-channel conversion as described above;

When you shoot B&W, do feel free to set the image style to B&W on your camera if you shoot RAW (because in that case you are still saving all colours; it is only the preview that is shown in B&W), but see that preview just as a rough idea and convert properly in Lightroom on the computer.

TIP: if you want to see where someone may develop skin issues decades from today, convert to B&W and then pull red up and pull orange down in Lightroom. You wil now see someone with any skin imperfections magnified hundreds of times. I wil not do it to this lovely young lady, but to see the effect, do it to a picture of yourself.


Tools for jobs

When you need to do any kind of job, you use the right tool.

For photographers, that right tool today is Adobe Lightroom, more often than not. Non-destructive editing. Applying edits to multiple images. Super-quick edits for common tasks. If you own one piece of software, it should be Lightroom (or if you prefer, Aperture, its Apple-only equivalent).

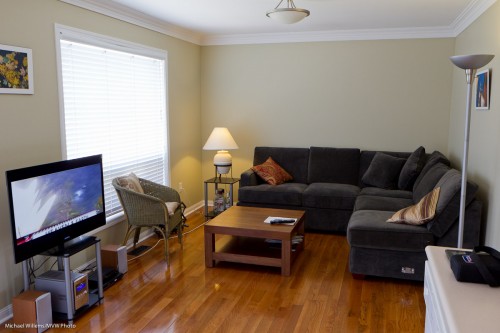
But sometimes you may need Photoshop. I use Photoshop for perhaps 0.5% of my images. Like this one, of my living room part finished, earlier today:

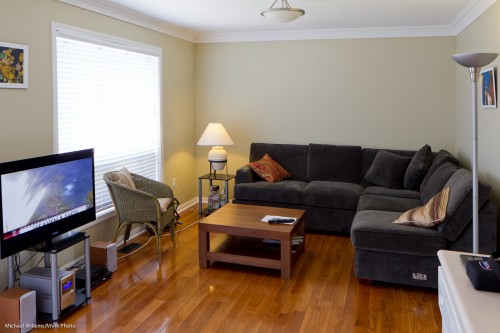
That is fine, but since I had to tilt the lens down a little, the verticals diverge at the top. This is inevitable – it’s physics.

But it is not nice. And the good news: it can be fixed in Photoshop. See here, where the verticals are now once again vertical:

You do that as follows:

  1. From within Lightroom, when looking at this image select EDIT IN.. and choose Photoshop (in my case, CS5). Your image now opens in Photoshop.
  2. Duplicate the background layer.
  3. In the new layer, in the EDIT menu, use function TRANSFORM, and within that select DISTORT.
  4. You can now pull out any corner or side any way you like. You may want to use rulers to see when vertical is really vertical, and horizontal really horizontal.

Now accept the edit, and save the image. You are back in Lightroom looking at your new image.

That’s a quick, simple edit, and one you can only do in Photoshop. From within Lightroom.  The right tool for the job.


Event Photographers

Note to all – I can still take one more person for my small, intimate “Event Photography” course in Oakville at 10AM on Sunday. If you are interested, please let me know.

Event photography is challenging. You never have enough time, light or space. Your customer has told you the wrong time. There’s misunderstandings about what should be shot. You can’t carry all your gear. You’d love to light up the room, but you cannot. Or you shoot outside and can’t bounce your flash. Things move. But you must deliver – failure is not an option. How do you handle this? What are the success strategies that help you deliver? What gear to carry, what preparation to make? I teach you all these in an intensive four-hour course. If you are, or want to be, an event photographer, come learn how to best handle this tough type of shooting.


Prime primer.

Today, I would like to share another note on prime lenses. An oft-recurring theme here at Speedlighter.ca.

“Prime” lenses, as you know, are what we call non-adjustable lenses, i.e. non-zoom lenses. A zoom lens has varying focal length (e.g. “16-35mm” or “70-200mm”); a prime lens has just one focal length (e.g. “50mm”).

So remind me – why would I want prime lenses, again? Surely zoom is much more convenient?

Yes. As I wrote before, a zoom lens is indeed more convenient. But it is not always better. In fact I shoot with primes as often as I can, for good reasons. Some of those reasons here:
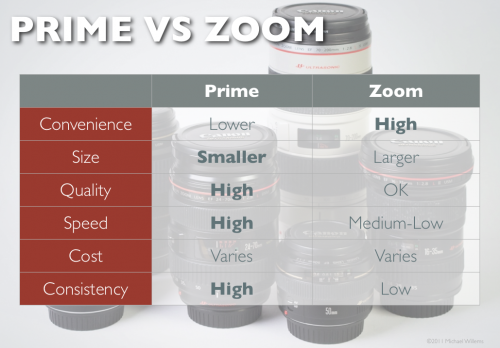
A prime lens is often smaller and lighter, and almost always better quality. Primes are usually faster (they can go to a lower f-number, i.e. they have a larger aperture).

But two benefits are often neglected, and yet these are very important.

When you are learning, the prime lens teaches you the relationship between aperture and depth of field very well. You may recall from the post the other day that aperture, lens focal length and distance to subject all affect the depth of field in a picture. With a zoom lens, it is hard to get a handle on this, since you are changing one of those variables with every shot. With a prime, you really come to feel this relationship.

When you are shooting, a prime enforces consistence and discipline. Instead of every shot being different in look and feel from the last one, you get a “style” for the shoot. Your distance to the subject will be more consistent. Your settings for flash compensation and exposure are more consistent and hence, easier to handle.

And that is why I love to shoot with my three primes, whenever I can.

So yesterday, reader Leaman, responding to a previous post on this subject, asked:

Going through some of your older blogs and came across this post hoping to get some advice.

I have been thinking about getting a second lens for my Rebel series camera and am torn between primes and zooms. Specifically, I was looking at the EF-S 17-55 f.28 zoom vs getting both the 24mm f2.8 and 35mm f2.0 primes. I already own the 50mm f1.4.

Assuming that cost is not a factor, could you give me your thoughts? From my readings in your event photography shoots, you typically use a zoom as a walkaround and swap for a faster lens as needed.

Considering the 24 and 35 primes that I’m looking at are no faster/slightly faster than the zoom lens, would it make sense still to get the zoom lens? The only thing I think the zoom has in benefit over the primes is the versatility of less lens swapping. From reading my reviews (maybe you have your own reviews from experience as well) the build and picture quality between the 3 are not that far off from each other.

Well, first off, I would say that a whole stop faster, since you are talking about one f/2.0 lens, is more than just slightly. That stop can make all the difference, especially with side lenses where it can be tough to get selective depth of field. And for the 24mm lens, the other benefits still hold.

When shooting an event, I regularly use a zoom, true; but there are many situations where I do not. Low-light events, for example. And the 35mm prime lens is my favourite, for the reasons outlined above. But at the longer end, zoom is more important – so I often use 35mm prime plus 70-200mm zoom.

So Leaman, while indeed there is not one right or wrong answer, and it depends on what you shoot – but without knowing more, personally I would recommend the primes.


Simple portrait.

I taught at a local college today. A real pleasure, teaching bright young enthusiasts.

However, due to scheduling the two hour lecture turned into a barely one-hour lecture. This forced me to take some shortcuts. I taught some fast hands-on lessons. One was how to shoot indoors with a bounced on-camera flash. The other lesson was all about studio light.

“Studio? But surely, Michael, that takes a lot of time”, I hear you say.

Not necessarily.

  1. Set the cameras to 100 ISO, 1/125th second, f/8.
  2. Attach a sending Pocketwizard to the camera.
  3. Put up one strobe on a light stand.
  4. Attach a receiving Pocketwizard to it.
  5. Fire into an umbrella (I could not find a white shoot-through umbrella quickly).
  6. Set it up 45 degrees to the side of your subject, 45 degrees up.
  7. Fire and meter the light using a light meter. Adjust light until the meter reads f/8.
  8. add  a reflector on the opposite side to bounce back a little light.

What does that get me?

This:

Nice light, nice catch light. So I handed the Pocketwizards to the students,one by one. They all got similar shots.

Why did I say I would have preferred a shoot through umbrella? Here’s why:

See the flash in the umbrella? If we had shot through, no flash would have been visible.

But that’s a minor quibble. Nice portrait, took only a minute or two.


How wide is wide?

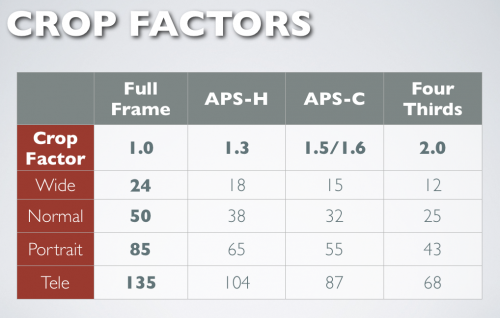
What constitutes a “Wide” lens depends on whether you have a full-frame camera or a crop camera:

So on a full-frame camera a 24mm lens might be”wide” , while on a crop camera like a Digital Rebel or a D90 you would need a 15mm lens to get the same width.

You may want to keep this table in mind the next time you decide whether a lens is a wide-angle lens or not.