Creative light

Here for you are a few simple steps to a dramatic light portrait.

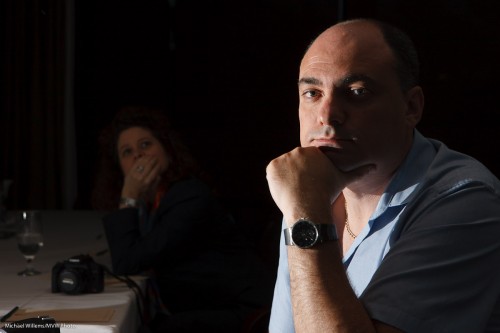
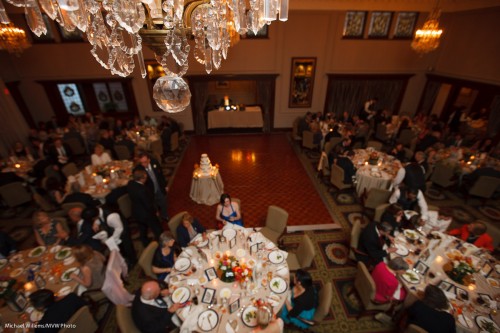
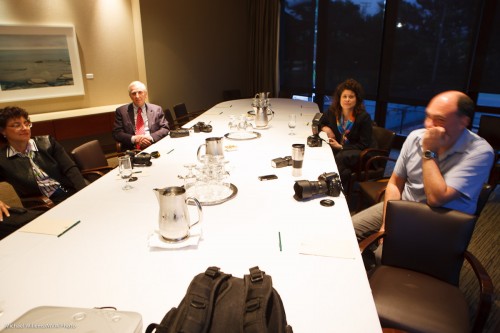
Step One: Start with a room. Like this one, with some of my students last night:

But for creative lighting we do not want to see the ambient light – it would just interfere.

Hence… Step two: make the ambient light disappear. You do this by selecting a setting for ISO-Aperture-Shutter that makes the room look dark. Like 200 ISO, 1/125th second., 200 ISO:

Yes, the room now looks dark, and no, I did not turn off the room lights. Your camera is a light-shifter.

Now we add the light that we do want to see. Step three: use an off-camera flash. All makes of camera support this: remote TTL works very well once you learn the ins and outs.

  • Nikons and some Canons can use the pop-up to drive the remote (“slave”) flash.
  • Others need a high-end flash on the camera to do this.
  • Ensure that the on-camera flash only issues “commands” to remote flashes but that its actual flash-during-picture function is disabled.
  • Use a modifier, like a grid (I use the Honl Photo modifiers) to ensure that light does not go “everywhere”.
  • You can soften the light with a softbox or fire direct at the subject. Yes, you can fire direct at a subject, as long as the light is not where the camera is.

Now we get what we wanted:

This technique is also good to learn lighting scenarios (like broad, short, butterfly, or Rembrandt lighting).

 

Weddings

Apart from being busy driving (I picked up my son in Montreal yesterday: 1300km, 13 hours in the car, in one day).

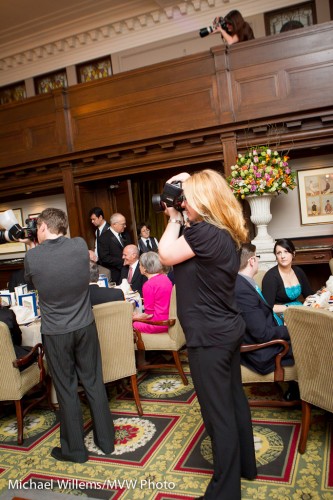
But I have also shot a few weddings in the last days. And when I say “I” I mean “we”: look at this image: three photographers plus myself shooting the bride arriving at the reception:

That is Kristof, who shot the wedding with me, and our assistants Ola and Merav.

To do a wedding justice, you need several shooters:

  • You get the moments.
  • You get several points of view.
  • You have “equipment and CF card insurance”
  • You have “personal mishap insurance”
  • You avoid losing time due to constant lens changes.

A wedding is our mark in history, and it is worth doing well. If you are tempted to shoot one for a friend: engage a pro, or at least engage other shooters also.

TIP: wedding photography is in part fashion photography. Join Kristof and myself for a workshop on 19 May: http://cameratraining.ca/Fashion.html – you only have three days left to sign up! (The same urgency applies to the Africa workshop: click here)


TOTD

Tip of the day:

In spite of what I say about usually leaving your camera on all the time and just waking it up with a light touch on the shutter button… you should consider turning it off when:

  • taking off a lens
  • taking out a memory card
  • taking out the battery
  • putting the camera in a bag
  • putting it away for a long time (and if a really long time, remove and regularly recharge the battery).

Turning it off and on also forces a sensor clean on many cameras – an extra bonus.


Africa….

You have heard me mention the Africa trip in August? Great news: info and a detailed itinerary are now available here (click) and there are still spaces available.

For the photo trip of a lifetime, click now and come to one of the two info evenings in Oakville May 14 or May 18. Reserve your spot on the presentation evenings quickly: RSVP now. First come, first served!

Now I go back to deciding which lenses to bring (hint: one of them will be loooong).

Wide.. wider!

Wide angles, you have heard me say it before, rock.

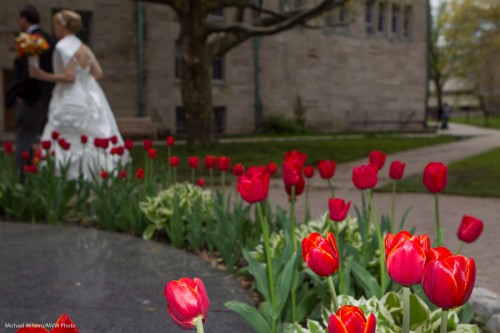
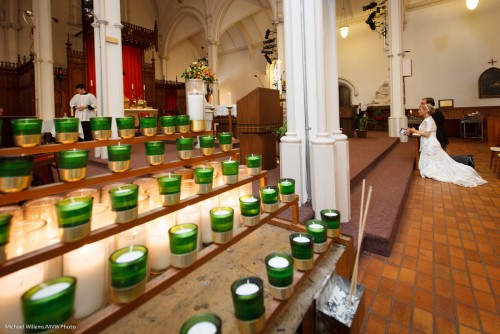
I mean 16mm focal length on a full frame camera, or 10mm on a crop camera. Take these sample shots from a wedding I shot yesterday:

All those, you will agree, are somewhat unconventional – my style. But you will also, I hope, agree that wide angles are fun – they introduce extreme perspective; depth; diagonals; and interest.

You will also, I hope, notice off-centre composition (the “rule of thirds”) and a good mix between flash light and ambient light; also a good mix between sharp and blurred elements in each image.

My advice: try to go wide for intetest: see what it does for you.


Combining light types

A repeat of an older post here – because it is very important.

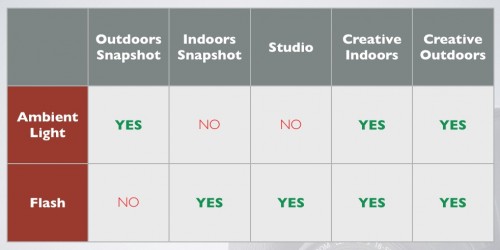
When you use flash, you can either combine it with existing light (as in a party) or not (as in a studio, or as in a snapshot).

To hep you understand this, here is a representation of when you do, and when you don’t, use flash; and when you do, and when you don’t, combine it with other light:

If you want to be a creative photographer, you should probably practice the three types on the right.


Just a moment!

Photography is about Light, Subject/Composition, and moment.

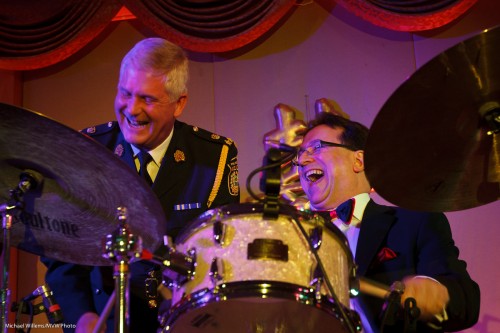
Like in this picture of Dan Bodanis of the Dan Bodanis Band, with Peel Region’s Acting Police Chief, the other night:

In a photo like this, “moment” is everything. A few tips, then:

  • If you take lots of pictures, you will succeed.
  • Look for moments.. “if it smiles, shoot it”.
  • During speeches, wait for a pause.
  • Do not shoot people while they are eating (or for that matter, while you are eating).

Sometimes it pays to simply shoot and not to worry too much about technicalities. In this case, I was bouncing a flash (behind me) while the camea was on kmanual, with settings chosen to capture enough ambient light (near or at the Willems 400-40-4 rule for indoors event flash: 400 ISO, 1/40th sec, f/4).


Inverse Square: It’s The Law

The “inverse square law” regarding light dropoff says that light drops off with the square of the distance. I.e. an object 4 times farther away gets 16 times less light, and so on.

This law needs to be part of your DNA!

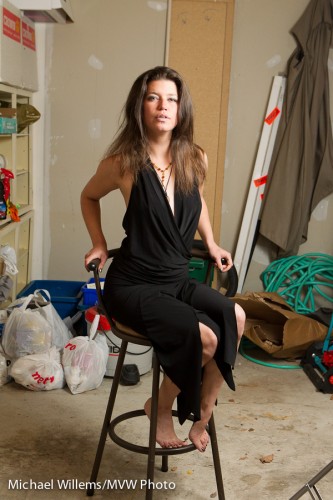
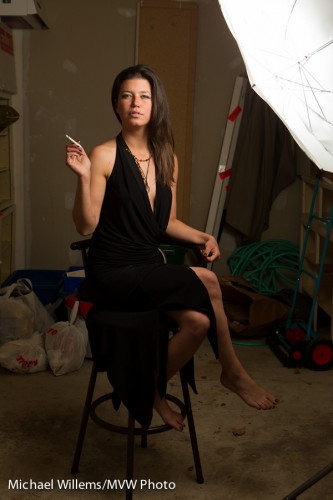
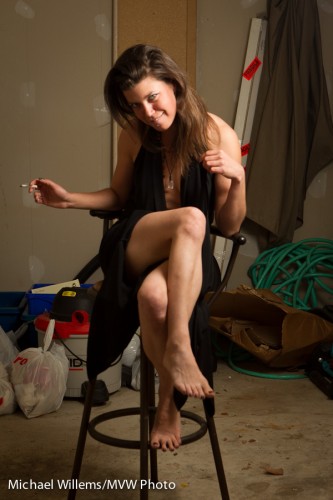
Why? Because it explains those dark flash backgrounds. And because it helps, too. Take this shot of my model Kim in a grungy garage, using an off-camera TTL speedlight through an umbrella on our right:

Fine. But what if we wanted a darker background? Remember Willems’s Dictum: “bright pixels are sharp pixels”.

The solution is simple: move the umbrella closer to her. Then the background is farther away in relative terms, so it gets darker with the square of that ratio. So now we get:

And if we move ourselves to get the umbrella out of the picture, here is what we end up with:

Simple solution to a vexing problem if you like dark backgrounds!


High Key: Keeping it Simple

A quick pic of the day today. A “high key” image.

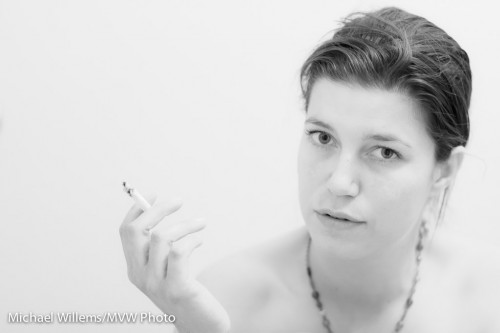
That is, a photo where the entire image is bright. Like this one:

To do this:

  • Use a person dressed in white, or a pale-skinned person, against a white background.
  • Expose properly – meaning brightly. Use manual, or use exposure compensation + (plus 1-2 stops).
  • Or, when using a flash, use flash exposure compensation +1 to +2 stops.

Note also that I used the “rule of thirds”. One attention point – the eyes – is top right; one (the cigarette) is bottom left.