While I have been working non-stop, the mall has been closed since Christmas, so the only business my store has been able to do is curb-side, and emergency passport/ID photos.
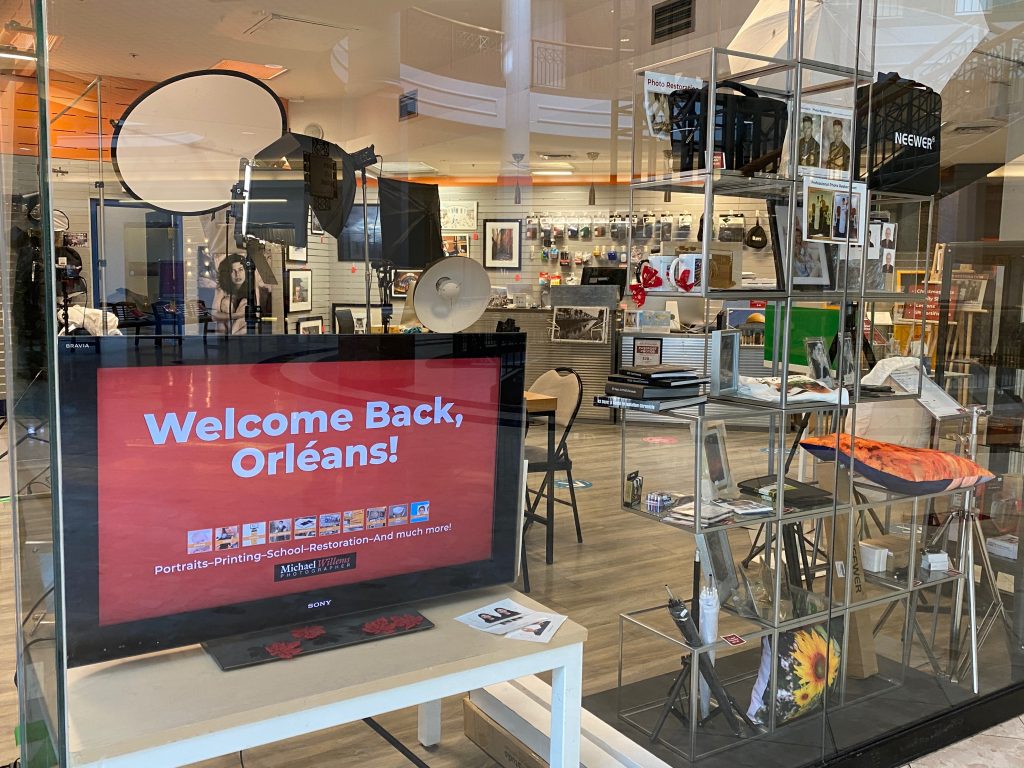
But on Tuesday Feb 16, the mall is re-opening, and we’ll be fully open to the public again. In this quiet period we have been doing much to further improve our efficiency and workflow, to serve you even better at Michael Willems Photo.
At the same time, I see how COVID-19 is hurting everything. Not just in the obvious way of disease and death, but also the business environment, especially in logistics. Items that would arrive in days from China now arrive in weeks or even longer. Even in Canada – essential supplies that I had sent “expedited delivery” via Canada Post ten days ago from Toronto have not yet arrived in Ottawa – a four hour drive.
Prices, too – photo frames that we buy for resale, for example, as well as paper and pigments: everything is going way up. Some $20 frames now go for $85 – seriously.
But as much as possible, we have tried not to have things affect our customers: in most cases we have been able to keep prices the same. We even have new initiatives for students and members of the military: see here.
So while the supply-issues may mean I may not be able to do all of the prints you want the same day, they will be done with the usual care and attention. See you in the store Tuesday and beyond!