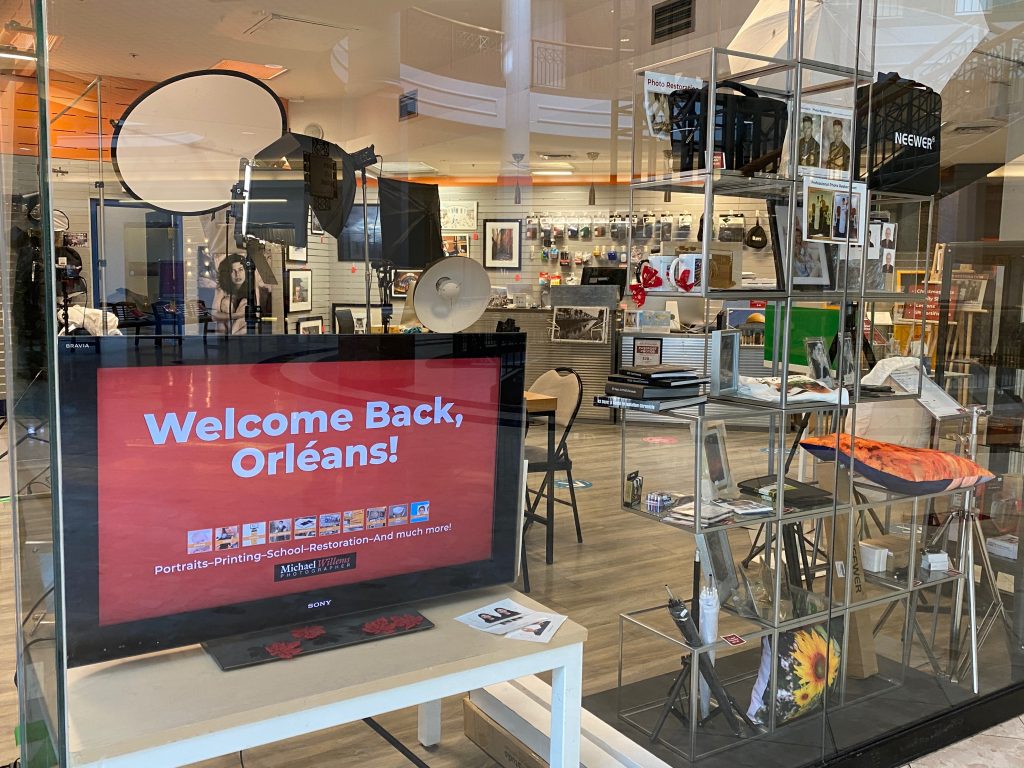
While I have been working non-stop, the mall has been closed since Christmas, so the only business my store has been able to do is curb-side, and emergency passport/ID photos.
But on Tuesday Feb 16, the mall is re-opening, and we’ll be fully open to the public again. In this quiet period we have been doing much to further improve our efficiency and workflow, to serve you even better at Michael Willems Photo.
At the same time, I see how COVID-19 is hurting everything. Not just in the obvious way of disease and death, but also the business environment, especially in logistics. Items that would arrive in days from China now arrive in weeks or even longer. Even in Canada – essential supplies that I had sent “expedited delivery” via Canada Post ten days ago from Toronto have not yet arrived in Ottawa – a four hour drive.
Prices, too – photo frames that we buy for resale, for example, as well as paper and pigments: everything is going way up. Some $20 frames now go for $85 – seriously.
But as much as possible, we have tried not to have things affect our customers: in most cases we have been able to keep prices the same. We even have new initiatives for students and members of the military: see here.
So while the supply-issues may mean I may not be able to do all of the prints you want the same day, they will be done with the usual care and attention. See you in the store Tuesday and beyond!
Hi Michael just wondering about your advice on a used camera lense….. I am looking at on Facebook market place …. it’s a canon wide angle zoom 10-22 for my canon 70D …. I am a little leery about buying a used lense and also buying and having it shipped sight unseen …
I understand the hesitation. The world is full of cheats and thieves.
But there are also at least as many honest people. Here’s my thoughts on buying a used lens.
Lenses tend to work practically forever, so I am generally in favour. You get a great lens for less than the new cost: why not? DO not expect a really really big discount though: lenses keep their value for decades.
Always ask the seller to promise that the lens is undamaged and in fully working order. Communicate via email or some other way that keeps a record.
Make sure you agree some course of action if that should not be the case.I am not talking about a full warranty, but what if after three hours the lens dies?
Ask for history: why are you selling, what did you use it for, do you have the box, etc. A good reason to sell would be “I am upgrading to full frame and this is a crop sensor lens”, for example.
Always ask for full contact details. I check them, and if it’s an expensive lens I have been known to take a copy of the seller’s driver’s license. After all, the lens could be stolen: it’s no more than a sensible precaution.
I am weary of Kijiji, so this caution doubly applies there.
As does this caution: “meet in a public place”.
eBay has warranties, so that is a little safer.
I like Facebook marketplace too: much fewer ‘flakes’ than on Kijiji. Check how long the Facebook user has had an account. If that’s “one week”, then you know there are alarm bells ringing.
When looking at a lens, take some photos at the extremes: fully zoomed in and out; lowest and highest f-number.
Check the prices on eBay – only look for “sold listings”!
Of course always keep in mind the old adage that “if it seems to be too good to be true then it probably is too good to be true”. But there are many good lenses to be had. So if the above all checks out, you should be fine. And there’s nothing like a new lens – fun!
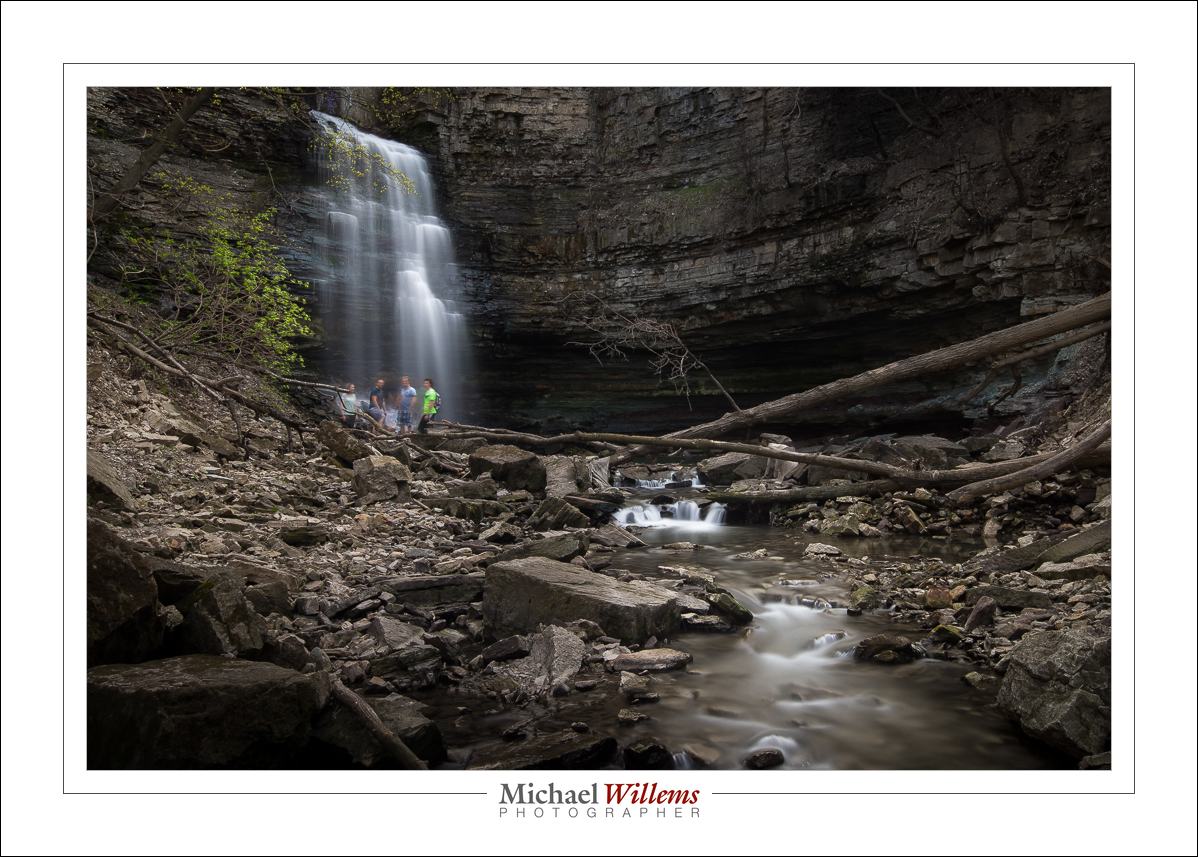
I have a useful mnemonic for you: “For a flow, go slow”.
Meaning if you are picturing something that happens as a continuous flow, you should use a slow shutter speed, to capture it as that flow. Like this, a few years ago:
To do this I did the following:
Defy death by climbing down an unofficial trail.
Use a tripod.
Use a wide angle zoom lens (16-35mm, on a full frame camera).
Put a variable neutral density (ND) filter on the lens, set to its maximum darkness.
Camera on manual. Use 100 ISO and a high f/number; in this case, f/20
Now see what shutter speed I need (20 seconds).
And that’s it!
Notes:
You do not always need a slow shutter. For the waterfall, 1 second would have been fine too. But the river looks better at that slow speed.
At small apertures you will see sensor dust if there is a blank surface, like a sky, in the shot.
Use the 2s self timer, or you will shake the camera by pressing the shutter button.
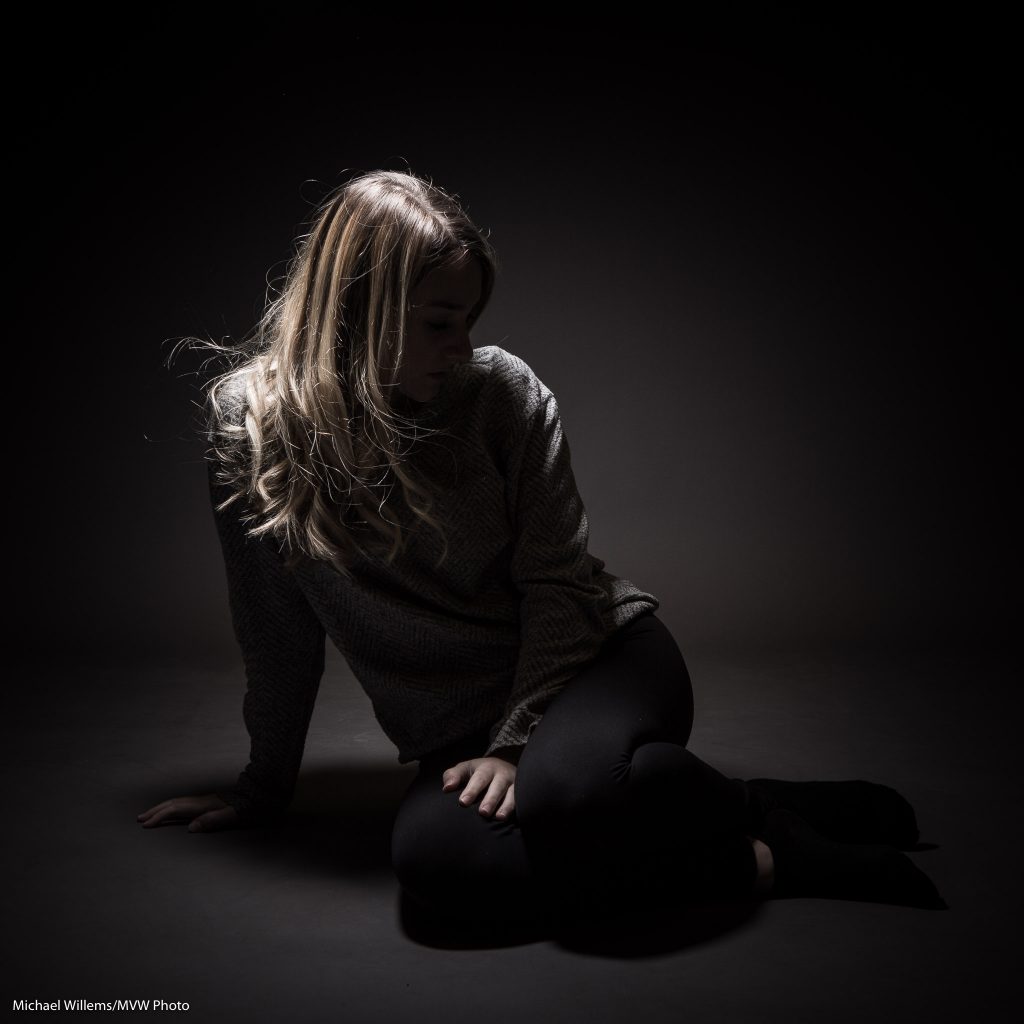
I am teaching a six evening “Creative Flash 301” course, using Zoom, to the Ajax Camera Club. Fun, and finally an excuse to get a little creative again.
For example. One flash above subject, with small softbox; plus a little fill from front right:
Next: One flash. How is it done, can you work it out?
And another one, showing that one or two off camera flashes is enough to create some cool shots. In this case, just one, again:
Only your creativity is the limit, really. So if you don’t yet know how to get creative with flash, learn (I can help), and have some fun.
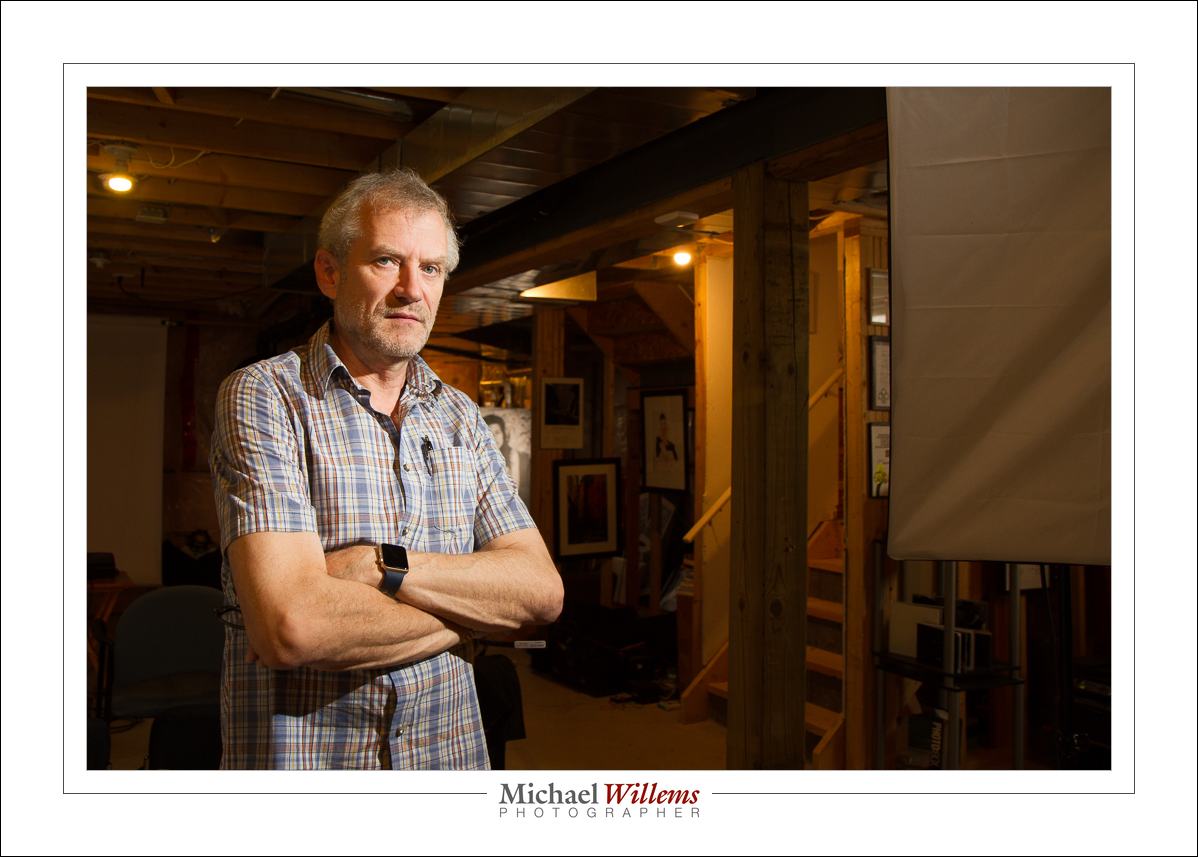
You can use some gels (colour filters) for correction, Here, from 2015, is a post with an example.
Take this: I am lit pretty much OK by my flash, and with the camera set to FLASH white balance,, but the background is a tungsten light, so it looks red. I happen to like that, but what if I want that background to look normal, white, the way it looks to me?
Well… can I not just set the white balance to Tungsten?
No, because then, while the background would look good, the parts lit by the flash would look all blue, like this:
Part 1 of the solution: make the light on me come from a tungsten light source too, so we both look red. We do this by adding a CTO (colour Temperature Orange) to the flash.
Part 2 of the solution: Now you can set the white balance on your camera to “Tungsten”, and both I and the background will look neutral:
Done. Now we both look normal.
So, in summary: when you are dealing with a colour-cast ambient light, gel your flash to that same colour cast, and then adjust your white balance setting to that colour cast.
A am sure you all know I have written series of bestselling photography learning books.
Well, now there’s a special discount on for this month. See https://michaelwillemsphoto.com/ebooks.html for the special – and at the bottom of the page, for four FREE downloads of excerpts from some of the books – excerpts of complete chapters that are useful all by themselves. Go download them now!
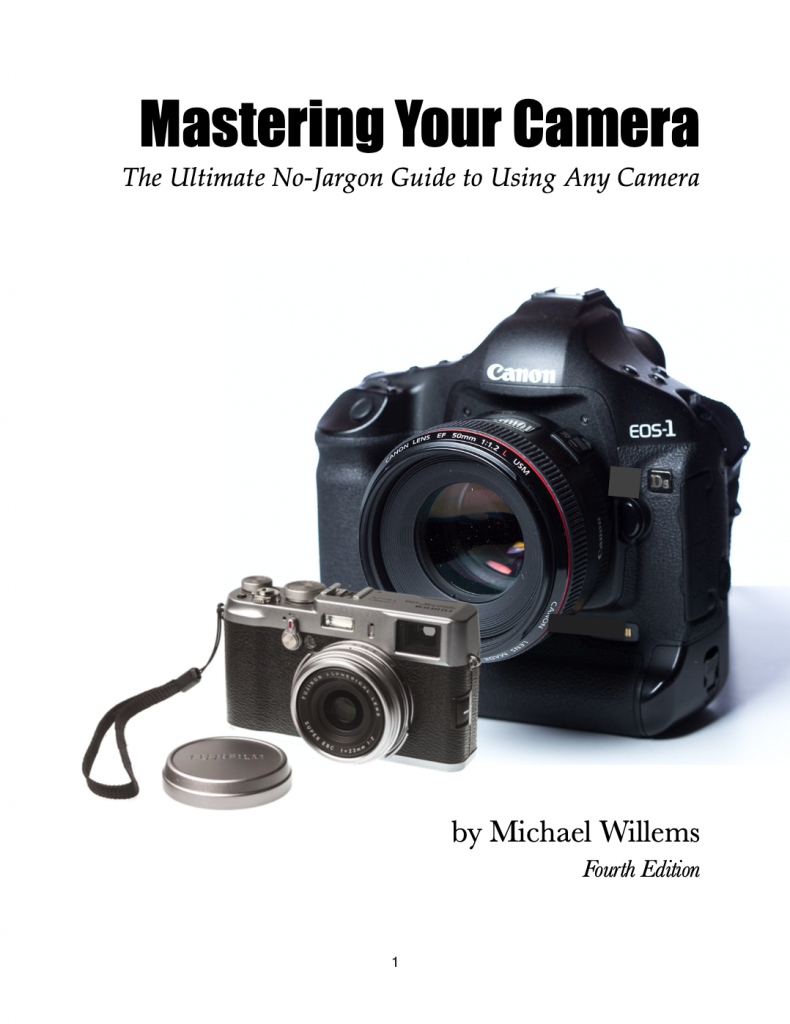
Of my seven books, the one you should read first if you are a beginner or intermediate user, is “Mastering Your Camera”. It starts from zero, and will make you a competent photographer technically, and it also starts you off in terms of composition and subject selection.
The FOURTH Edition of this e-book has just been released. It contains many corrections, some clarifications, a few new flowcharts and tables, and general updates. As before, it is a PDF that you can use on any device, and you can also print a copy for personal use. The new edition’s ISBN is 978-0-9950800-8-9.
And if you do not have it yet, I have some great news: for one week only, it is available forjust C$4.95. After that week, the price will revert to the usual $19.95.
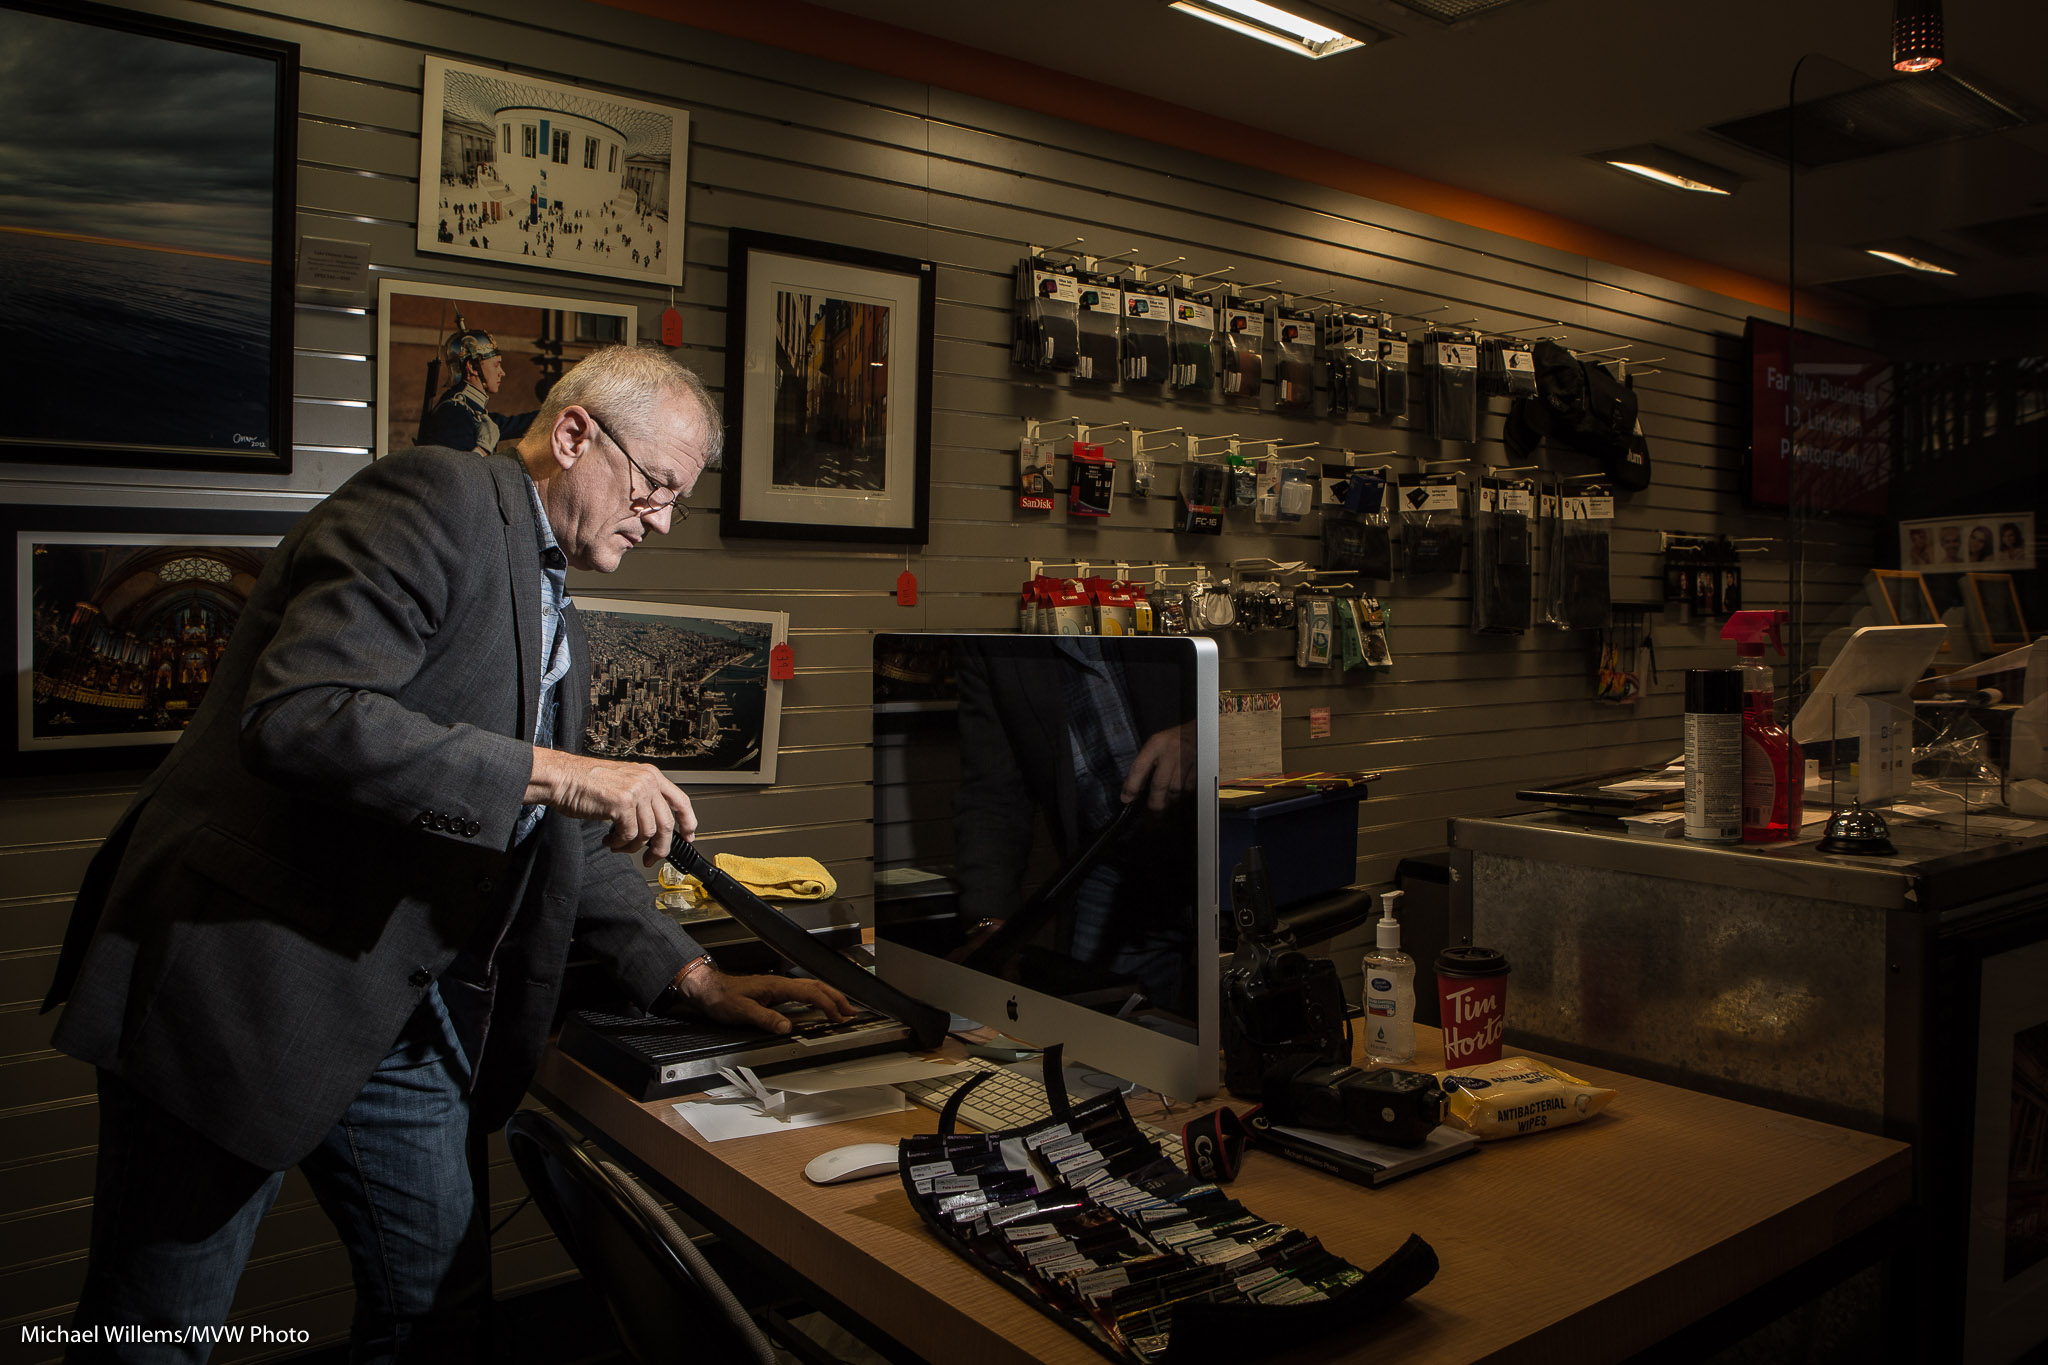
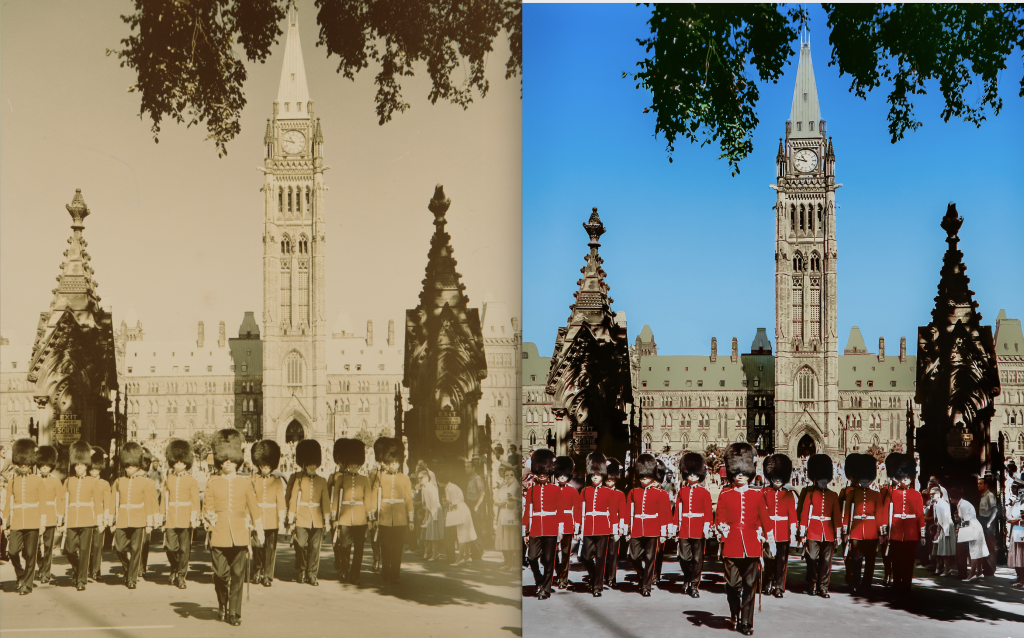
Photos are the way we time-travel. And more and more people, fortunately, are discovering it. I do a lot of restoration and the subsequent printing and cropping.
Here I am doing the latter, cropping a just-printed photo, just now in the store:
Restoring old photos may involve a lot more than you perhaps imagine.
There’s the obvious (but not always easy) improving of contrast, colour, white balance, saturation, sharpness, shadow areas, and so on. And the time-consuming but very effective removal of specks, scratches, tears, fingerprints, and so on. It can easily take an hour per photo and involve literally hundreds of imperfections that one by one get removed.
But there’s also local adjustments. For example, often a photo is much better if the sky is slightly less white and more blue. And if we think the sky was actually blue at the time, we will bring some of that back.
Faces have often shifted colour, or lost colour, too – they need to be brought back to real skin tones, which is a tricky but essential local adjustment.
Then there’s removal of items. I remember a bride whose favourite picture was one of her and her new husband – but the photographer had taken it with the couple standing very close to a giant “STOP – NO ENTRY” sign. That was not what she wanted, for obvious reasons, so I removed it. And there was the Muslim bride photographed close to a prominent “Jesus Saves” sign – also removed!
Perspective fixes are also very important. Often, when a picture was taken the camera was pointed upward or downward. When this is distracting or when it leads to unacceptable distortion, I fix that too.
But there’s also artistic insight. What shadow would look best in this area of the image? What colour would work best here? And when we replace an area that is missing from a print, we often need to interpret what the person would have had in that part of the picture. Especially when it involved a photo made in, say, 1844, this means research.
And research comes in in other areas, too. For example, in this picture I spent a lot of time researching the exact colour of the copper roof in 1961. Copper changes colour constantly over the years, so it was important to get it right.
Uniforms too—which I see quite a lot of in the photos that people bring to me in Ottawa—need to be right, and it can be a challenge to find out exactly what this regiment’s daily uniform or or that police outfit’s mess dress uniform looked like in a given year in the past.
We use a variety of tools, from software like Photoshop and Lightroom, and specialized software that carries out math operations, to physically retouching with carefully chosen inks. For most restorations a combination fo at least a few of these is required for best results.
But in spite of all the work required, bringing a worn photo back to good quality is one of the most satisfying things I do. Because it really is a form of time travel: as I work, I imagine myself taking the picture, however many years ago it was. And the owner’s reaction, when they see the restored photo, is a reward in itself.