Peripheral People

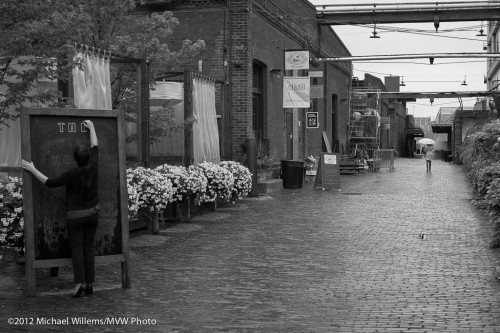
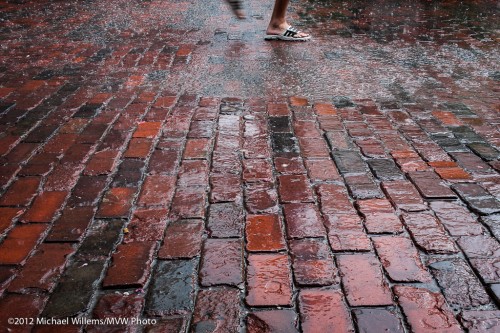
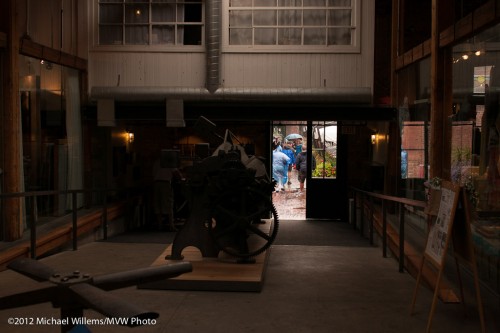
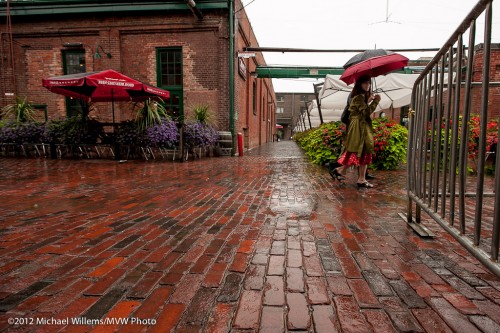
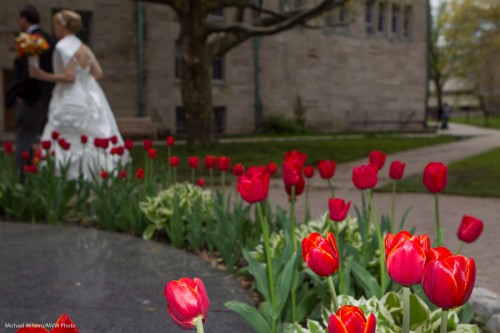
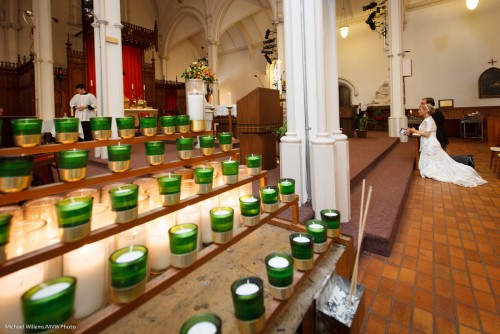
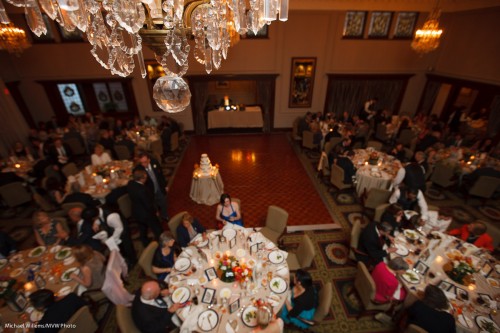
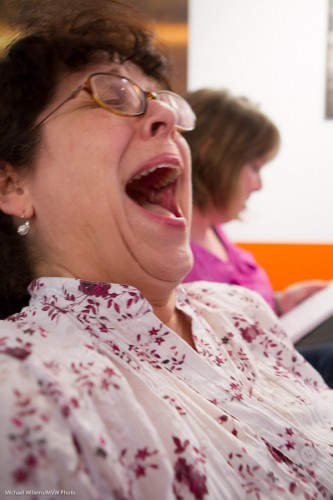
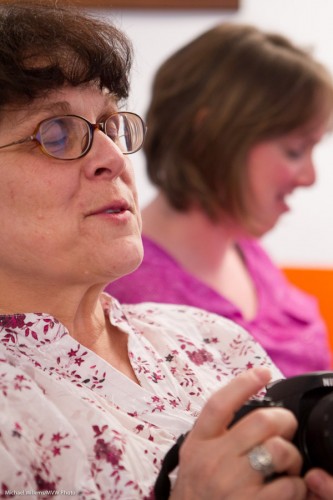
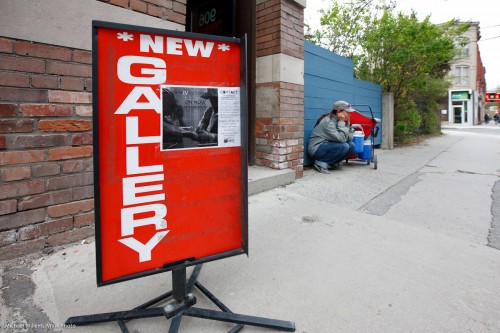
Today, a few more recent shots from The Distillery in Toronto.

This time, showing the interaction between people and The Distillery. But in a way where the people have only a “sideline” kind of importance. They are almost peripheral to the streets and buildings, and rather than masters, they seem to be merely tolerated by the eternal.

When shooting, it pays to think “what am I shooting”. If you can answer that, you will be able to produce photos that depict what you are trying to say.

As Yogi Berra said” if you don’t know where you;re going you sure won’t get there” (everything witty and true in America was said by either Yogi Berra or Mark Twain).

So decide where you are going, and get there.


Simple secret…

Namely: keep it simple. One of the easiest ways to improve your photos is to take stuff out.

You can do that in many ways. Zoom in. Get closer. Rotate. Blur the background. Move things. Change your position. Use obstacles in between. Use light, or rather darkness. Even for simple shots, always think “what can I take away?”.

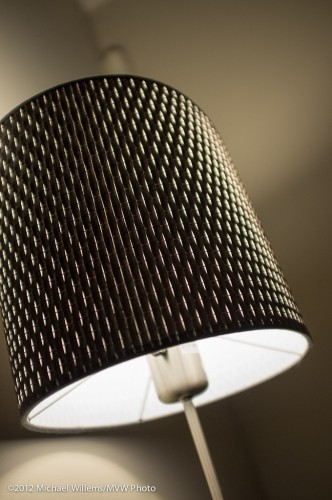
Like in this snap of one of my bedside lamps, just now:

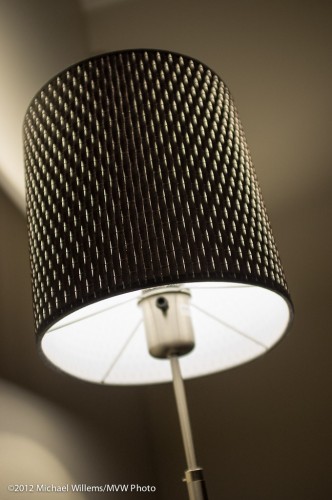
Just a Fuji X100 snap while testing a setting. But even for a simple snap: what is the alarm sensor at the top doing in the picture? A simple change of viewpoint and rotation gives me this:

Now what would you do in addition?

Personally, I would crop off the bottom. That joint between the two rods has no place in a picture. Since the x100 is a fixed lens camera, it is best done in post-production here.

Simplifying your pictures is easy, as long as you remember to do it. My rule: everything in a picture has to be in it for a reason – or it shouldn’t be in it. If you start doing this even for snaps, it will become second nature, and your photos will look more “professional”.


A snap dissected

I thought perhaps I would show you a photo taken last weekend.. a snap, at first sight, but in fact a lot of thought goes into a photo.

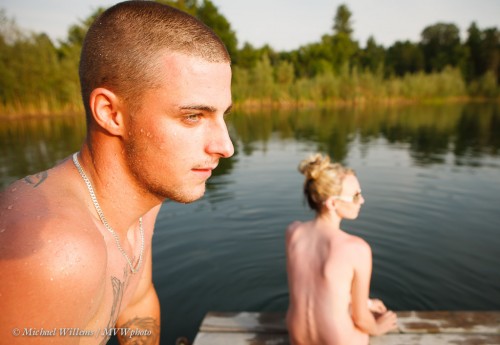
Here are Justin and Pam, who have been together for two years:

So what kind of thought goes into a shot like this?

  • The lens is a wide lens (24mm on a full-frame 1Ds Mk3), so we get depth in the image.
  • I shot late afternoon, so the light is good (nice and warm) and if I shoot at 1/25oth second, I can use f/4.5, so get a blurred background.
  • Nevertheless, this is not all available light – I aided the light by using an umbrella on our right with two TTL 430EX’s (yes, two, to overpower the sun). Hence the 1/250th second maximum (the synch speed).
  • I composed using the Rule of Thirds – Justin top left, Pam bottom right
  • I cropped to make the image suitable for distribution to their parents etc.
  • Since this is an environmental portrait, I kept the environment in – enough to see it is a dock on a lake, and they are skinny dipping.
  • The wave emanating from her feet produces a nice pattern and adds liveliness.
  • I avoid them looking at the camera in this shot.
  • And hence, very importantly, I make the viewer think; guess; wonder what they are looking at.  Each viewer wil have their own questions. Why is he not looking at her? Why are they apparently nude? What is the expression on his face telling us? What is she thinking?

As you see, if you apply basic rules – rules of composition, storytelling, light – your snaps can be more than just snaps. That’s what portrait photographers do, and with some training, you can, too.

___

Stand by for exciting news: the Never Not Naked: Natural Nudes solo art exhibition is coming to Toronto’s historic Distilery District, July 26 – August 26 at The Kodiak Gallery.


Picture of the day

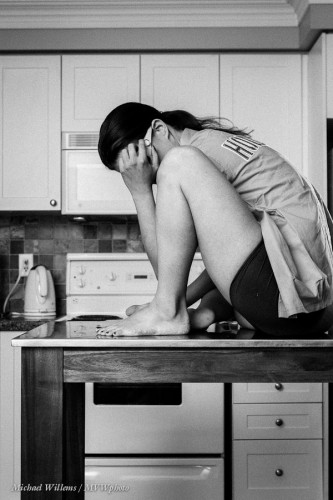
Today, the picture of the day is a simple picture of a girl on a kitchen table:

That is Kim, my favourite model. I shoot her a lot: see my Fine Art Nudes site, mvwphoto.tumblr.com, as well as this blog. I shoot her all the time because she is a great model, very talented, and especially because we consistently create art together.

And that is a special gift for anyone in arts – someone to make art with (and no, get your minds out of the gutter, it’s nothing more than that). An artistic muse. She features heavily also in my upcoming Fine Art Nudes exhibit, www.michaelsmuse.com – I hope to see some of you there for the official opening on Saturday.

And today, I also wanted to show a picture like this to re-emphasize what makes a picture interesting. Worth seeing. And I think there are several.

  • Of course an image has to be technically good. Namely well exposed, in focus where it needs to be, and well lit.
  • Most importantly – it should involve some sort of storytelling, or perhaps rather, evoking questions. An image has to have some connection with something happening. It has to have the ability to make the viewer wonder what it is that is happening; perhaps to make sense of it, to make the viewer work in out in his or her mind.
  • This picture is black and white. That often adds to the storytelling. It also stops distractions – the subject and the story are important, not the colours of the kitchen implements.
  • The setting needs to be relevant to the story.
  • The close crop adds extra tension. This is sometimes allowed – ask Degas.
  • For extra mood, I even added some film grain.

So a picture like this can actually have a had fair amount of thought put into it.

Wide.. wider!

Wide angles, you have heard me say it before, rock.

I mean 16mm focal length on a full frame camera, or 10mm on a crop camera. Take these sample shots from a wedding I shot yesterday:

All those, you will agree, are somewhat unconventional – my style. But you will also, I hope, agree that wide angles are fun – they introduce extreme perspective; depth; diagonals; and interest.

You will also, I hope, notice off-centre composition (the “rule of thirds”) and a good mix between flash light and ambient light; also a good mix between sharp and blurred elements in each image.

My advice: try to go wide for intetest: see what it does for you.


Just a moment!

Photography is about Light, Subject/Composition, and moment.

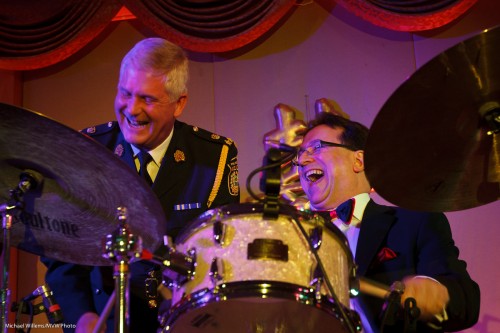
Like in this picture of Dan Bodanis of the Dan Bodanis Band, with Peel Region’s Acting Police Chief, the other night:

In a photo like this, “moment” is everything. A few tips, then:

  • If you take lots of pictures, you will succeed.
  • Look for moments.. “if it smiles, shoot it”.
  • During speeches, wait for a pause.
  • Do not shoot people while they are eating (or for that matter, while you are eating).

Sometimes it pays to simply shoot and not to worry too much about technicalities. In this case, I was bouncing a flash (behind me) while the camea was on kmanual, with settings chosen to capture enough ambient light (near or at the Willems 400-40-4 rule for indoors event flash: 400 ISO, 1/40th sec, f/4).


Lenses and Fun

Why do we use wide or long lenses?

One reason is to change perspective, as you all know if you read this site.

Here’s another illustration. I took a happy shot of a student yesterday, with the lens set to 24mm (apparently my courses can be fun):

When I pull back and zoom in, to use a 70mm lens focal length, look at the student in the background:

Much larger. Because the relative distrance between foreground and background is greater.

It is the vantage point that creates the different look, not the lens length per se. The wider the lens, the closer you get, and hence, the smaller the background will look.


A simple chiaroscuro portrait or two

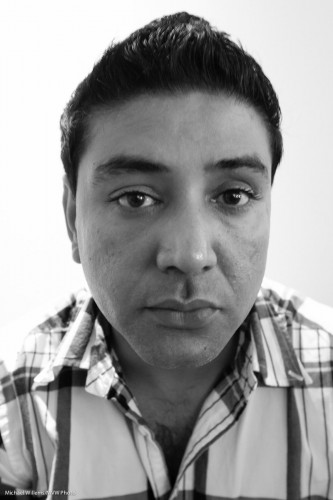
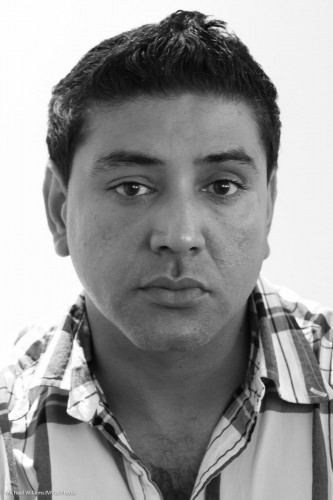
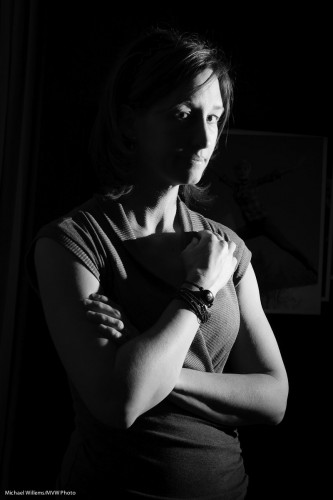
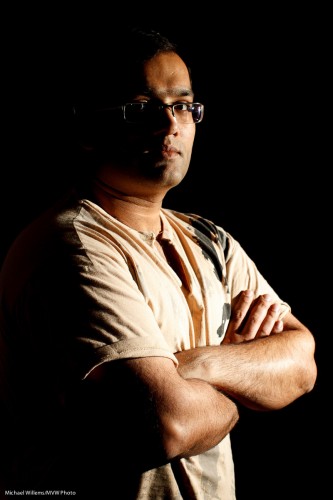
In the last few days I took two people’s portraits using just one off camera flash. Here’s Michelle and Adnan, respectively:
How did I take those?

First, I set the camera so that the ambient light looks dark. The room was not dark – it just looked dark to the camera, because I had set the camera up specifically to achieve that. 100 ISO, f/5.6, 1/200th second. You could use any combination of ISO-Apertyure-Shutter that gives the same brightness, but keep in mind:

  • High aperture or low ISOs mean the flash has to work harder, and it may not have enough light
  • The shutter speed cannot achieve 1/200th second; your camera’s fl;ash sync speed.

Then I added the flash. I used an off-camera speedlight on our right. I could have used TTL remote control or pocketwizards: I used TTL in Michelle’s portrait and Pocketwizards in Adnan’s. Light is light! Note that I put a Honlphoto Grid on the fl;ash, else the light would have lit up the background too. The flash (fitted with the grid) was aimed directly at the subject. To get the right exposure, I metered the Pocketwizard-driven flash, and I “flash exposure compensated” the TTL-driven flash.

Then I positioned the subject properly. I wanted the light to hit them just about from their front, with their face turned to get short lighting. I also wanted to see both eyes, even if one is only just visible.

And that was all. A one minute portrait, and a pretty cool one, no?


Portrait reminder

You can use any lens for portrats: from super wide to super long.

But when you are making a headshot, as opposed to an environmental porytrat, the face is large. And in that case you do not want to use a wide lens, like a 24mm lens, or this will happen:

The face is distorted; the nose is too large.

Instead, using a long lens, like a 70-200mm lens – or at least 50mm or more on a crop camera – is more flattering:

The wide-angle lens is good for environmental shots:

Rule of thumb: if the person/face is large in your pic, go long; if the person/face is small, you can go wide.


Composition technique

When I shoot, I like to frame properly in the camera. This can be hard, “seeing what is where in the frame”, and in images like this, missing out a piece like the lights top left, or just not positioning the models properly in the camera, would be bad.

In general, carefully composing can be the difference between a snapshot and a pro shot.

So what do I do?

I “defocus” my eyes, and look away, into the top right corner of the image (that helps me defocus). Then I see the shapes as pure shapes, and I see all edges at once. This allows me to then compose properly and avoid cutting off bits. Then I shoot.

That’s the way it’s done. Try it and see.