Small changes, big effect

Small changes in your images can have big effect. That is why you should compose carefully.

Preferably when shooting, but often enough you can also do this in post-production.  You can:

  • Crop to remove elements that should not be in the image.
  • Crop to achieve symmetry.
  • Crop to achieve the rule of thirds.
  • Tilt for all the above as well.
  • Or change your camera orientation.
  • Or zoom in/out. All for the same reasons: to get a good composition.

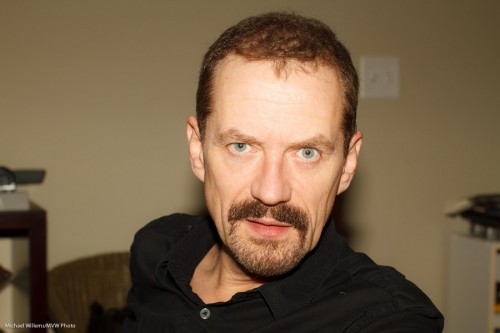
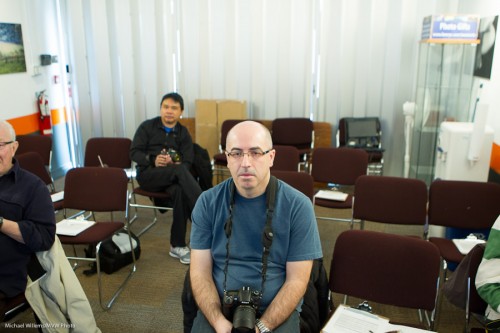
Take this image, taken by a student:

Yeah I look tired: let’s blame the light (this was deliberately harsh, with direct flash).

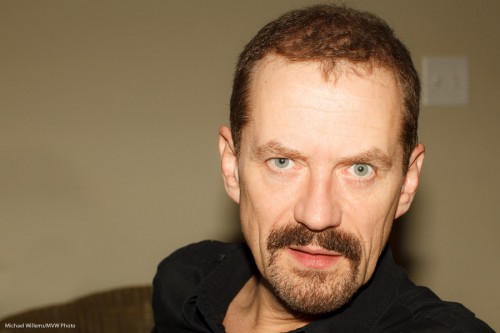
But let’s crop to use the Rule of Thirds, and also let’s use a quick healing tool to remove the stuff on the left (done quickly for the purposes of this demo):

If I had had time I would have removed the light switch also, of course. Preferably when shooting, by hiding it behind the person.

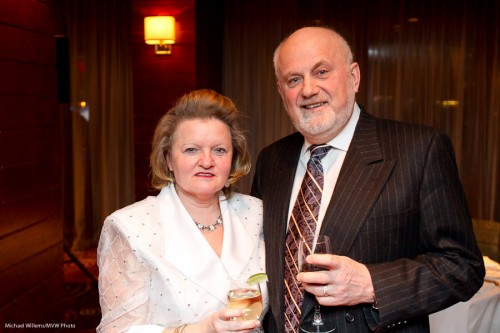
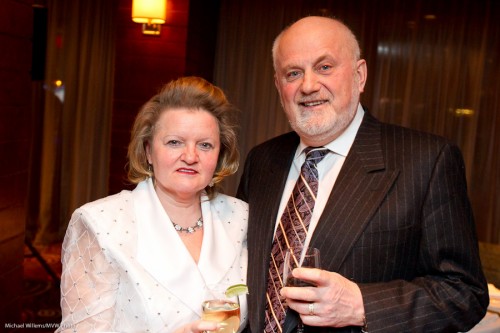
Or look at this image before/after:

Wonderful couple, but a slight tilt to the left makes it (and the couple) more even, a better composition:

And finally this Uncle Fred shot:

Which when I turn the camera becomes an Uncle Mike shot:


Turn baby turn, or: point of view

Tip of the day: You should always feel free to tilt, and to chance your point of view, for more exciting photos.

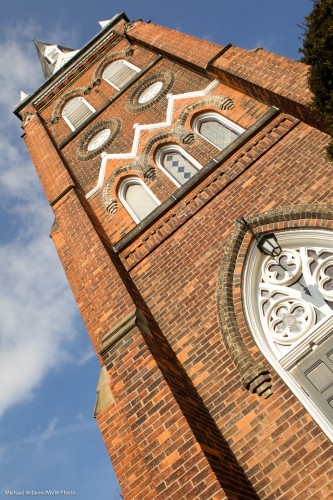
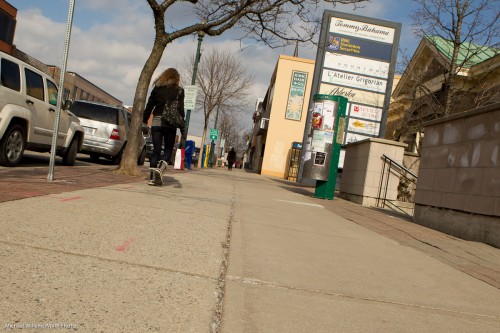
Here’s a tilt, an looking up, yesterday afternoon in downtown Oakville:

I tilted to simplify, and to get the top into the corner of the photo symmetrically.

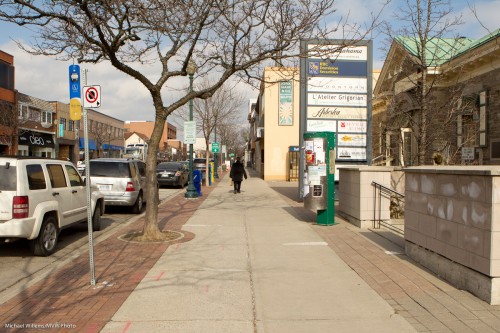
Here’s a street in Oakville, normal point of view:

And the same street tilted and low to the ground:

Much different. Go and tilt and choose viewpoints today.


Snapshot

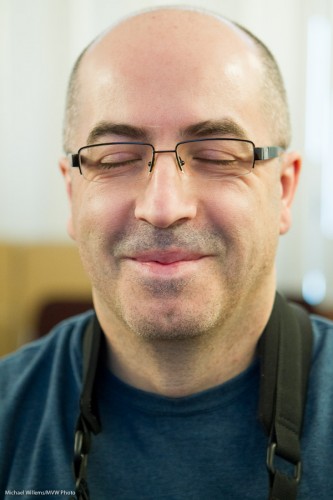
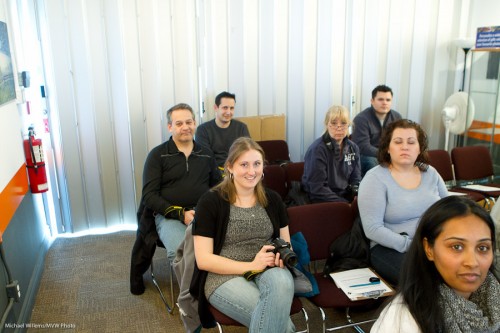
This, taken at a School of Imaging workshop I taught the other day, is a snapshot of a volunteer the way Uncle Fred takes them:

What is wrong here? Well if this is meant to be a portrait of the lady looking at us, rather a lot:

  • The subject is in the middle
  • Uncle Fred shoots horizontal only
  • Uncle Fred shoots from 5.5′ above the ground only

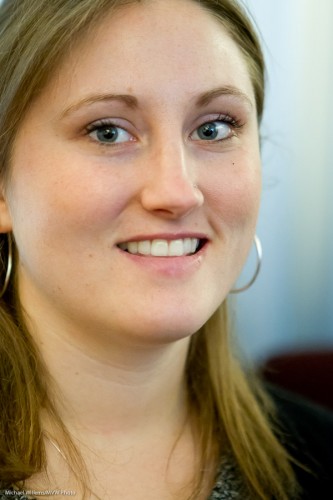
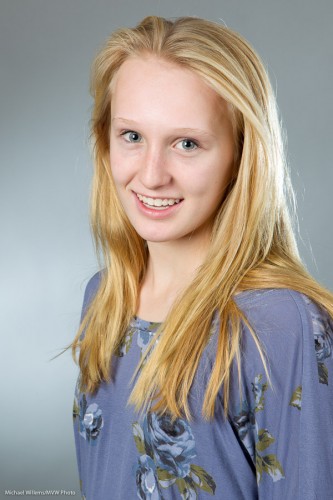
Instead of doing this, try to turn the camera 90 degrees, get close, shoot from teh subject’s level. You now get:

Simple, no?

A 50mm prime lens (a “fixed” length lens) will make this way. And note, I shot that at 3200 ISO in a dimly lit classroom. Yes, it can be done.


Dogma

Be careful to question dogma – in photography like everywhere else.

Two items of such dogma:

  1. You must light evenly in portraits
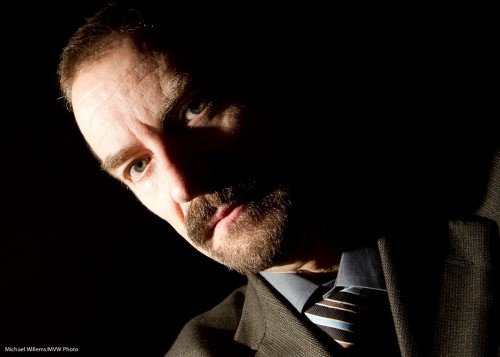
  2. You cannot shine a flash directly at someone – you must use modifiers like softboxes and umbrellas every time.

So this is not OK?

Sure it is. No rule, even the best ones, always holds. Sometimes art can be made by breaking rules you thought were sacrosanct!


Off centre

Remember, everyone: use off-centre composition often. Like in these portraits, where I am using the rule of thirds, roughly:

Richard Dawkins (Photo: Michael Willems)


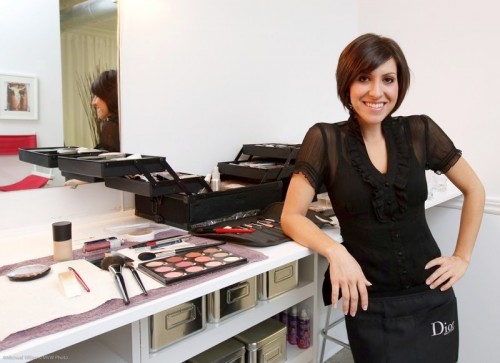
MUA (Photo: Michael Willems)


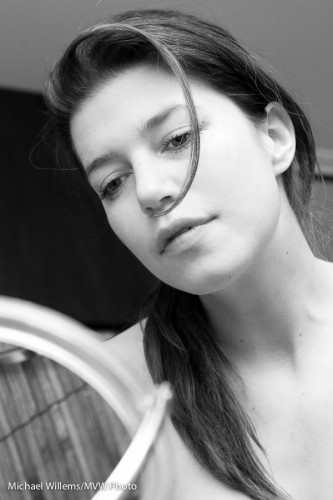
Kim in a mirror (Photo: Michael Willems)

In all of these, I am using the Rule of Thirds to create a visually pleasing composition. (And do you like the reflections in the latter two shots?)

Remember:

  • If your subject is in the middle, dead centre, you must have a good reason for this.
  • In the absence of such a reason, place your subject off-centre
  • Have any “motion” (eg where your eye is drawn because this is the direction the subject is looking in) happen towards the centre!

The rules are just guidelines – but again, use them if you have no specific reason not to.

And in doubt: shoot two, and select your favourite later.

.


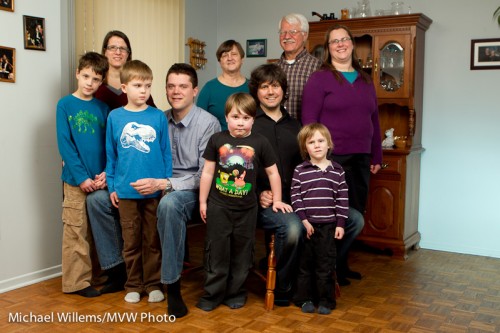
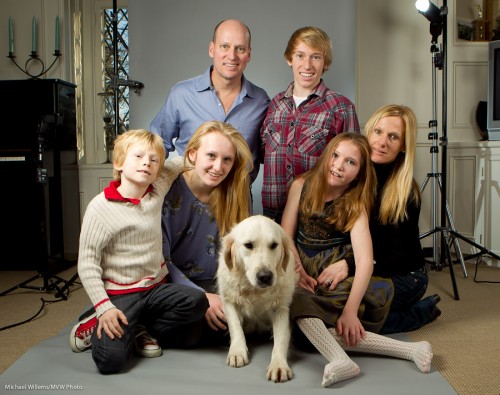
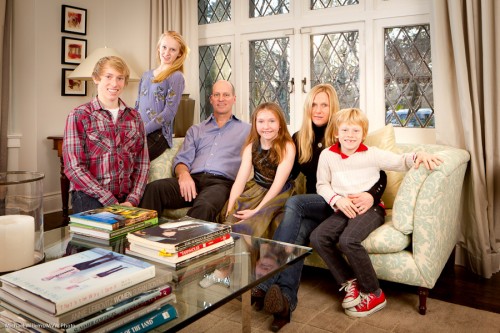
I did a family shoot this weekend: what a wonderful family of engineers. Great people:

How do you do this?

  • Emptied the room.
  • Lit by three speedlights: one bounced, one umbrella’d, and one gelled and flagged, using Honl Photo modifiers.
  • Fired by Pocketwizards.
  • The families are sitting, standing, leaning.
  • Tallest people sit.
  • People angled.
  • Grouped in pyramids and triangles.
  • Settings match ambient light to flash: 1/60 sec at f / 5.6, ISO 250.

…and then you take 50 shots, since four boys are not always easy to shoot – it takes a little effort to get them all to look at the camera!


Look in my eyes

..or, do not!

What I mean is this: for a character portrait, you do not necessarily need eye contact.

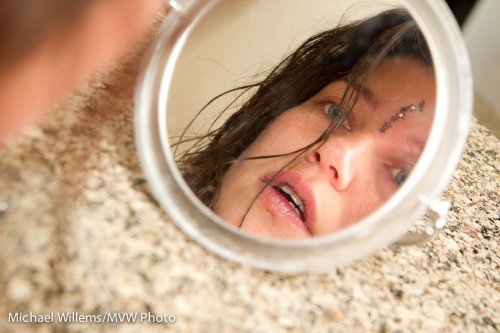
In fact, often, there is more of a story – more intrigue, more for viewers to work out for themselves, i.e. a more successful picture – if there is no eye contact. Like here (still from that shoot a few days ago):

Kim and Mirror (Photo: Michael Willems)

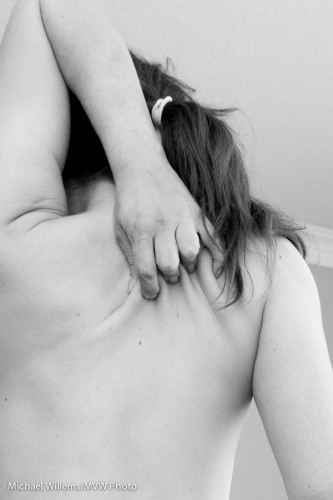
Or, let’s go crazy and not even incorporate the face at all:

Kim's Back Scratch (Photo: Michael Willems)

Can you see that these are good people shots?

Now of course I am not saying “never show eyes looking into the camera” – of course not.  But do try to not just shoot people looking into your eyes.

If you want homework: do a portrait without eye contact – one that makes me work out the story.


Snaps with thought

It is important, when taking a snap of, say, a tourist destination, to think for a few seconds.

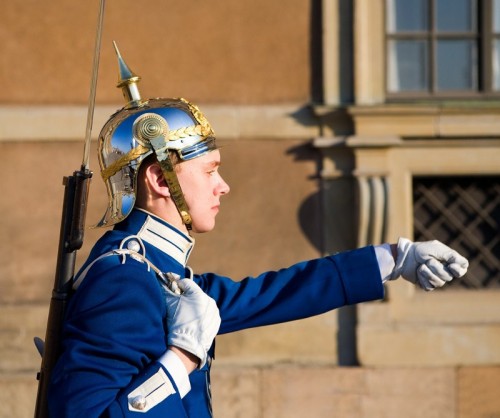
Take this image, of a guard at Stockholm’s Royal Palace:

Stockholm Palace Guard (Photo: Michael Willems)

A snapshot, but one I thought about for a bit.

  • I got close enough to fill the frame.
  • I ensured that I shot when the sun was lighting his face, not the back of his head.
  • I placed the palace he is guarding behind him, not the parking lot.
  • I blurred out that palace.
  • I used the “rule of thirds” in the composition.
  • I shot at the right moment, when his arm was outstretched.
  • I had started by looking for a guard who looked not unfriendly.
  • And I ensured the blue sky reflected in his helmet.

A little thinking makes your shot from a snapshot into a photograph. Just think of subject, context, background, light, and composition.


Shoot vertical!

Remember – a very very quick tip today – that when you shoot one or two people, it’s often best to shoot vertical. Turn your camera a quarter turn – shutter above, not below – and fill the frame, and get close.

Regular programming will commence soon!

Environment

I like people in their environment, and I like to picture them in it. A short word about that, today.

Last night, I made kid and family portraits of a very nice family. Mostly straight four-light portraits against a backdrop, like this:

But at the end, I did some family photos. For which I chose a more “real” backdrop.

No, I do not mean a “bursting through the reality envelope” setting like this (although in a strange way I do like it):

Family photo (Photo: Michael Willems)

But I mean this: a shot of the family in their home, with real items that make it home (the books, the window):

Family photo (Photo: Michael Willems)

I would call this a semi-environmental image. It is environmental in the sense that this is their home, and that I am balancing available light with flash light from my strobes. It is, however, also a studio shot, in the sense that it is posed, and this is the living room (which is never used in most home – a decorative room), and that I set it up and used it as a studio. I used lots of studio techniques – like strobes, and I flashed small speedlites at the ceiling in order to create the catchlights in the subjects’ eyes.

This image also needed a small amount of post work:

  • A little vignetting around the group
  • A part of one of my umbrellas showed as a reflection.
  • I increased exposure a little, also.

In a shoot like this, it is perfectly OK to do such post-work in Photoshop or Lightroom or in what software you choose to use. Don’t sweat it: shoot a competetnt image, then finish it in post.