So wrong

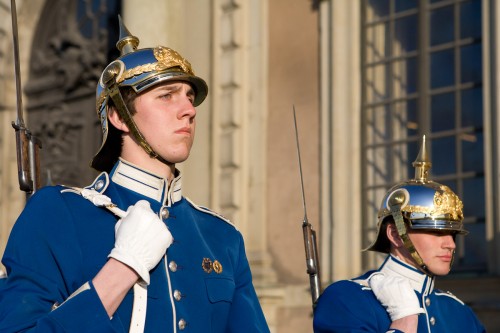
The UK, in my experience, is one of the worst places in the world for photography. Photography on Trafalger Square? forbidden if it is “professional”.

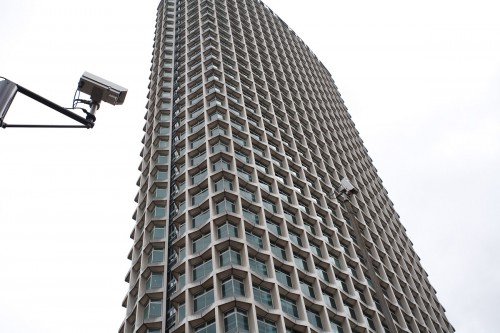
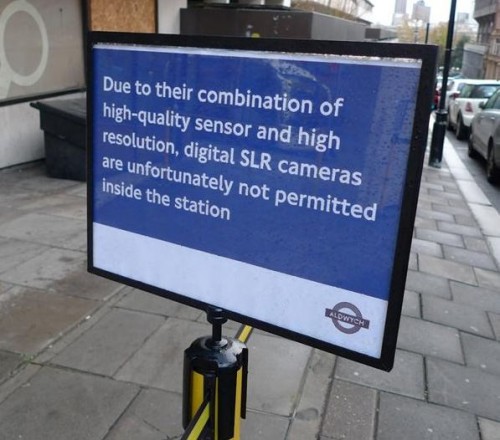
And now this, Aldwych Station, London, UK:

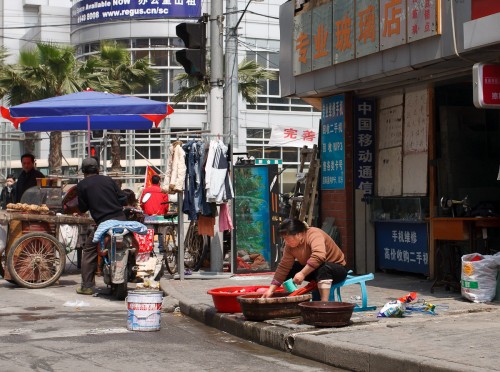
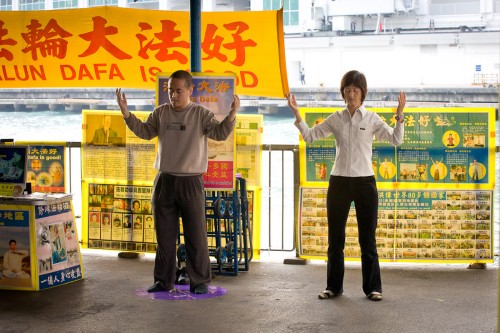
Of course this shows the UK’s obsession with controlling, and the UK’s diametrically-opposed-to-freedom views. It is no suprise that George Irwell was British. And see “Children of Men” for a great dystopia. China is more free than Britain, and this is a sad statement.

So what do you do?

  • Know the laws and try to stay within them.
  • But be vocal when you are within your rights.
  • Smile a lot.
  • Use a smaller camera and a smaller lens.
  • Use a wide angle lens and get the action on the side.
  • Or use  long lens and try not to be noticed.
  • Avoid being male and having a beard.
  • Be Quick!

These tips should get you by the worst fo the restrictions. Practice at home when it is not important yet.

(And I always carry a Fuji x100, which has a full APS-C sensor and many megapixels, but the silly people who make the rules do not know this).

Be A Cyclops

You know that feeling? You see something impressive, like the Grand Canyon, and when you get home your pictures are… blaah. Not impressive, they just don’t do it justice.

That is because when you are there, you are moving around and you are using stereoscopic vision. Two eyes show depth.

If you are using a camera you have only one eye. So here’s today’s tip:

When shooting impressive scenes, close one eye and look at the scene that way.

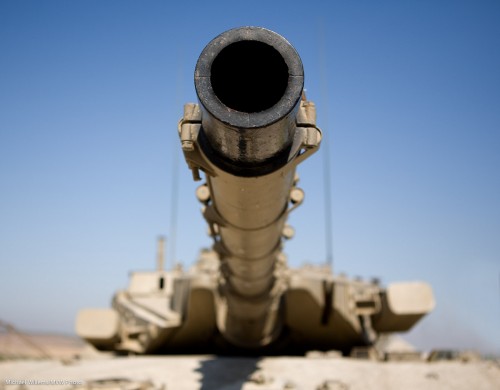
You will see that to bring back the feeling of awe, you need to use a wide lens and get close to something – relative size is the only way we have to see depth in two-dimensional pictures.

So this picture looks as good using one eye as it does with two eyes:

Israeli Tank (Photo: Michael Willems)

Israeli Tank (Photo: Michael Willems)

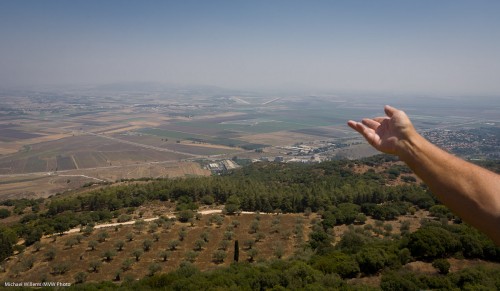
Even something as simple as  a hand held out can make a shot from Mount Carmel a little more interesting:

View from Mount Carmel (Photo: Michael Willems)

View from Mount Carmel (Photo: Michael Willems)


I wanna know…

….haveyou ever seen the rain?

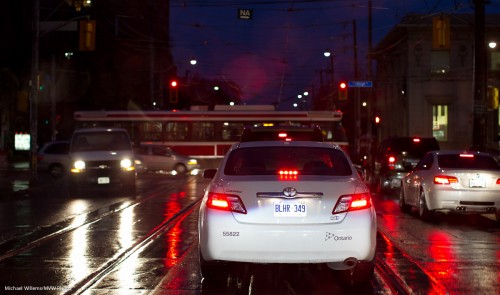
With a tip of the hat to CCR, I do wonder if we look at rain the right way. Rain, especially in winter or at night, is great weather to take pictures.

This snap, although it is just a snap, and I clearly did not take it while driving a motor vehicle since that would have been illegal, shows us why.

Saturated colours. Colours, those of brake lights and umbrellas, street lights and human activity. Reflections, of all the lights and colours. Textures. And the mood corresponding with rain.

So next time it rains, go out and take some pictures. Your camera will be fine: just keep it a little dry with a cloth.


Angle for interest

I don’t mean you requesting it – I mean you are creating it.

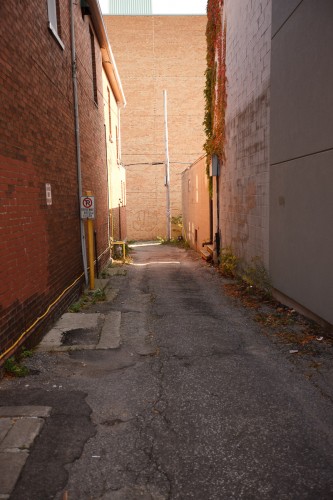
See this boring shot of an alley? No interest point, no interest.

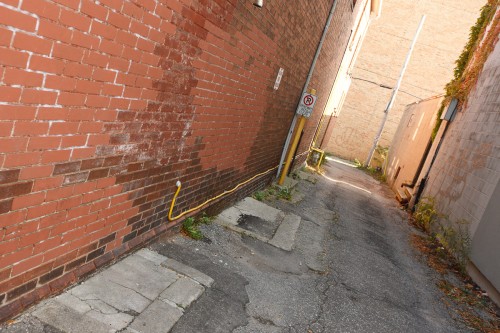
I suppose we can wait for a street person and make it black and white. But perhaps we can add interest by making the composition more compelling?

Alley (Photo: Michael Willems)

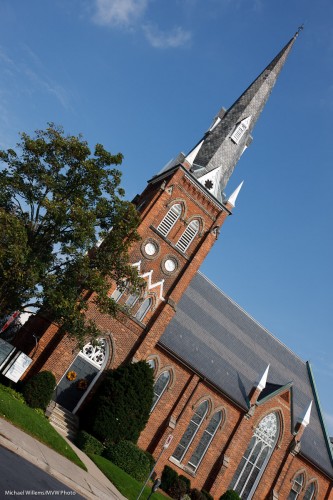
Now we have a good off-centre composition, strong diagonals, and even better light (since more of the image is now dark, we can expose for that). I like my diagonals in the corners.

So in this case, as in many, tilting made the image better. Don’t always rely on it, but don’t ignore the possibility either!


Props and stories

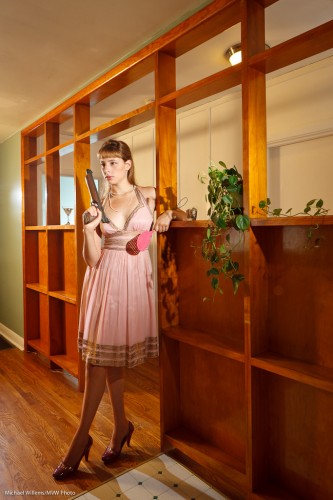
This photo, from a recent workshop Joseph Marranca and I taught, shows the importance of props:

The props here make the story. A well-lit pretty girl is interesting (see all the shadows?), but the photo becomes artistic when it has “off-kilter” items.

Like the 1960s background. And the martini-glass. (“Mad men”, anyone?). And then there’s the red Wizard of Oz shoes, and the dress. And of course the gun. And the flyswatter.

So when you next do a creative shot, ask: what odd , interesting, juxtaposing, curious props can I add?


Points of view

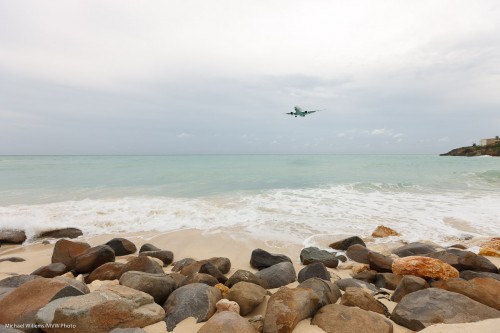
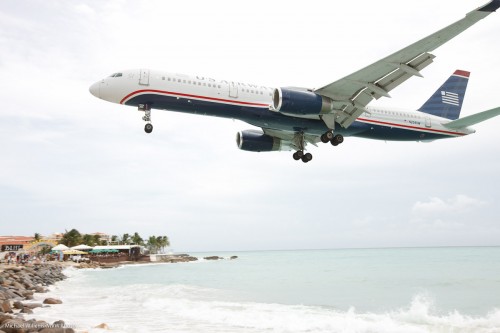
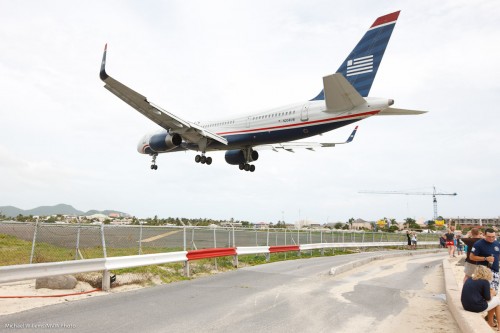
Just to show how much a few seconds and  shift in viewpoint can change your photo, look at these images:

Aircraft landing, Sint Maarten (Photo: Michael Willems)

Aircraft landing, Sint Maarten (Photo: Michael Willems)

Aircraft landing, Sint Maarten (Photo: Michael Willems)

Most people would assume that…

  • The larger the aircraft, the more impressive
  • The less perspective distortion, the better

I am not sure I agree with that.  The top picture is a favourite, even though the aircraft is tiny. And while aircraft spotter sites insist on “straight” images, I much prefer the drama a wide lens gives you (bottom images).

This is not to say that I am right. What I mean is: cameras, and lenses, are powerful creative tools, and you should think about how you use them; try to use them in different ways; be creative; experiment, and follow your intuition.


Tell stories

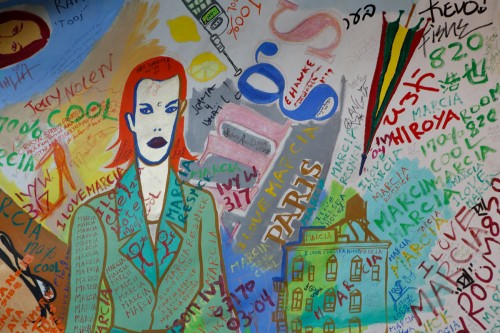
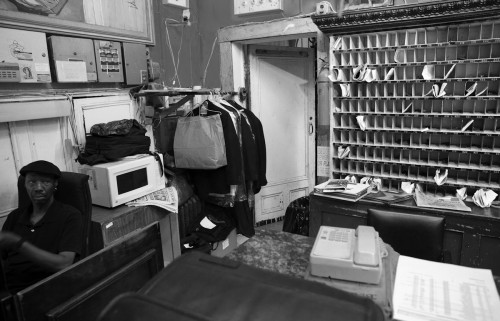
Tell stories when making travel snaps – and that includes “background” shots. Shot sthat put the rest of your images into context.

These are often close-up, “fill the frame”, even macto-type shots. Background. The “B-roll”.

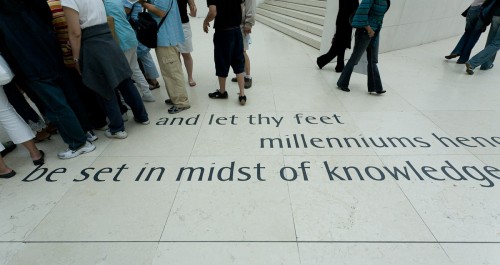
Travel image (Photo: Michael Willems)

Tennyson's Advice being put into practice (London)

Travel image (Photo: Michael Willems)

Big Brother is Watching You (London)

Travel image (Photo: Michael Willems)

Chelsea Hotel, NYC

You’ll be amazed at how much more eagerly your neighbours look at your pictures after your return. Not that your kids aren’t cute and the hotel wasn’t good, but after three or four images you get that point!


Another travel tip

Another travel tip:

Fill the frame.

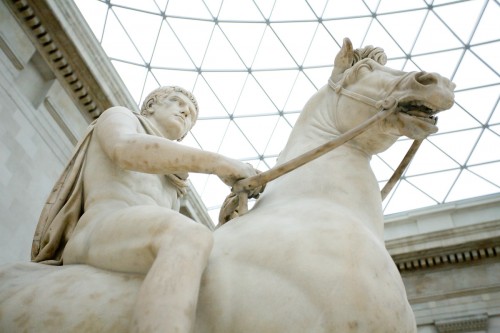
Get close to your subjects – it is not necessary to show the whole subject with all its distractions surrounding it. Get close, as in this image from a while back at the British Museum:

Travel image (Photo: Michael Willems)

Too many other tourists? Then filling the frame is a great way to eliminate them!

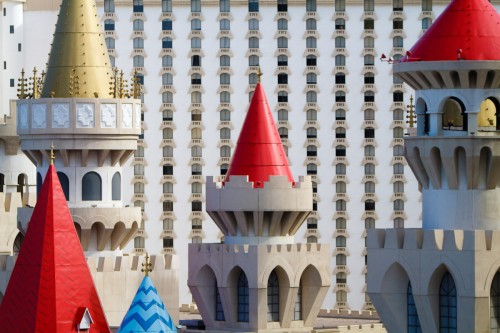
Travel image (Photo: Michael Willems)

You do this in two ways: get close, and zoom in. And don’t be afraid to go vertical, or even tilt, if you feel it helps fill the frame.