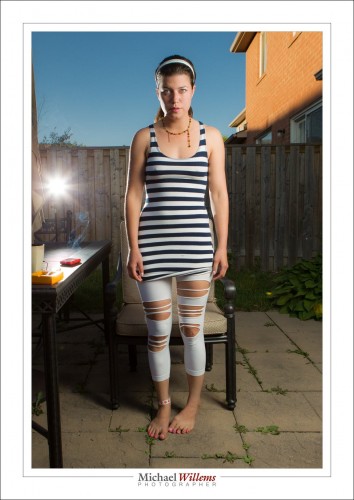
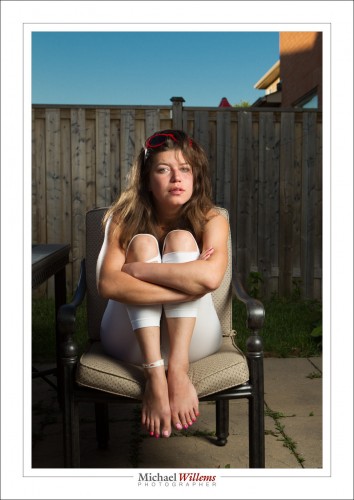
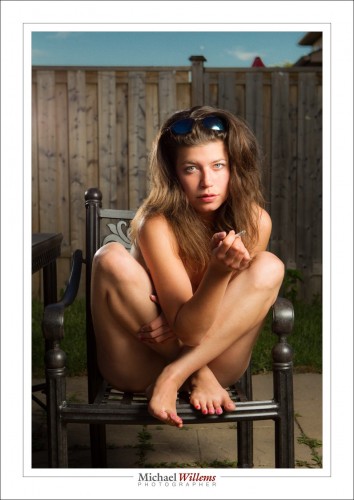
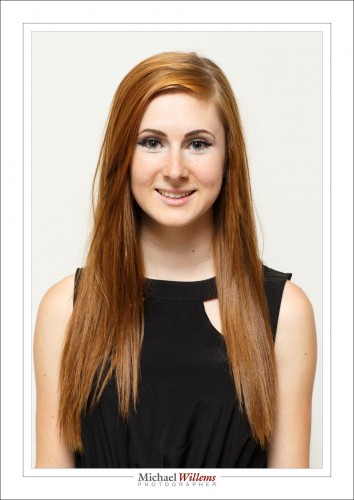
The Thinning Lens

As a photographer, I photograph a lot of people who are reluctant.

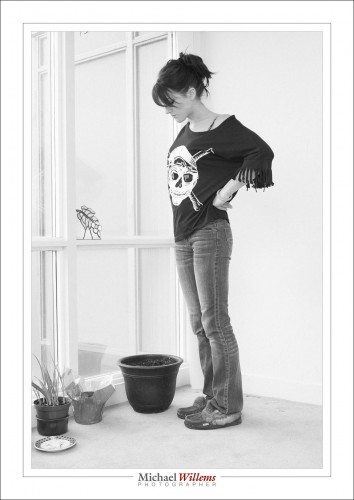
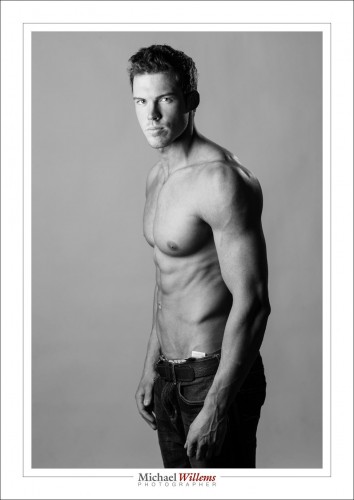
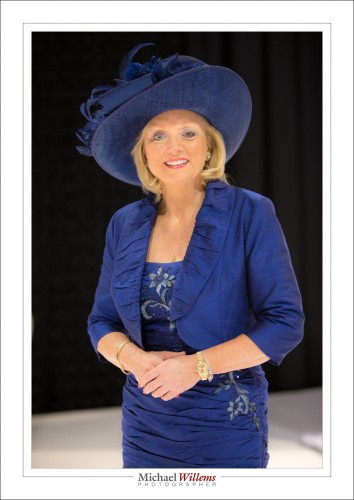
Usually, they are reluctant because they do not like their looks. They want to be Jennifer Aniston, and in their mind they are Jennifer Aniston, but in fact they are middle aged, ordinary people. They are usually, but not always, women, who are generally more aware of their looks than men. A very common question is: “oh, you can only shoot me if you put on your thinning lens”.

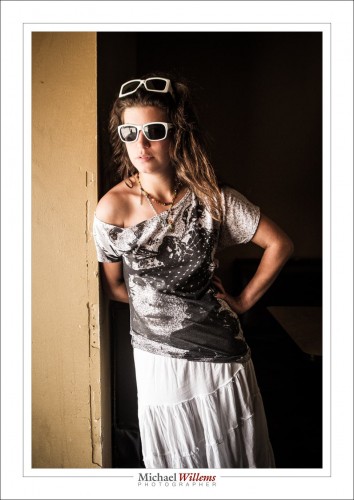
No Thinning Lens Needed Here

These people will be disappointed when they see their photos. And as a photographer, I do not like it when my clients are disappointed. So what do I do?

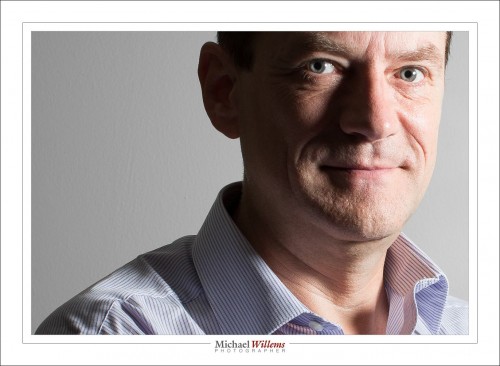
What I do not do is “put on a thinning lens”; i.e. edit the picture to the extent that the person is materially different. My rule of thumb is that if I cannot do it in Lightroom, I do not do it – that is the reason I have not been in Photoshop all year. I am happy to remove blemishes, especially temporary ones, like pimples and bruises; perhaps even lighten the odd wrinkle a little; but that’s it. No distorting, no making breasts bigger (or thighs smaller) or making people thinner than they are.

But there are other things I can do to get the most out of what a person has. That means things including the following:

Lighting brightly: bright light makes wrinkles vanish into the top part of the brightness, where they do not look obvious. The more high key an image, the better skin will look.

Finding the right angles: everyone has good and bad angles. I would give examples here, but one cardinal rule is that I never show the bad angle pictures to anyone – client or anyone else. Hence, by the way, the fact that I do not like clients asking to “see the pictures” on the back of the camera, unless they are very young and pretty and confident (those three do not always go together).

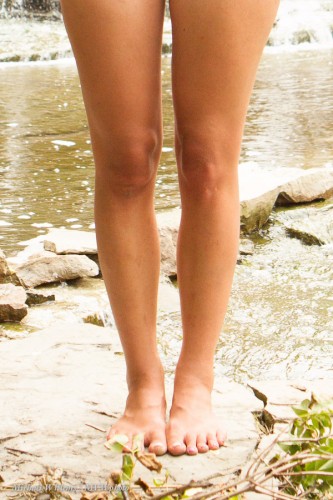
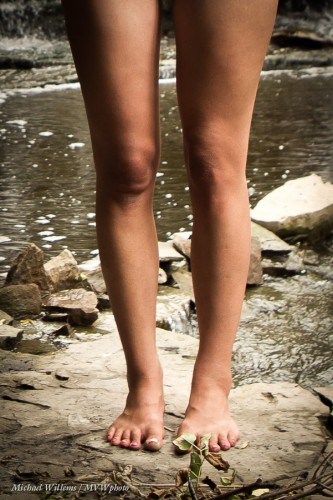
Modeling: when I can, and when someone is a little overweight, I try to light from the side rather than from the front.  Look at this example of a model’s legs: one lit primarily from the front, and the second lit mainly from the side, using an umbrella and speedlight. This model needs to lose no weight, of course, but you can see the principle: by selectively lighting you can give objects and people shape, and make broad objects appear narrower.

Selectively lighting – in general, I try to light good bits, while keeping less perfect bits in relative darkness.

Use a minor electronic adjustment – I am happy to use Lightroom’s Clarity adjustment to slightly smooth skin tones. A clarity adjustment of perhaps minus 15 is hardly consciously visible – except it does make skin clearer, wrinkles less obvious and hence makes the person look better.

Finally, use the right lens! A wide angle lens can make large objects look “puffy” and will make close shapes look larger. Close shapes can, for instance, be the nose, or the thighs if the person is sitting, or their arms if they are closer to you than the face. Using a long lens, on the other hand, will give a much more neutral, undistorted look. My 70-200 lens is my favourite – provided I have enough space. Fashion photographers tend to also use this lens as a favourite. So I suppose in a sense there is a thinning lens!

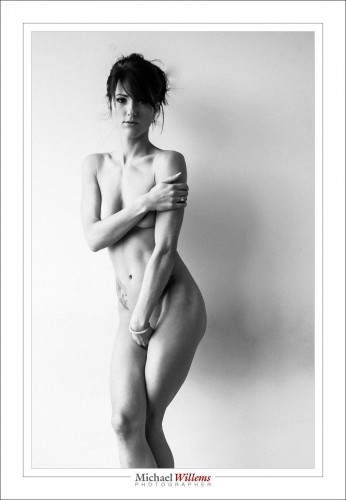
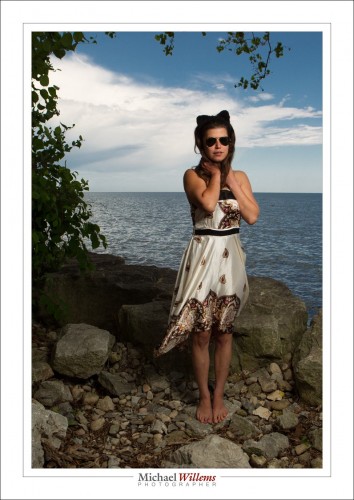
No thinning lens needed here, either

In the end, of course, if someone is not happy with their looks, well, then there is little I can do – I cannot make them into something they are not (like Jennifer Aniston). That is one reason I am happy to photograph a lot of young women: it’s not that I prefer to (the challenge of shooting someone older is great!), but they tend to be more accepting of their bodies, for obvious reasons, and more accepting of reality of there is something not perfect.

And guess what: no-one is perfect. I am guessing that if you saw Jennifer Aniston get out of bed in the morning and groggily walk to the bathroom, you would not be impressed. We are all human. One reason I thoroughly enjoyed doing portraits of naturists at Bare Oaks naturist park the past two summers is that they understand this, and are happy with their bodies, whatever they look like, short, tall, big, small, young, old, whatever – seeing people naked, one realises that no-one is perfect like the fantasies we see in magazines where the photographers do materially alter things. Ahh.. so refreshing for a photographer!

___

NEW: You can now sign up for a June 20-30, 2014 photo tour of North Wales with me: go here and read all about it, and if you are interested, call the travel experts and sign up. Let them know you may be interested as soon as possible: this will be a great trip with photography, travel, sightseeing; doing and learning all mixed in together!


When the light is right…

…that’s when you have a camera.

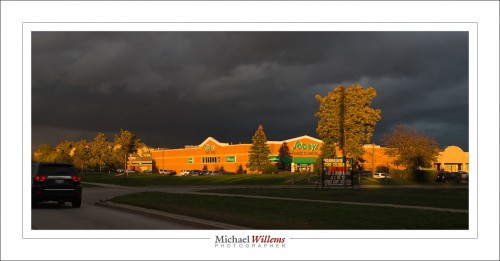
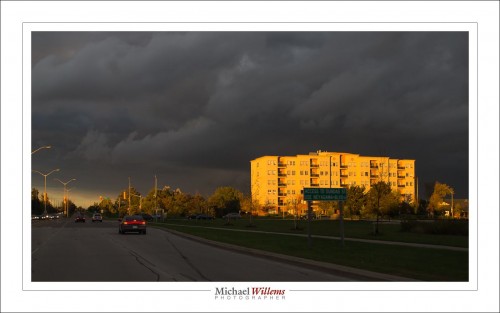
Yesterday, just before sunset, I was driving to my class at Sheridan college and I saw a dark sky, with a wonderful golden sunlit lower area. The kind of light and colour we get a lot here when there’s storms brewing in the autumn. So I shot a few shots while driving (of course I would not do this if I were personally driving, as this would be illegal, right?) – and anyway: this is why you always carry your camera.

Even the local supermarket can be a thing of beauty, when the light is right:

Technique: 800 ISO, f/8, 1/250th second.

I set f/8 because I had a tilt-shift lens on the camera, and I had no time to focus.  That was my first need. Then, f/8 and focus on “infinity minus a little” it was. At 800 ISO (experience speaking) this gave me 1/250th second: perfect for handholding an SLR while not looking through its viewfinder.

Another shot from the same drive, a moment later: a local retirement home, where old people spend their golden years:

If my grandparents were in that place I’d want that photo.

The moral:

  1. look for great light – light distinguishes the pros from snapshooters.
  2. Always carry a camera.
  3. Know the exposure basics.

Do those and you’re golden, as they say.

___

Footnote: the local Currys’ store manager came around today and very kindly gave me a $25 gift certificate. Much more importantly, she explained how she had used my post yesterday as a learning opportunity for her staff – customer service being everything. Nice, and apology accepted.


B&W is alive and well

When you look in art galleries, what do you see? Black and white prints. Although this is sometimes silly – in the 1970s, colour started to be seen as art too, so let’s get with the times – sometimes it’s a good thing.

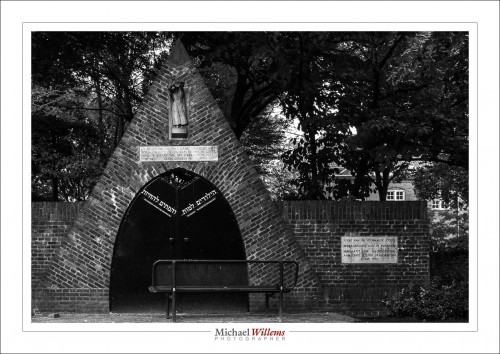
Here’s the rebuilt gate to the Jewish cemetery in Gouda, the Netherlands. The city I went to high school in.

This gate was rebuilt in 1980, long after the Jewish cemetery itself was moved – since no Jews lived in Gouda anymore after the war. One terrible example:  Friday, April 9, 1943, the Jewish retirement home in Gouda was raided by the SS, assisted by Dutch police from The Hague and Gouda. All residents were deported; none ever returned. The Dutch have always “respected authority” – order is order.  Awful, and there’s a lot to make up for. Fortunately, many Dutch families sheltered and hid Jews at severe risk to their own lives.

Incidentally, I believe I am wanted in The Netherlands, for not paying a speeding ticket from last year (they time you on the freeways and then do the math and send you the fine, no trial, no argument. Over my dead body would I ever live there again!). Problem is, they send the ticket to you even in Canada without a payment method, unless you are Dutch and in Holland. No credit cards, no cheques. So of course I did not pay. So I shall be arrested next time I enter that country. All because I drove like 5km/h (3 mph) over the limit on a freeway. Blind and inflexible adherence to “law”. Have they learned nothing since the 1940s? The Nuremberg laws were “law”, too.

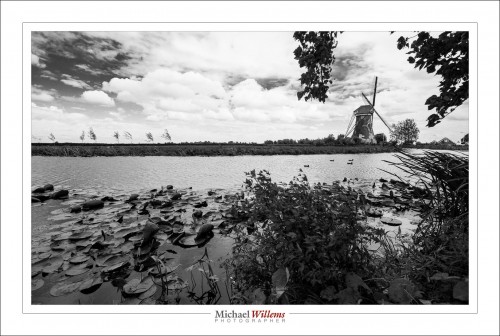
Just outside Gouda, this is what things looked like then, and it is what things still look like today:

You see those trees? That’s what I remember, riding my bicycle westward to school every day, fighting that damn wind.

Black and white pictures are a great way to convey such moods.

Here’s how you do this:

  1. Shoot RAW – this is essential
  2. Set your Picture Style to B/W. (“Monochrome”)
  3. Your previews are now B/W – but the pictures are still in colour.
  4. Now use the B&W tab in the HSL section of the DEVELOP module to convert. That way you can tweak the relative strengths of all the colours. Like adding colour filters in the old film days.

    An added benefit: you can change your mind and so colour if you choose. This only works, of course, if you shoot RAW.

    Try to shoot some B/W. It’s cool.

    ___

    Admin news:

    • Courses still open: Flash (Oct 3, all evening) and the 5-evening fundamentals course (weekly, starting Oct 2). These are in Oakville, and small – max. 6 students, and I will run them with as few as two. So, book soon.
    • I have the 24mm T/S f/3.5 tilt-shift lens for a few days, from GTA Lens rentals. But better still: I have arranged a 10% discount for my readers, from the already low prices. Click on the logo on the right. Renting a lens is a great way to try out a lens you’ve always wanted.


    The Telling Details

    Travel photo tip, today: often, it’s the little things that make the photo interesting. The telling details, as I like to call them. Not just the big things, the Eiffel Towers of the world.

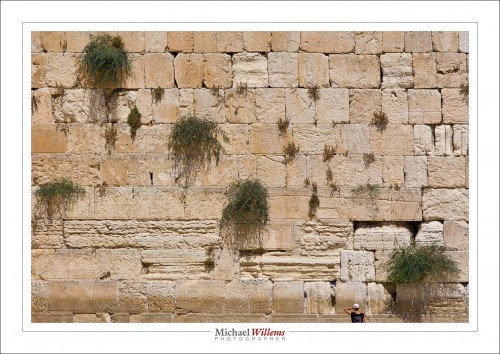
    Can you spot what I mean here? What is the telling detail?

    Yes, the man.

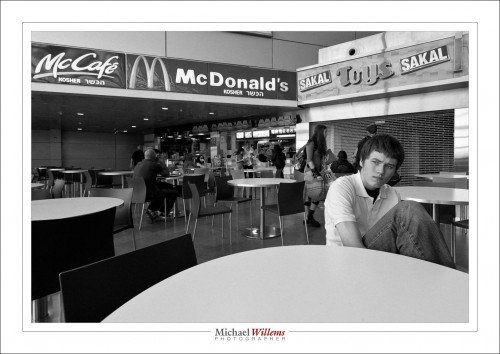
    And here, the Telling Detail is the Kosher McDonalds sign – because it was a Tel Aviv airport, a few years ago.

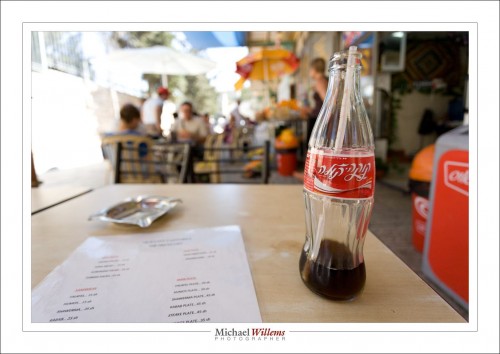
    And the telling details here are the Hebrew on the Coke, and the Middle-Eastern dishes on the menu:

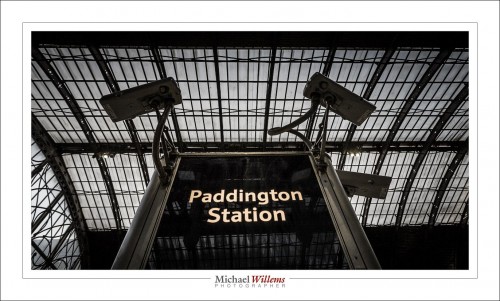
    And the “Big Brother is Watching You” dystopian cameras at Paddington station – a far cry from the cuddly bear in wellies:

    More travel info to come. And a tour: Wales, next year, 10 days with me teaching photography. Details soon, but keep the dates open: 20-30 June 2014. 8-12 students only, and a guide, and me teaching!
     

    50

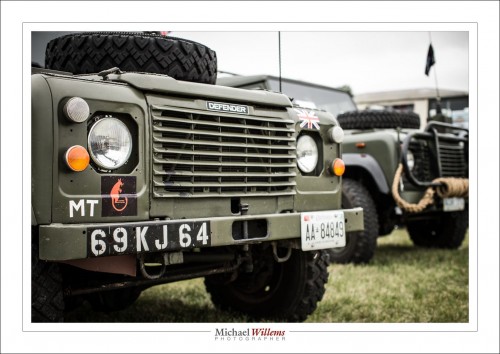
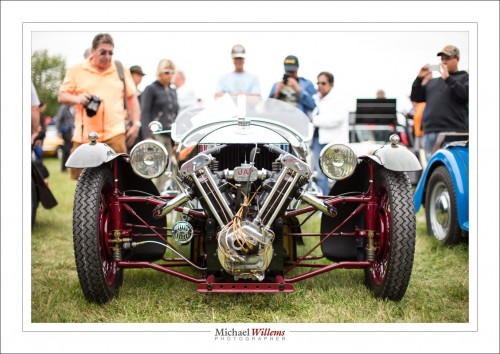
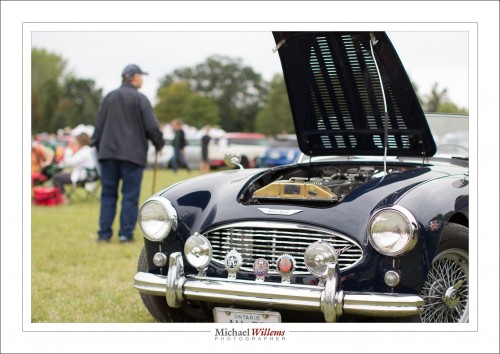
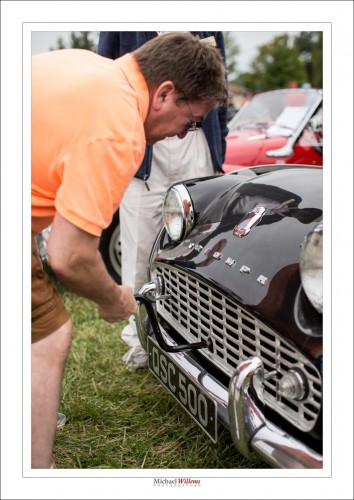
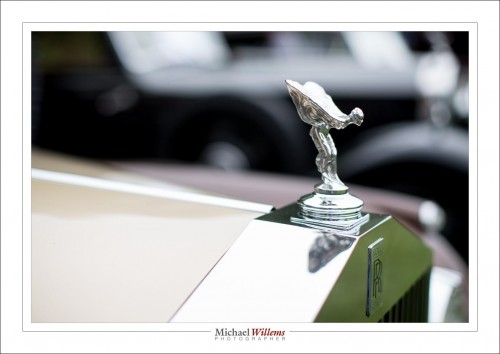
    Today, I took photos at the Classic British Car show in Burlington, Ontario. And apart form a few aerial shots, I used only my 50mm lens (that is, a 50mm on my full-frame camera; i.e. if you have a crop sensor camera, you would use a 35mm lens to get the same view).

    So, why a 50 (or 35)?

    • It imposes a certain discipline and consistency in the images. Sure, it is inconvenient to sometimes have to take a step back, but so be it. My images all have the same look and feel, which can be nice.
    • It is a nice “neither wide nor long” length. It used to be called a “normal” lens. Most of what I want to shoot, I can shoot with a 50, if it’s what I happen to have.
    • It is fast (1). It is an f/1.2 lens, meaning I get fast shutter speeds, if I want.
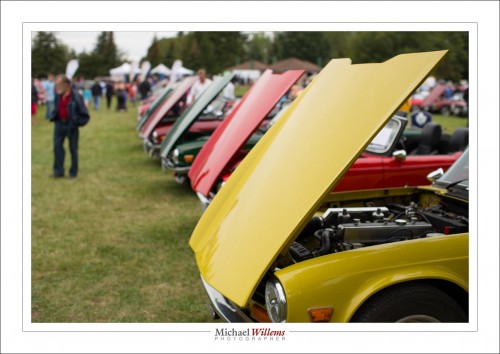
    • It is fast (2). It is an f/1.2 lens, meaning I get crazy blurry backgrounds, if I want.

    In practice, all that means that I can get perspective by getting close:

    And I can simplify, by getting closer:

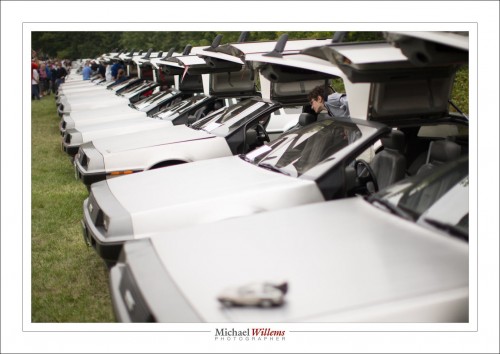
    I can create diagonals, almost as if I am using a wide angle lens:

    And yet I can “get enough in”:

    I can even combine foreground and background (“old and old”, here):

    And I can get in close enough to show detail without showing other all the people crowding around:

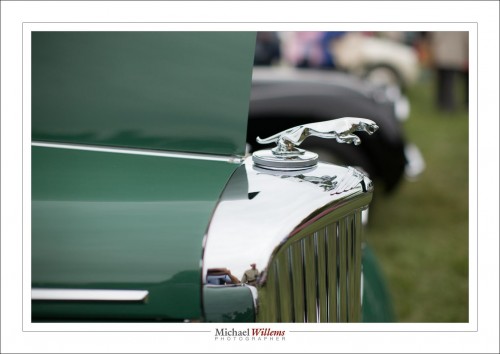
    Um, and did I mention I like hood ornaments?

    I also save time by not having to decide zoom factor. So, primes rock, for me. But that does not mean I can do everything. A very wide “close-far” shot would be impossible. So I decide on a lens-  in this case the 50 – and take photos appropriate to that p[articular lens choice.

    And that is how that works, folks.


    Another Selfies

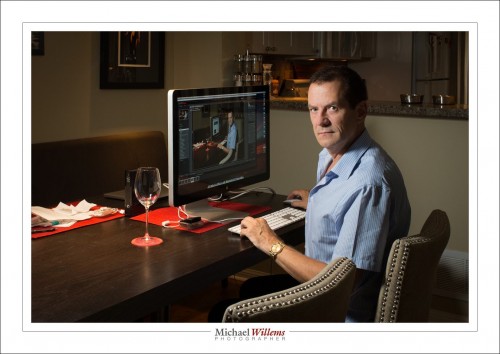
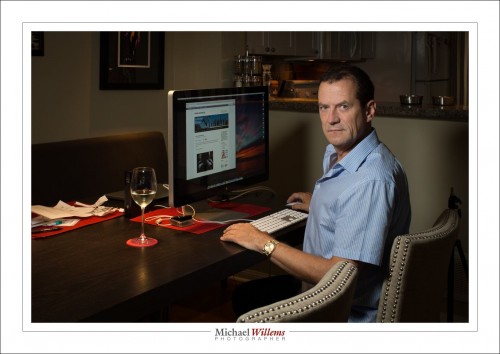
    Nope – that is not a grammatical error. It is simply taking liberties with grammar. It’s a selfies in the sense that, if you look carefully, it combines two into one:

    Me looking at me!

    And I thought that today I would explain the thinking behind this portrait and its execution.

    First, my choice of model. I used “me”, because I am extremely patient with me; I do not get drunk; I do not stand me up; I do not fall asleep; I do not say “are you done yet”; I do not mind retrying a shot many times if need be. Not that all models are difficult: a true pro model would never make any of these mistakes – but not everyone is a true pro.

    So, seeing as it’s me, I wanted an environmental (a.k.a. “situational”) portrait. And what better than my work environment? So that is settled.

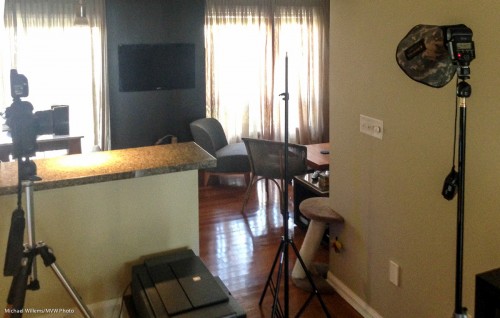
    Next, then, the choice of lens. I chose a 50mm lens (full-frame: if you had a crop camera you would use a 35mm lens). A little longer than usual: for an environmental portrait I would normally use a 35mm lens, but I wanted to go a little tight to get rid of other “stuff”, like the flash on our left and the printer on our right: both now out of the picture.

    Then the light. I wanted to light me with a flash, with a small softbox; but in this case, the ambient light is very important. I wanted the screen to be visible, and I wanted the tungsten and LED lightbulbs to be visible.

    But I needed a small aperture. Why? Focus had to be set manually, and I would probably not be entirely accurate in positioning myself. That meant I needed f/11 for depth of field. So given that f/11 and the need to see ambient light, this meant I needed 400 ISO and 1/20th second.

    And at the distance I needed, with the Honl Traveller 8 softbox, that “f/11 at 400 ISO” setting needed full power from a 430EX flash, in order for that flash to be the right power. The flash is just upside the picture on our left, on a light stand.

    So the first shot:

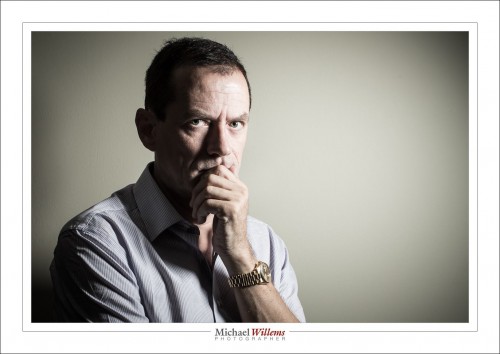
    And finally, the final flash direction. I tried it fairly straight on for the test shot, but for the final shot, wanted more short lighting (making my face thinner). See top.

    Then all I needed to do is load that into Lightroom, and take the second shot; and apply the same lens corrections/cropping to both shots. Done!

    ____

    Want to learn? I have just scheduled a special all-evening Flash course on 3 Oct; as well as a five-evening basic photography course, starting Oct 2, aimed at novice to intermediate users who want to learn to use their DSLR properly once and for all.

    These courses are very special in that they are like private coaching: I will only take up to 5 students for each course. The Flash course includes the Pro Flash Manual, and the five-evening course includes course materials and homework. Both are now available for signing up on www.cameratraining.ca/ – see the flash course details on this page.

    Do you have the flash manual e-book yet? Click on “Pro Flash Manual” above and learn how to do this!


    Selfie…

    Self portraits are tough. Because you do not know what you are doing. And you cannot focus. And the camera doesn’t hold itself. Above all, it’s a drag, because you want to see to compose, but you cannot. Not until afterward, anyway, and that tends to be a pain too.

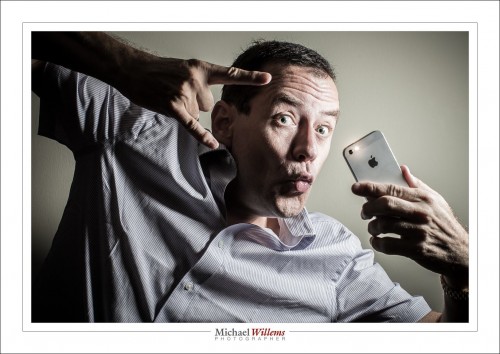
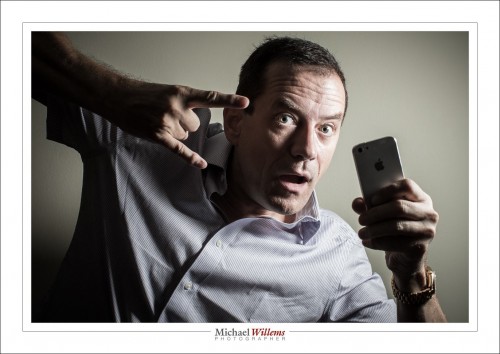
    And yet, I do them all the time. Including this, the never do this at home, folks shot:

    Yeah. The duck face. With gang symbols, and an iPhone. Ouch. These are usually shot in a washroom, and then you post it on Facebook, if you are a teenage/20s girl, and immediately all your fine feathered friends say “AWESOME PHOTO!!!”, while in fact it’s usually an awful photo.

    But as you see, my selfie is technically good. So here’s how I do it:

    So here’s the TEN WAYS TO A SELFIE:

    1. The camera is mounted on a tripod.
    2. It is set to manual mode, 200 ISO, f/8, 1/125th second (with these settings, only the flash will do any work, and ambient light will not interfere).
    3. It is set to the 10-second self timer mode.
    4. It is equipped with a Pocketwizard (set to send, or “remote” mode).
    5. The flash is mounted via a ball head onto a light stand. The ball head allows me to point the flash conveniently. I have it positioned 45 degrees up, as seen from where my face will be.
    6. The flash, too, has a Pocketwizard (in receive, or “local” mode), and it fires the flash via a flashzebra.com hotshoe-cable.
    7. It is equipped with a Honl Photo Traveller 8 portable softbox.
    8. The flash is set to manual, quarter power. That gave me f/8, at that distance and at 200 ISO.
    9. See that additional light stand? A-ha! I put it where the subject (i.e. I) was going to be. Then I focused accurately on it. Then, with that focus distance set, I set the camera to manual focus. Then, when taking the shot, I moved the light stand away, and positioned myself exactly where it had just been.
    10. I aimed my face toward the softbox, in order to get the lighting pattern you see here.

    That’s how I did this shot.

    Oh yeah.. you see the iPhone pretending to be flashing? That’s an app, FlashLight, that allows me to turn the light on permanently.

    And finally, you see that I also went close, and that I composed using the rule of thirds. Mission accomplished. Including Dreaded Duck face!

    Here. One more. In case the duck face was too much to take:

    Oh, OK, OK, here’s a more serious one, where I went closer:

    And one last one from the same setup:

    Now you go try!

    ____

    Want to learn? I have just scheduled a special all-evening Flash course on 3 Oct; as well as a five-evening basic photography course, starting Oct 2, aimed at novice to intermediate users who want to learn to use their DSLR properly once and for all.

    These courses are very special in that they are like private coaching: I will only take up to 5 students for each course. The Flash course includes the Pro Flash Manual, and the five-evening course includes course materials and homework. Both are now available for signing up on www.cameratraining.ca/ – see the flash course details on this page.


    Mind to sensor

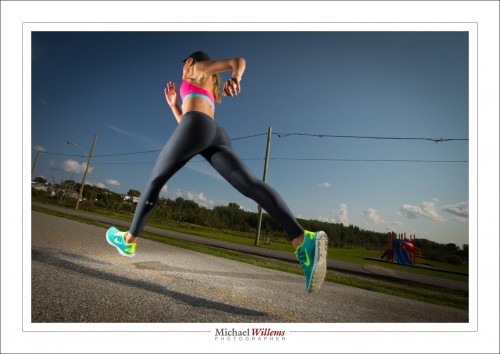
    So the day yesterday in Timmins I had the following shot firmly in mind:

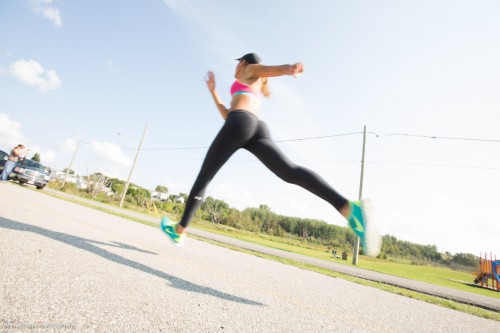
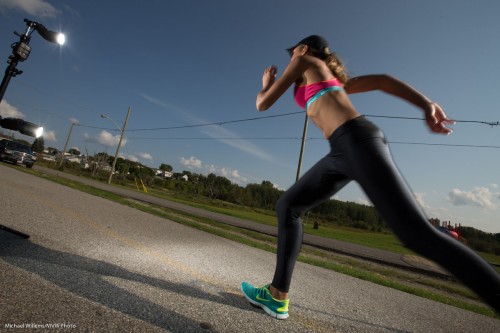
    But that was mind only. I needed a setting – friends and students Aurele and Lisa came up with the perfect location for what I had in mind, and Savannah, the model, had a jogging outfit, and is a runner. Serendipity!

    So now the shot. If I were to get low to the ground, use my widest lens, and use available light, I would get this (this was my composition test shot):

    So then I go to work.

    To get the saturated look I like, I want to darken the background, ambient, light by two stops. I start at the usual sunny day settings of 1/250th sec at 100 ISO. That gives me f/11. So that makes me use two speedlights direct on front of the model and one behind; all set to half power. One light gives me f/8, so two lights around f/11. See the two flashes on the left:

    One on a light stand, one attached lower to the same light stand with a clamp. Used at half power, while I perhaps would have preferred quarter power (they are Nikon flashes, so will overheat) – but half power is better than full power.

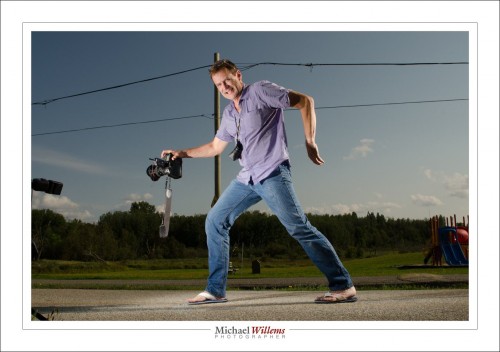
    Now, walking like an Egyptian, I explain the idea to my students:

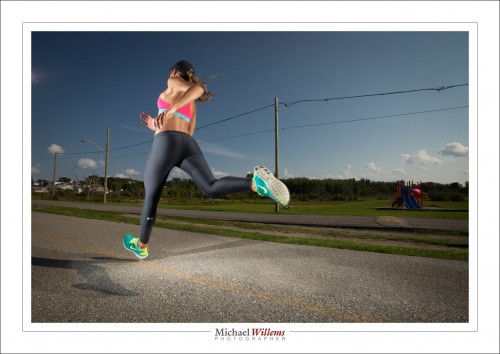
    And there we have it – now all I needed to do is agree on the spot; prefocus (so there’s no delays); and shoot. That took a few attempts, but not many: out of seven tries, two were perfect. Here’s the second of those:

    Post work consisted merely of removing a few unwanted shadows and background objects, and I had the exact shot I had in mind. And my students did too, and they learned the process, and they fully got it. It’s nice when it all comes together.


    TLC

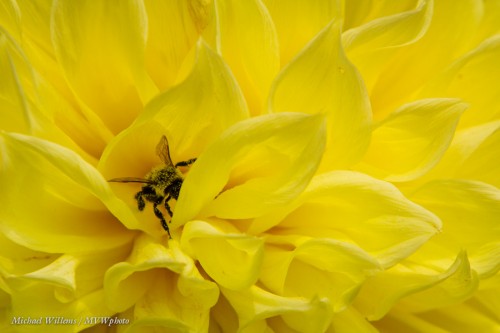
    Macro pictures need a little TLC. This long-lens picture from Sunday’s photo walk: just a little cropped, but otherwise as shot. Student Jackie found the bumblebee: for bugs you need to either be serendipitous or be patient. And you need to observe well. Jackie did both, and I took the picture too:

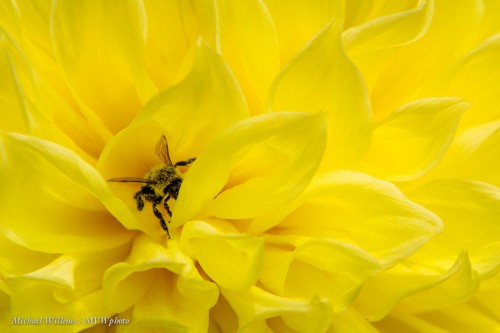
    Now with some TLC:

    Look at them full sized and you will see many small blemishes and imperfections – yes, flowers have them too – and in picture 2 you will see I have removed them. I also brightened it a little. See the difference?

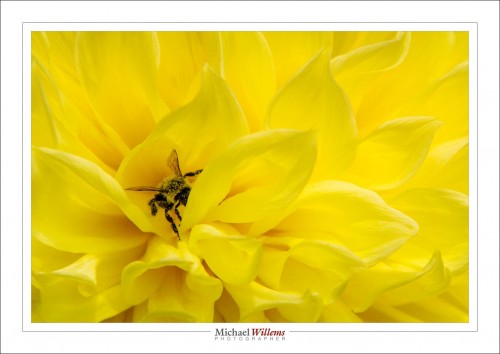
    And then here it is with a little frame around the image:

    You will notice also that the picture is simple. Simplifying your pictures is the single most important way to make them more “professional”. That, and using the Rule of Thirds: the insect is not where Uncle Fred would put it (that would be in the centre).


    Learn Focal Lengths

    One thing that good photographers know is  “what focal lengths do”. There is such as thing as “the right focal length for a picture”, or perhaps better, “the right types of picture for a given focal length”. And a good photographer knows these. The pictures tend to then fall into place.

    We all know – I hope – that you do not do a headshot with a 16mm lens. And we all know that landscapes and travel do like that focal length.

    But in general, what is appropriate?

    It depends. On you and your taste. But there’s often a good range. Look at the following examples – and keep in mind, the lengths I mention are for a full frame camera. If you have a crop camera, divide by 1.5/1.6. So a 35mm lens in my examples would need you to use a 24mm lens on a crop camera.

    With that in mind, let’s look at some portraits.

    35mm:

    50mm:

    65mm:

    85mm:

    200mm:

    Are you beginning to see patterns? Develop your own preferences and “usual lenses” – they probably will not vary much from mine – and you will be much quicker deciding how to shoot what. A prime lens is a great way to learn, by the way. It’s why we love primes.